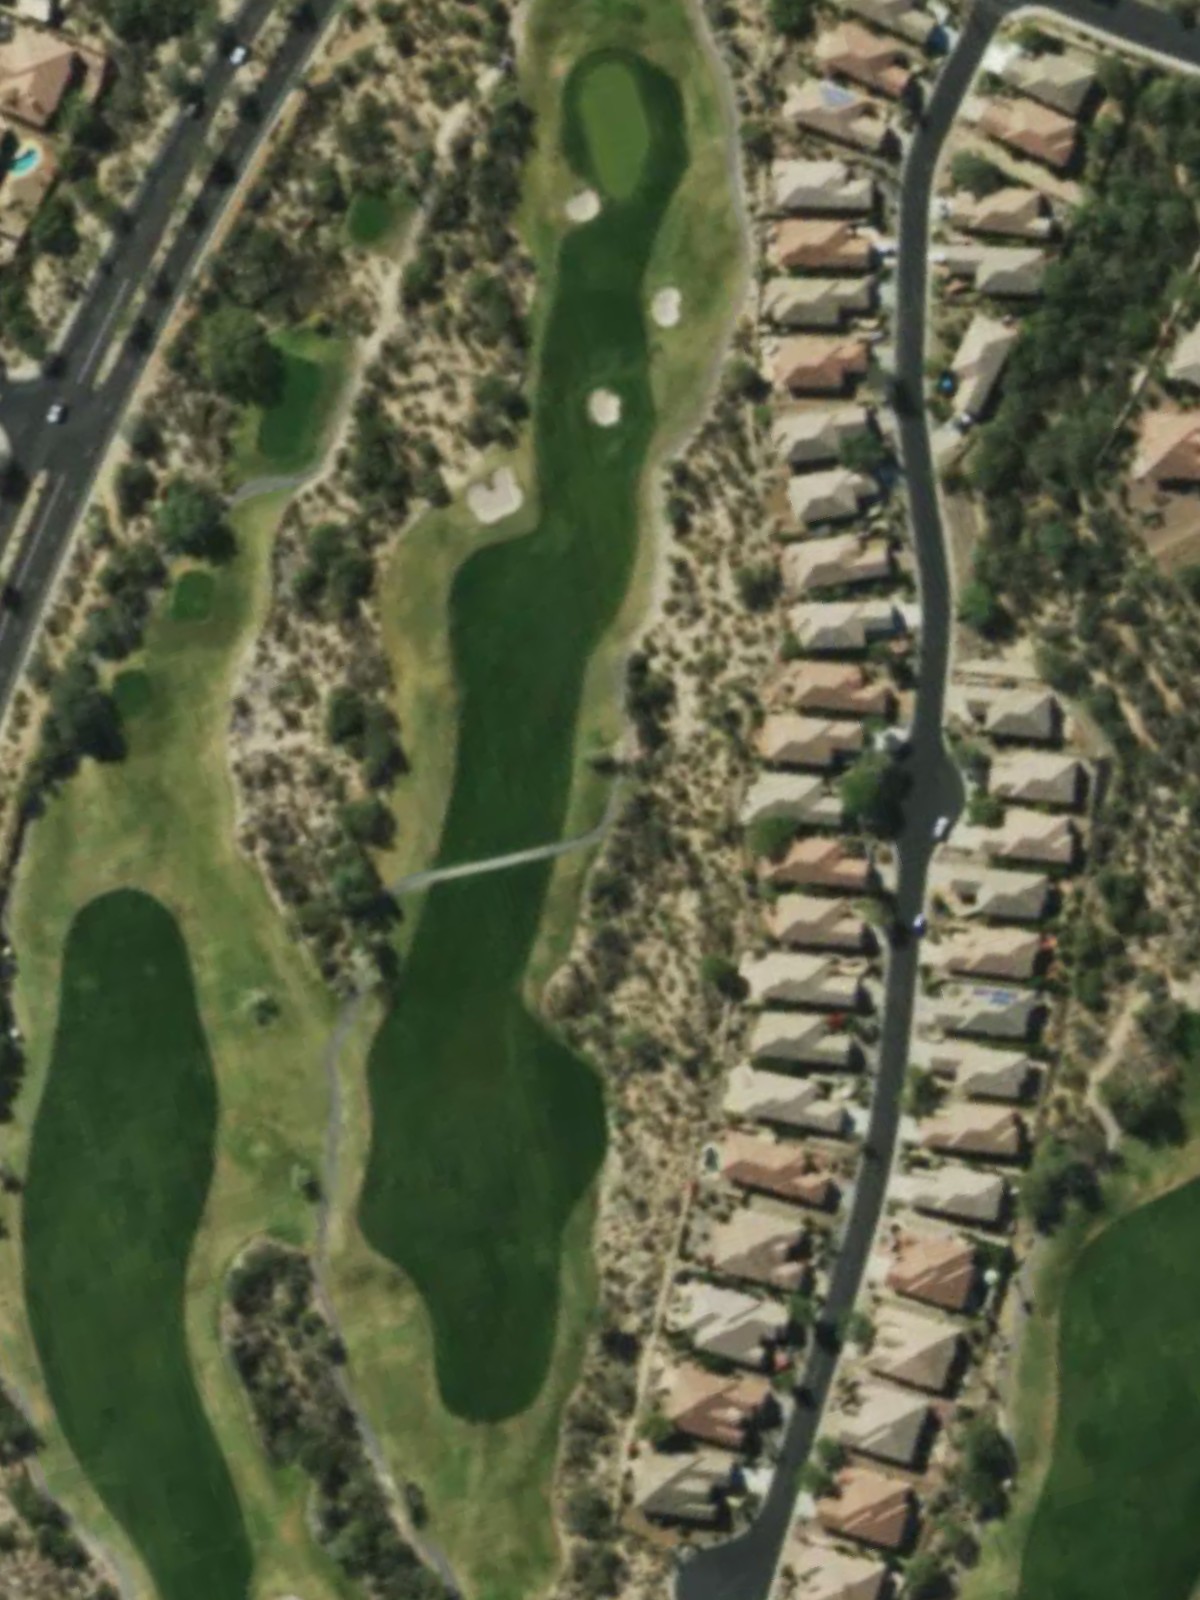
Gallery Golf Club is an 18-hole golf course in Marana, AZ with a par of 72. It offers 7 tee sets: dorado (7,315 yards, slope 143, rating 74), dorado/azul (7,021 yards, slope 138, rating 72.7), azul (6,669 yards, slope 134, rating 70.6), azul/verde (6,366 yards, slope 130, rating 69.3), verde (6,084 yards, slope 126, rating 68.3), verde/rojo (5,573 yards, slope 121, rating 66), rojo (5,261 yards, slope 114, rating 64.4). The hardest hole is #9, a par 5 playing 603 yards from the first tee.
Gallery Golf Club
Marana, AZ
Get PDF Yardage Book
We'll email you the PDF link. No spam, ever.
Create Your Game Plan
Pick your tees, enter your bag, and get a personalized shot-by-shot strategy for every hole.
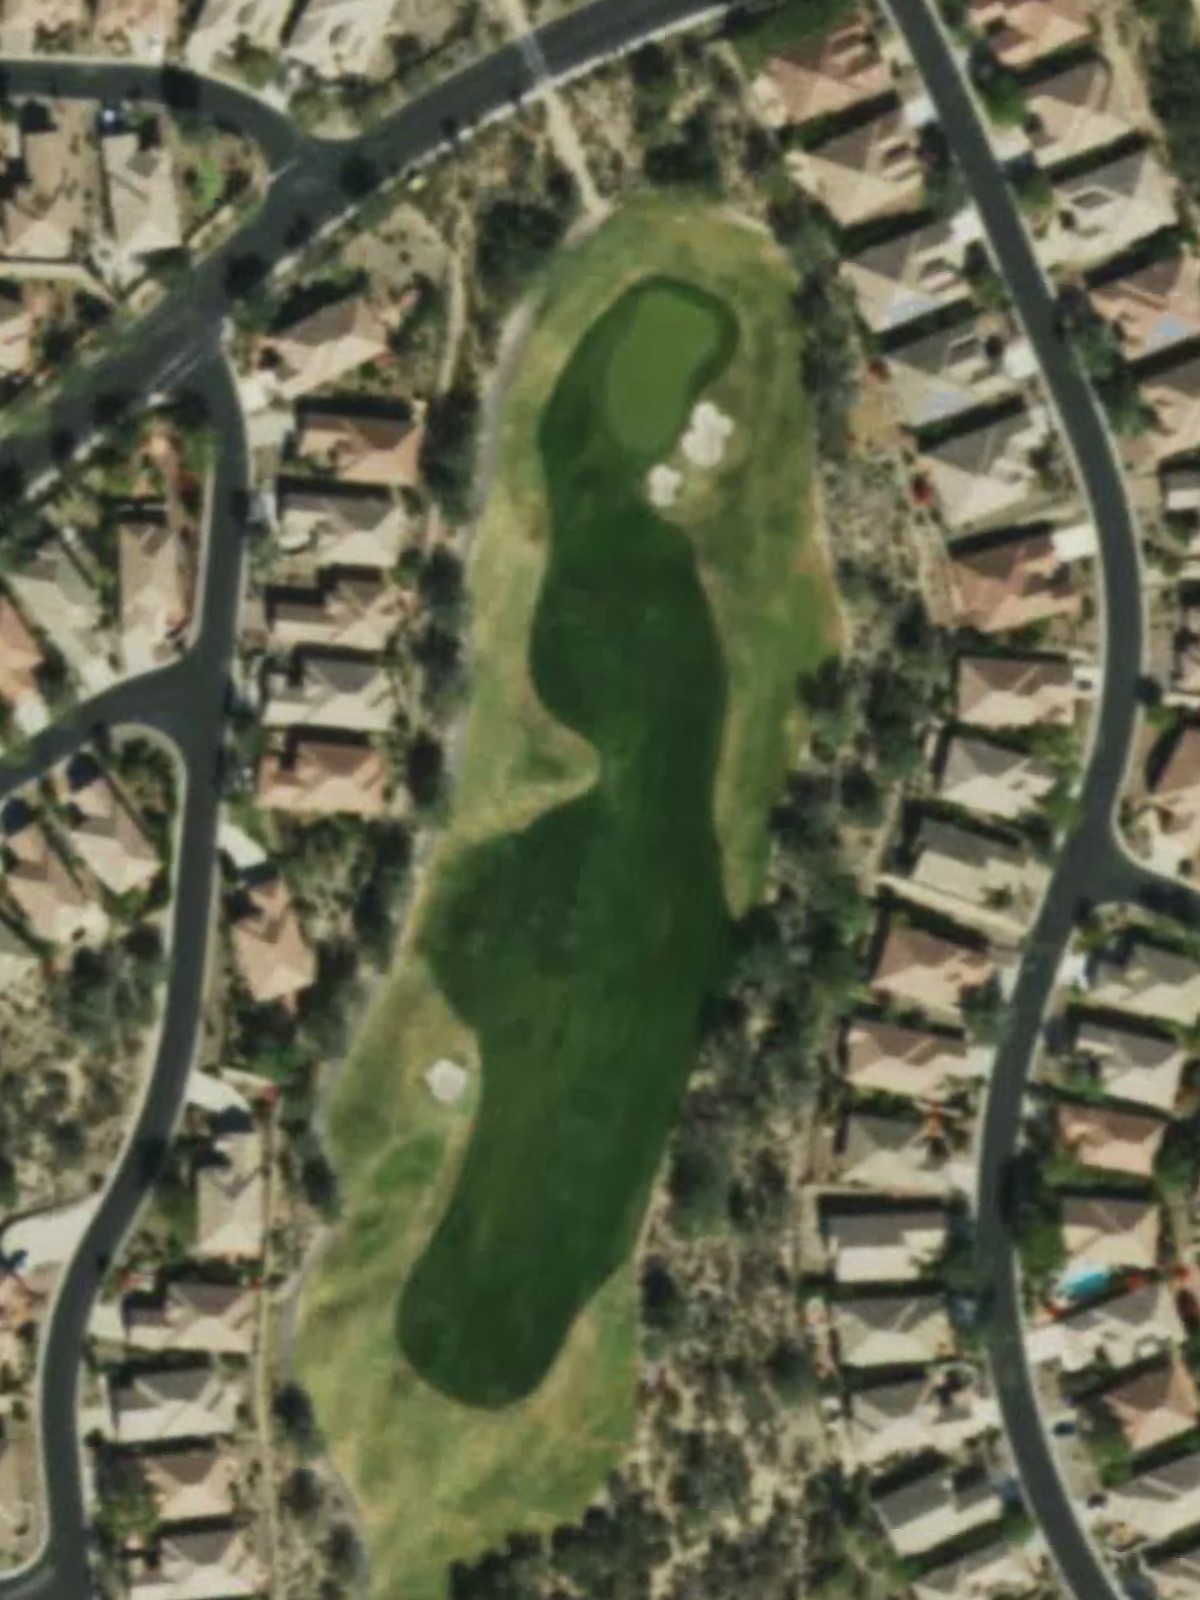
A welcoming opening par 4 with a relatively straightforward layout and a fairway that gradually narrows as it approaches the green. Bunkers protect the right side of the green, requiring accuracy on the approach shot.
A challenging par 4 that plays as the fifth hardest hole on the course, with a fairway that demands precision from the tee. The approach into the green is the critical shot, with strategic bunkering and green contours that reward placement.
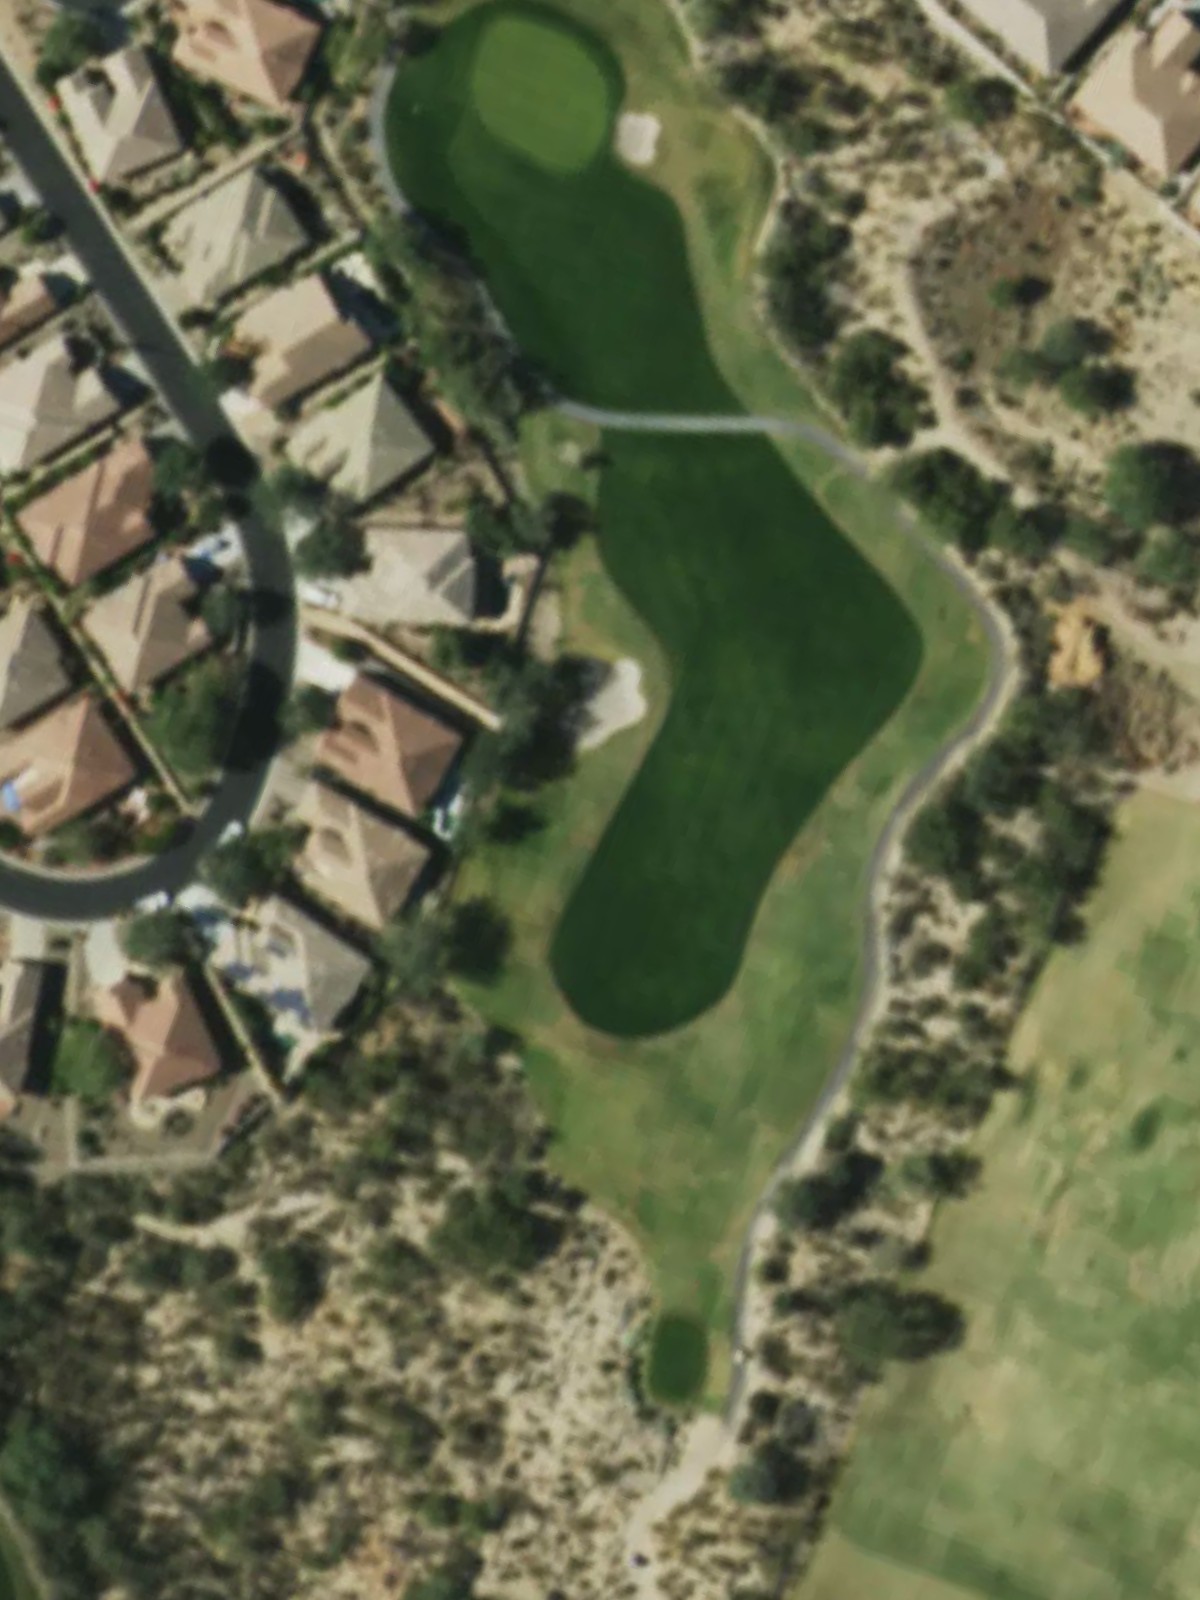
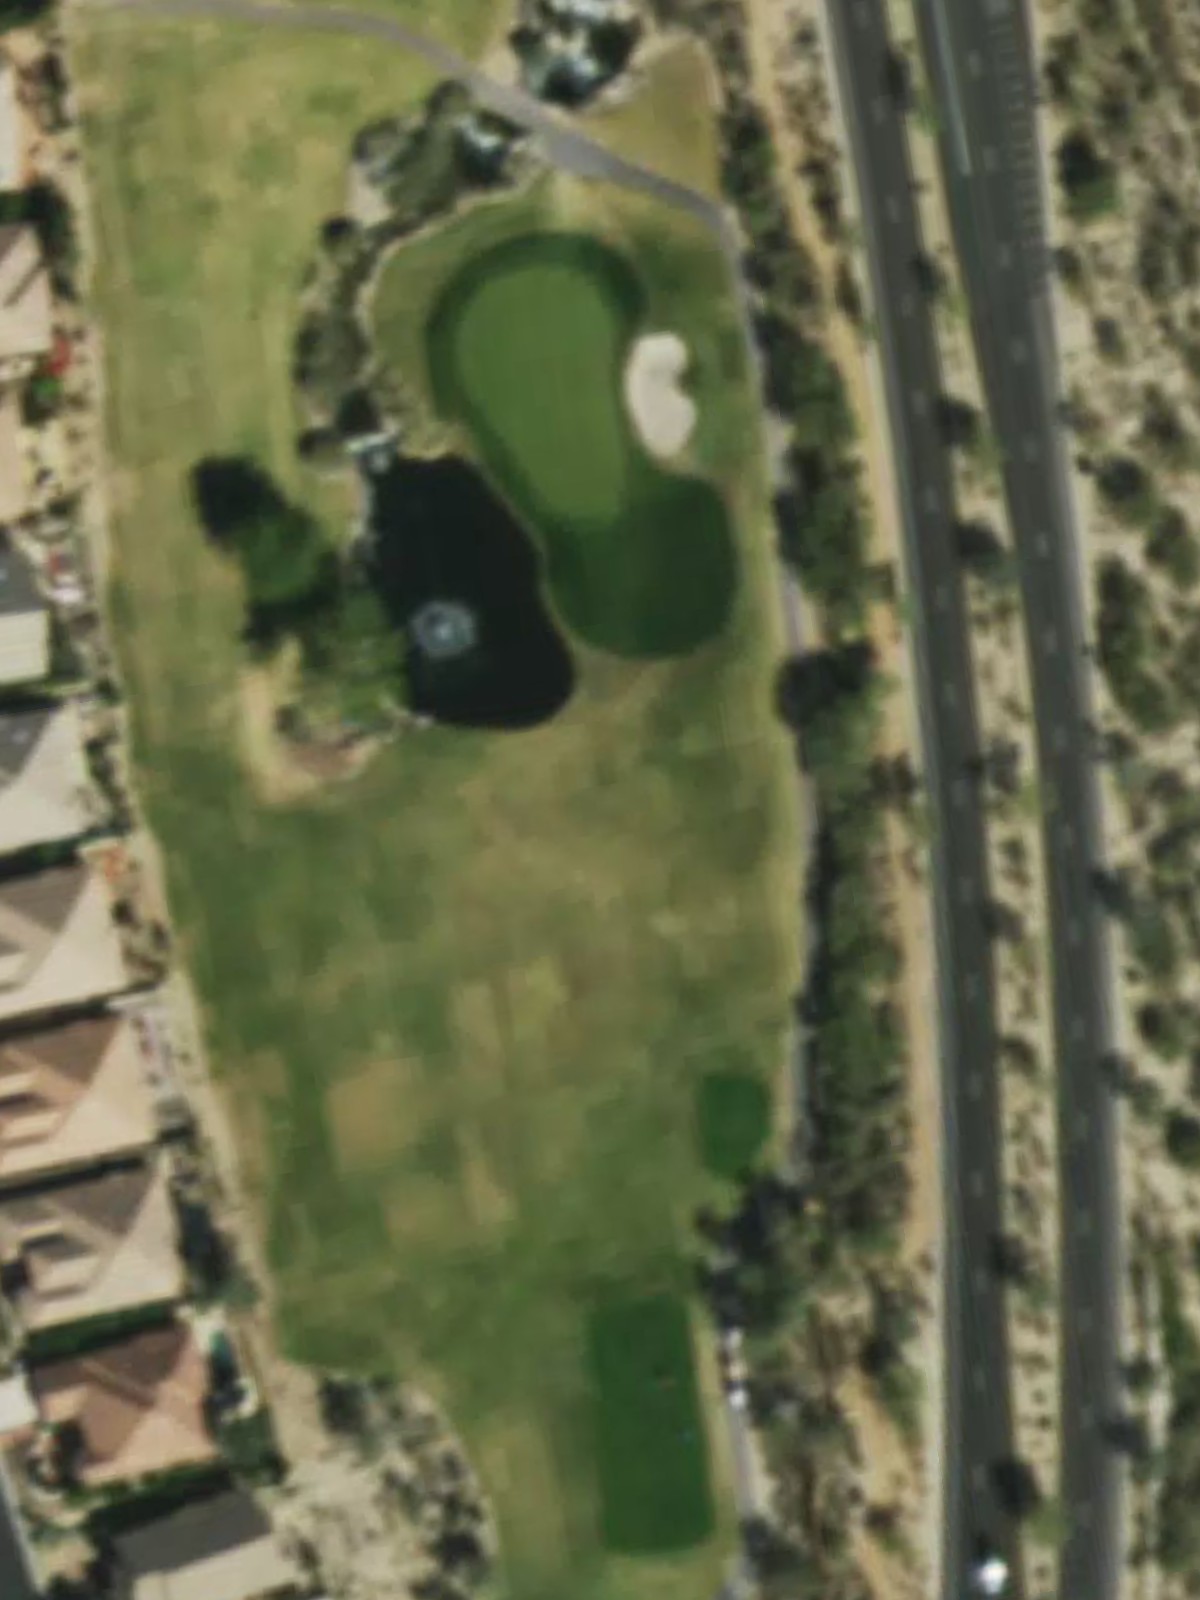
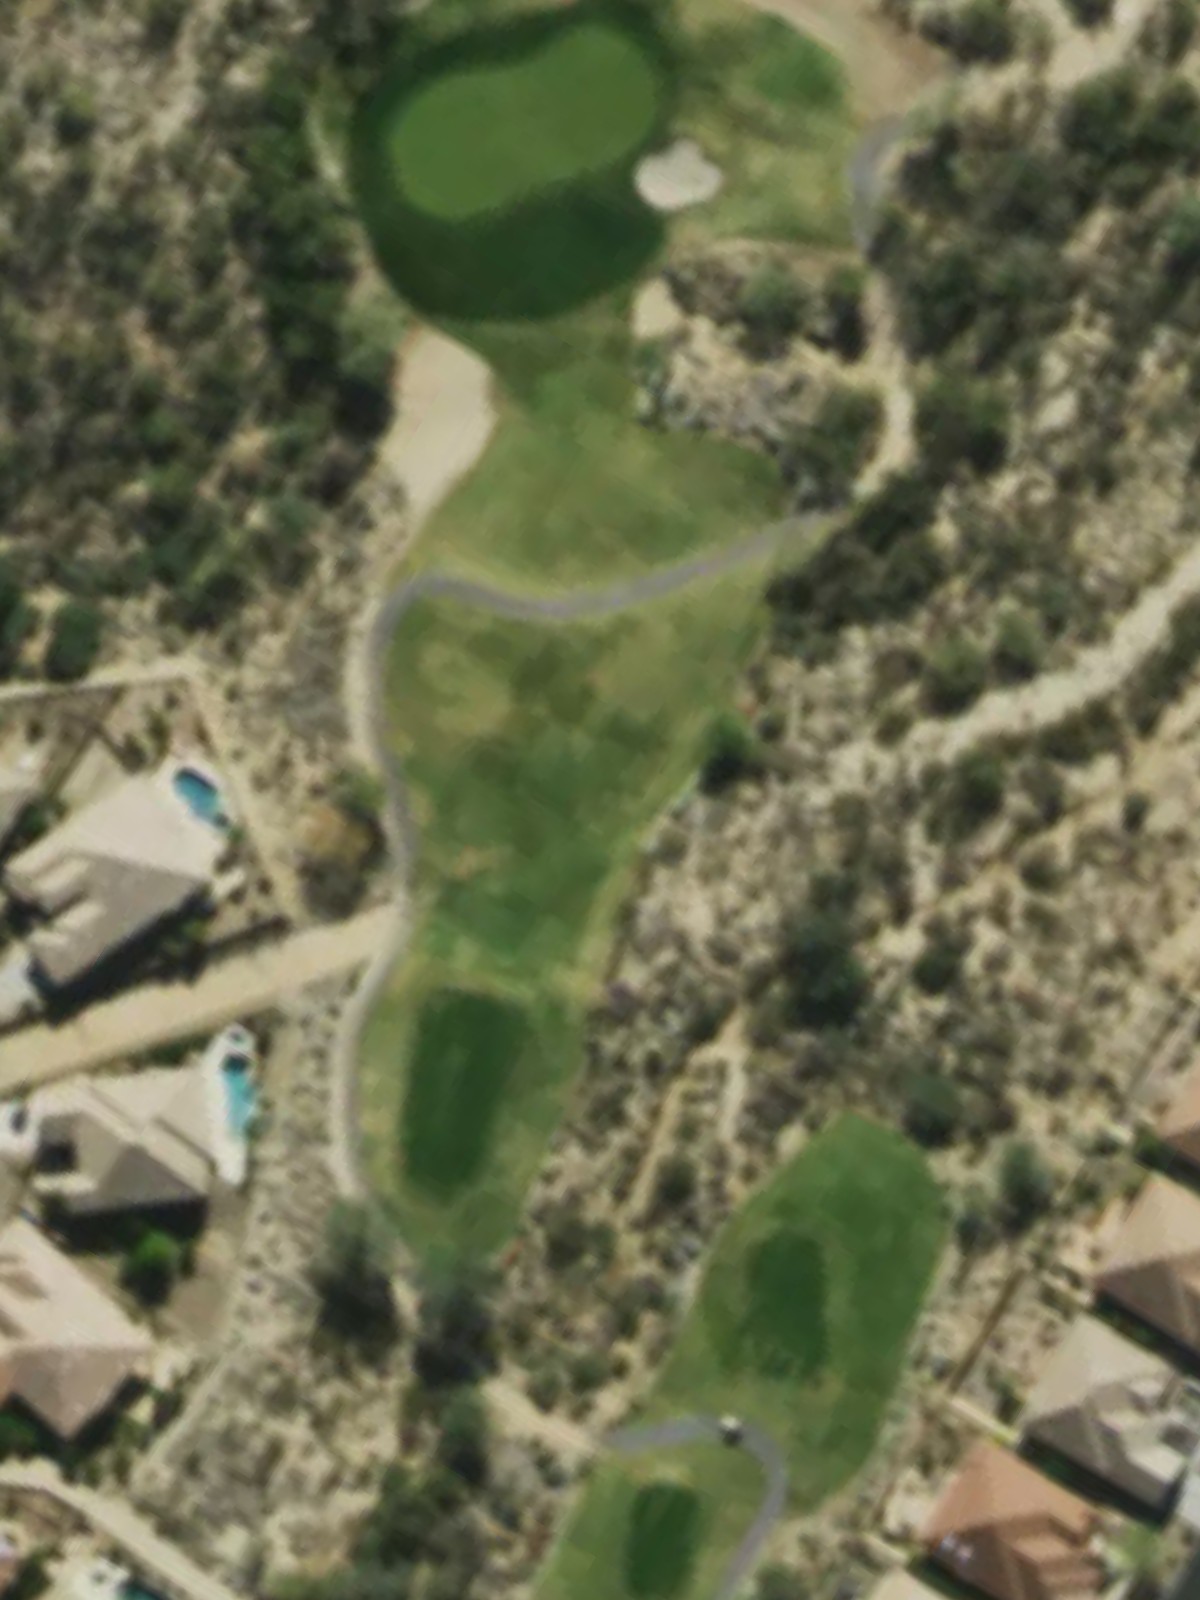
A short par 3 with moderate length that offers a straightforward target. The green is relatively accessible, making this a scoring opportunity with proper distance control.
A testing par 4 where length varies significantly depending on tee selection, creating distinct challenges across different formats. Hazards frame the approach, requiring both distance and accuracy off the tee.
A solid par 4 that plays as one of the course's key scoring holes, with a balanced fairway layout. The green demands a precise approach, with hazards positioned to penalize wayward shots.
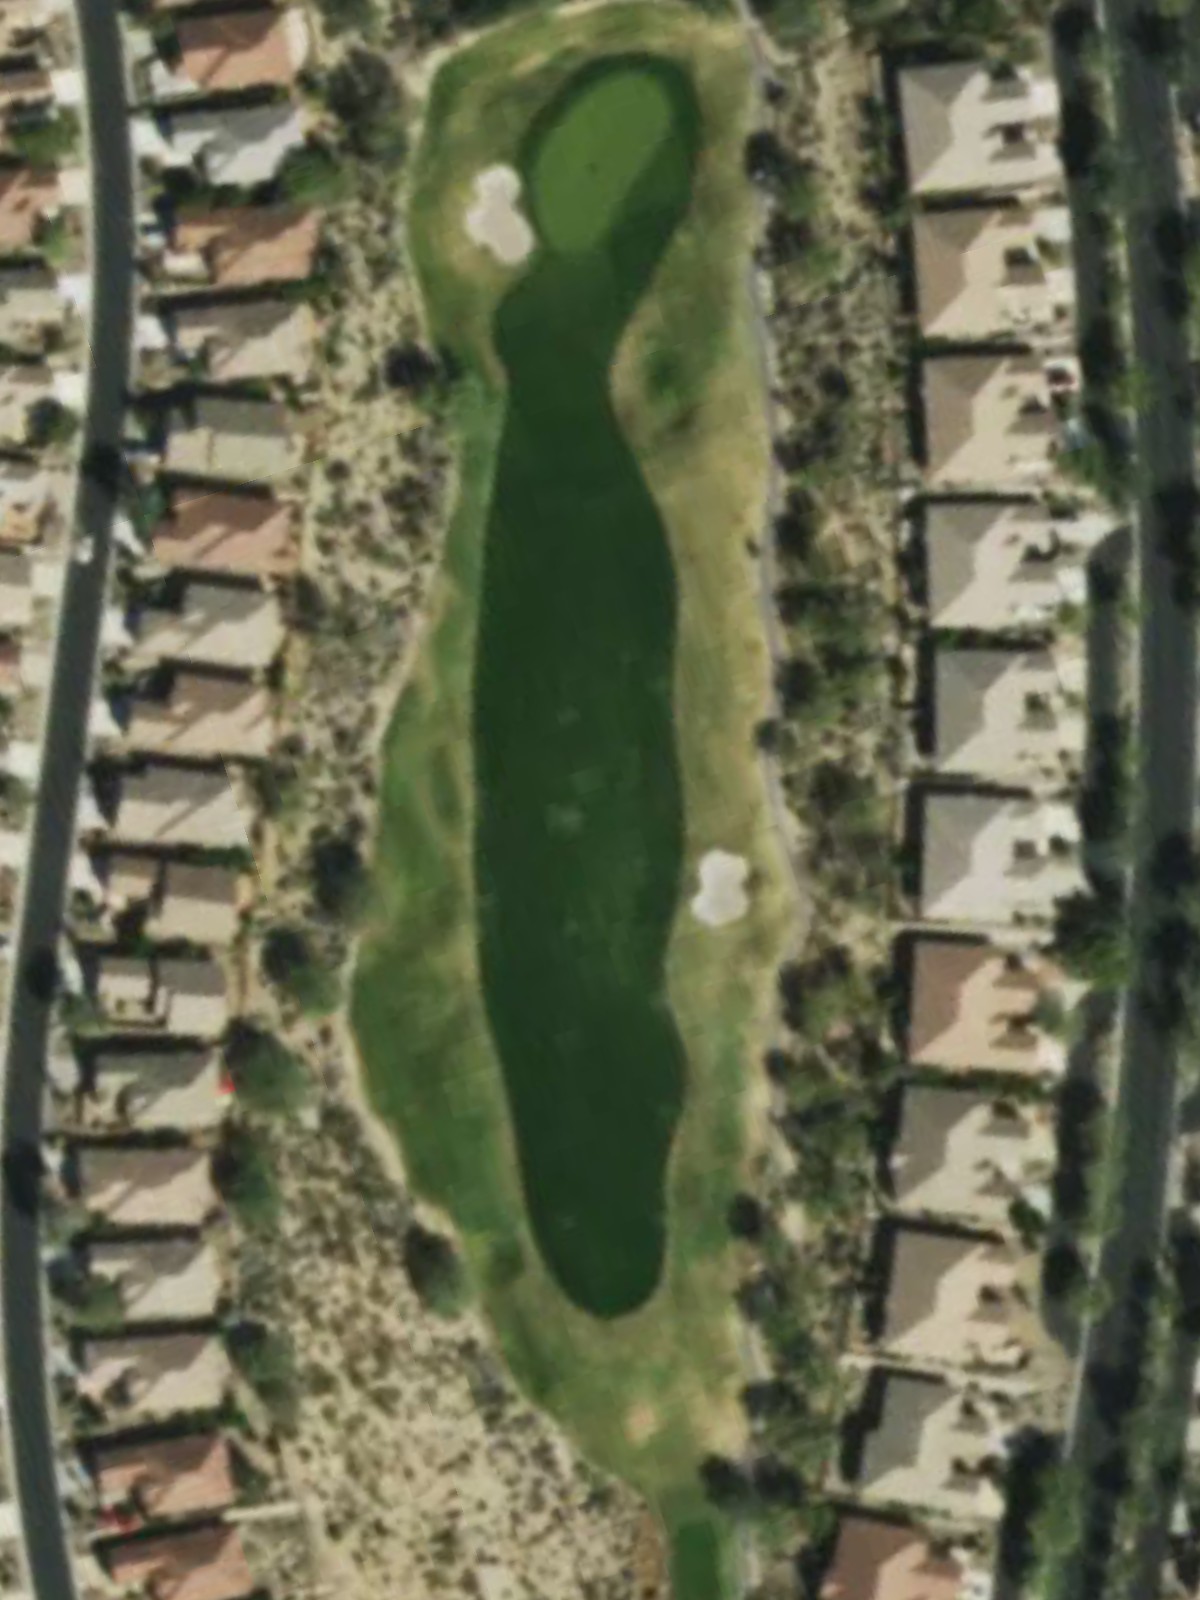
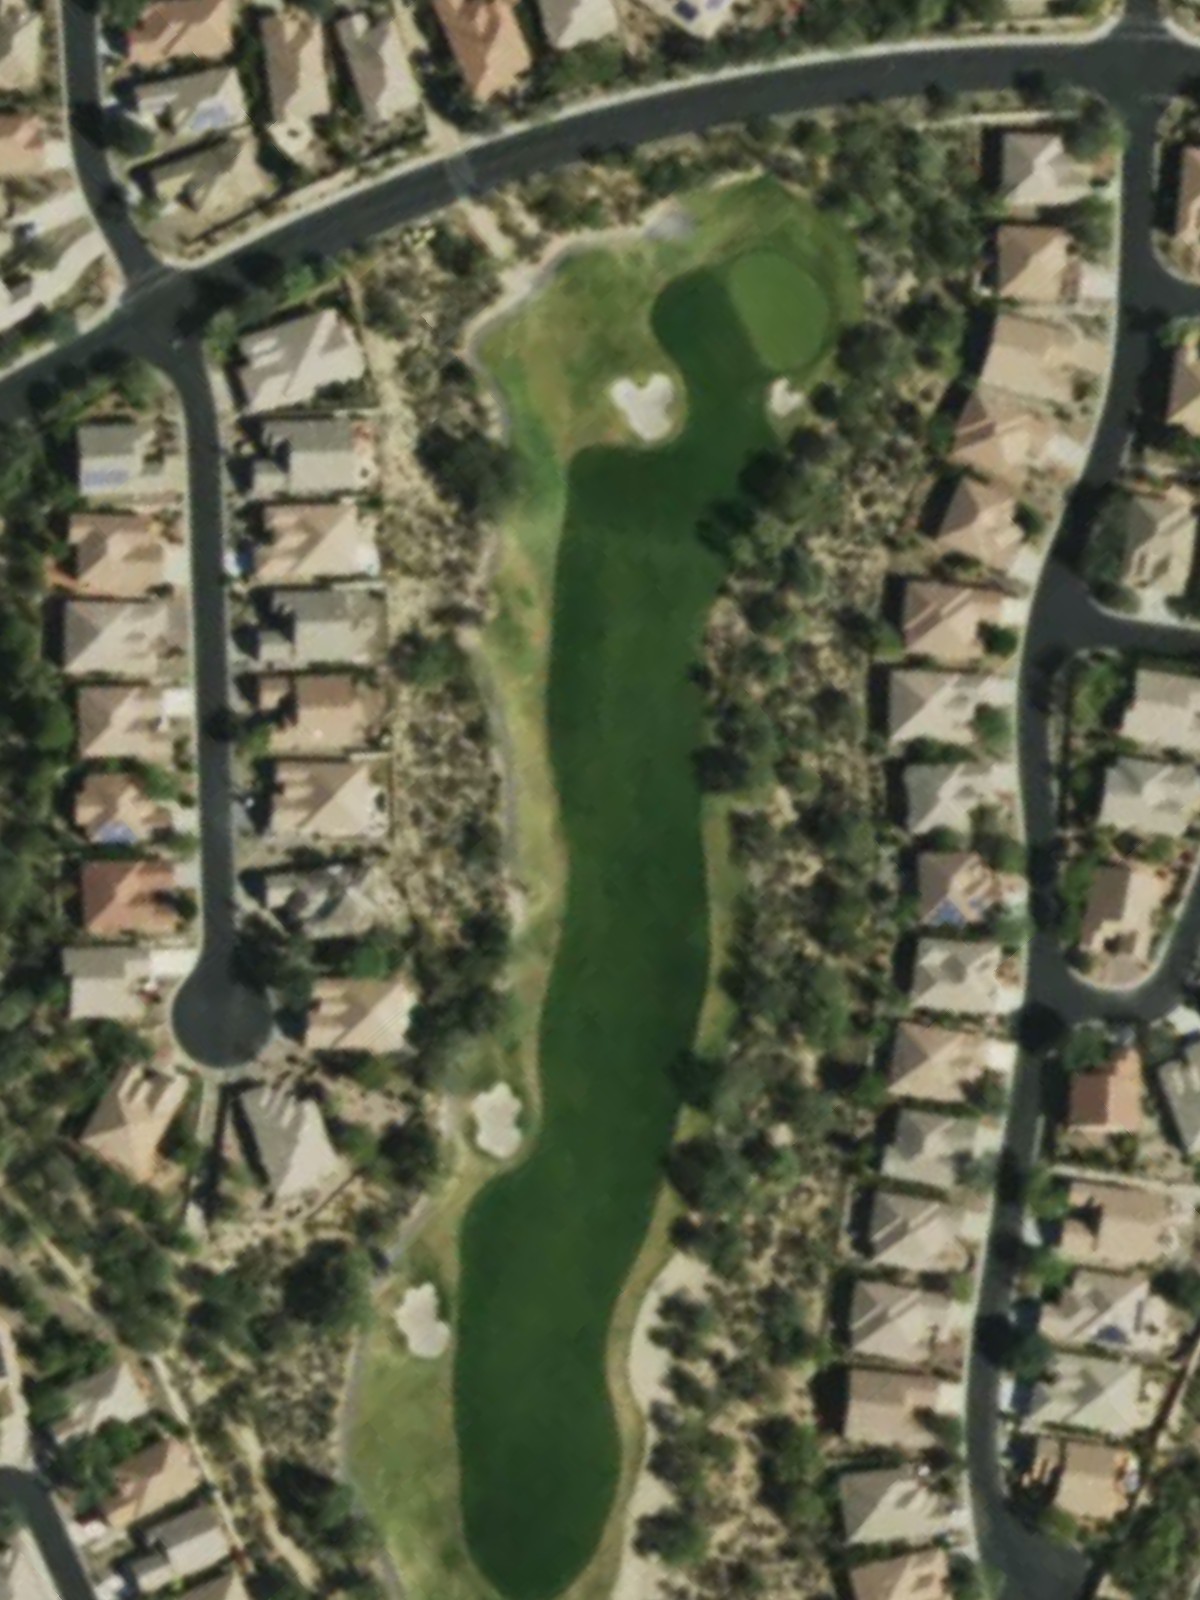
The third-hardest hole on the course, this par 5 requires strategic planning across all three shots due to its length and positioning. Hazards frame the fairway and guard the green, making course management essential.
A mid-length par 3 with a direct approach to the green. The hole's relatively straightforward nature provides a respite before the back nine begins to intensify.
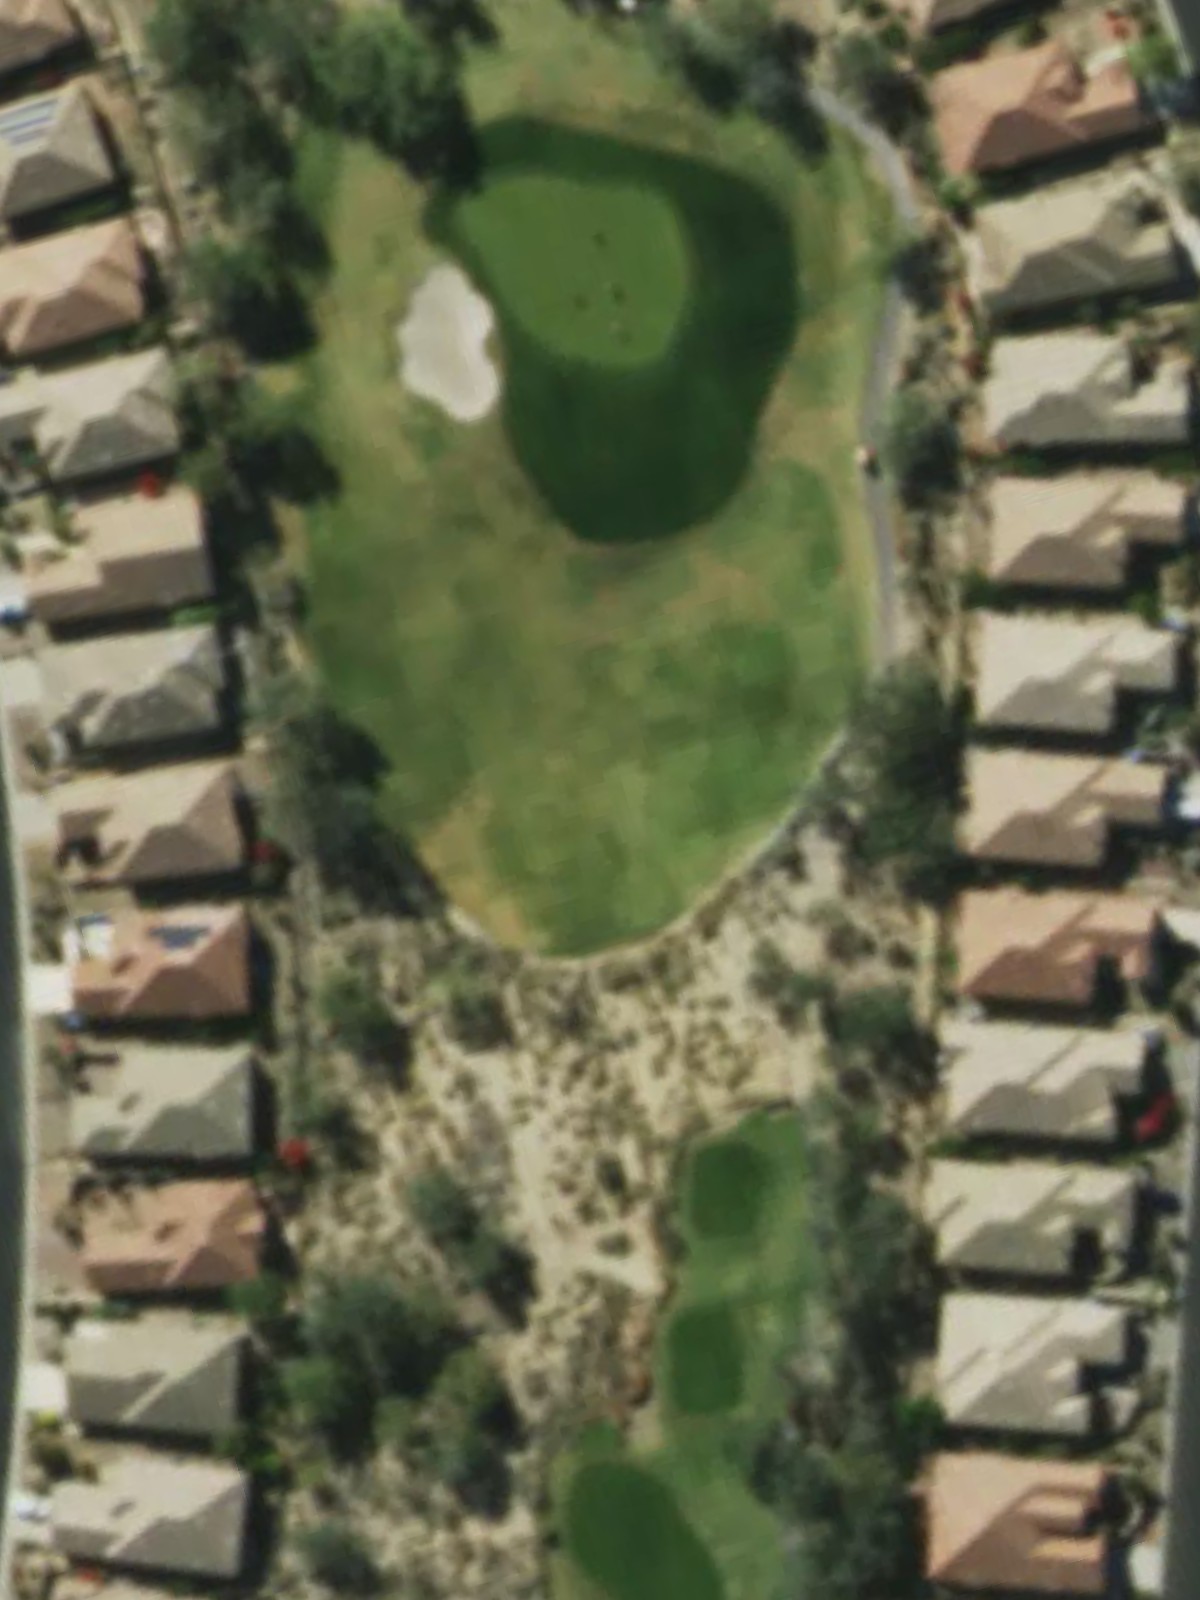
The easiest hole on the course, this short par 4 offers a genuine birdie opportunity with a compact layout. The fairway and green are relatively forgiving, rewarding solid fundamentals.
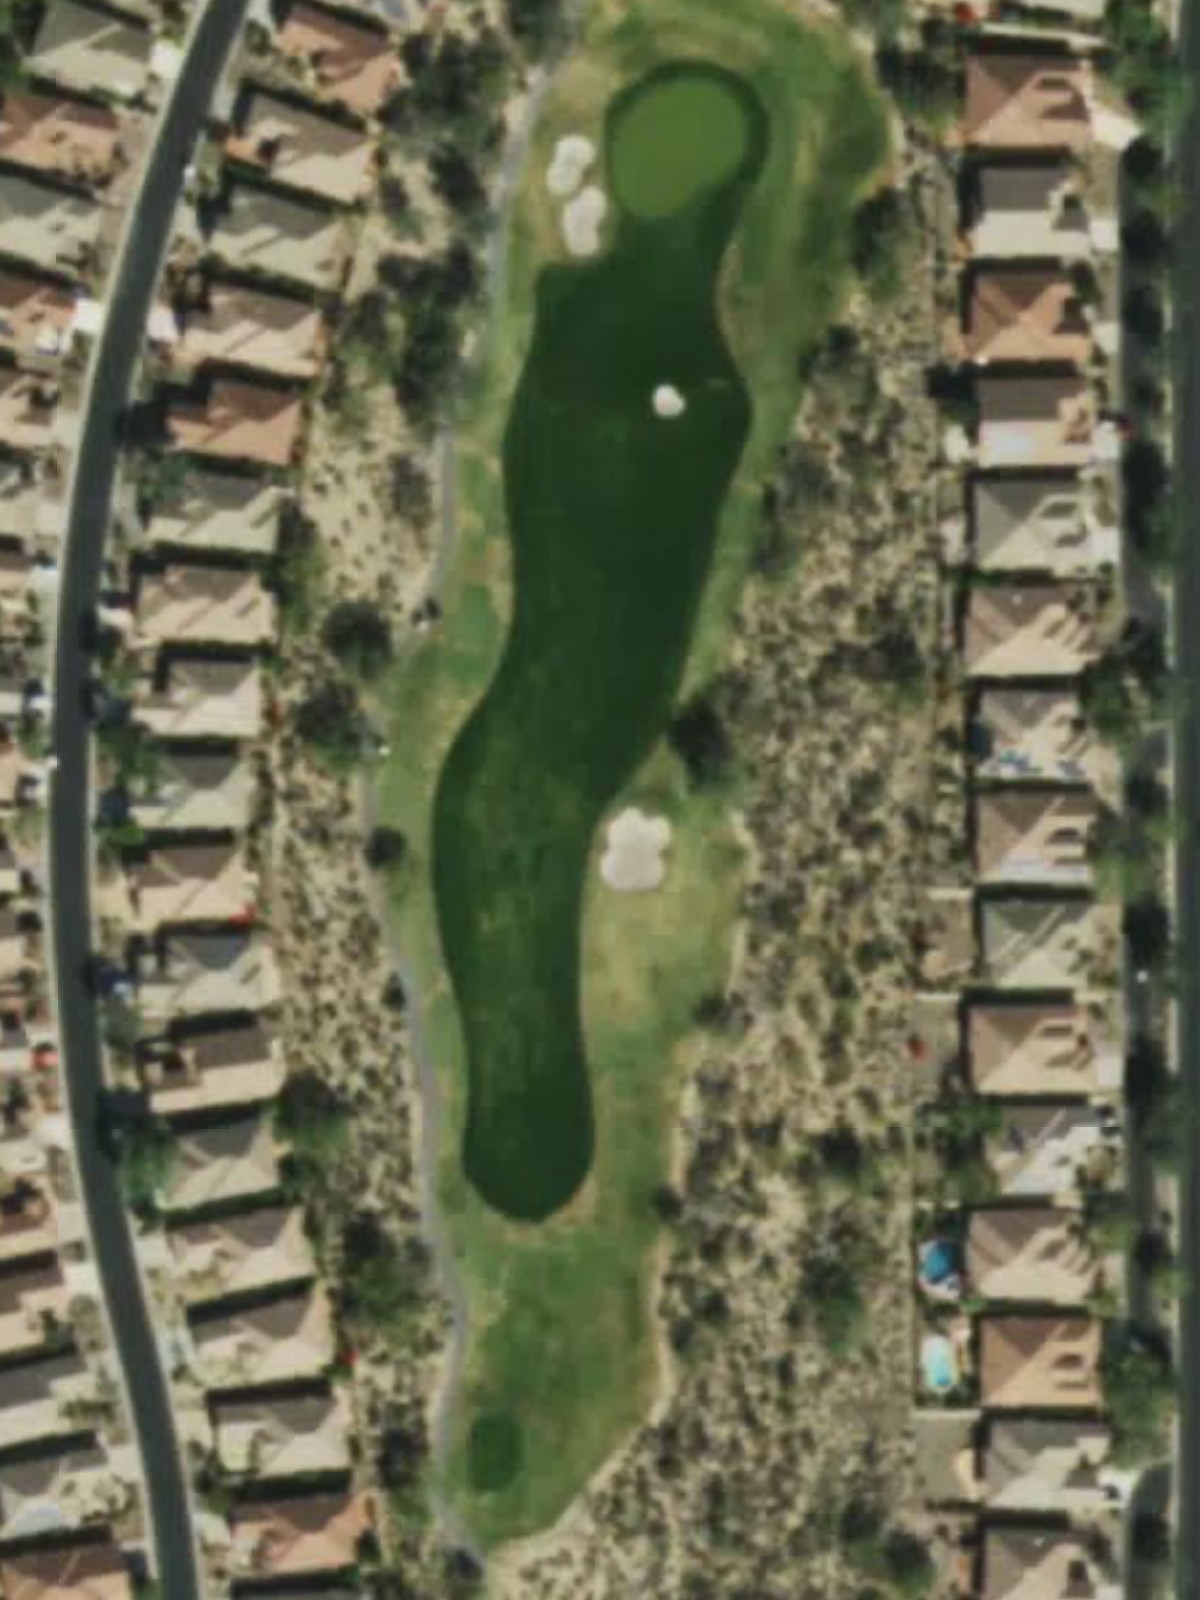
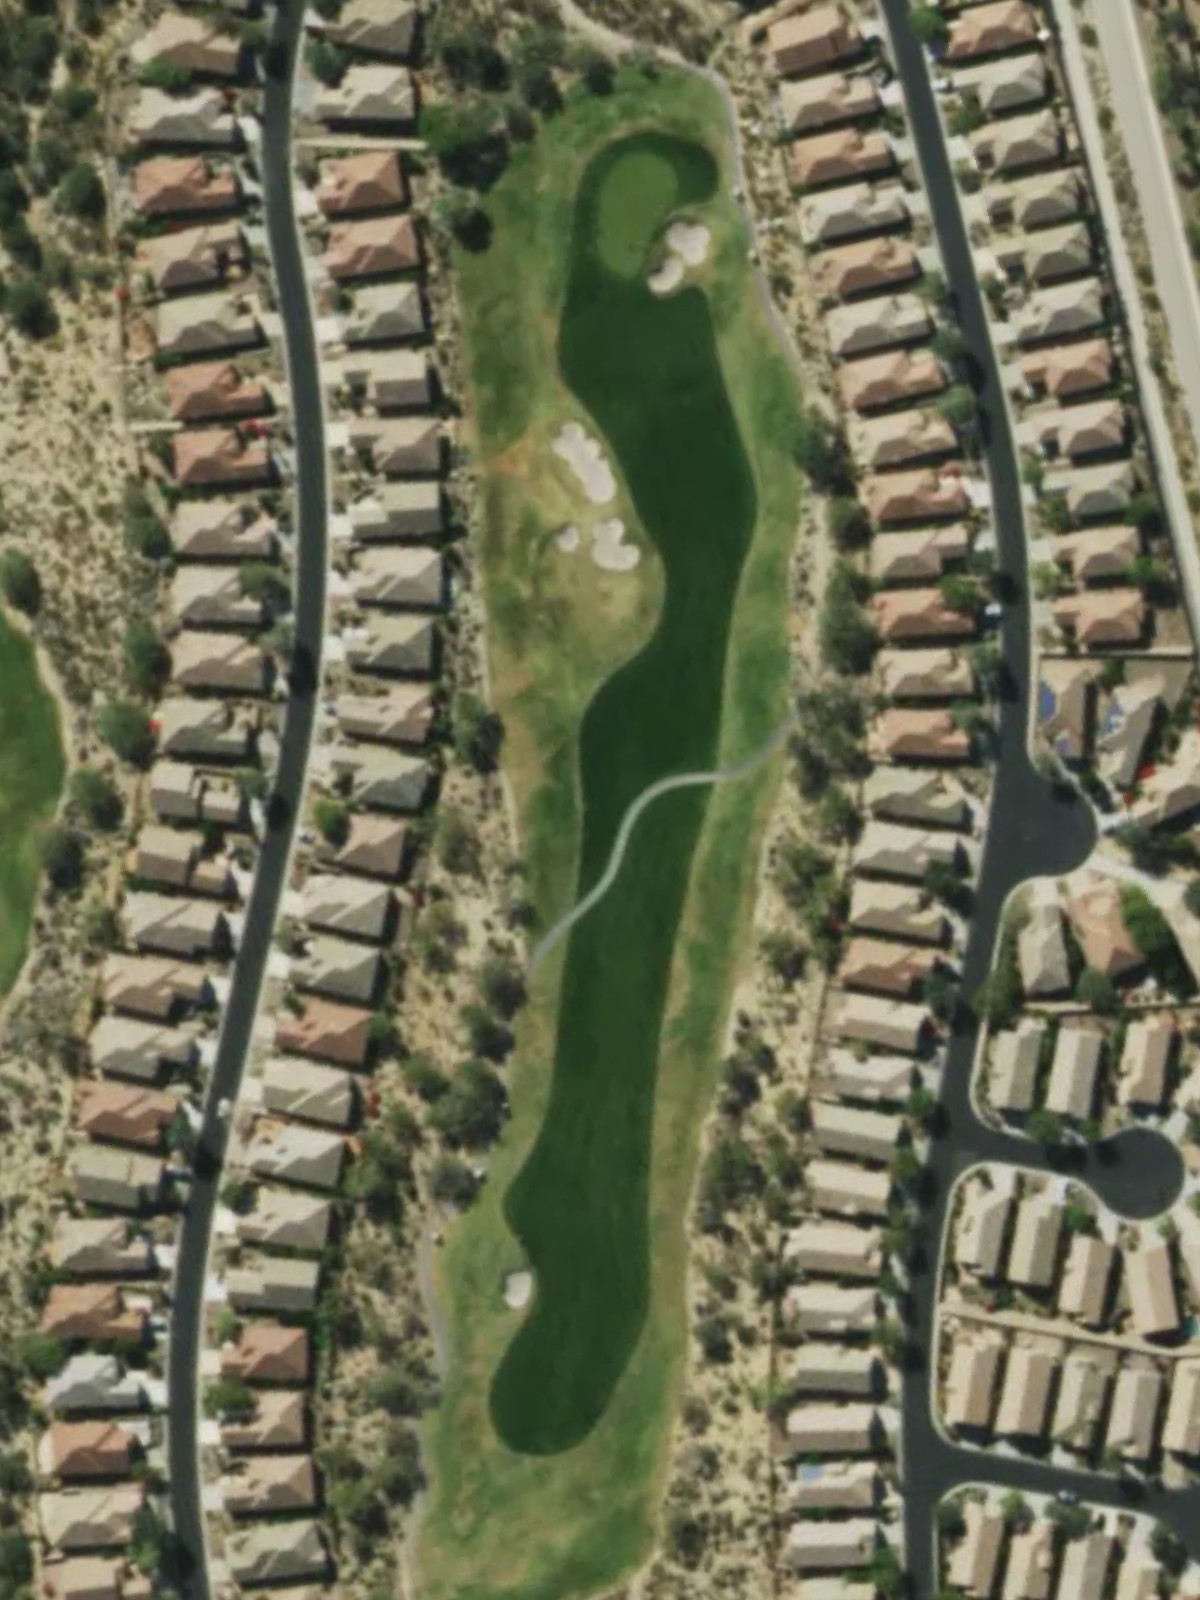
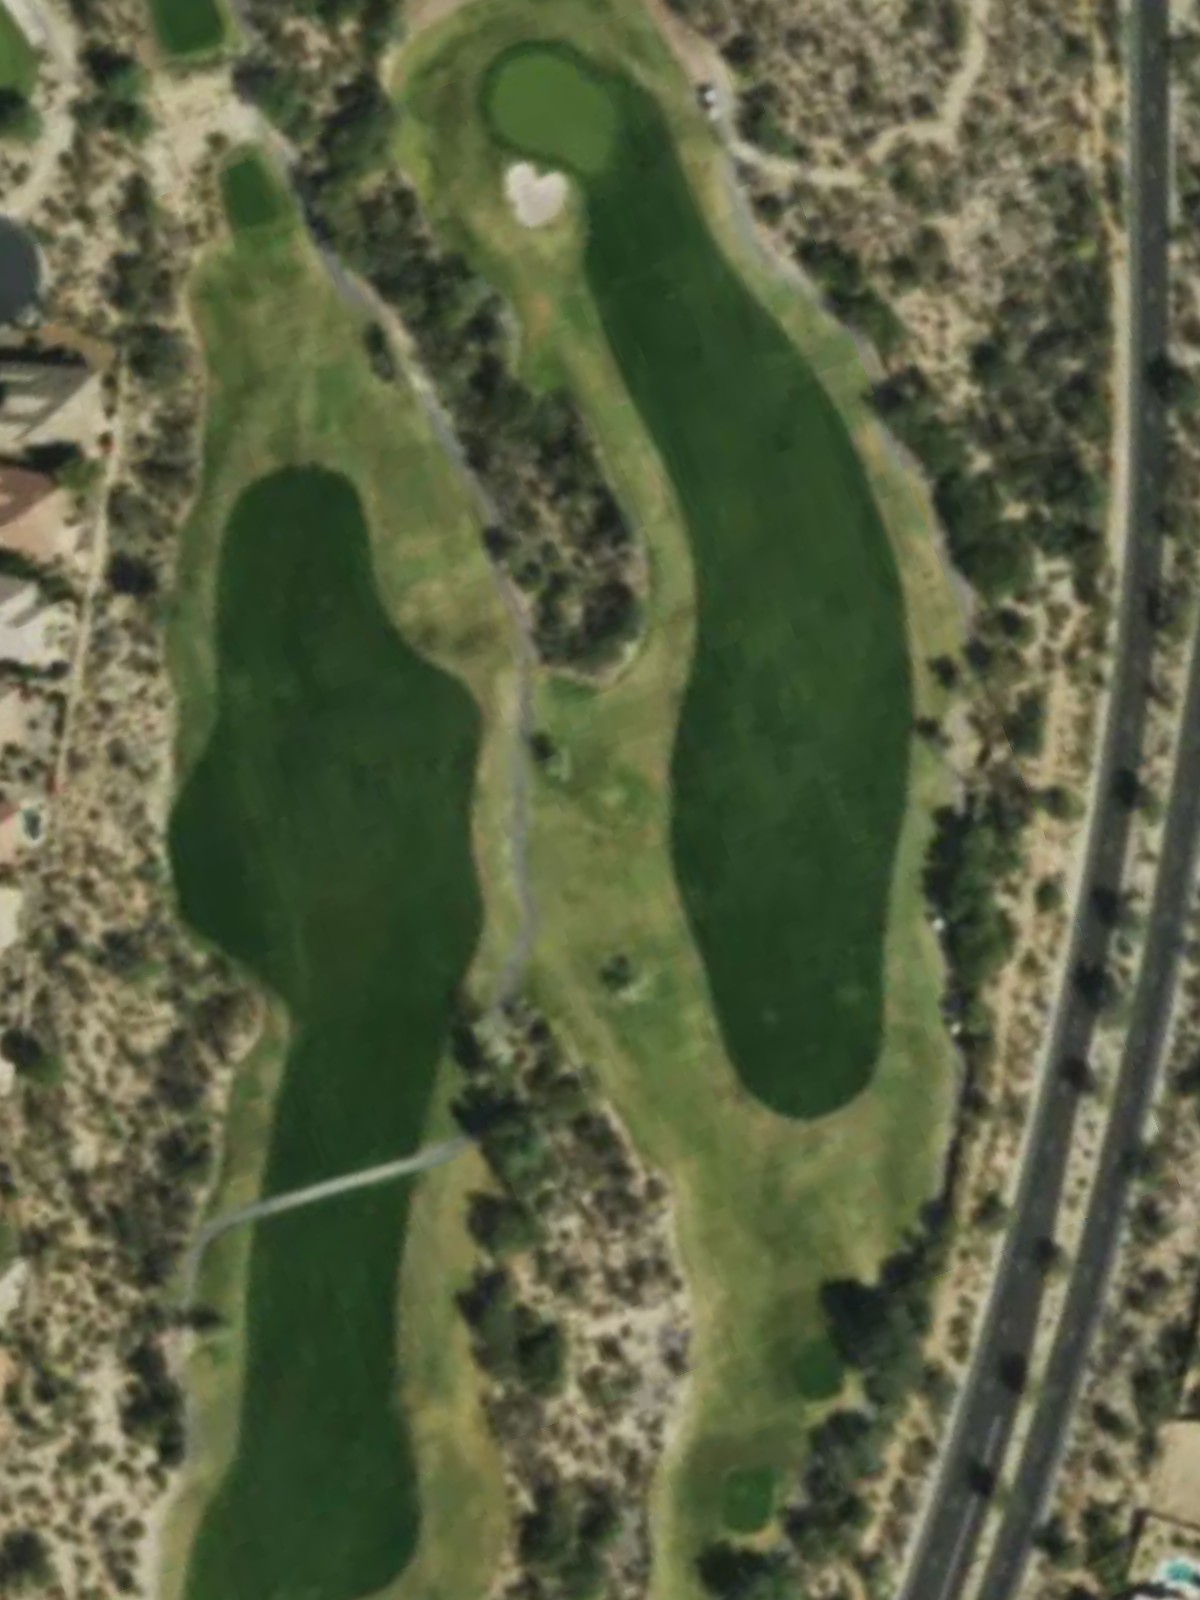
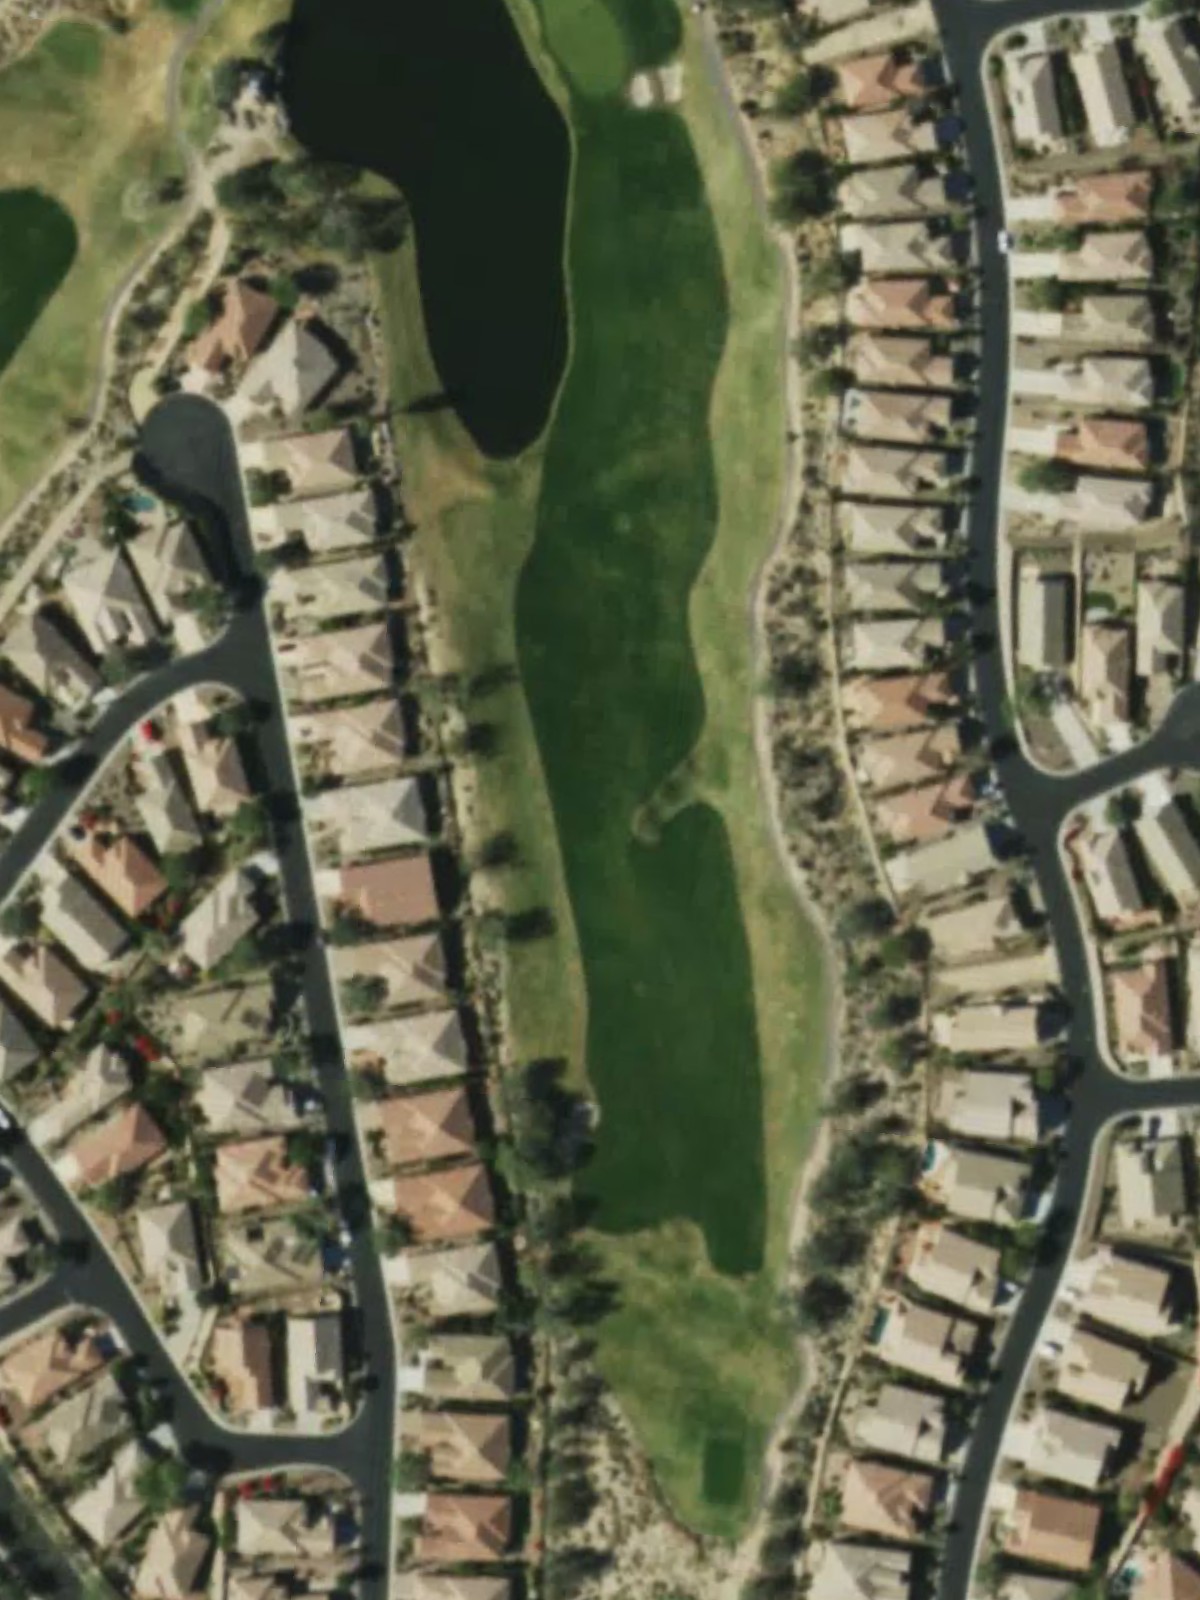
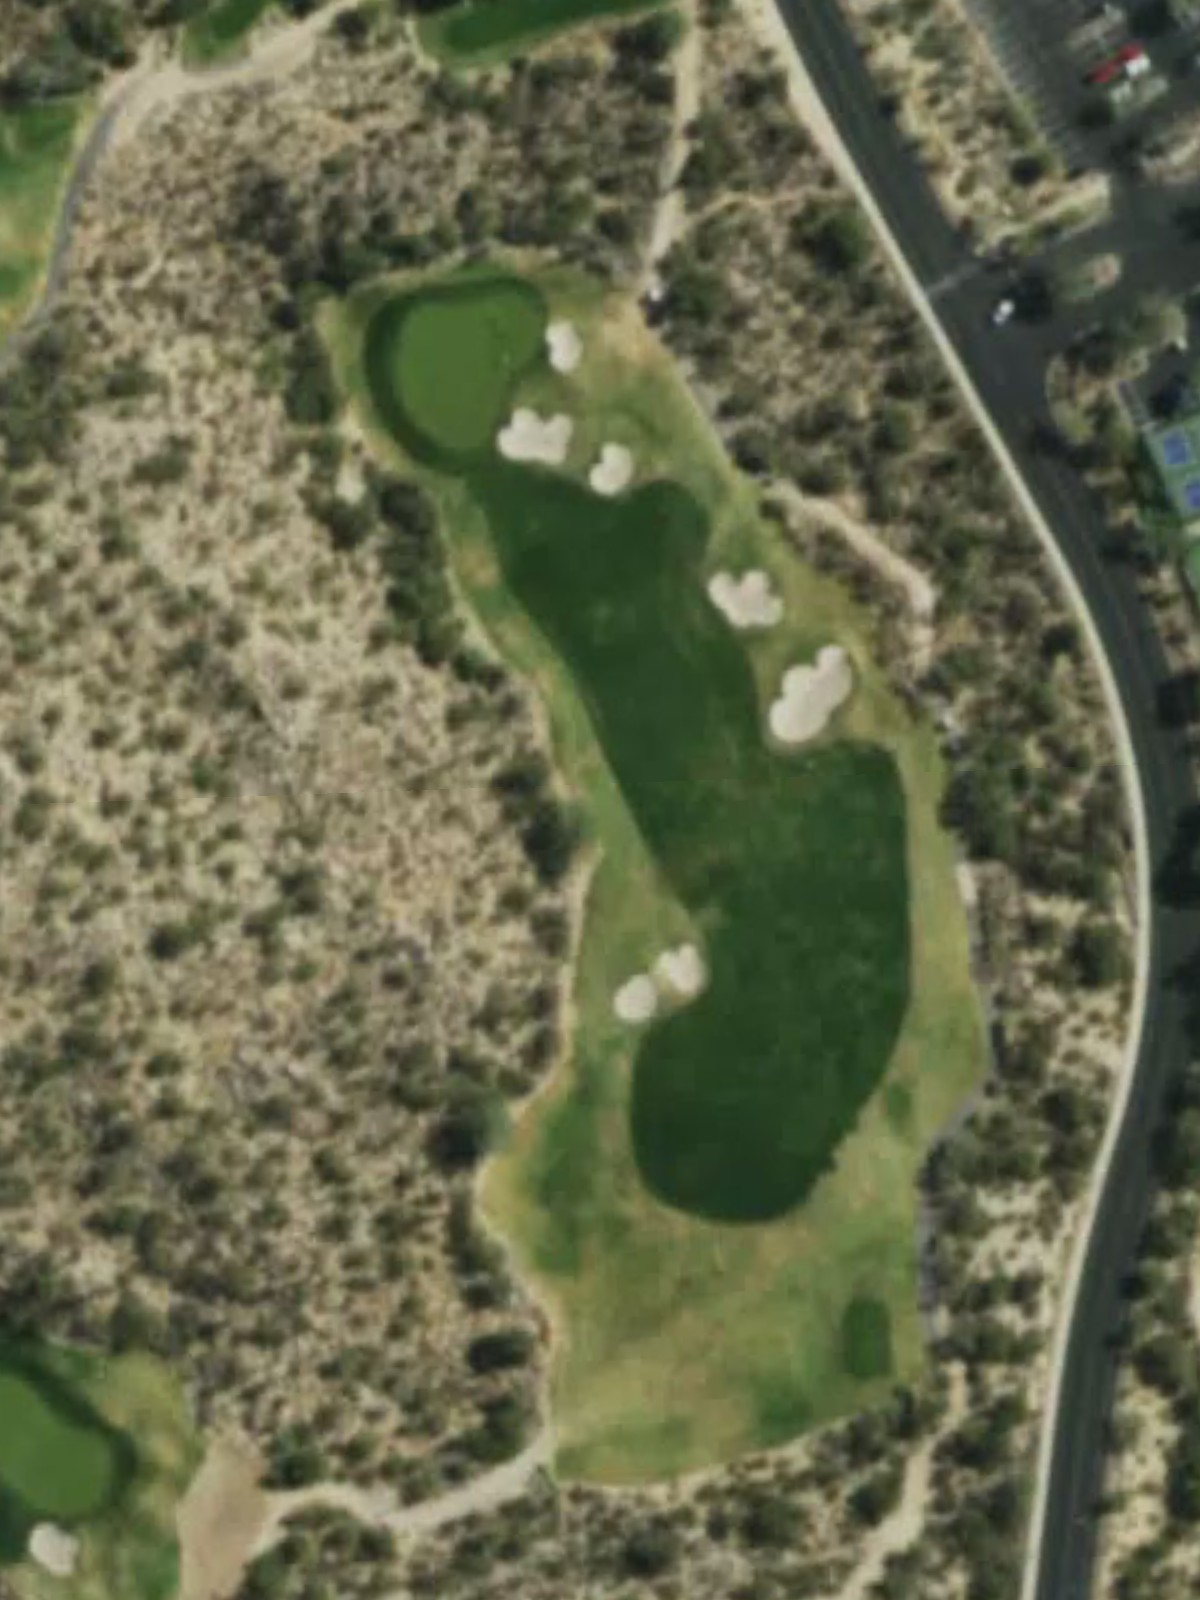
The course's most difficult hole, this demanding par 5 plays exceptionally long and requires three strong shots to reach the green in regulation. Length and strategic hazards combine to make this finishing hole on the front nine a significant challenge.
A substantial par 4 that begins the back nine with a test of distance and accuracy off the tee. The approach shot demands precision, with the green protected by strategic bunkering.
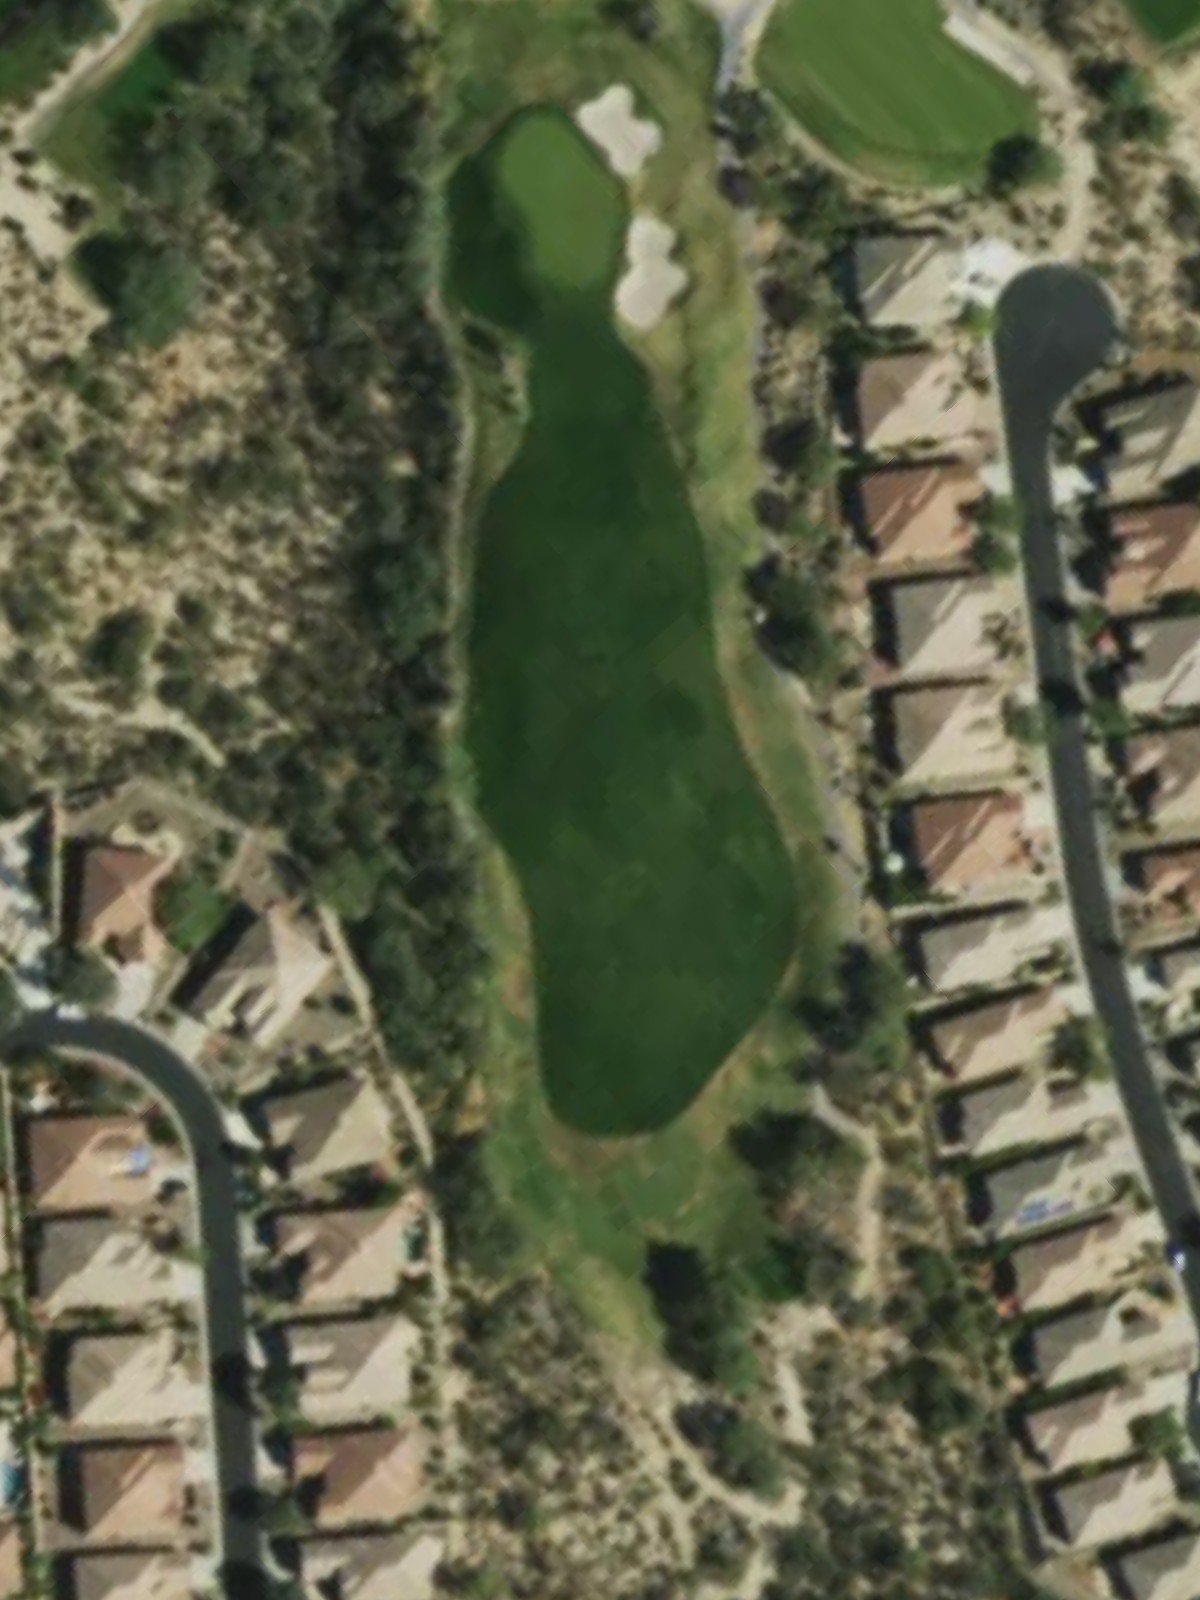
The sixth-hardest hole on the course, this par 5 rewards intelligent course management and accurate shot-making throughout. Length and hazard placement require careful navigation across all three shots.
A mid-length par 3 that presents a straightforward scoring opportunity with a well-defined target. The hole's design allows for a clear approach without excessive trickery.
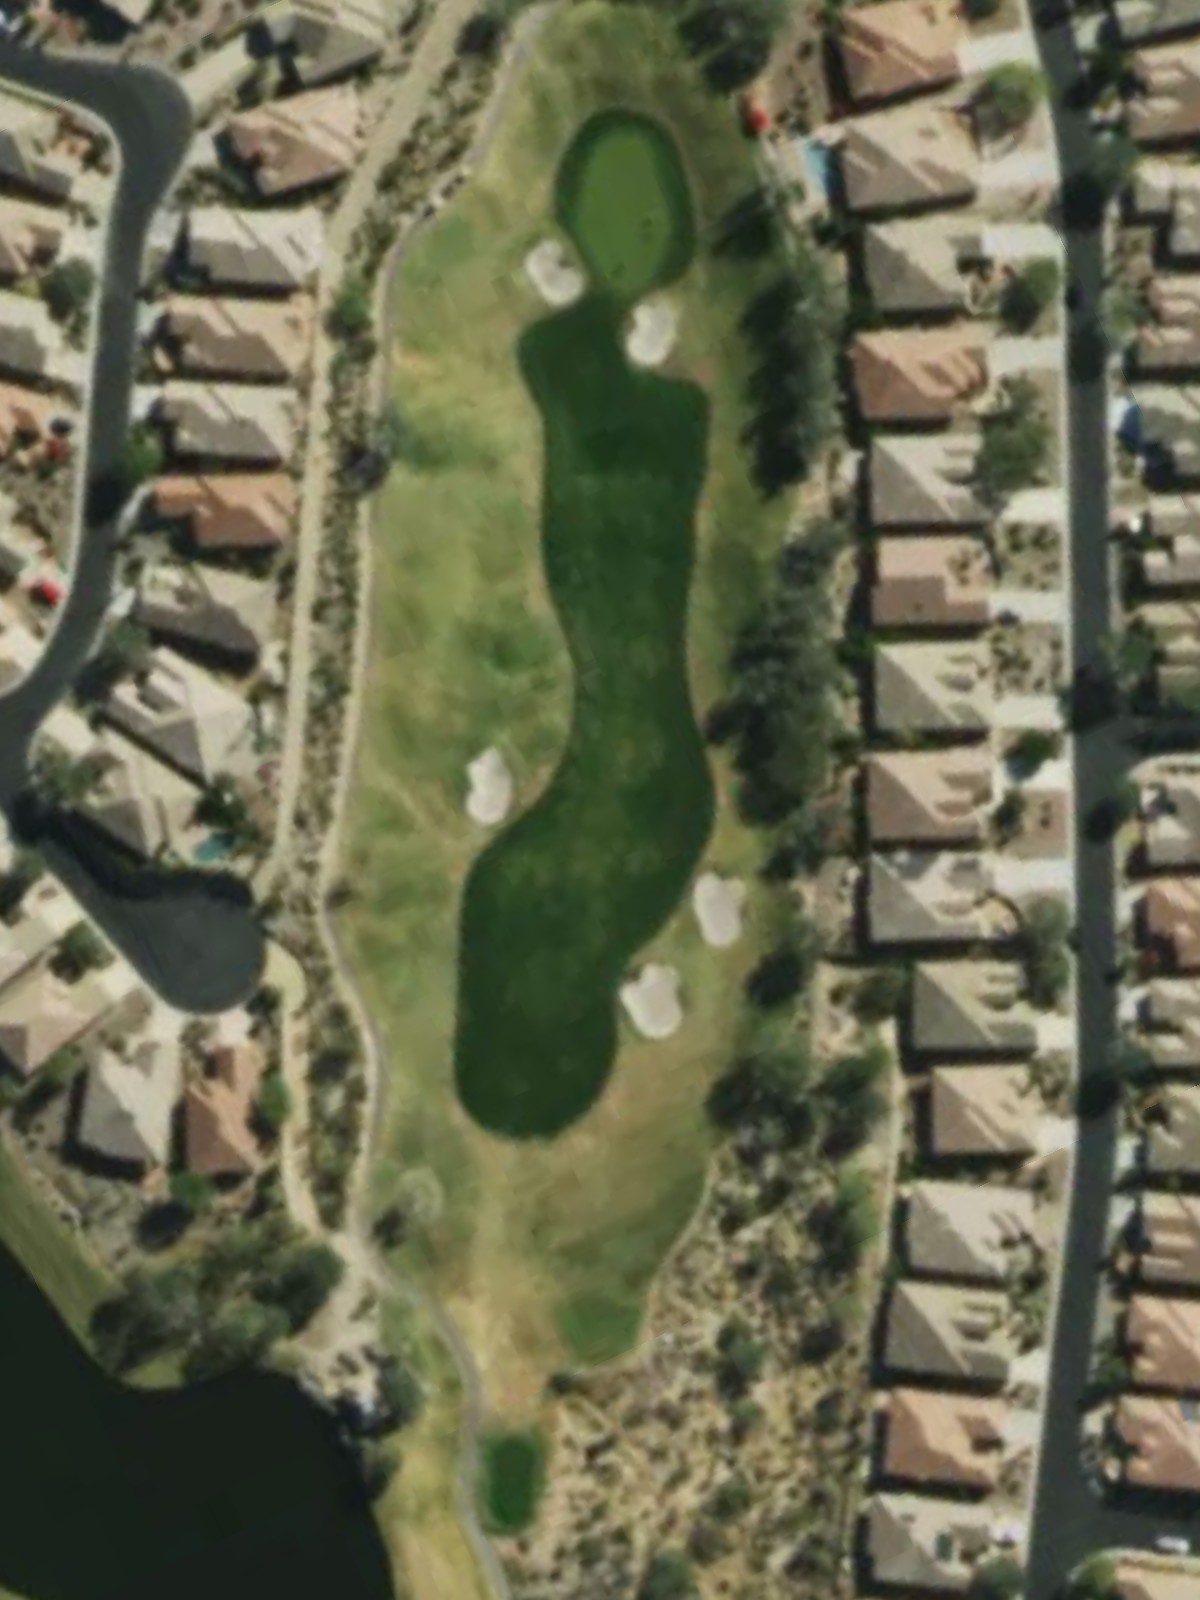
The fourth-hardest hole on the course, this par 4 plays with substantial length and demands both distance and placement off the tee. The approach into the green is critical, with hazards framing the final shot.
A balanced par 4 with moderate difficulty that features a fairway requiring steady execution from both tee and approach. Strategic positioning of hazards rewards thoughtful course management.
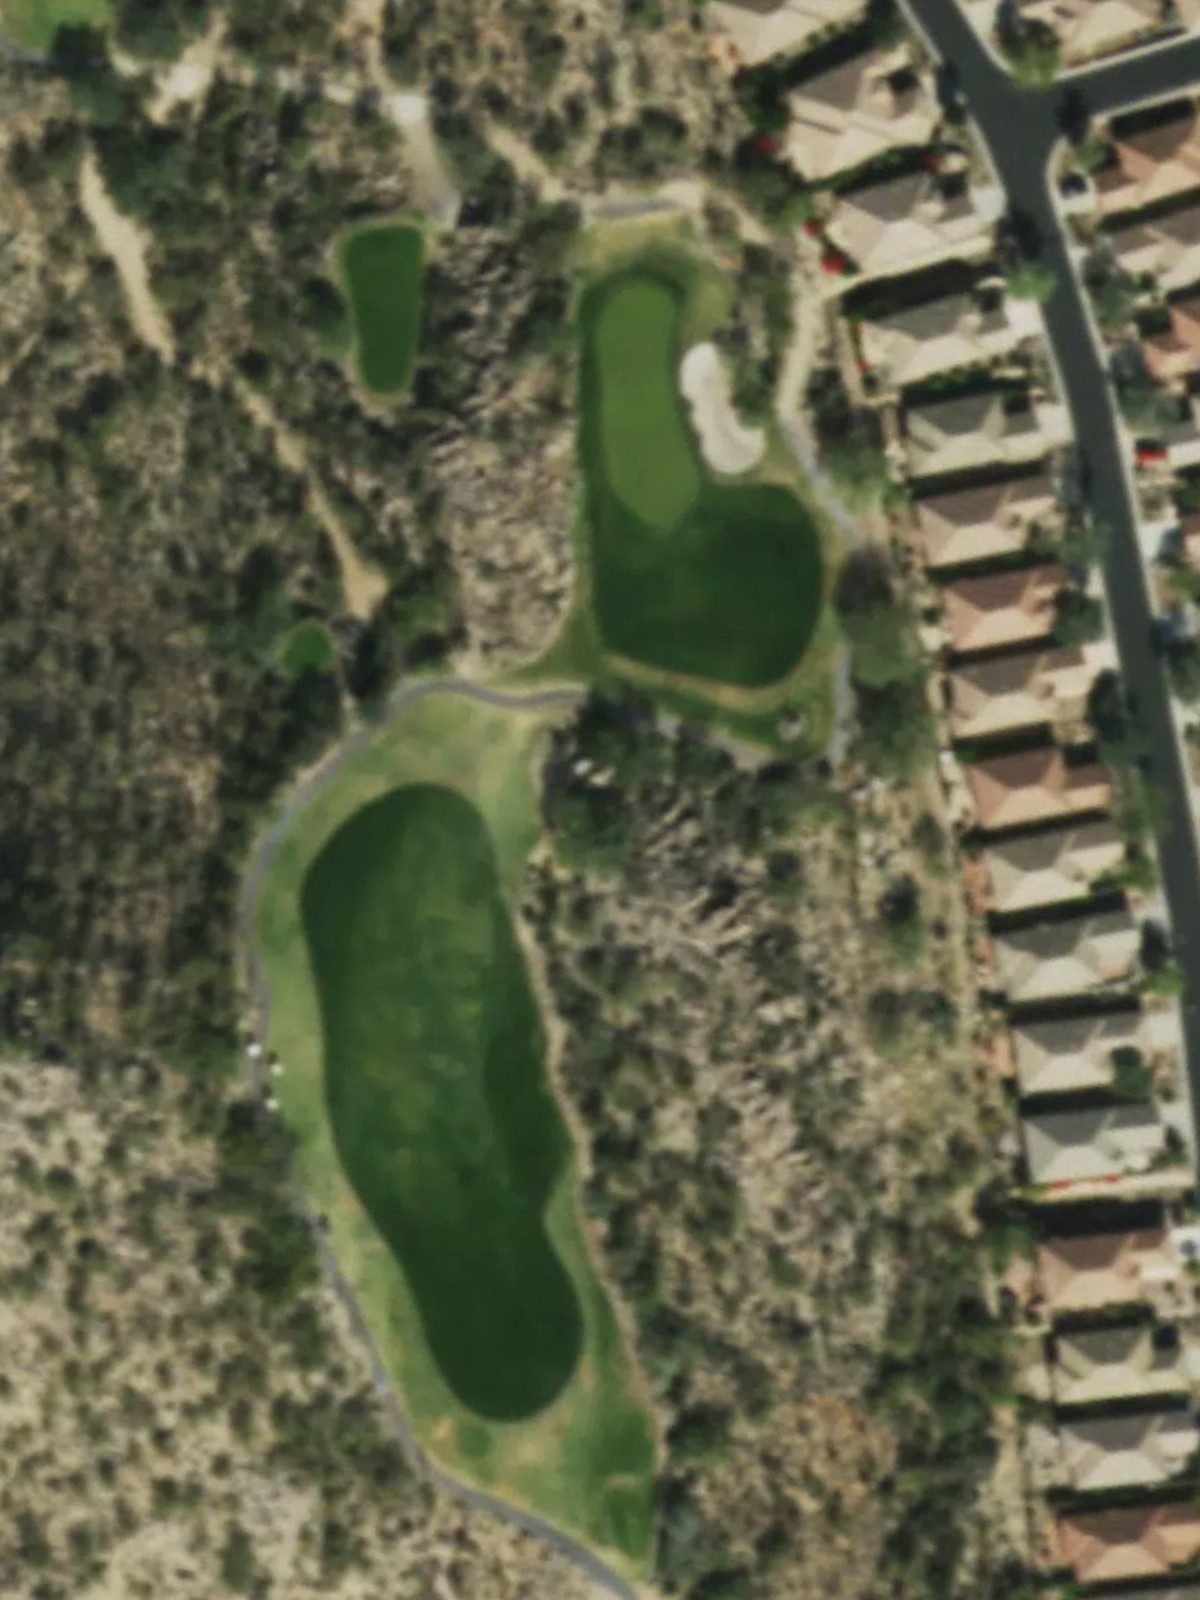
A short par 3 offering another scoring opportunity with a manageable length and a relatively accessible green. Distance control is the primary challenge on this straightforward hole.
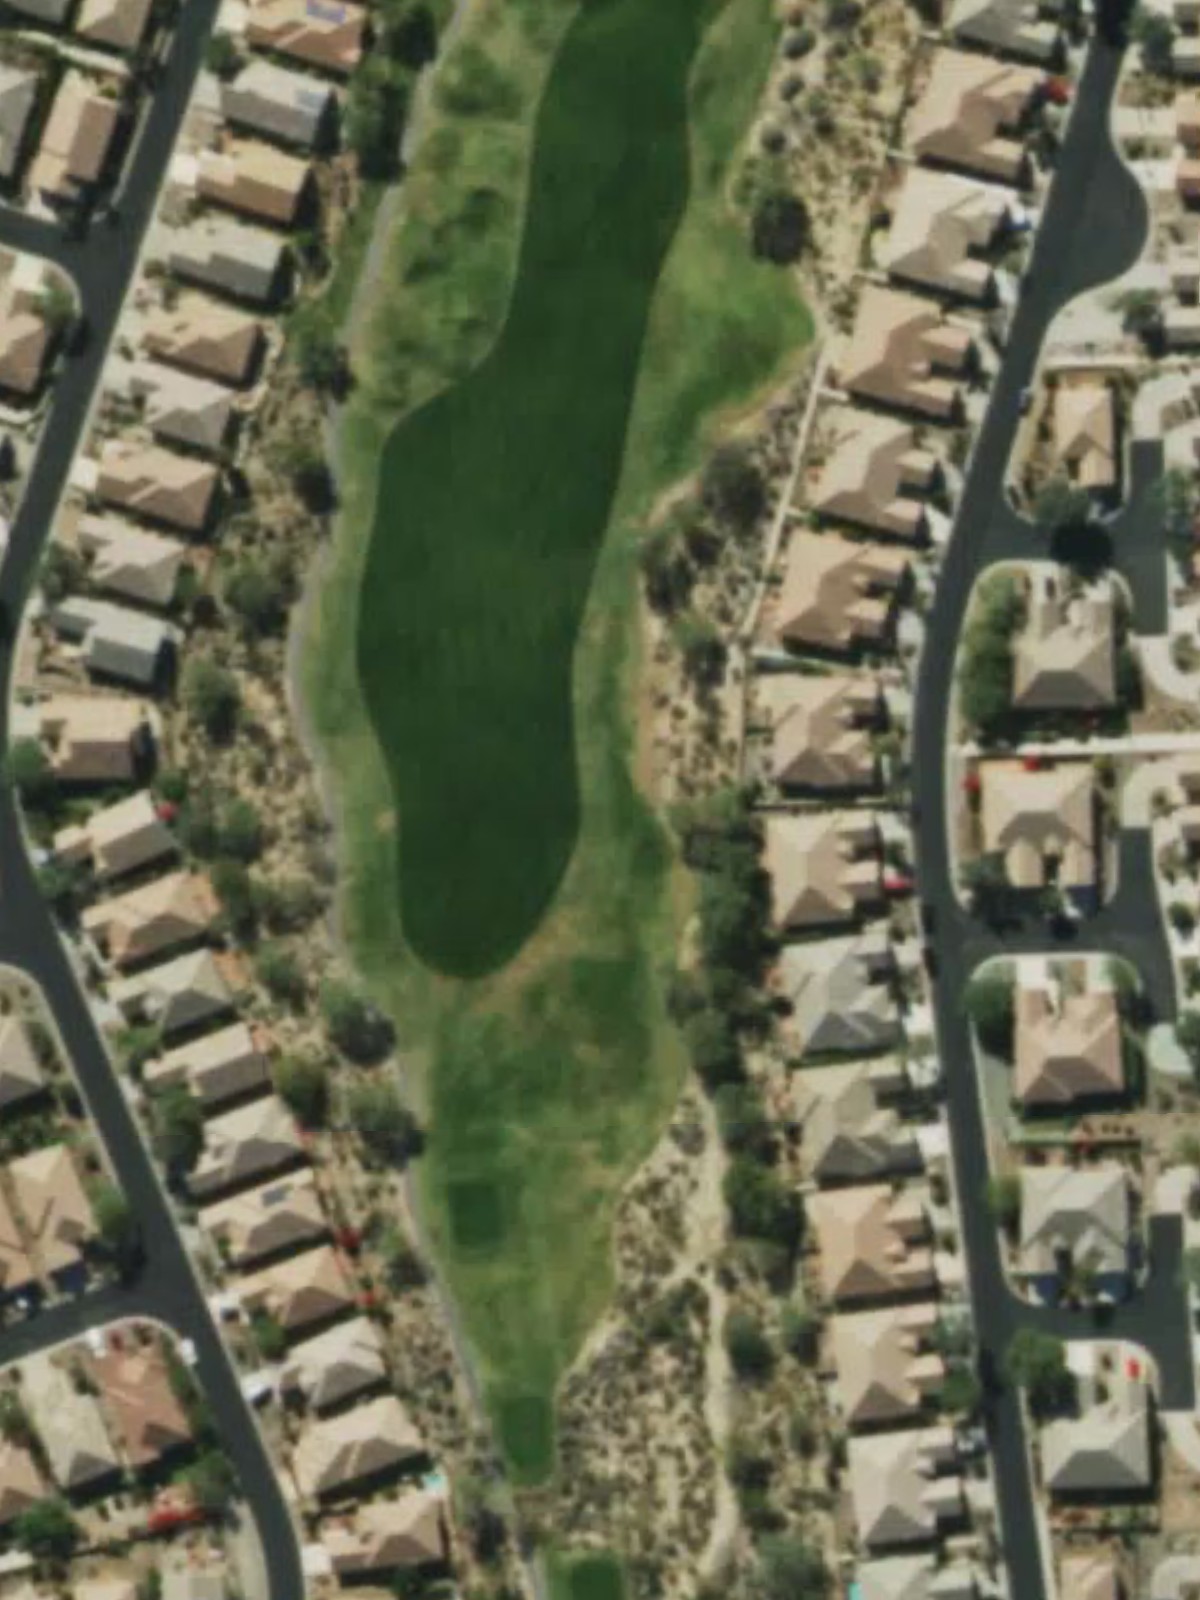
The second-hardest hole on the course, this long par 5 demands excellence across all three shots to reach the green in regulation. Length, strategic hazards, and green complexity combine to create a significant test.
The least difficult hole on the course, this short par 4 provides a birdie opportunity with a compact, forgiving layout. The fairway and green offer generous margins for error.
A fitting closing par 4 of substantial length that finishes the round with a well-crafted challenge. Hazards frame the hole strategically, requiring both power and precision to end on a strong note.
Scorecard
| Hole | 1 | 2 | 3 | 4 | 5 | 6 | 7 | 8 | 9 | Out | 10 | 11 | 12 | 13 | 14 | 15 | 16 | 17 | 18 | In | Tot |
|---|---|---|---|---|---|---|---|---|---|---|---|---|---|---|---|---|---|---|---|---|---|
| Par | 4 | 4 | 3 | 4 | 4 | 5 | 3 | 4 | 5 | 36 | 4 | 5 | 3 | 4 | 4 | 3 | 5 | 4 | 4 | 36 | 72 |
| HCP | 9 | 5 | 15 | 11 | 7 | 3 | 13 | 17 | 1 | 8 | 6 | 12 | 4 | 10 | 16 | 2 | 18 | 14 | |||
| dorado | 409 | 432 | 177 | 461 | 432 | 561 | 195 | 374 | 683 | 3724 | 459 | 557 | 216 | 459 | 409 | 173 | 542 | 331 | 445 | 3591 | 7315 |
| dorado/azul | 353 | 403 | 177 | 420 | 389 | 561 | 195 | 374 | 683 | 3555 | 459 | 557 | 198 | 413 | 409 | 173 | 510 | 302 | 445 | 3466 | 7021 |
| azul | 353 | 403 | 149 | 420 | 389 | 538 | 174 | 339 | 603 | 3368 | 434 | 537 | 178 | 413 | 380 | 145 | 510 | 302 | 402 | 3301 | 6669 |
| azul/verde | 353 | 377 | 149 | 345 | 358 | 538 | 174 | 339 | 578 | 3211 | 400 | 537 | 178 | 379 | 353 | 145 | 510 | 302 | 351 | 3155 | 6366 |
| verde | 328 | 377 | 136 | 345 | 358 | 506 | 157 | 278 | 578 | 3063 | 400 | 502 | 167 | 379 | 353 | 126 | 472 | 271 | 351 | 3021 | 6084 |
| verde/rojo | 296 | 340 | 136 | 345 | 325 | 469 | 157 | 278 | 471 | 2817 | 334 | 452 | 167 | 333 | 312 | 112 | 472 | 271 | 303 | 2756 | 5573 |
| rojo | 296 | 340 | 118 | 275 | 325 | 469 | 133 | 260 | 471 | 2687 | 334 | 452 | 115 | 333 | 312 | 112 | 363 | 250 | 303 | 2574 | 5261 |