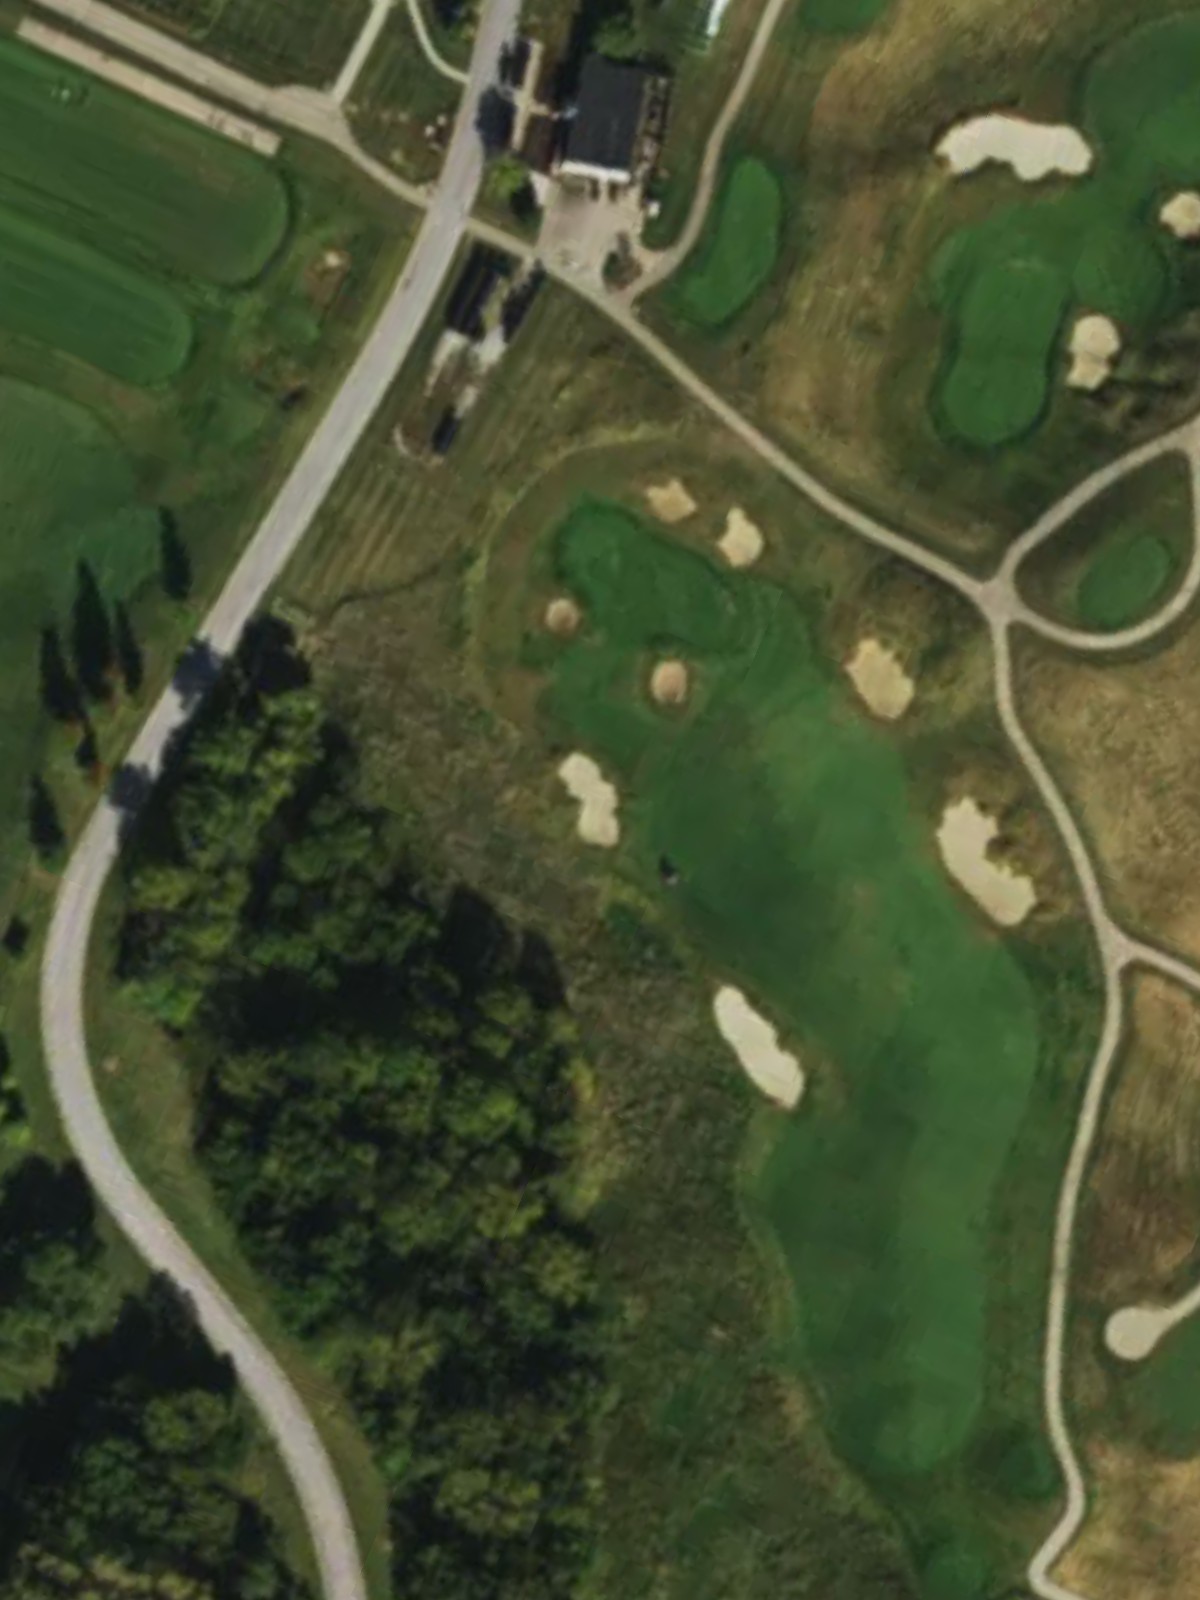
Fyre Lake Golf Club is an 18-hole golf course in Sherrad, IL with a par of 70. It offers 3 tee sets: gold (6,546 yards, slope 131, rating 71.7), blue (6,192 yards, slope 127, rating 70), white (5,531 yards, slope 122, rating 67). The hardest hole is #10, a par 5 playing 500 yards from the first tee.
Fyre Lake Golf Club
Sherrad, IL
Get PDF Yardage Book
We'll email you the PDF link. No spam, ever.
Create Your Game Plan
Pick your tees, enter your bag, and get a personalized shot-by-shot strategy for every hole.
A straightforward par 4 that opens with a wide fairway before narrowing as it approaches the green. Bunkers guard the right side of the green, while the left is protected by rough terrain, making accuracy on the approach shot essential.
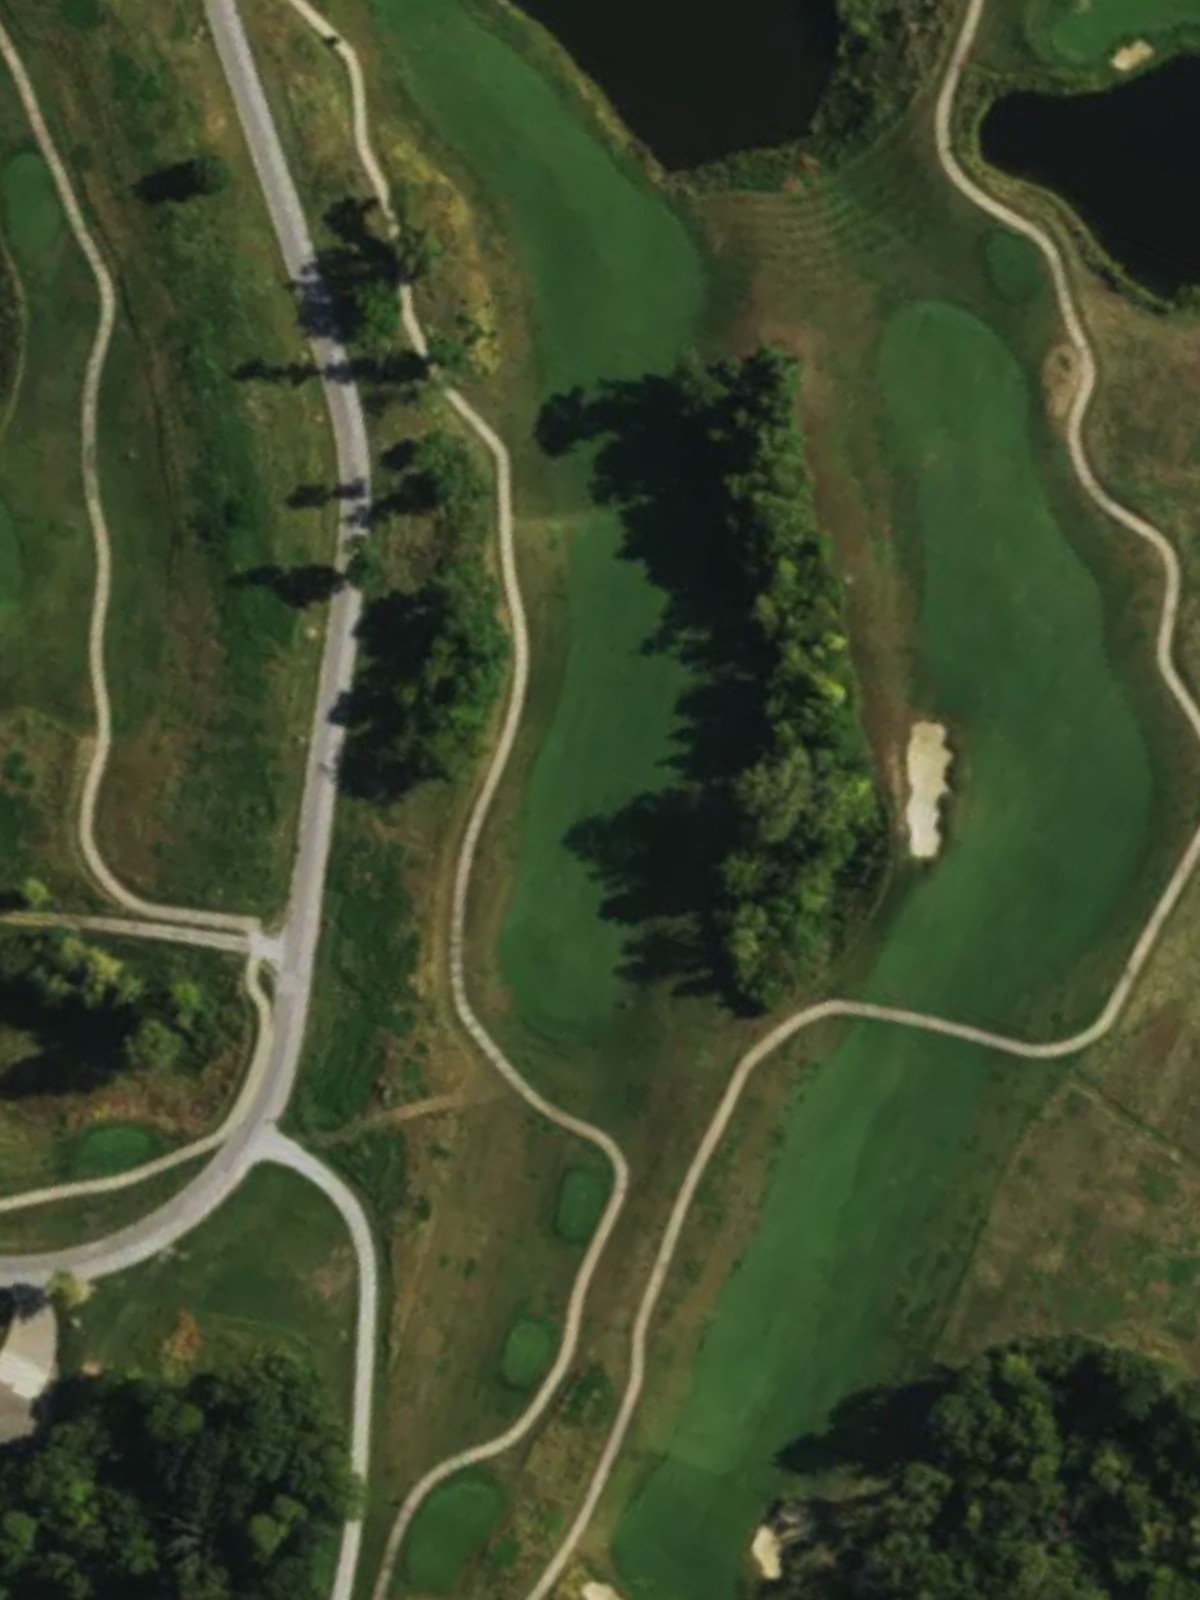
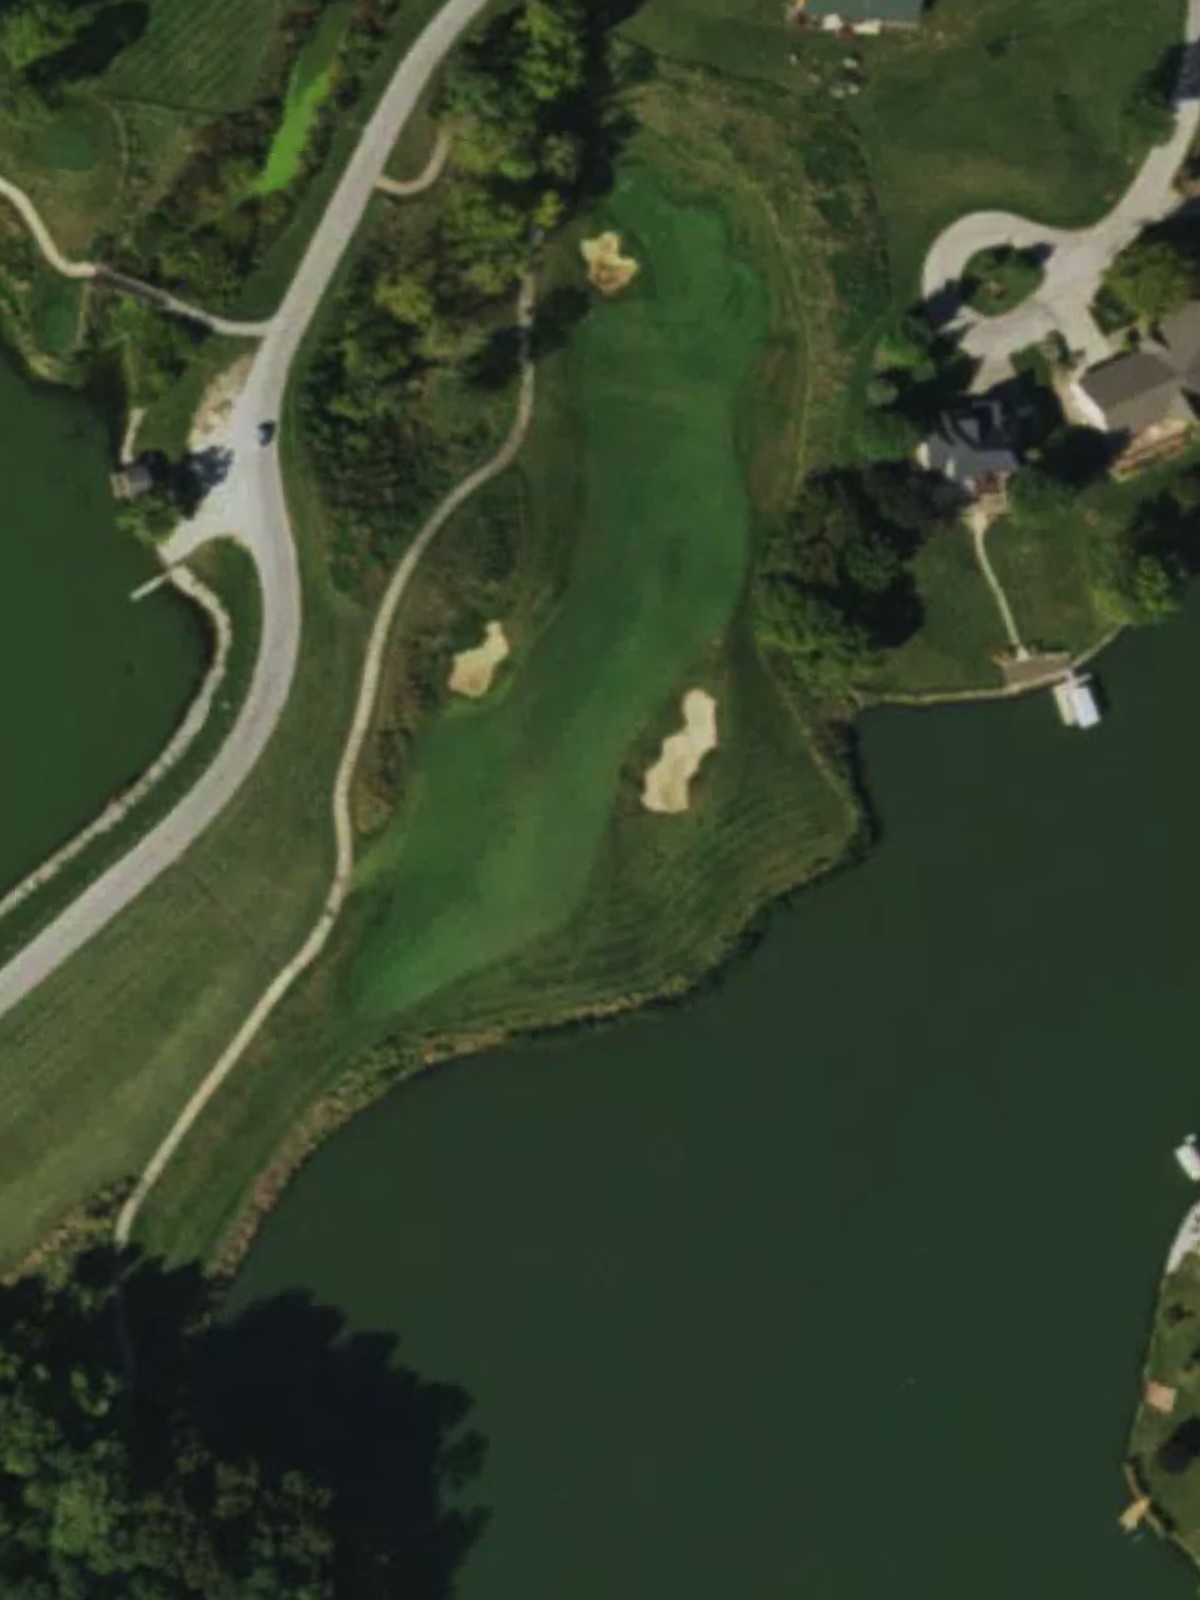
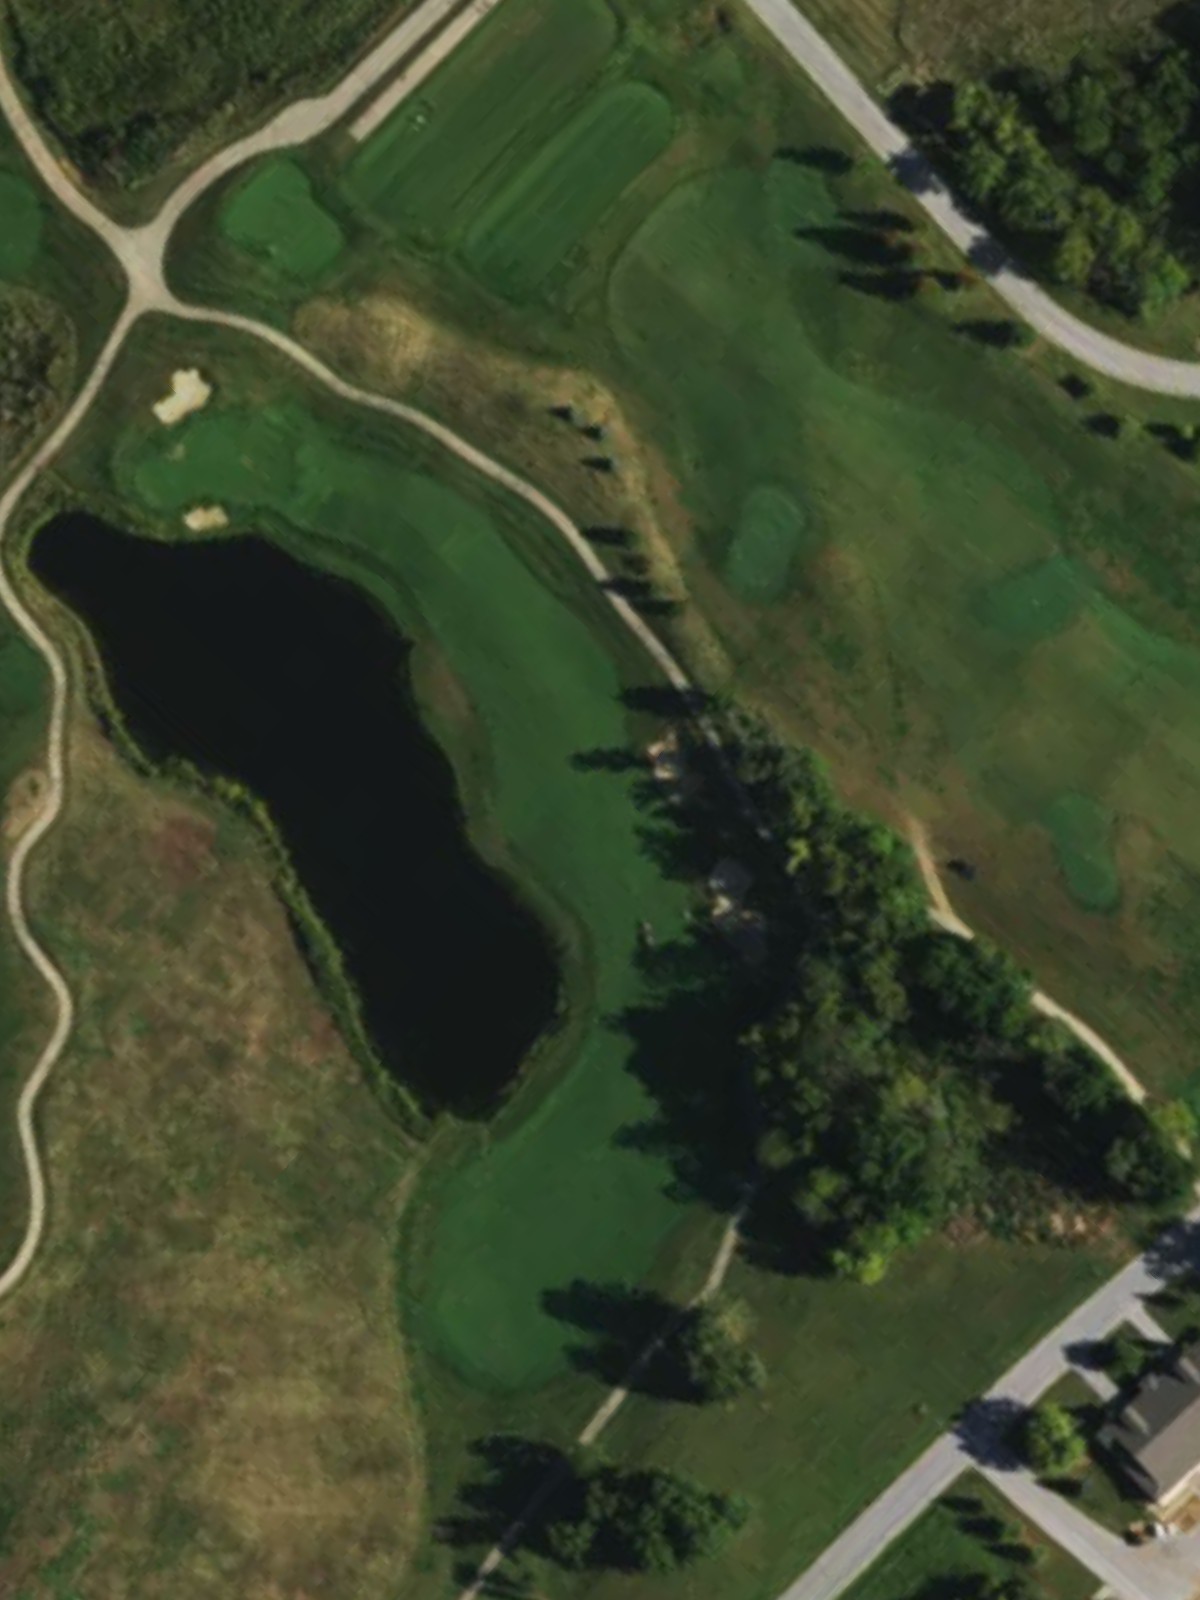
A lengthy par 5 that demands positioning off the tee to set up the approach. Water hazards frame the left side of the fairway, requiring players to favor the right while avoiding deeper rough on that side.
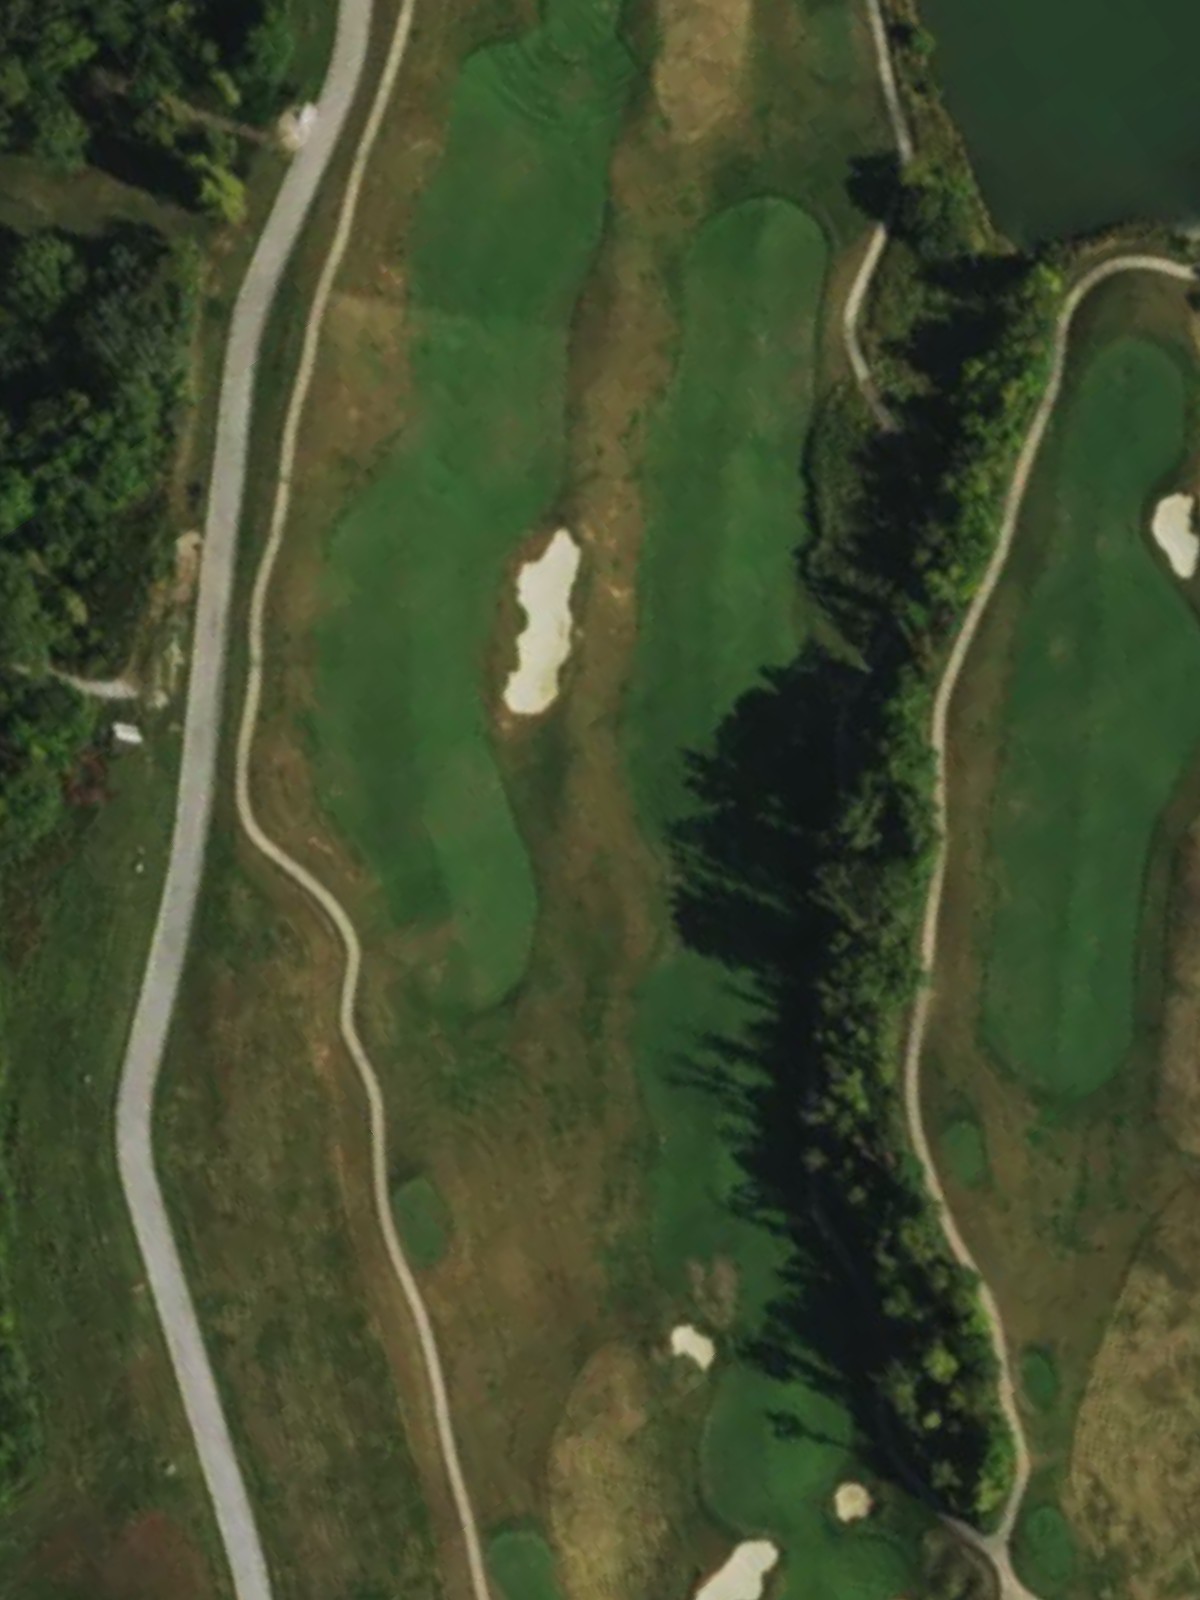
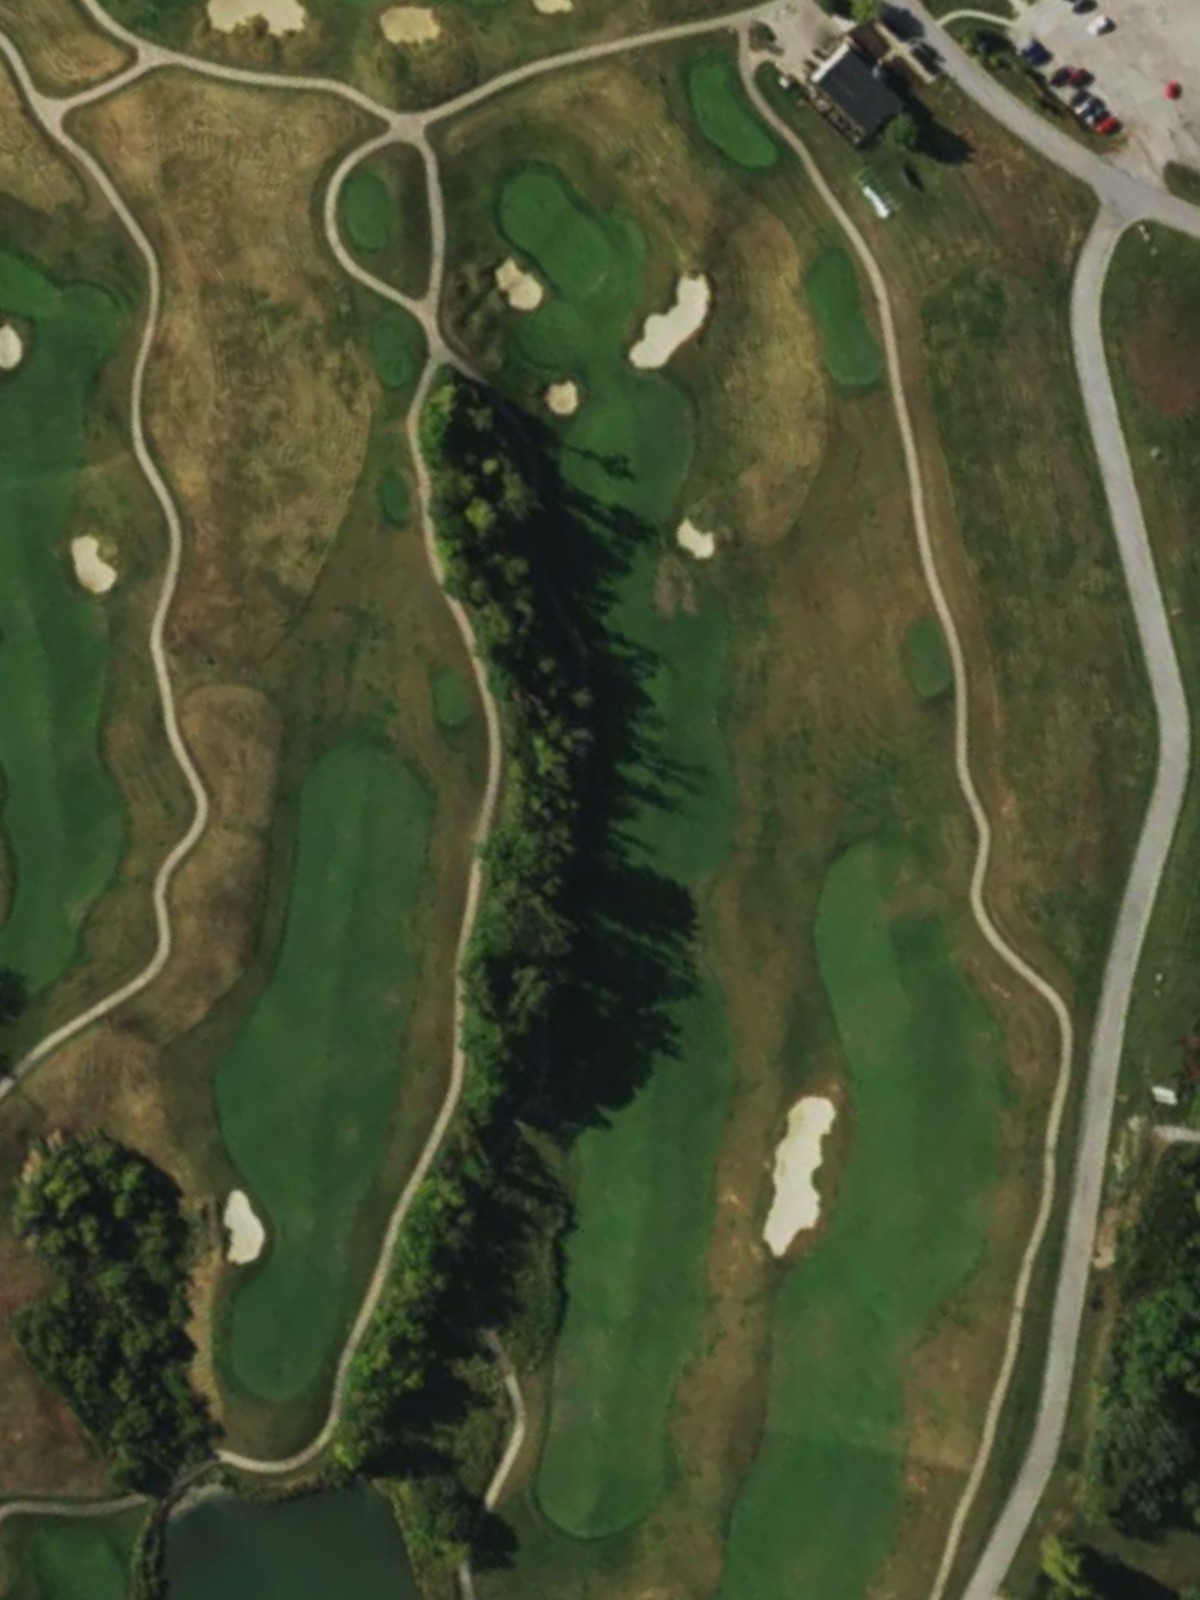
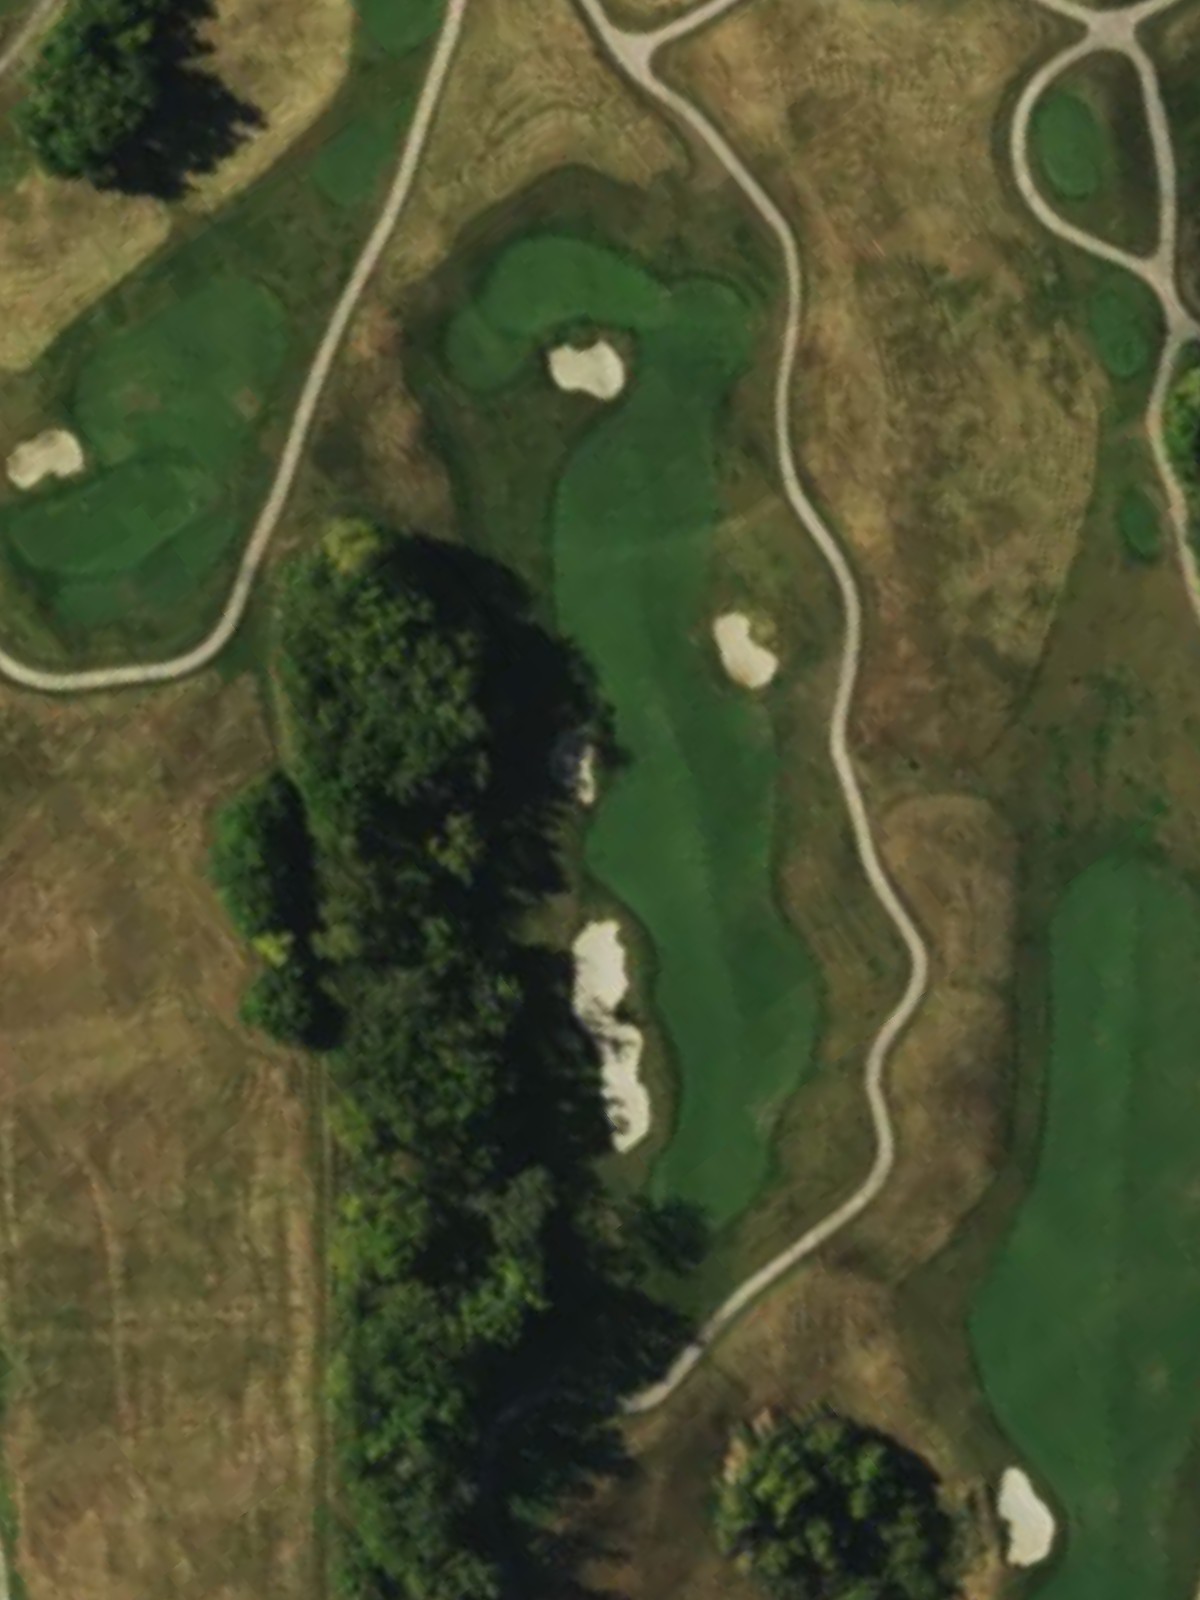
The most challenging hole on the course, this par 4 features a tight, demanding layout with little margin for error. Bunkers and hazards strategically placed left and right create a narrow corridor to the green.
A shorter par 4 with a compact design and defined boundaries. Out of bounds looms on the right, while bunkers protect the left side of the green, rewarding straight play.
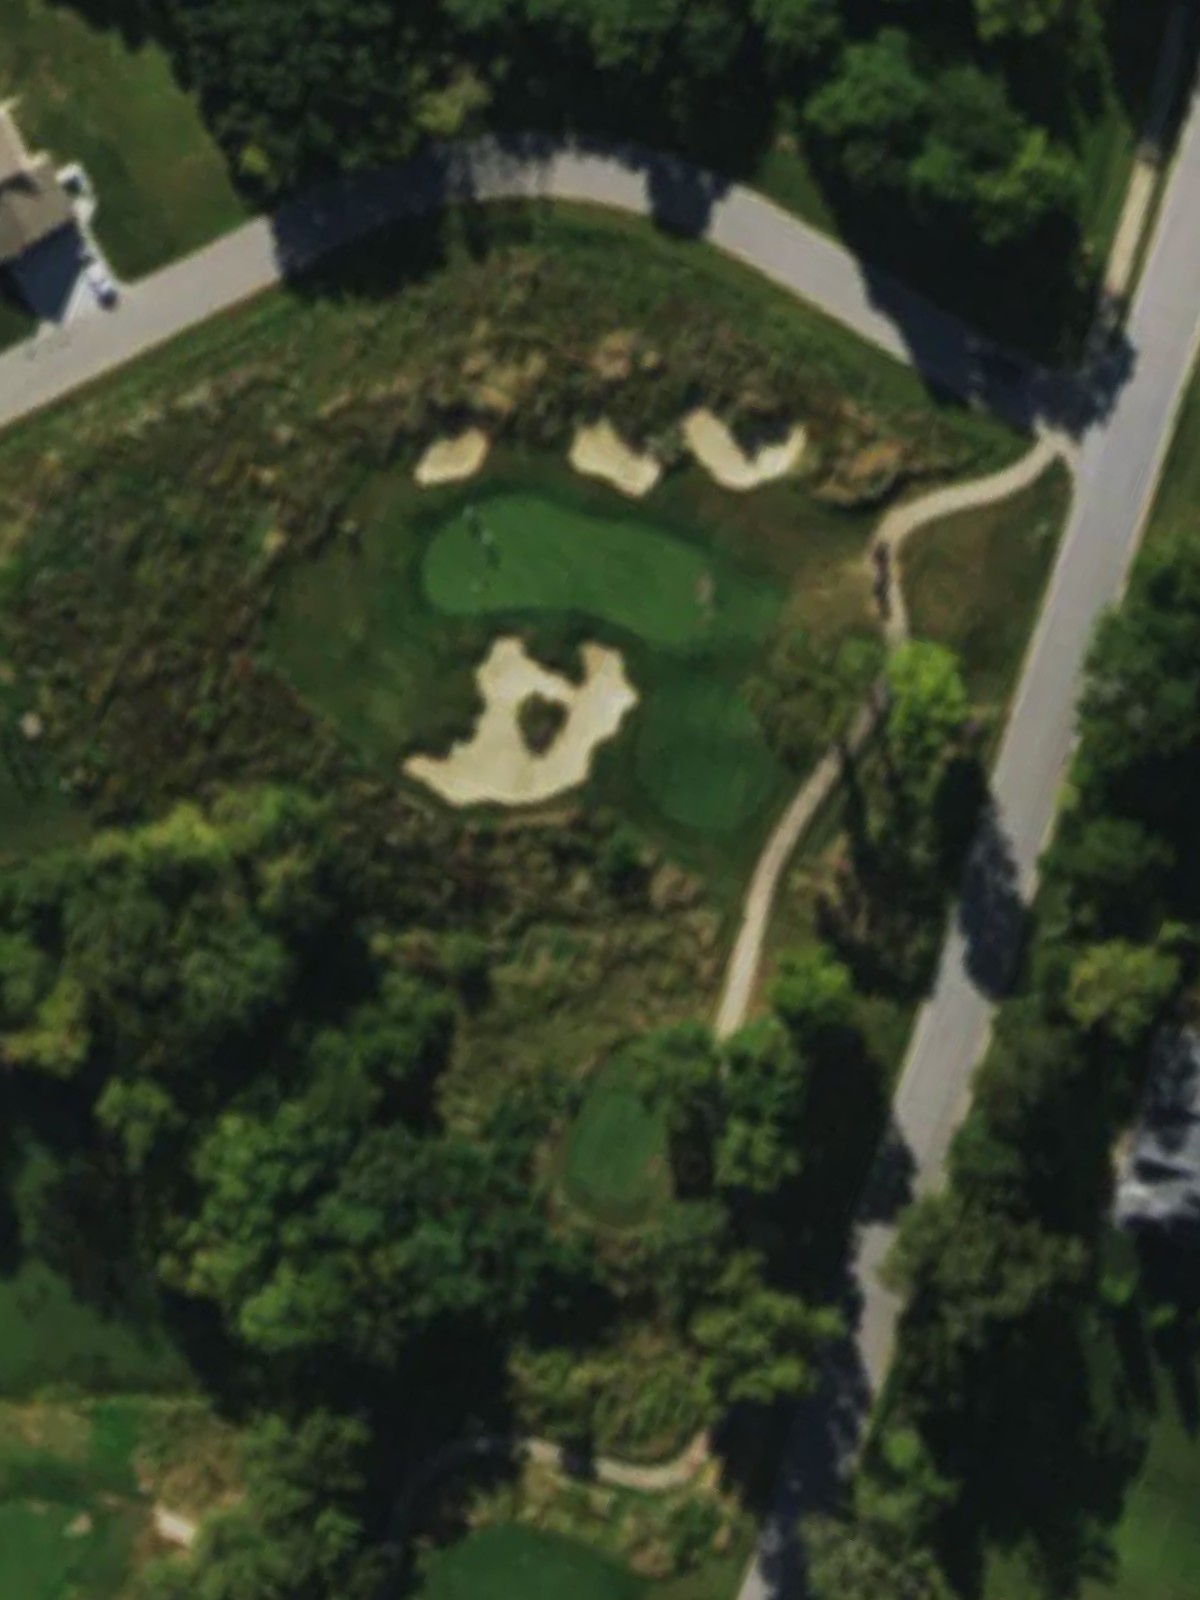
A short par 3 with a straightforward design and forgiving green complex. Bunkers surround the green but offer ample room for approach shots from most distances.
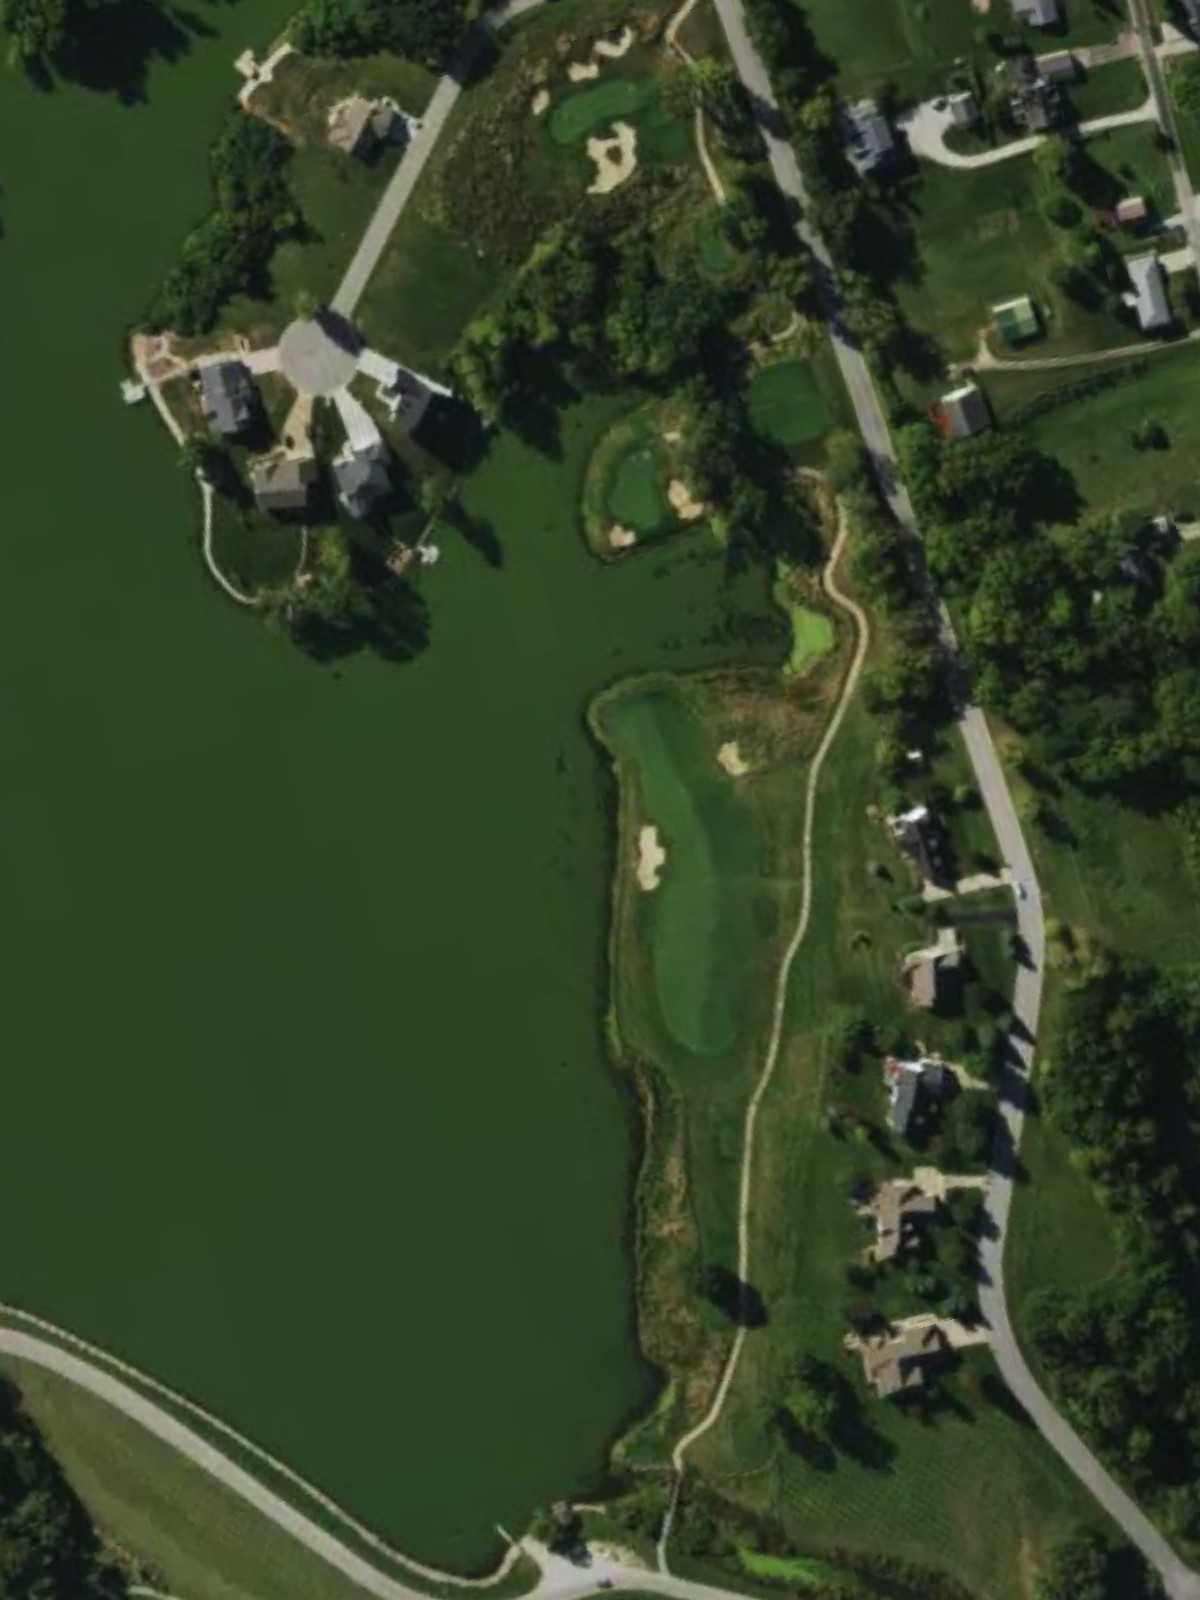
A formidable par 4 that ranks among the course's most difficult tests. Water hazards threaten the left side, while bunkers frame the right, creating a demanding corridor to a well-protected green.
A solid par 4 with a fairway that doglegs or narrows at a critical point in the hole's length. Bunkers guard the turning point and flank the green, making position off the tee important for the approach.
A mid-length par 3 with a scenic but challenging green complex. Water or bunkers protect at least one side of the green, requiring an accurate approach shot.
A compact par 4 with a generous fairway that gives way to a more defined approach zone. The green is protected by strategic bunkering, rewarding solid shotmaking on both the tee and approach.
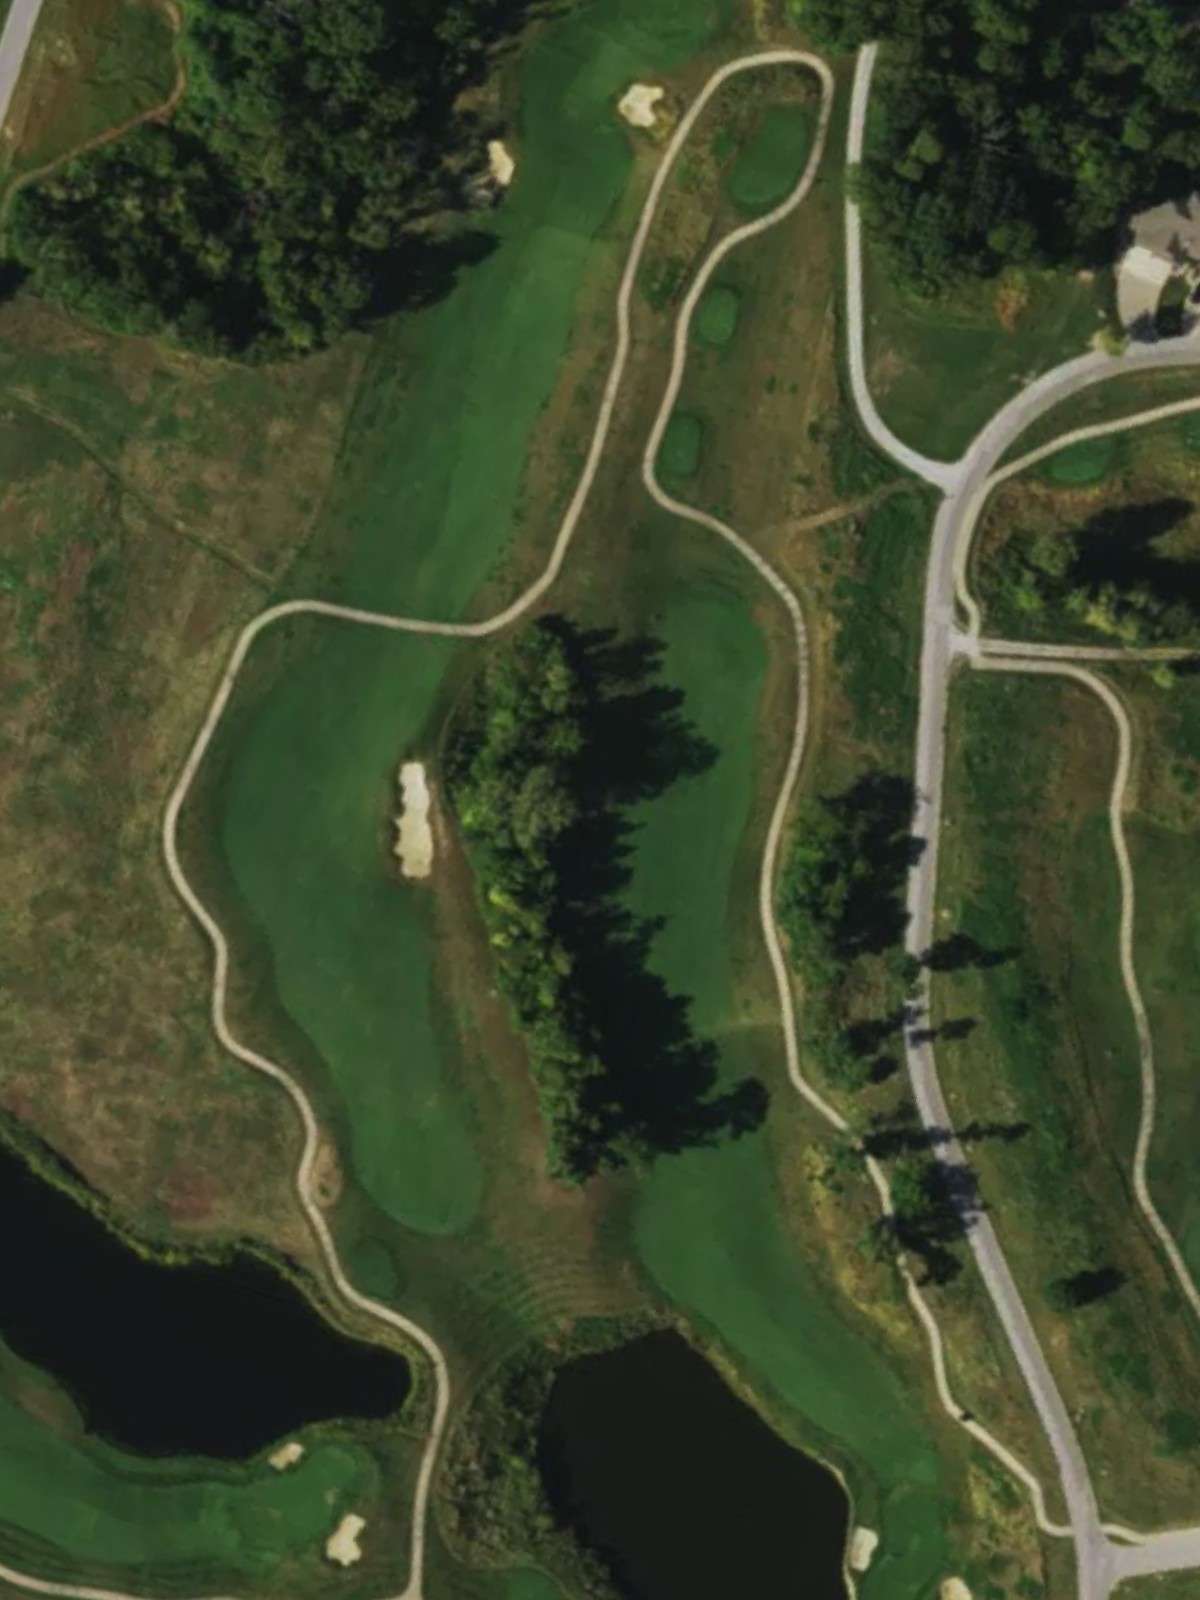
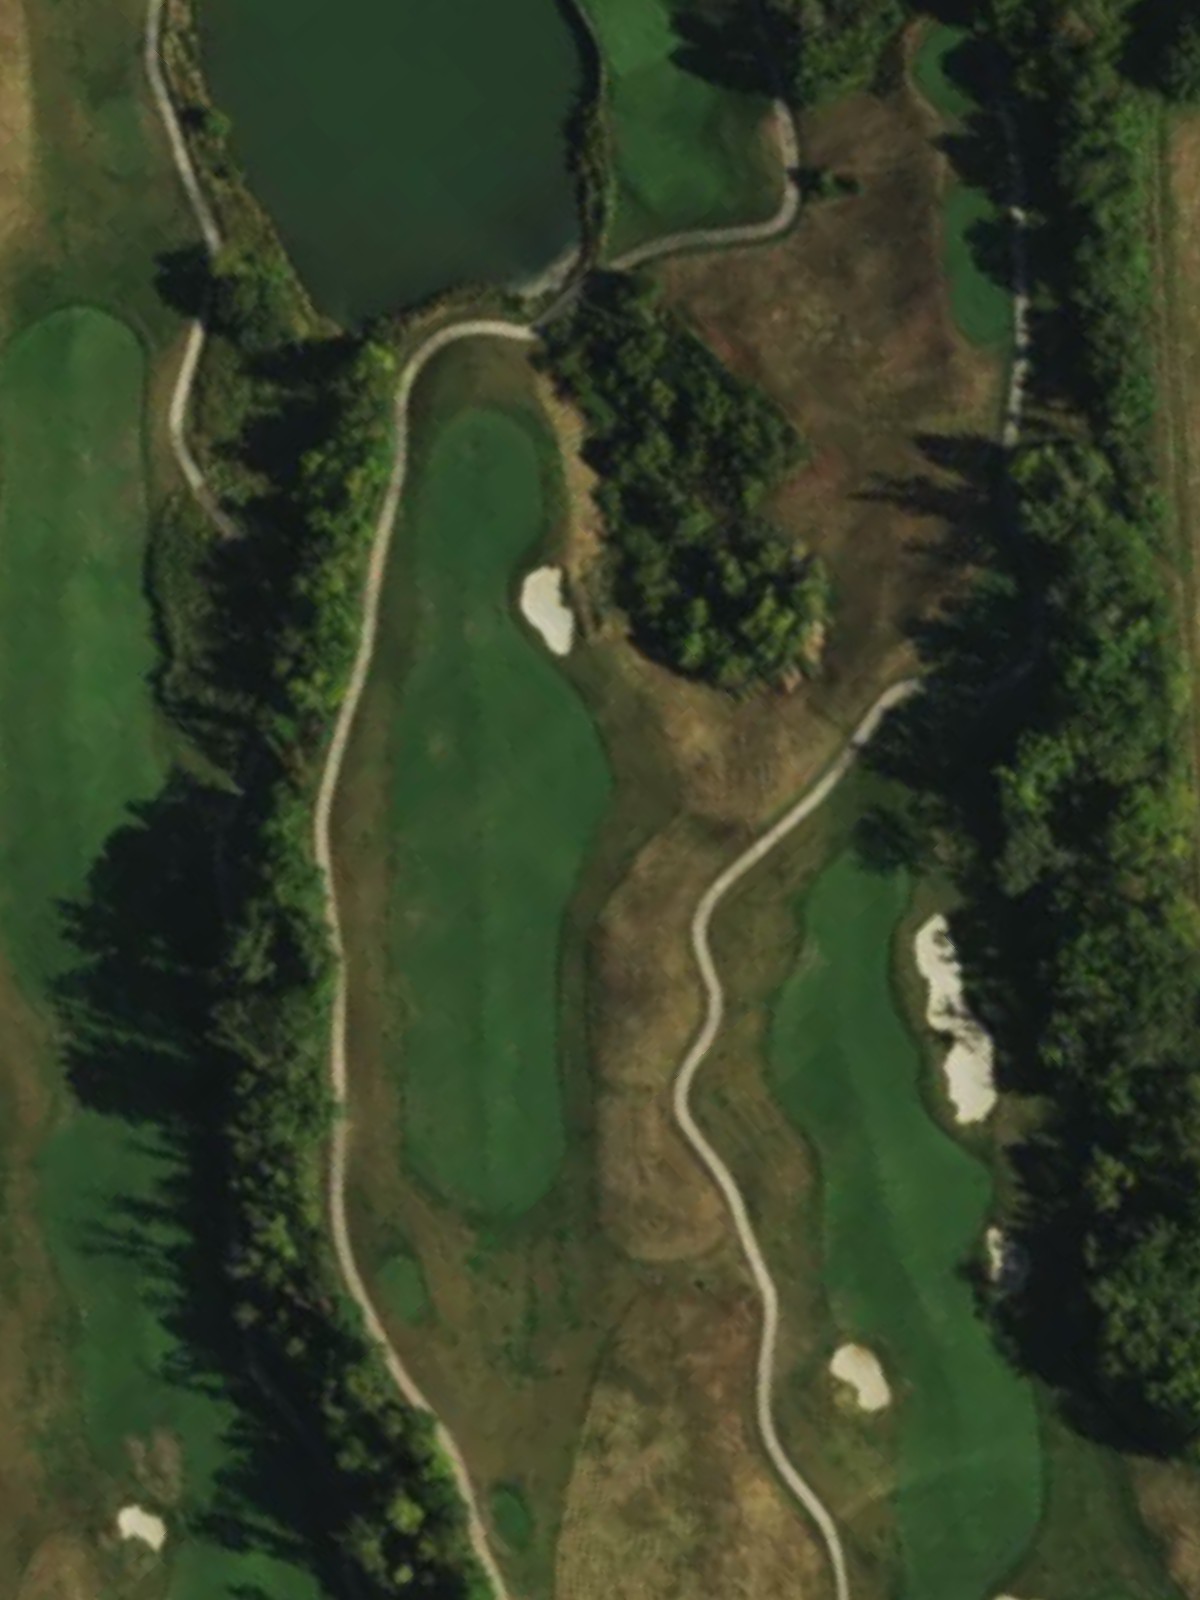
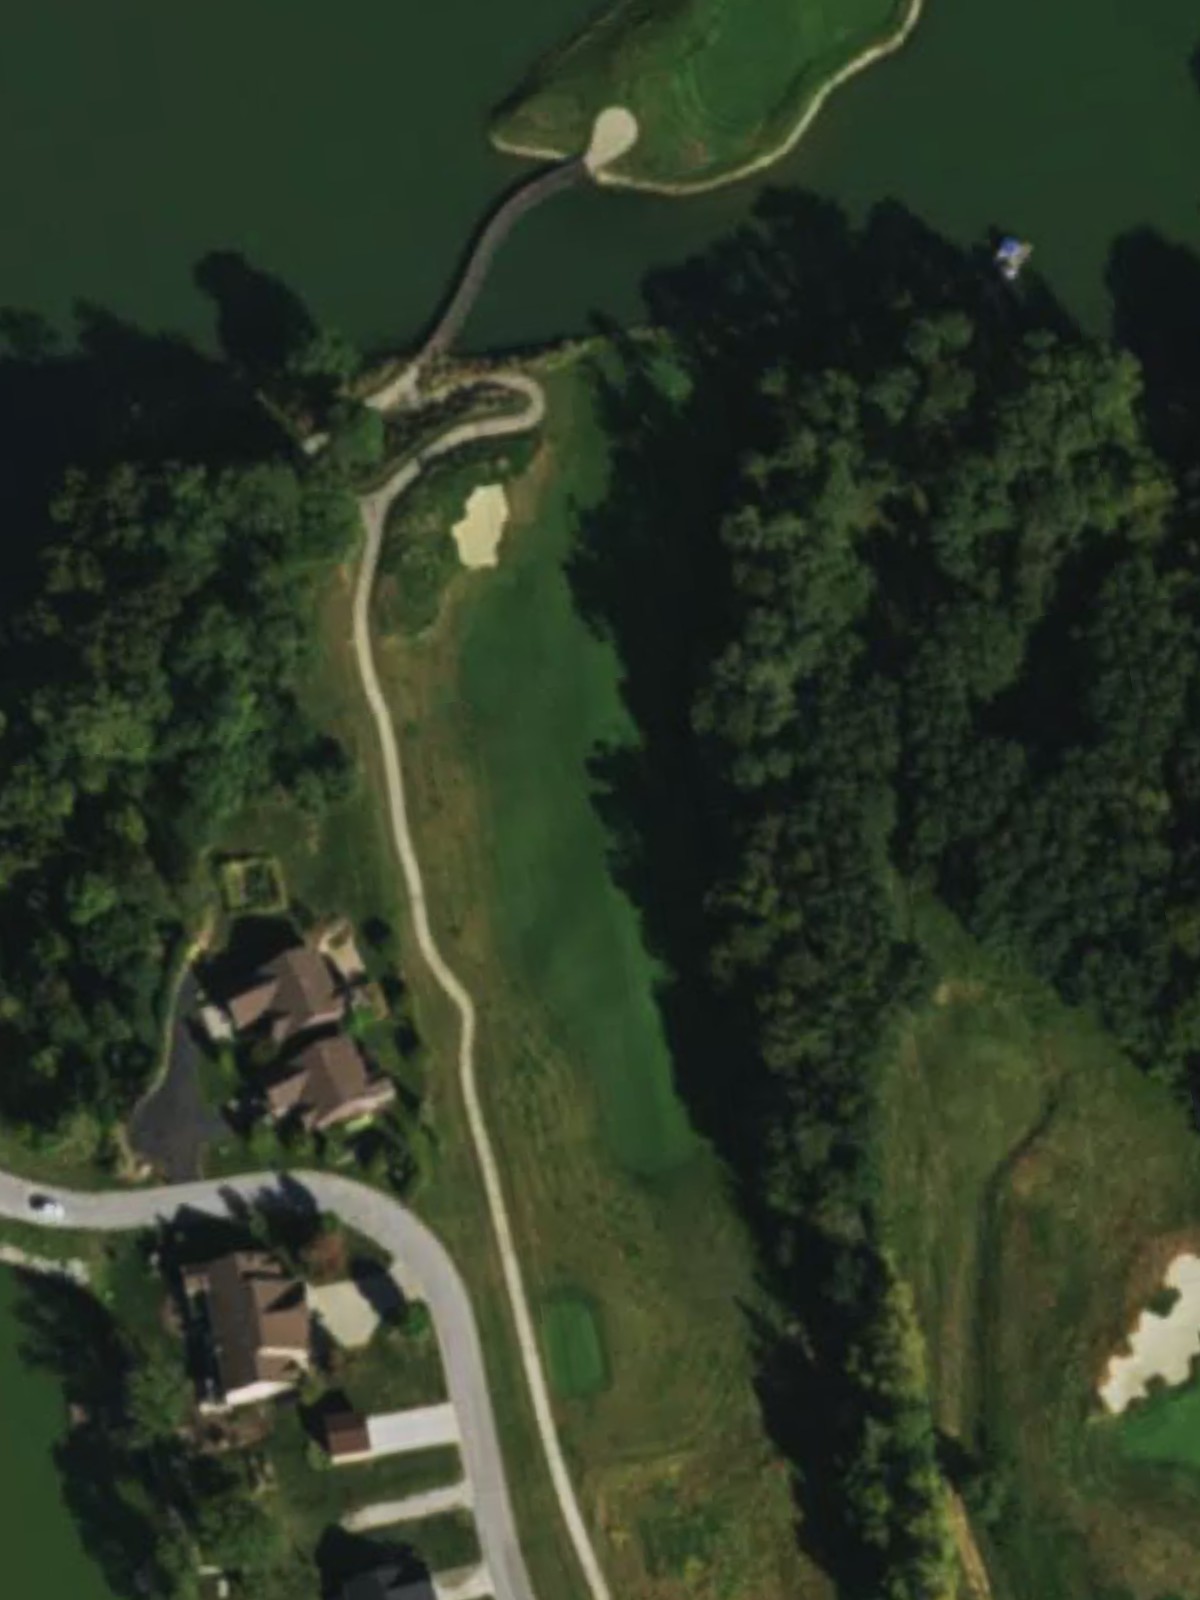
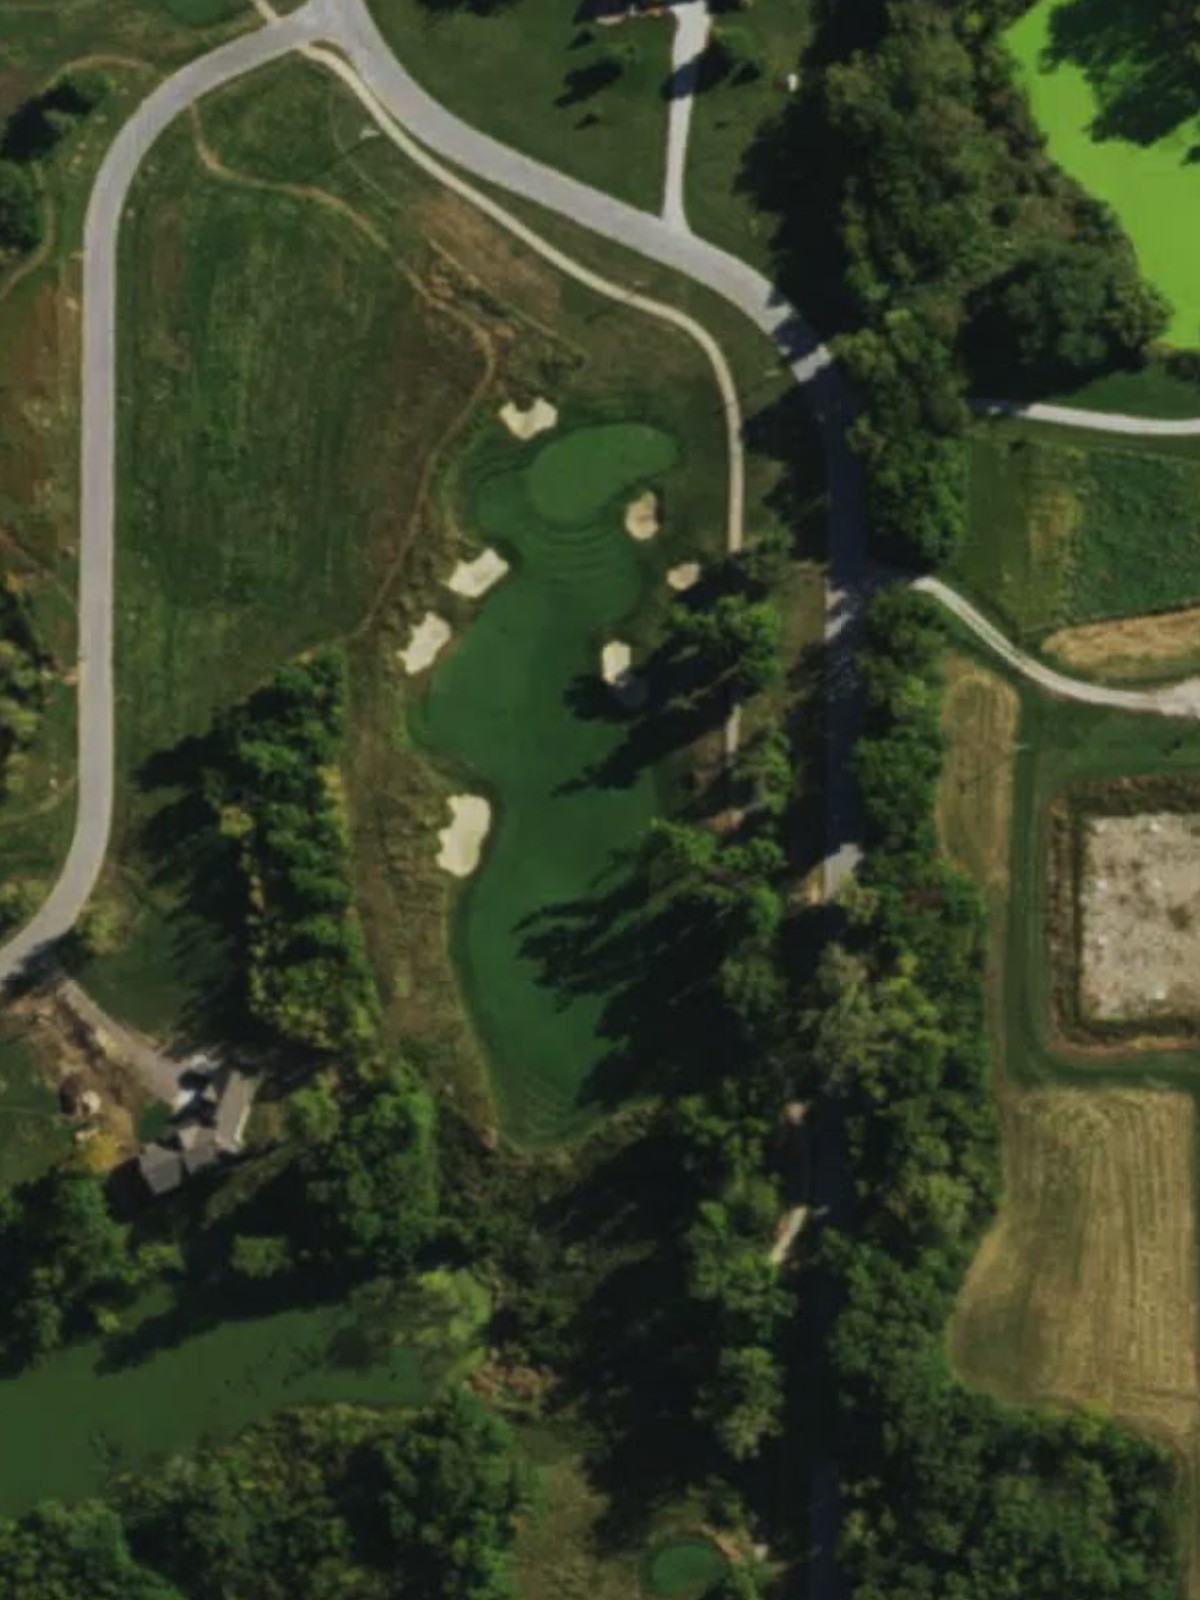
The signature hole and the course's most difficult par 5, this long dogleg demands position off the tee. Significant water hazards and bunkers guard the inside of the turn and the approach to the green, creating a challenging three-shot scenario.
A strong par 4 with an interesting shape that may dogleg or feature elevated terrain. Hazards on both sides—including bunkers and possibly water—create a demanding target for the approach shot.
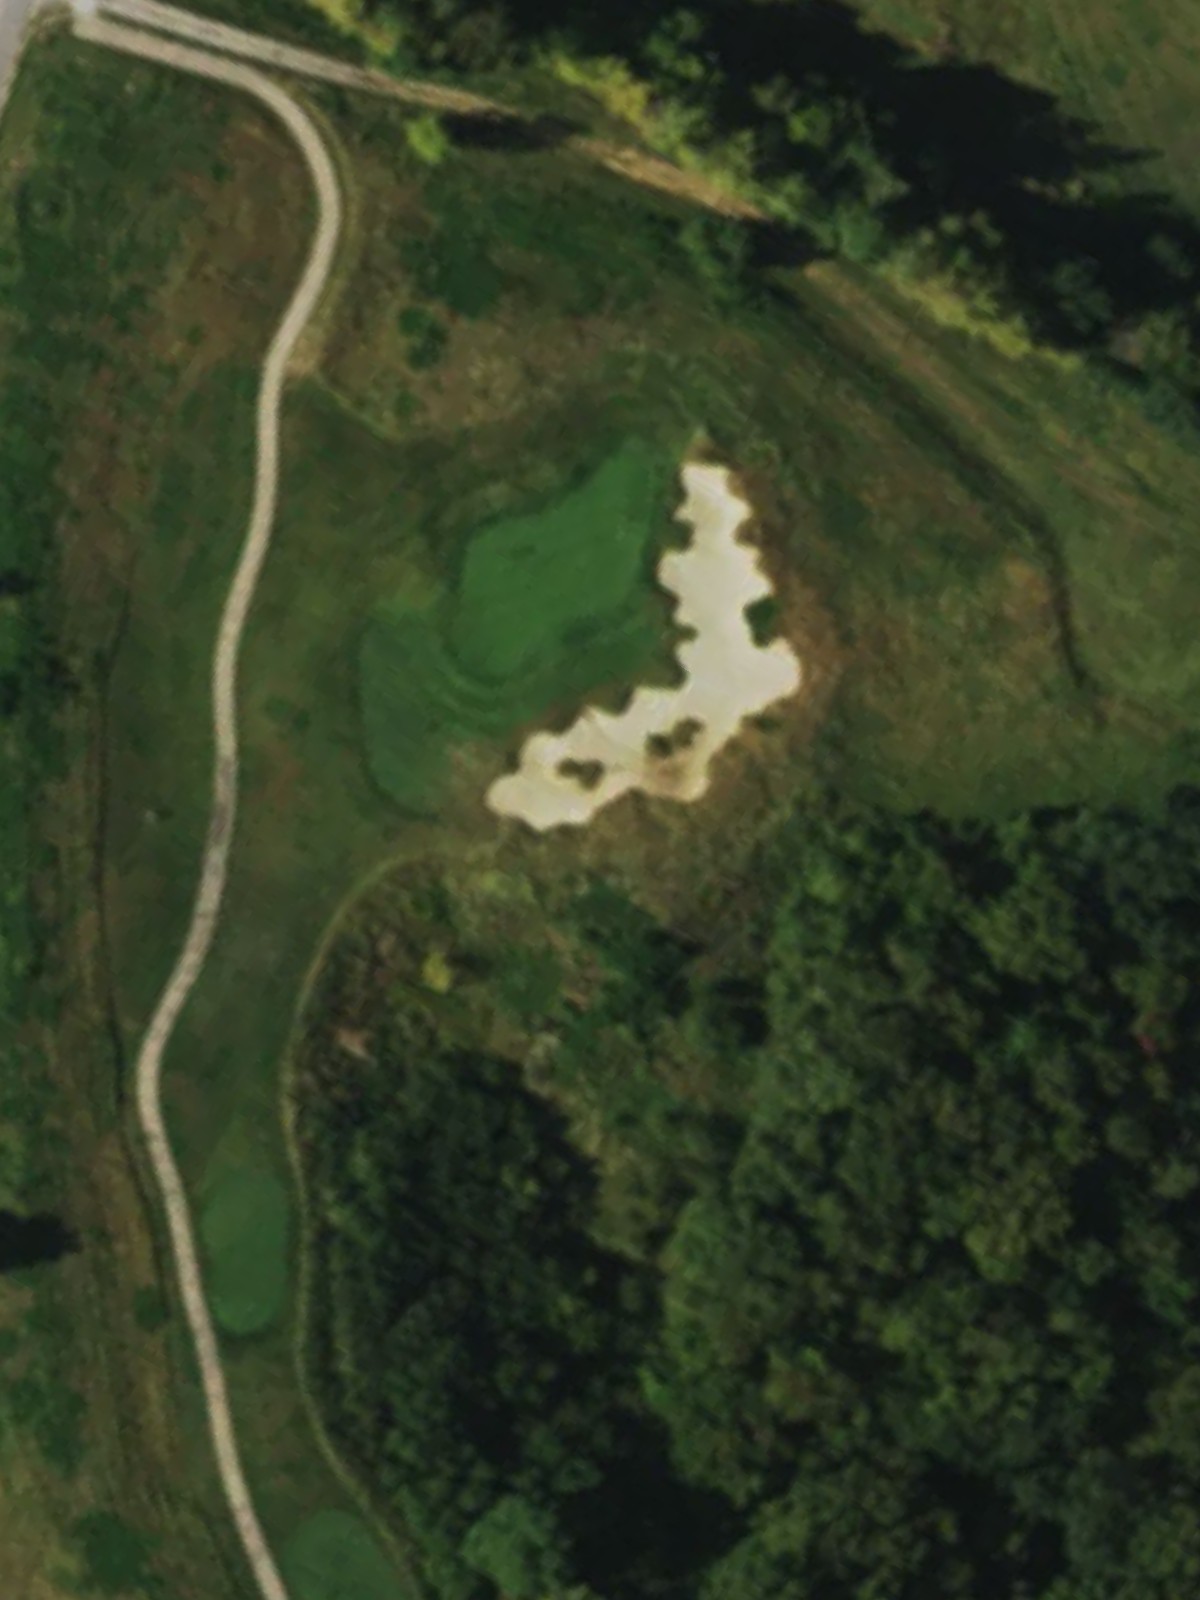
A mid-range par 3 with a well-bunkered green that demands precision. The green is surrounded by sand, offering limited margin for error on the approach.
The third-most difficult hole on the course, this par 4 presents a relentless test. Bunkers and water hazards are positioned to penalize errant shots, with little forgiveness on either side of the fairway and green.
A balanced par 4 with a fairway that offers room off the tee before tightening near the green. Bunkers and strategic hazards protect the approach, rewarding controlled distance and placement.
A strong par 4 that plays shorter than its length suggests, with interesting terrain or a dogleg configuration. Hazards frame the fairway and guard the green, making both accuracy and course management vital.
A short par 3 with a relatively forgiving layout, offering a brief respite in the round. Bunkers and light rough around the green still demand a solid approach shot.
One of the course's shortest par 4s, this hole offers an opportunity for aggressive play. The tight layout and proximity to hazards require precision despite the modest yardage.
The closing hole, a par 4 with a fairway that plays relatively straight before narrowing at the green. Bunkers and hazards frame the final approach, creating a dramatic finishing test that reflects the course's overall challenge.
Scorecard
| Hole | 1 | 2 | 3 | 4 | 5 | 6 | 7 | 8 | 9 | Out | 10 | 11 | 12 | 13 | 14 | 15 | 16 | 17 | 18 | In | Tot |
|---|---|---|---|---|---|---|---|---|---|---|---|---|---|---|---|---|---|---|---|---|---|
| Par | 4 | 5 | 4 | 4 | 3 | 4 | 4 | 3 | 4 | 35 | 5 | 4 | 3 | 4 | 4 | 4 | 3 | 4 | 4 | 35 | 70 |
| HCP | 14 | 6 | 2 | 12 | 18 | 4 | 8 | 16 | 10 | 1 | 7 | 13 | 3 | 9 | 5 | 15 | 17 | 11 | |||
| gold | 440 | 521 | 436 | 375 | 170 | 400 | 455 | 184 | 340 | 3321 | 543 | 420 | 190 | 401 | 386 | 372 | 150 | 333 | 430 | 3225 | 6546 |
| blue | 401 | 521 | 401 | 375 | 150 | 370 | 402 | 147 | 340 | 3107 | 500 | 401 | 170 | 401 | 386 | 362 | 150 | 333 | 382 | 3085 | 6192 |
| white | 383 | 471 | 401 | 325 | 131 | 324 | 365 | 127 | 307 | 2834 | 485 | 358 | 157 | 356 | 307 | 303 | 127 | 260 | 344 | 2697 | 5531 |