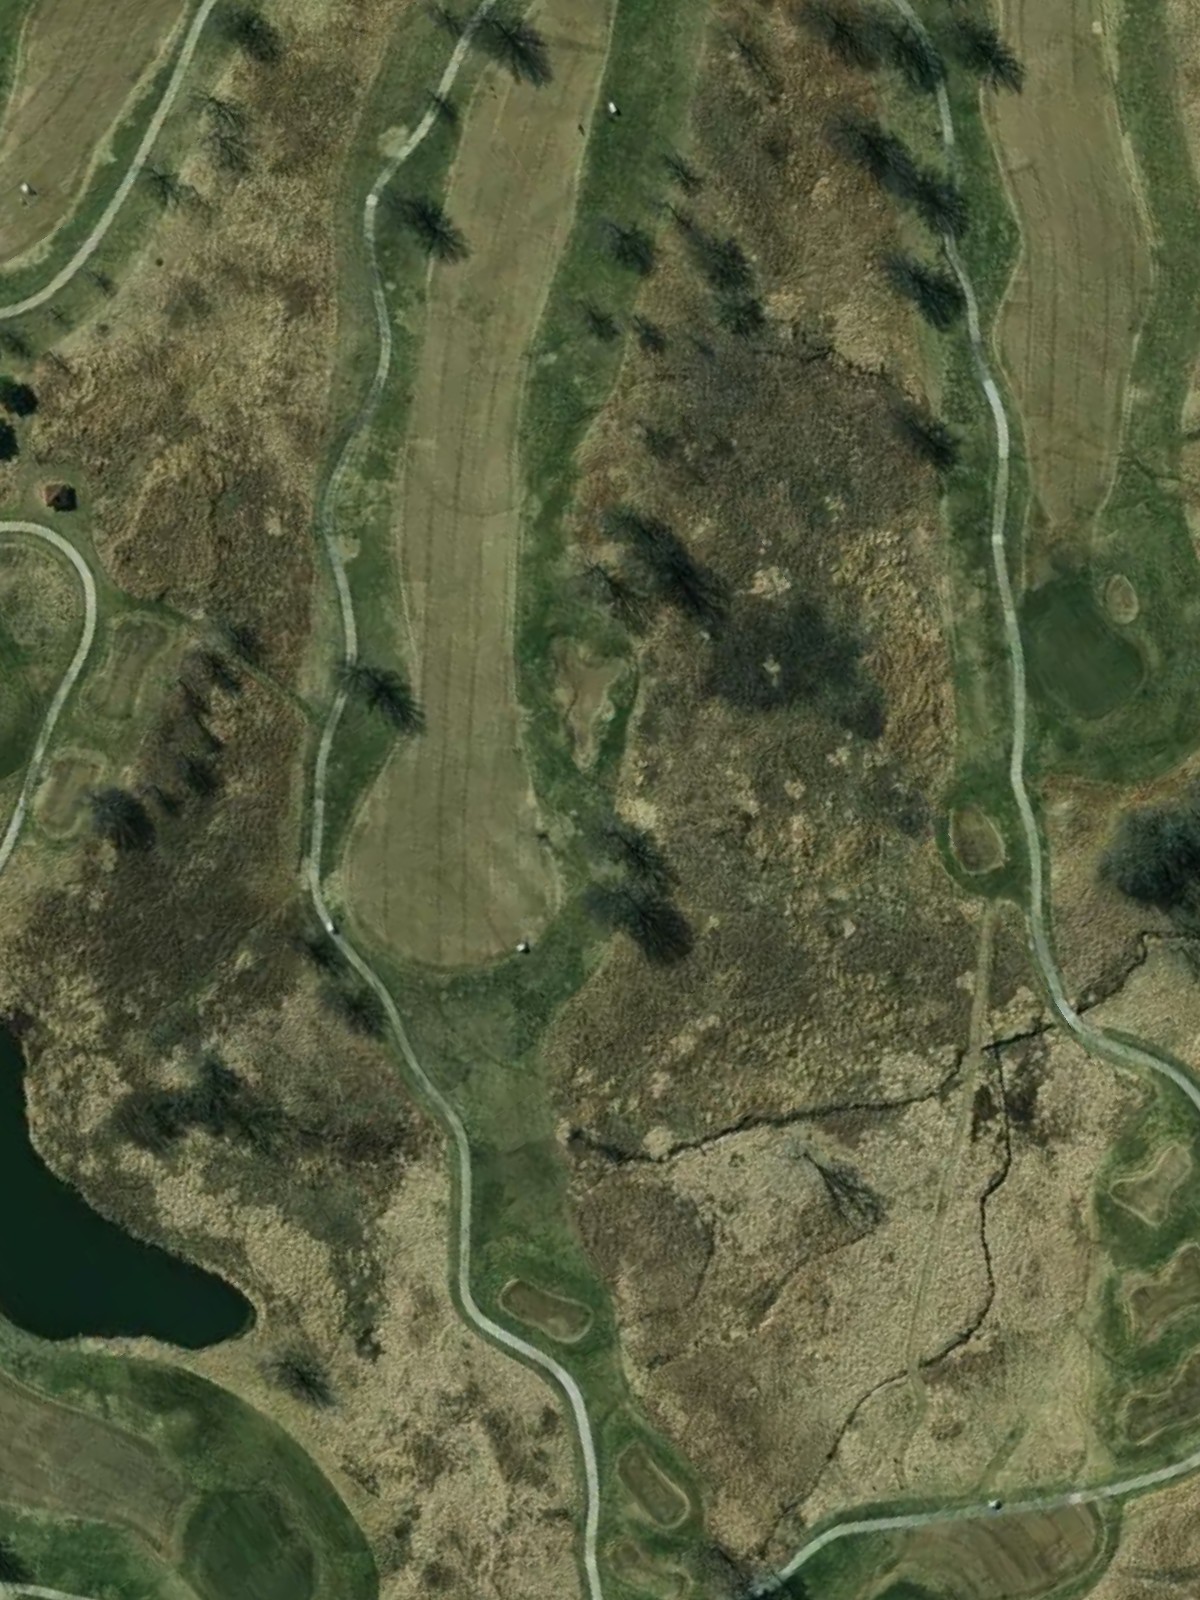
Fred Arbanas Golf Club is an 18-hole golf course in Kansas City, MO with a par of 72. It offers 6 tee sets: blue (6,879 yards, slope 128, rating 72.9), blue/white combo (6,637 yards, slope 125, rating 71.7), white (6,299 yards, slope 124, rating 70.1), white/gold combo (6,110 yards, slope 120, rating 69.2), gold (5,822 yards, slope 117, rating 68.2), red (5,505 yards, slope 113, rating 66.5). The hardest hole is #5, a par 5 playing 409 yards from the first tee.
Fred Arbanas Golf Club
Kansas City, MO
Get PDF Yardage Book
We'll email you the PDF link. No spam, ever.
Create Your Game Plan
Pick your tees, enter your bag, and get a personalized shot-by-shot strategy for every hole.
A straightforward par 4 with a fairly open fairway that gradually narrows as it approaches the green. Bunkers protect the right side of the green, while the left offers a safer approach for those preferring to avoid the sand.
A relatively short par 4 with a wide-open fairway and minimal trouble off the tee. The green is well-bunkered on both sides, requiring accuracy on the approach shot to avoid sand.
A long par 5 that rewards aggressive play with a birdie opportunity for those who can reach the green in two. The fairway is fairly generous, though bunkers frame both sides of the green to catch wayward approaches.
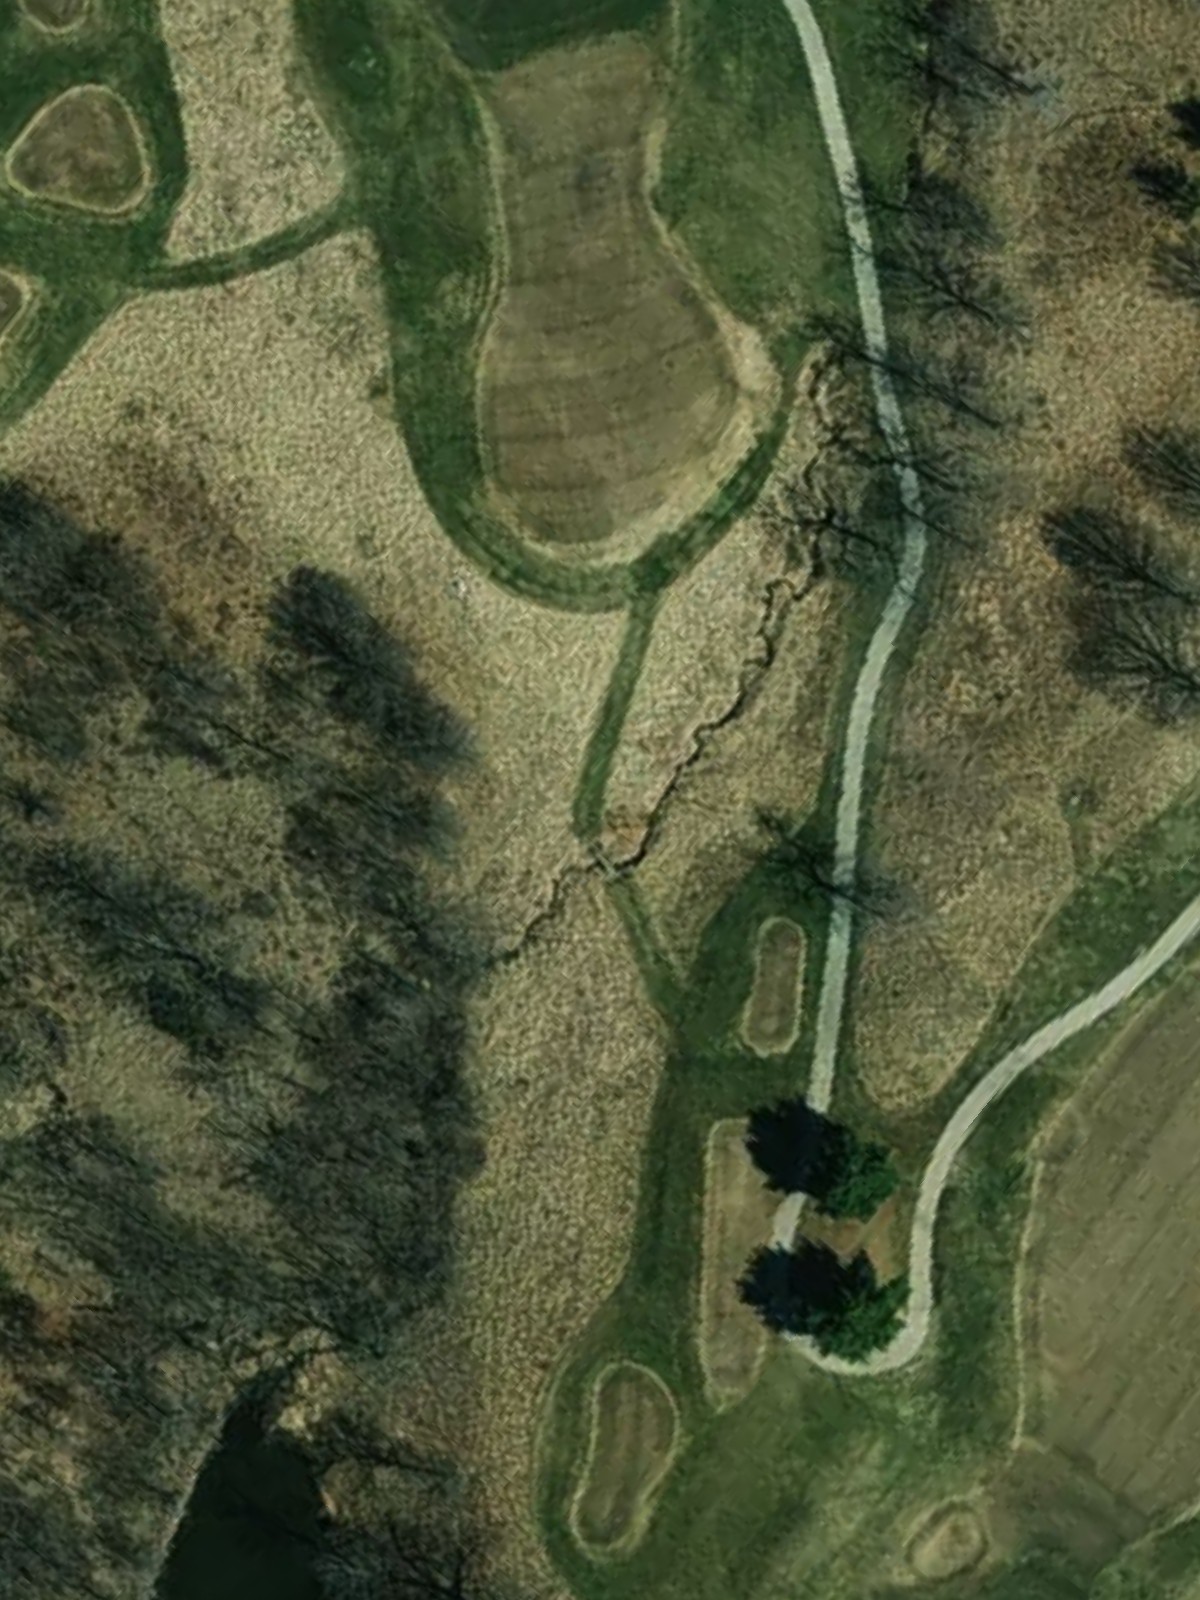
A short par 3 with a small, well-defined green surrounded by bunkers. The modest length makes this a scoring opportunity, but precision is essential to avoid the sand guarding the putting surface.
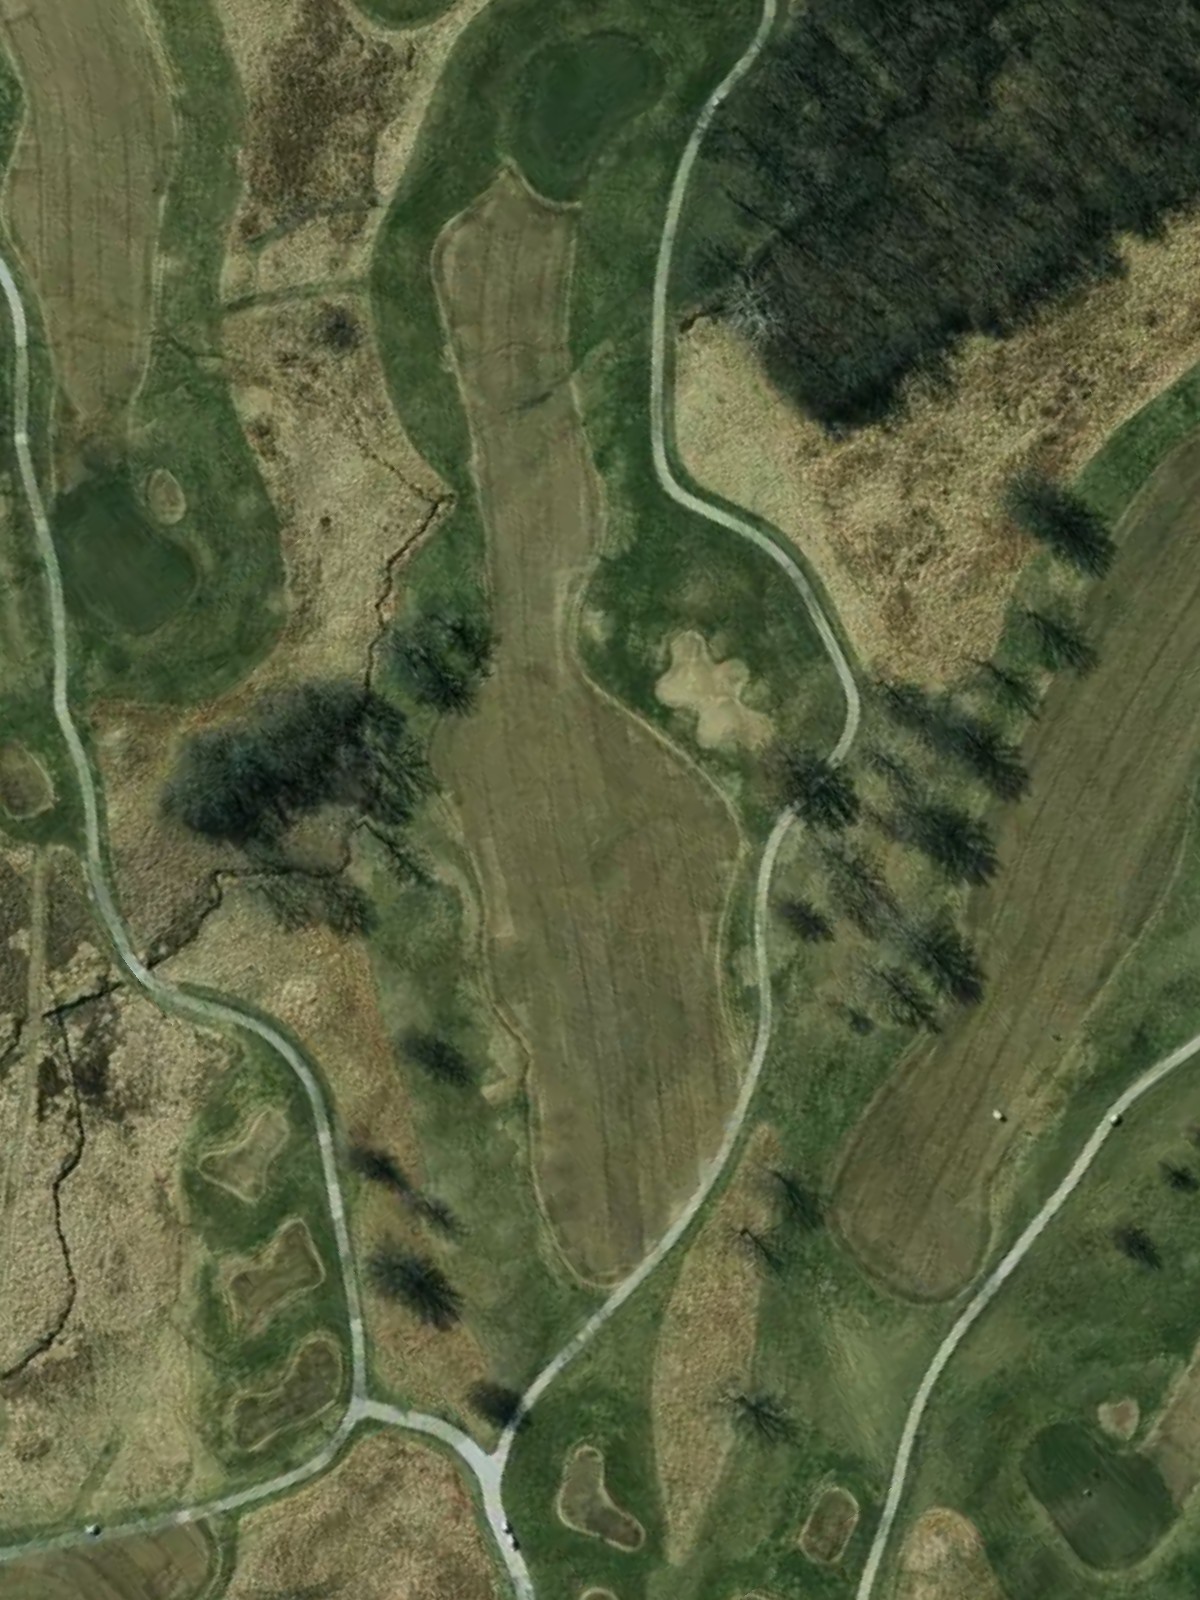
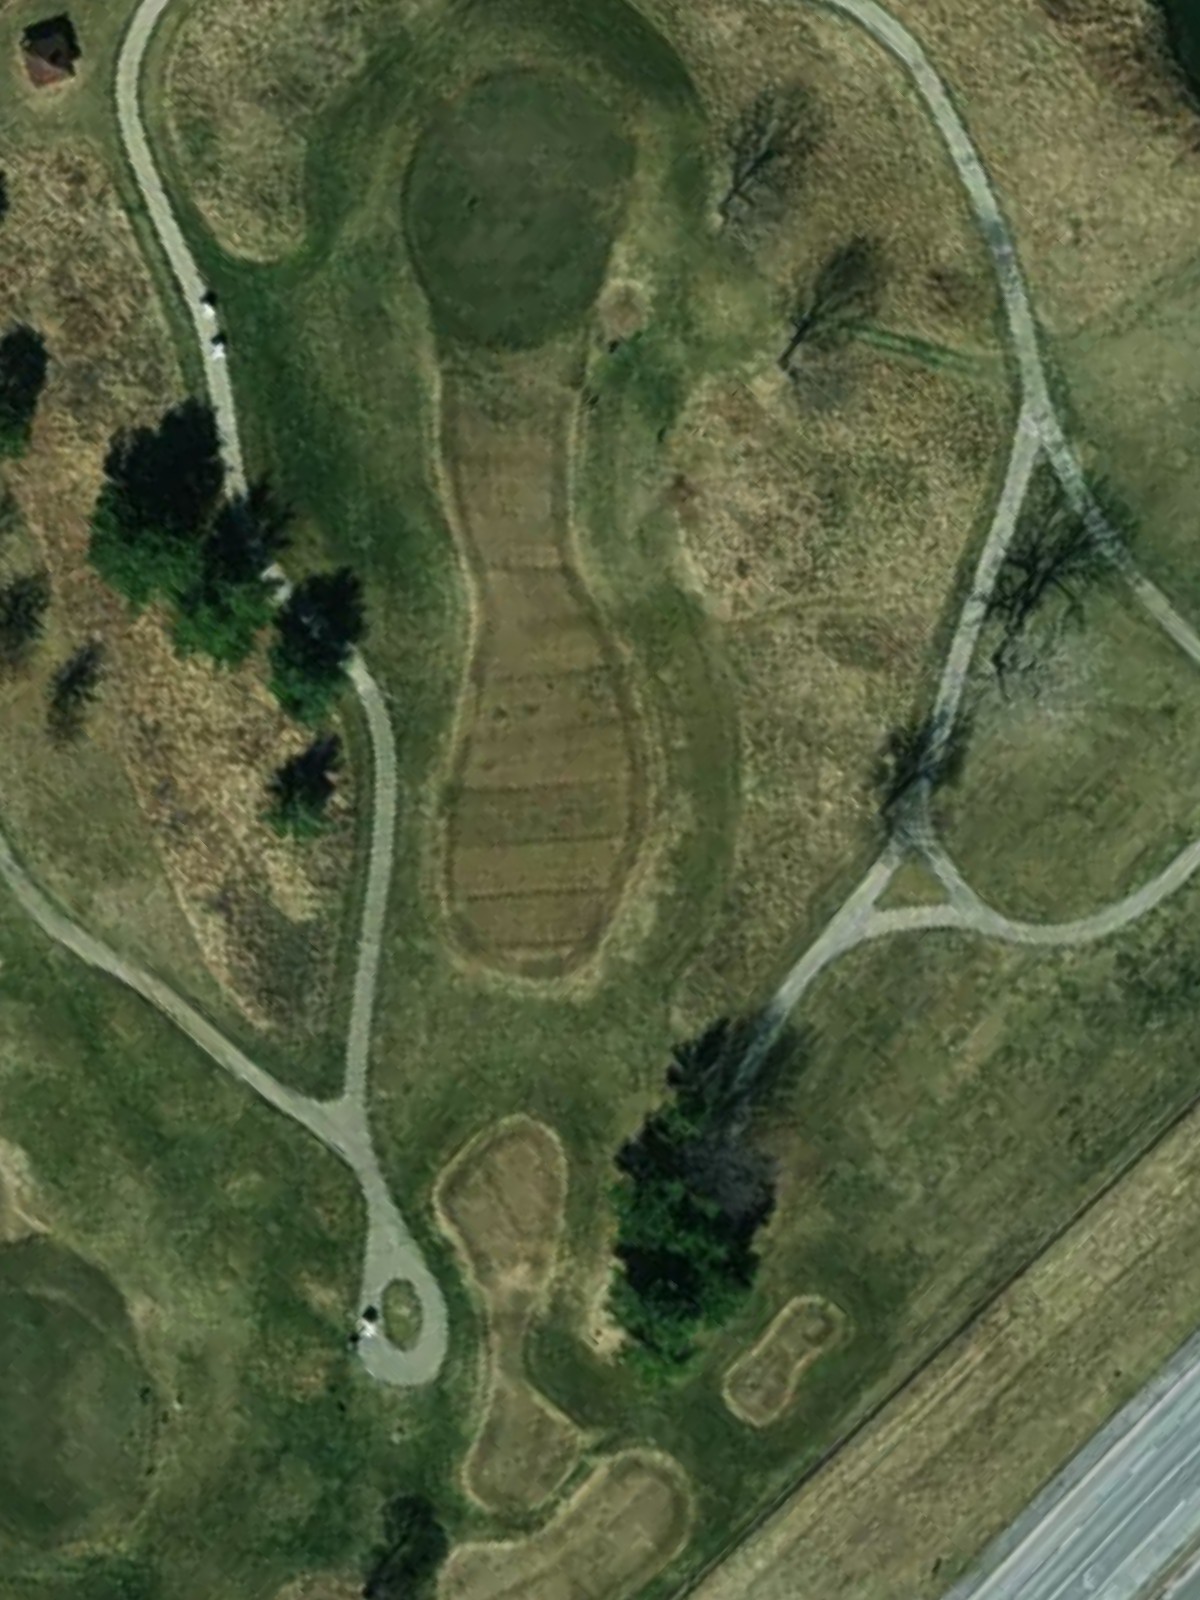
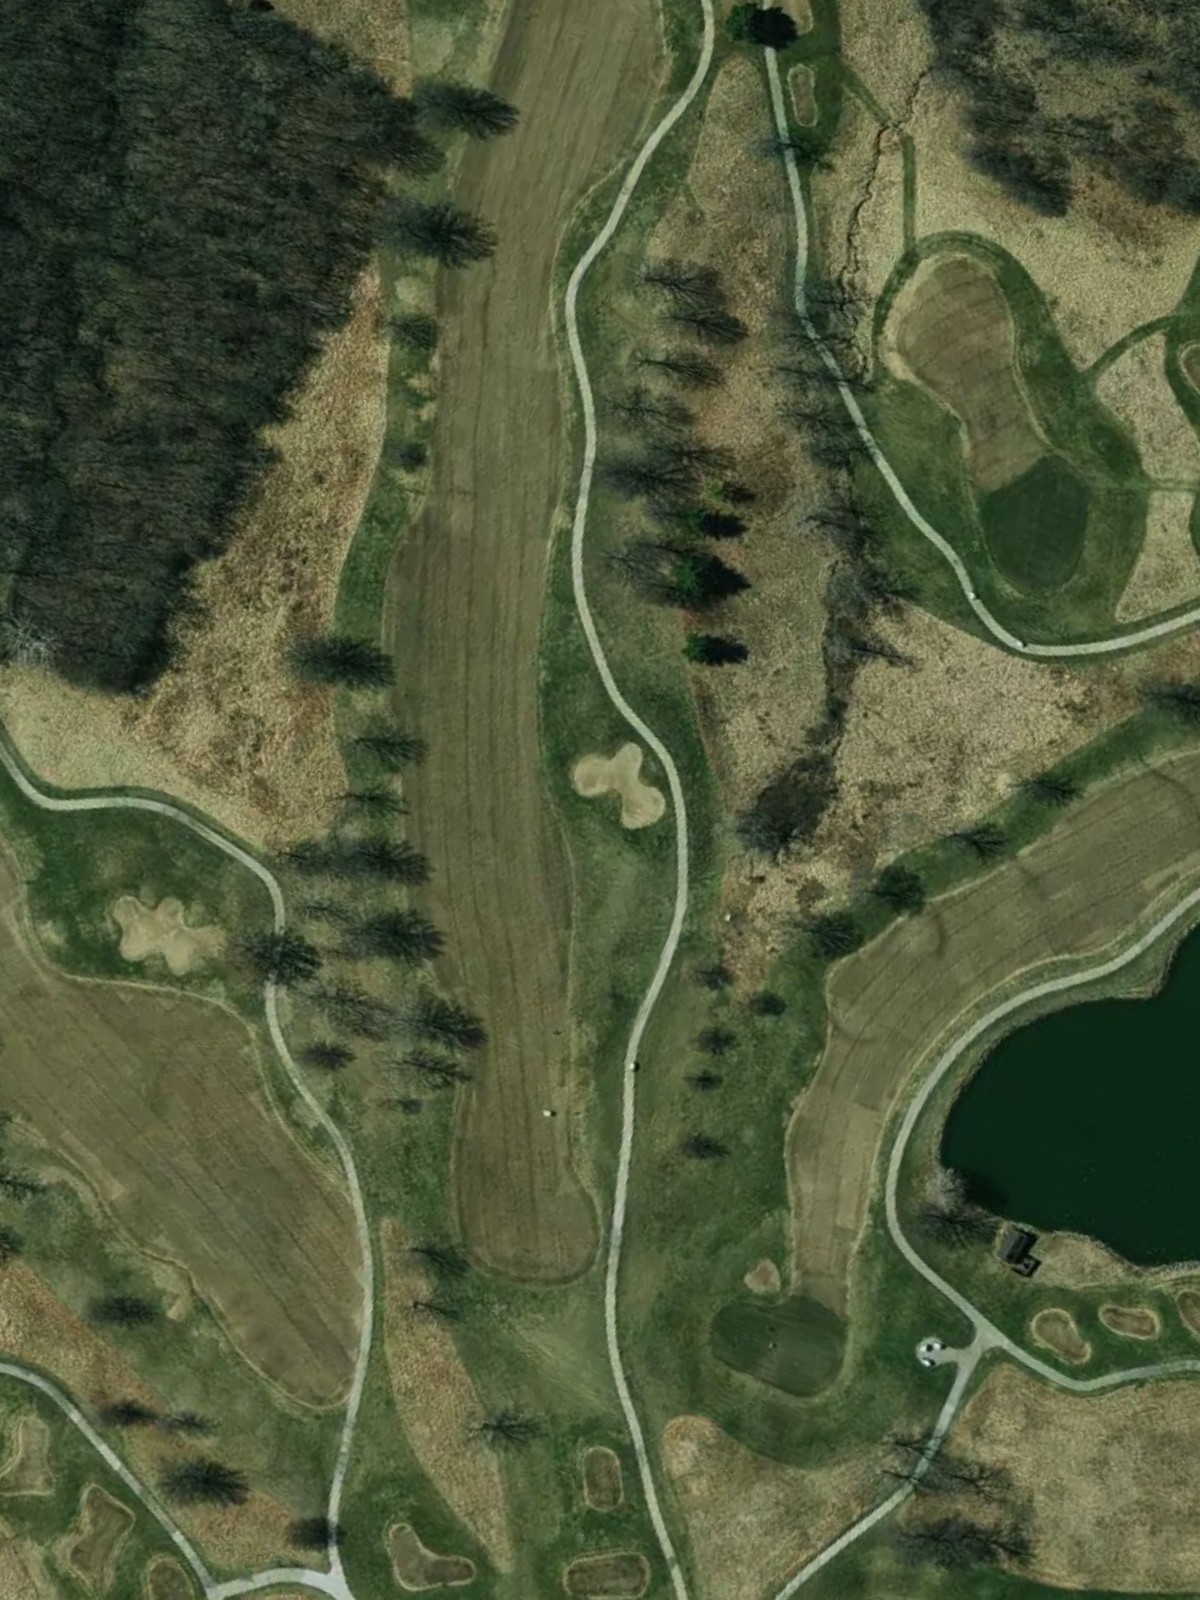
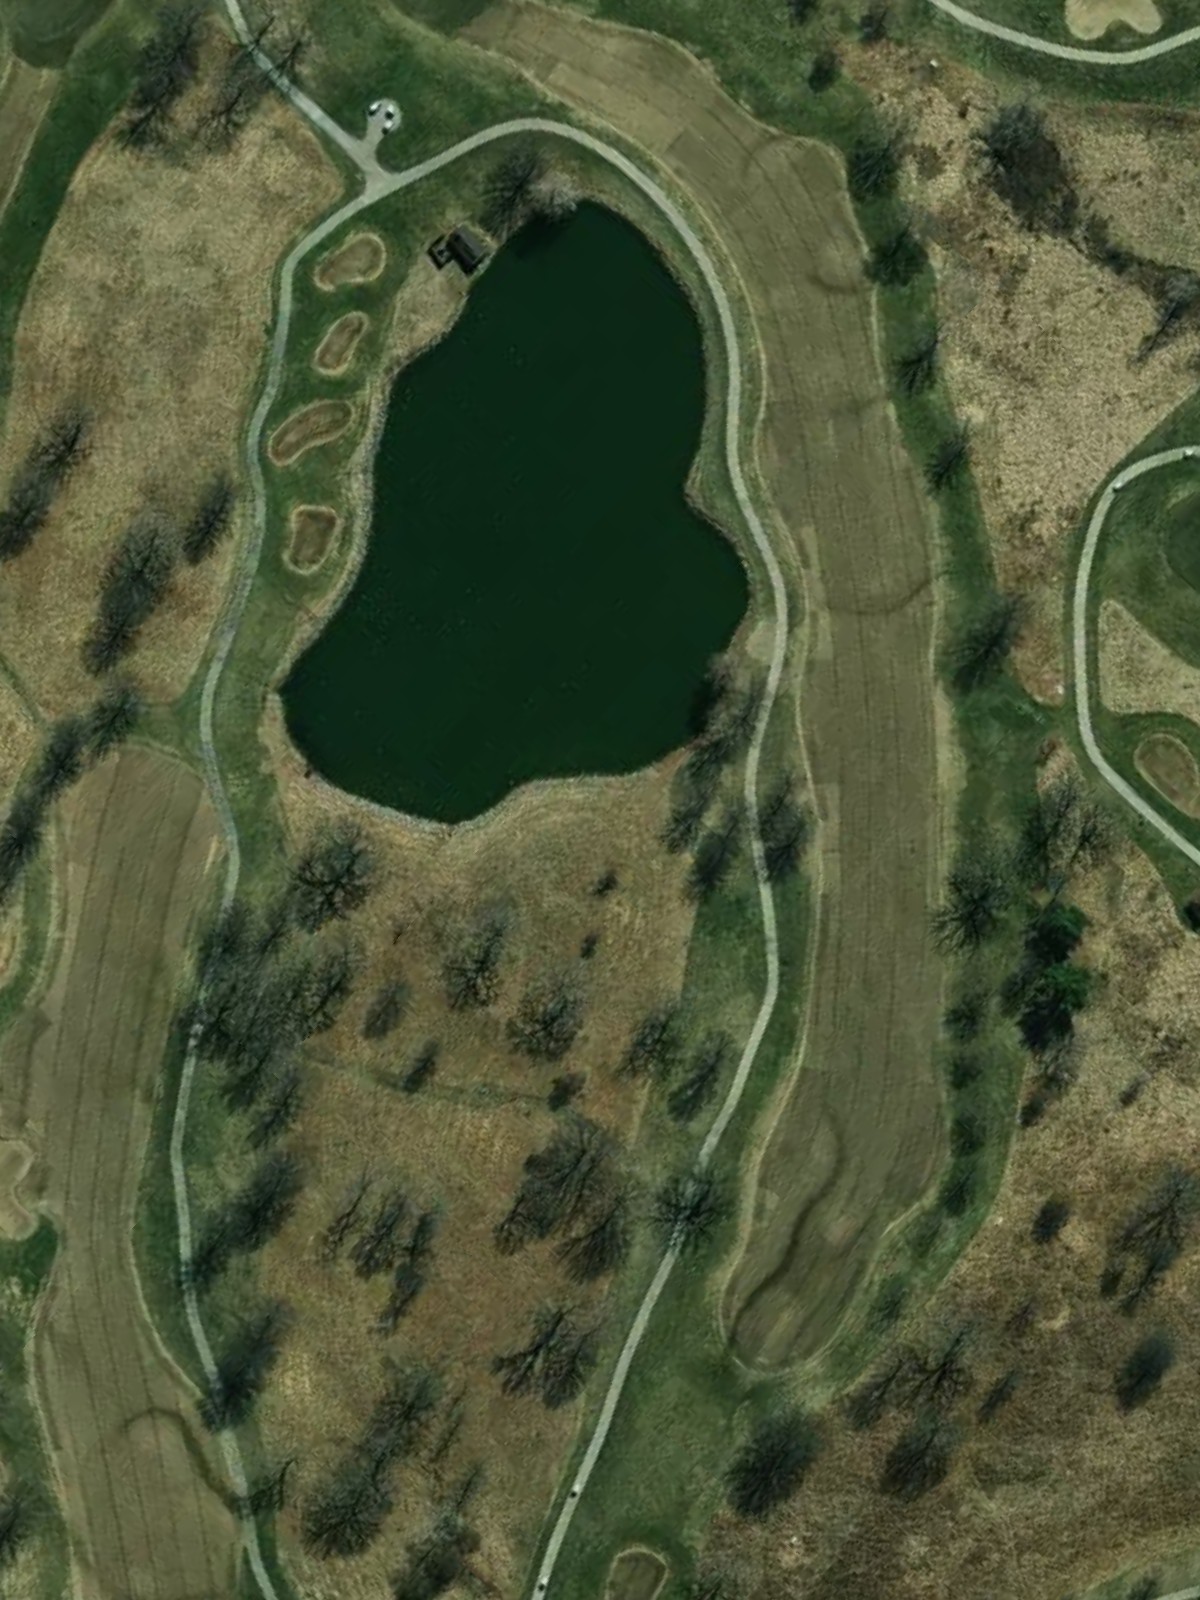
The course's most difficult hole, this long par 5 demands power and placement to reach the green in regulation. Water and strategic bunkering come into play throughout, making this a three-shotter for most players.

A strong par 4 with a narrow, demanding fairway that requires a precise tee shot. Bunkers guard the approach to the green, and the small putting surface offers little forgiveness for poor positioning.
A mid-length par 3 with an elevated green that plays longer than its yardage suggests. Sand and rough frame the green on all sides, making center-green accuracy the key to a stress-free par.
A gentle par 4 with a fairly open fairway and a forgiving approach to the green. While relatively straightforward, bunkers still protect the greens left and right for those straying from the intended line.
A solid par 4 that presents a genuine test of shot-making despite its moderate length. The fairway narrows heading into the green, where bunkers on both sides demand an accurate approach shot.
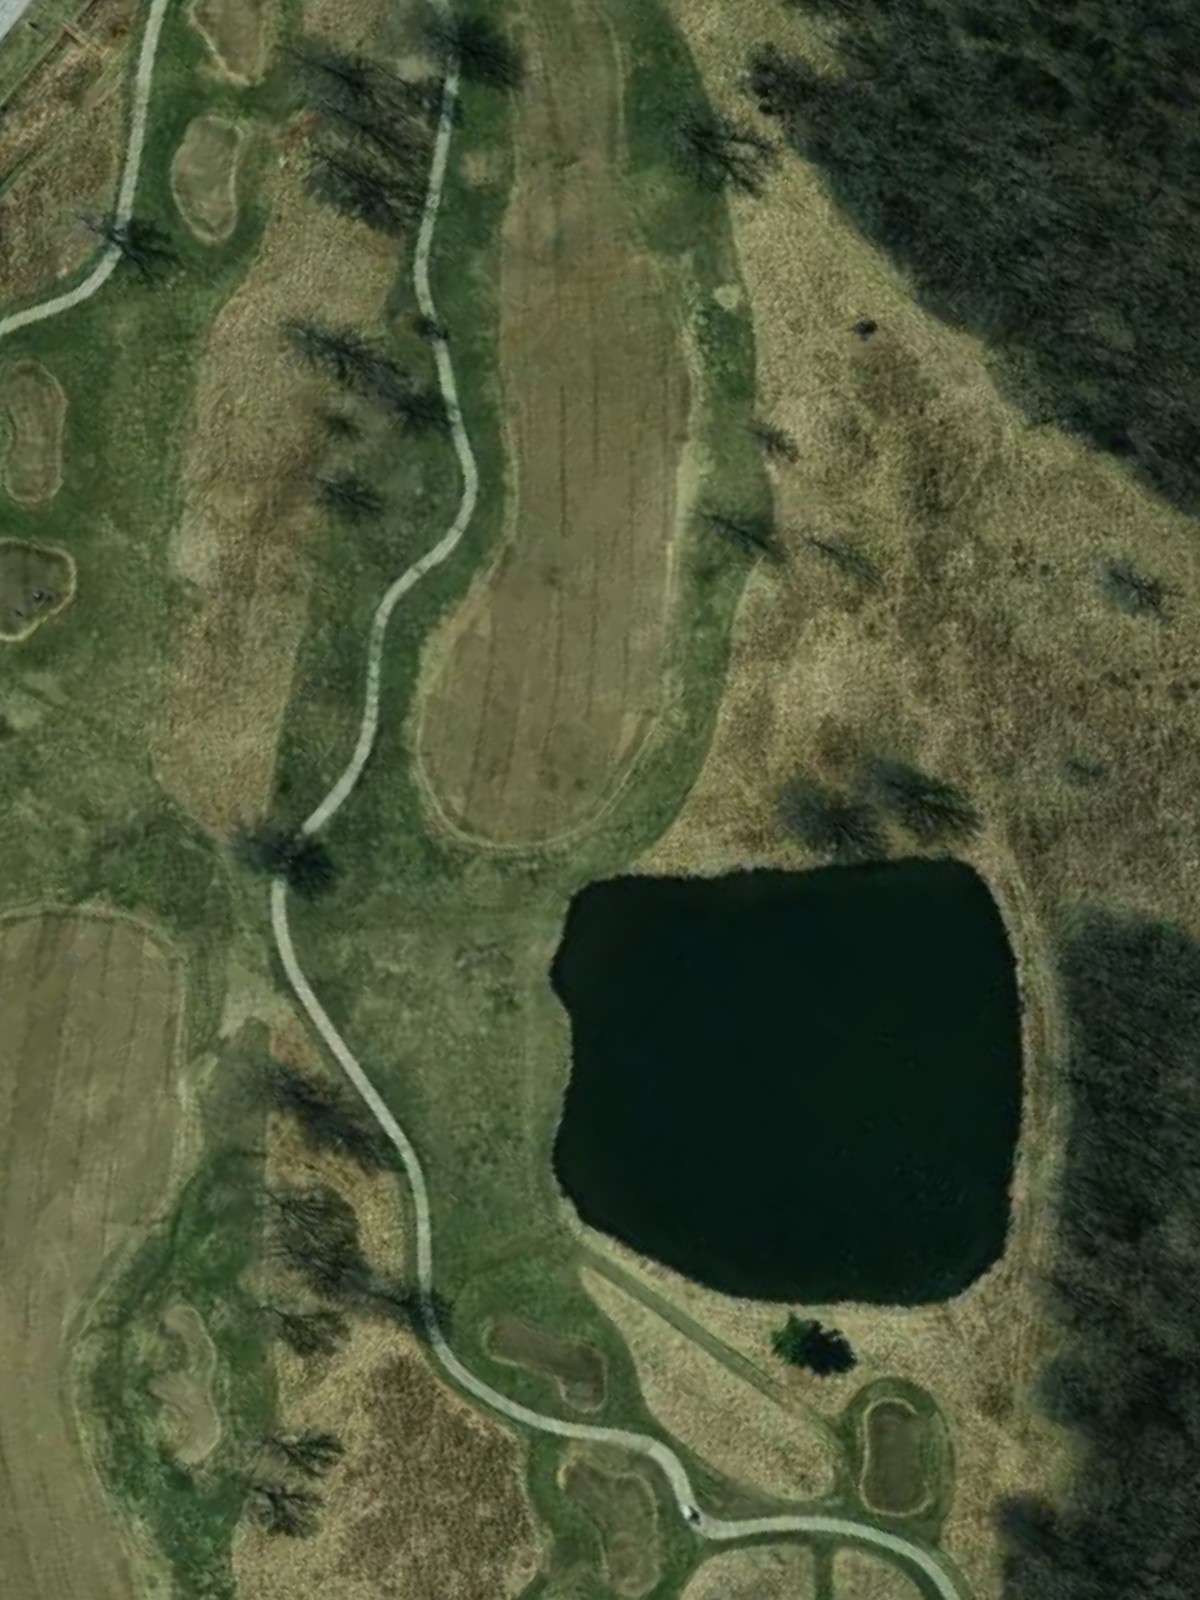
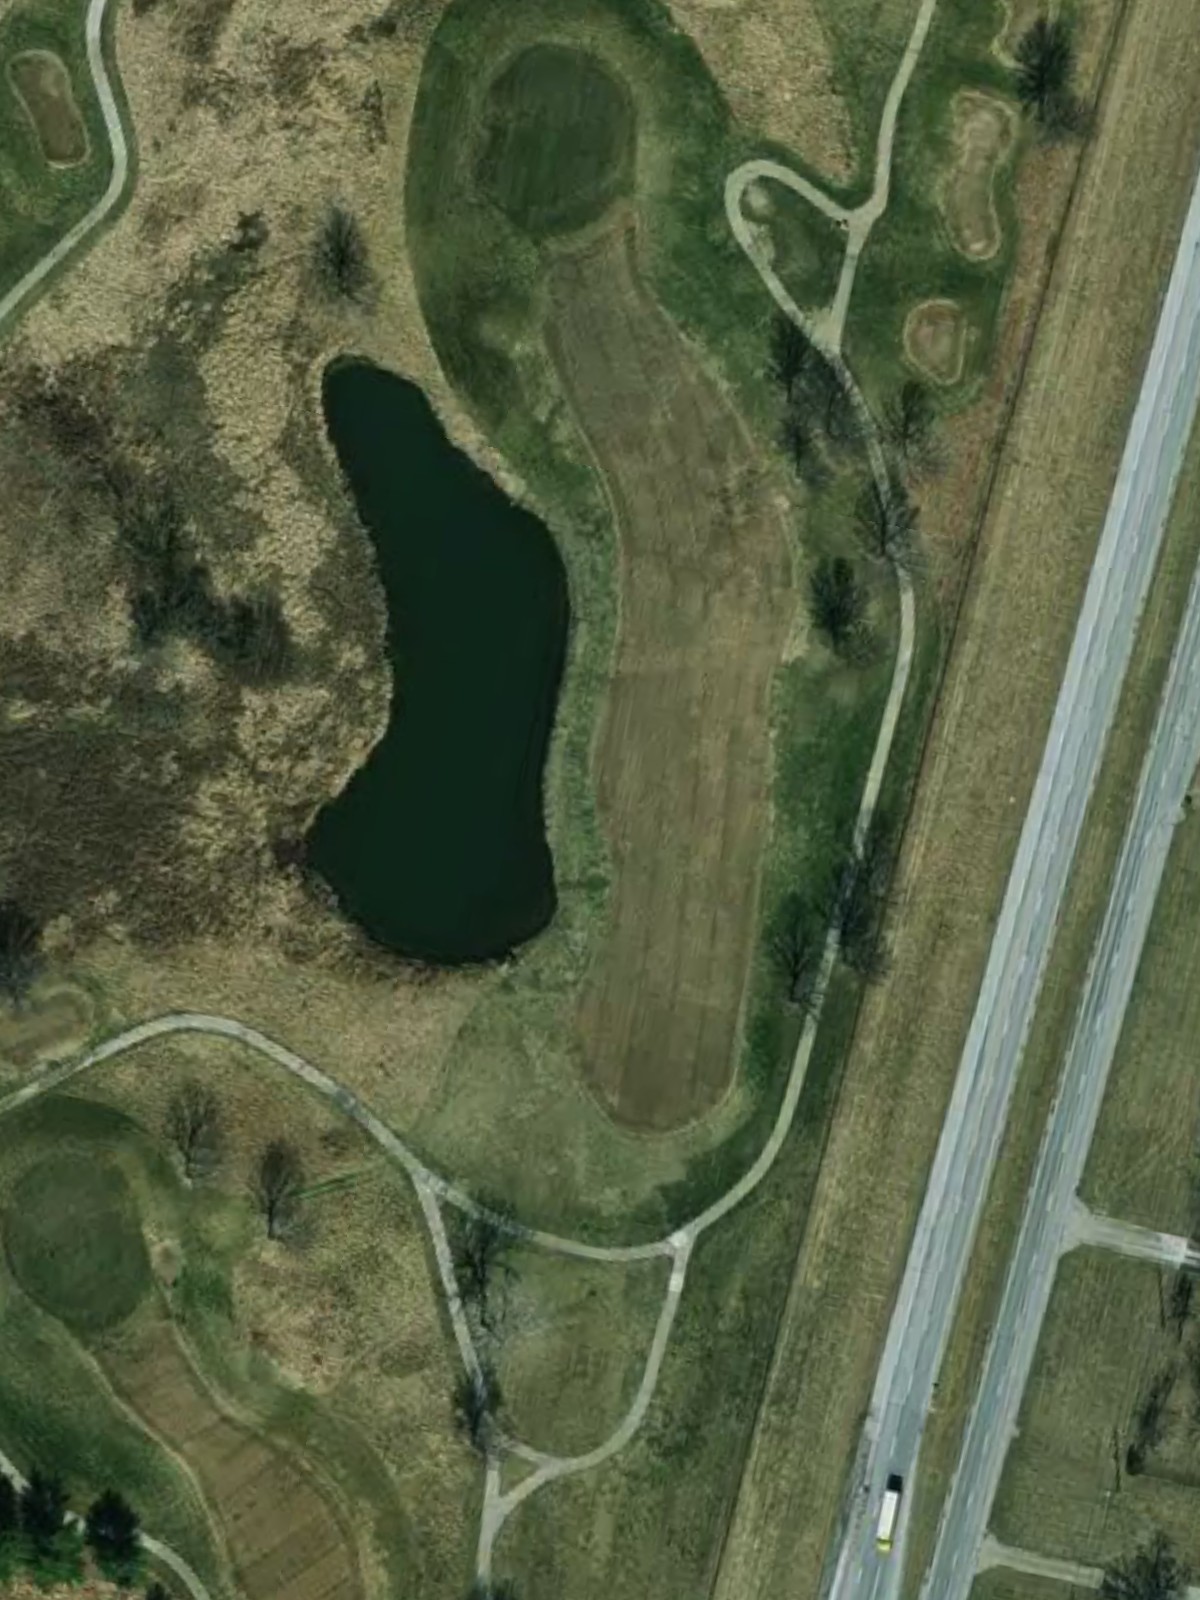
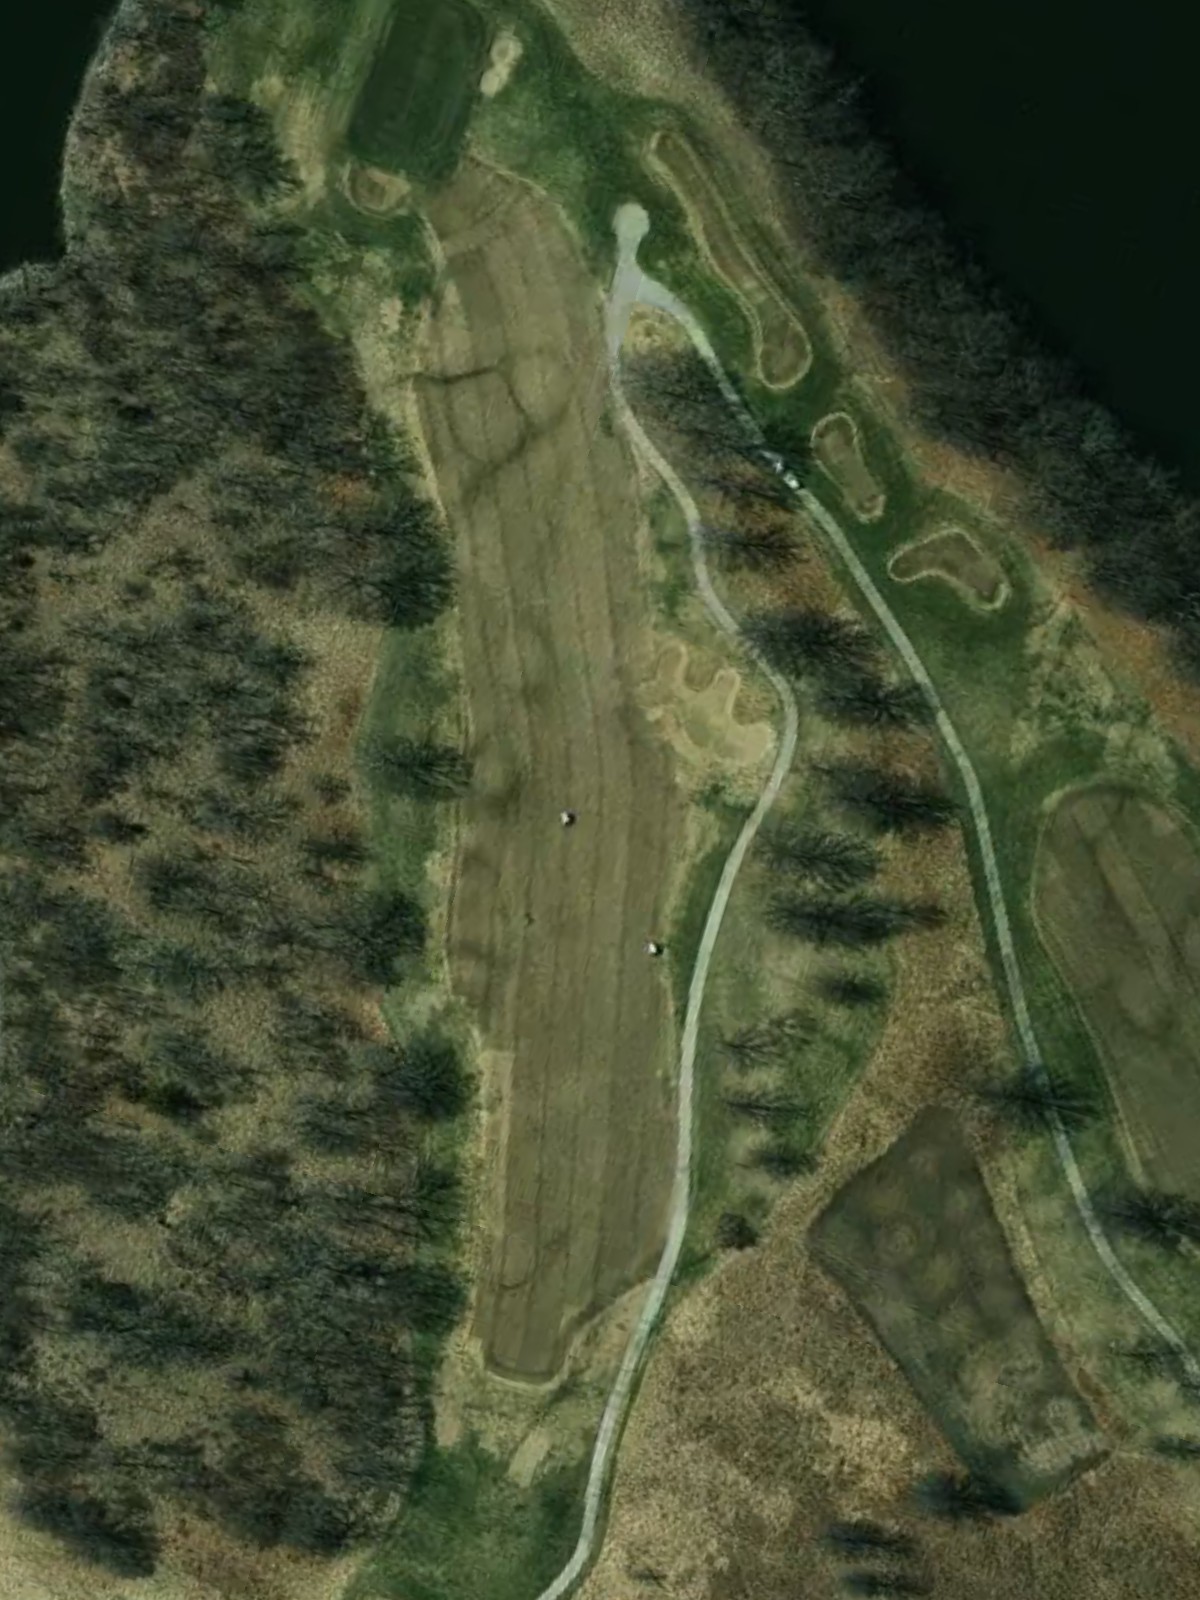
A lengthy par 5 that stretches across the back nine and offers limited opportunity for reaching in two. Water hazards and strategic bunkering throughout the hole reward patience and controlled play.
A medium-length par 3 with a well-protected green that sits elevated above the surrounding terrain. Bunkers and rough surround the green, making it difficult to get close if the initial shot misses the target.
A challenging par 4 with a narrow, undulating fairway that demands precise tee placement. Bunkers guard both sides of the approach, and the elevated green slope adds difficulty to finding the correct tier.
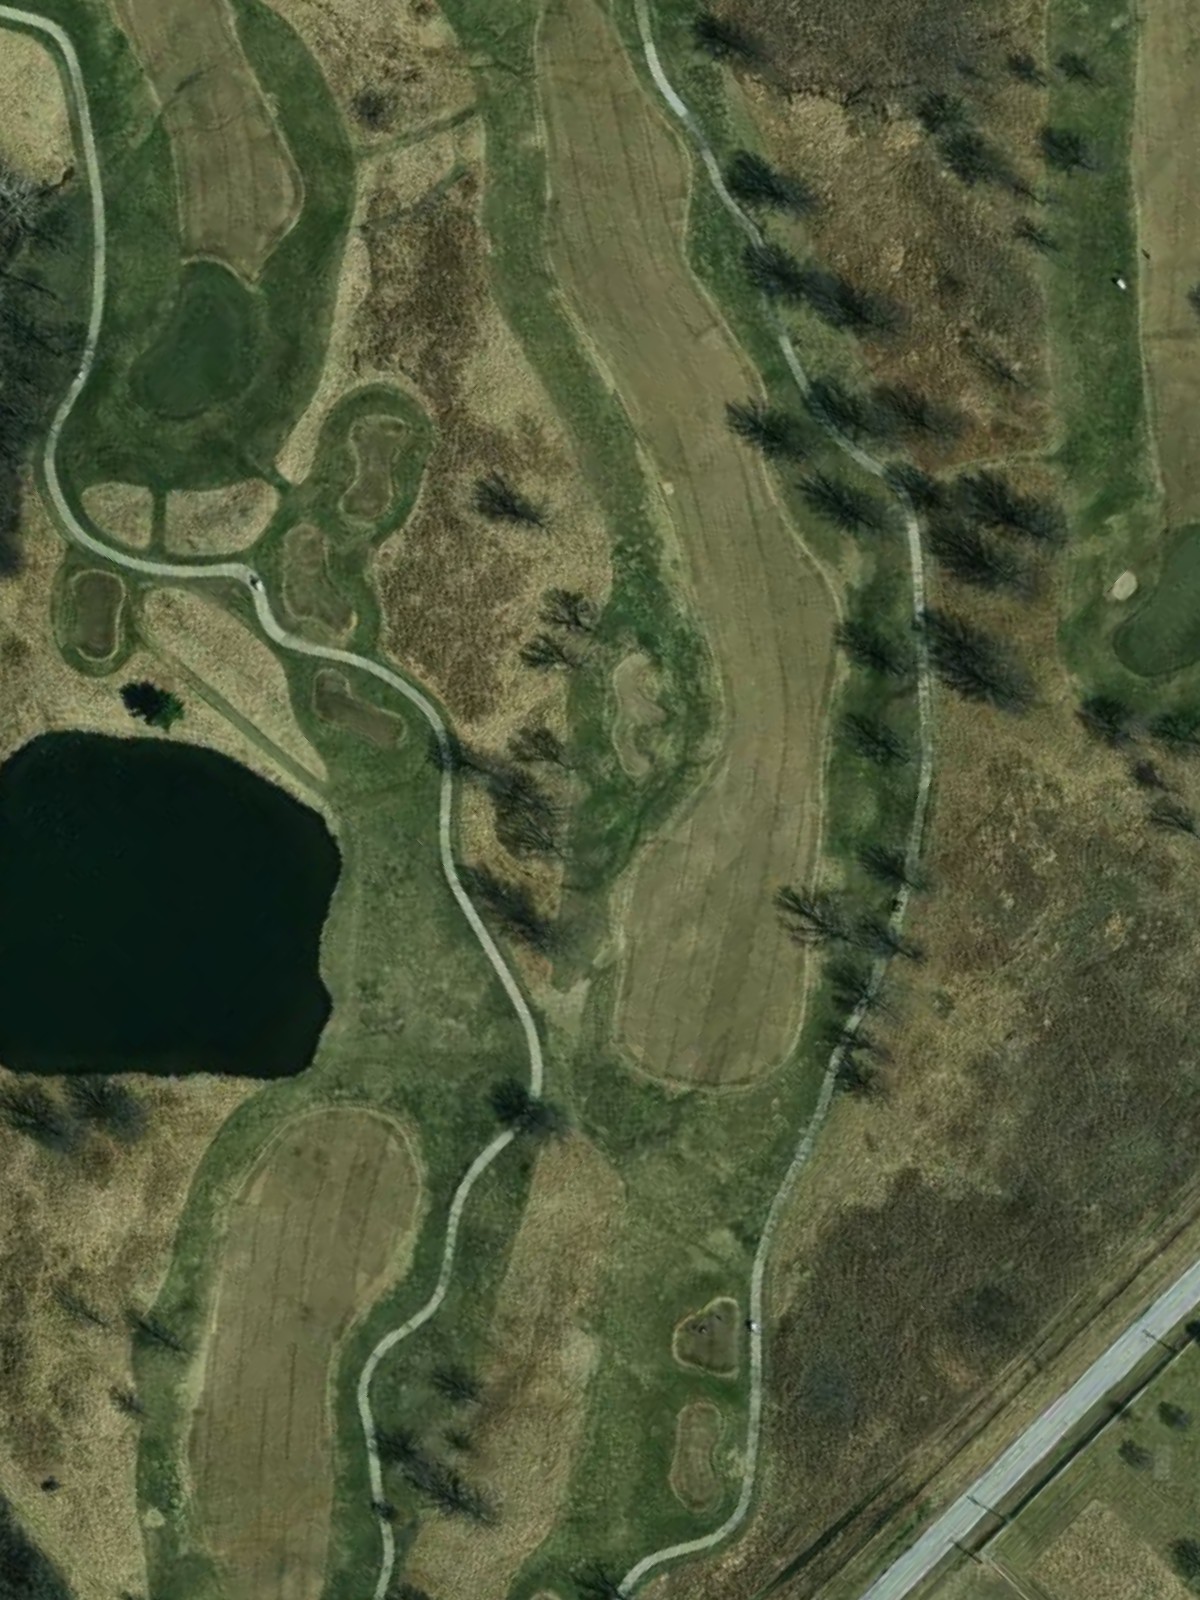
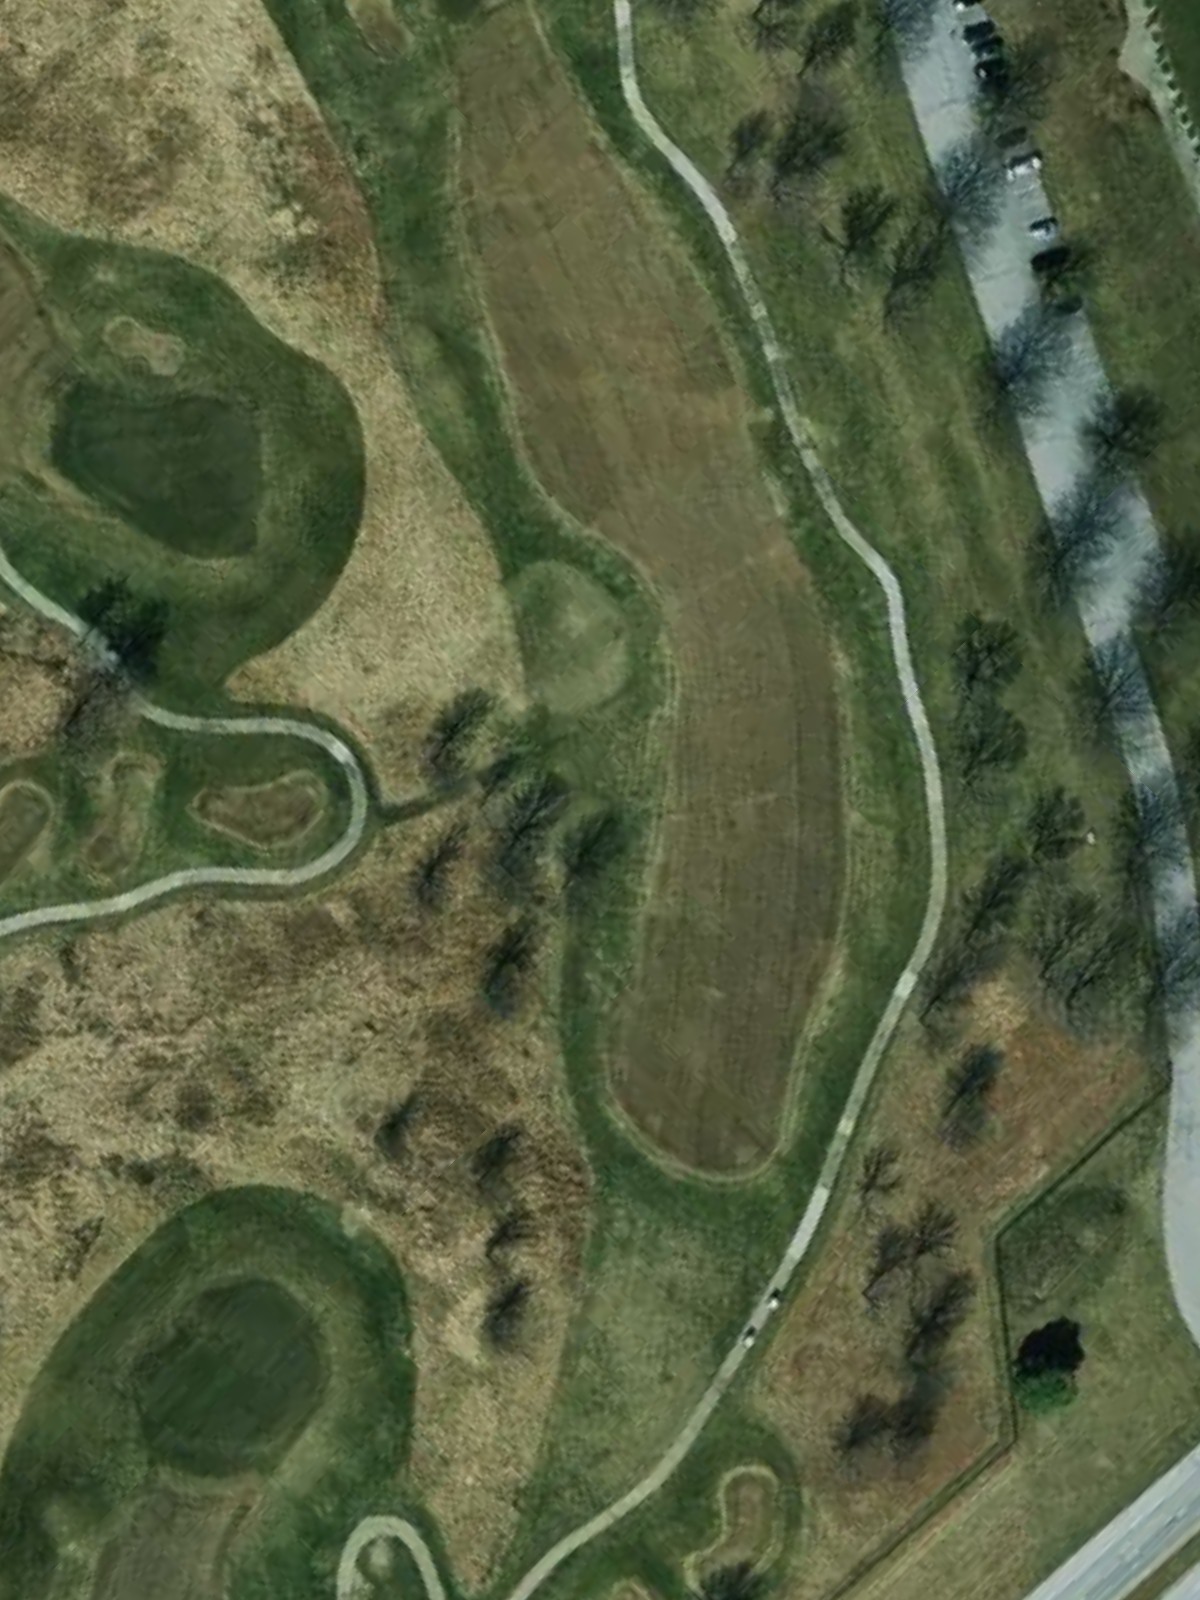
A demanding par 4 with a dogleg character that tightens as players approach the green. Water and bunkers frame the fairway and green alike, creating a hole that punishes anything short of a well-executed two-shot sequence.
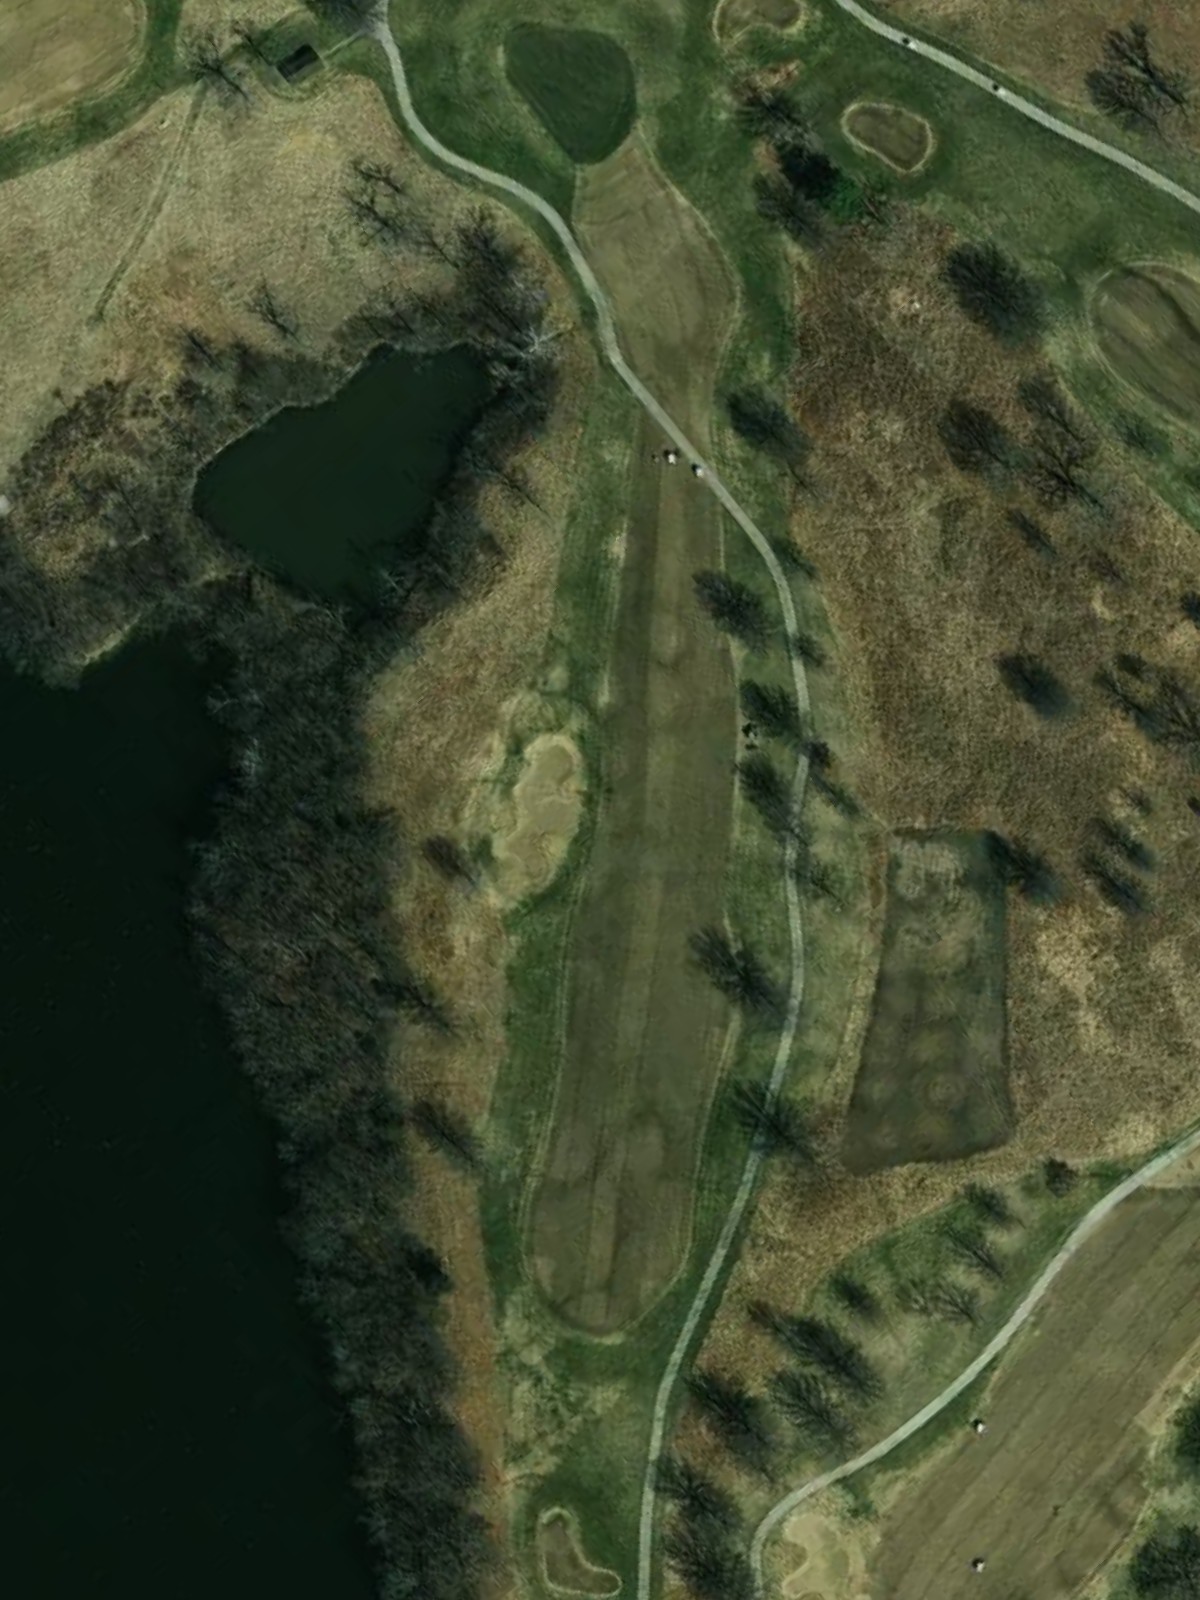
A birdie opportunity on this par 5, provided players can navigate the strategic hazards that frame the fairway. While the hole is reachable in two for strong hitters, bunkers guarding the green ensure a solid final blow is still required.

The second-hardest hole on the course, this par 4 presents a gauntlet of hazards and narrow corridors from tee to green. Water and bunkers frame the entire hole, making this a true test of precision golf.
The course's easiest hole, this short par 3 features a forgiving target area despite bunkers surrounding the green. The modest yardage presents a genuine scoring opportunity for players who can avoid the sand.
A mid-range par 4 with a fairly open fairway that doglegs slightly as it approaches the green. Bunkers protect the right side of the green, while the left offers a safer bailout for those preferring to avoid sand.
A fitting finishing hole, this par 4 combines length and strategic bunkering to create a demanding conclusion. Water frames one side of the fairway, while multiple bunkers guard the approach, requiring both power and precision to close out the round.
Scorecard
| Hole | 1 | 2 | 3 | 4 | 5 | 6 | 7 | 8 | 9 | Out | 10 | 11 | 12 | 13 | 14 | 15 | 16 | 17 | 18 | In | Tot |
|---|---|---|---|---|---|---|---|---|---|---|---|---|---|---|---|---|---|---|---|---|---|
| Par | 4 | 4 | 5 | 3 | 5 | 4 | 3 | 4 | 4 | 36 | 5 | 3 | 4 | 4 | 5 | 4 | 3 | 4 | 4 | 36 | 72 |
| HCP | 9 | 11 | 7 | 17 | 1 | 3 | 13 | 15 | 5 | 12 | 16 | 4 | 10 | 8 | 2 | 18 | 14 | 6 | |||
| blue | 387 | 376 | 518 | 222 | 511 | 399 | 182 | 388 | 369 | 3352 | 548 | 203 | 403 | 457 | 519 | 400 | 174 | 401 | 422 | 3527 | 6879 |
| blue/white combo | 387 | 376 | 518 | 147 | 511 | 363 | 182 | 388 | 369 | 3241 | 548 | 185 | 383 | 419 | 519 | 400 | 174 | 371 | 397 | 3396 | 6637 |
| white | 360 | 341 | 486 | 147 | 444 | 363 | 159 | 367 | 341 | 3008 | 524 | 185 | 383 | 419 | 480 | 380 | 152 | 371 | 397 | 3291 | 6299 |
| white/gold combo | 360 | 341 | 486 | 125 | 444 | 330 | 159 | 367 | 341 | 2953 | 524 | 165 | 360 | 385 | 480 | 380 | 152 | 345 | 366 | 3157 | 6110 |
| gold | 332 | 316 | 424 | 125 | 418 | 330 | 135 | 348 | 319 | 2747 | 503 | 165 | 360 | 385 | 445 | 356 | 150 | 345 | 366 | 3075 | 5822 |
| red | 321 | 307 | 393 | 105 | 409 | 316 | 123 | 339 | 308 | 2621 | 475 | 143 | 336 | 356 | 435 | 332 | 129 | 323 | 355 | 2884 | 5505 |