Fox Hollow Golf Club is an 18-hole golf course in St. Michael, MN with a par of 72. It offers 5 tee sets: blue (6,728 yards, slope 131, rating 73.1), white (6,266 yards, slope 124, rating 70.8), yellow (5,810 yards, slope 122, rating 68.4), yellow/red (5,460 yards, slope 119, rating 66.9), red (5,166 yards, slope 118, rating 65.8). The hardest hole is #7, a par 4 playing 333 yards from the first tee.
Fox Hollow Golf Club
St. Michael, MN
Get PDF Yardage Book
We'll email you the PDF link. No spam, ever.
Create Your Game Plan
Pick your tees, enter your bag, and get a personalized shot-by-shot strategy for every hole.
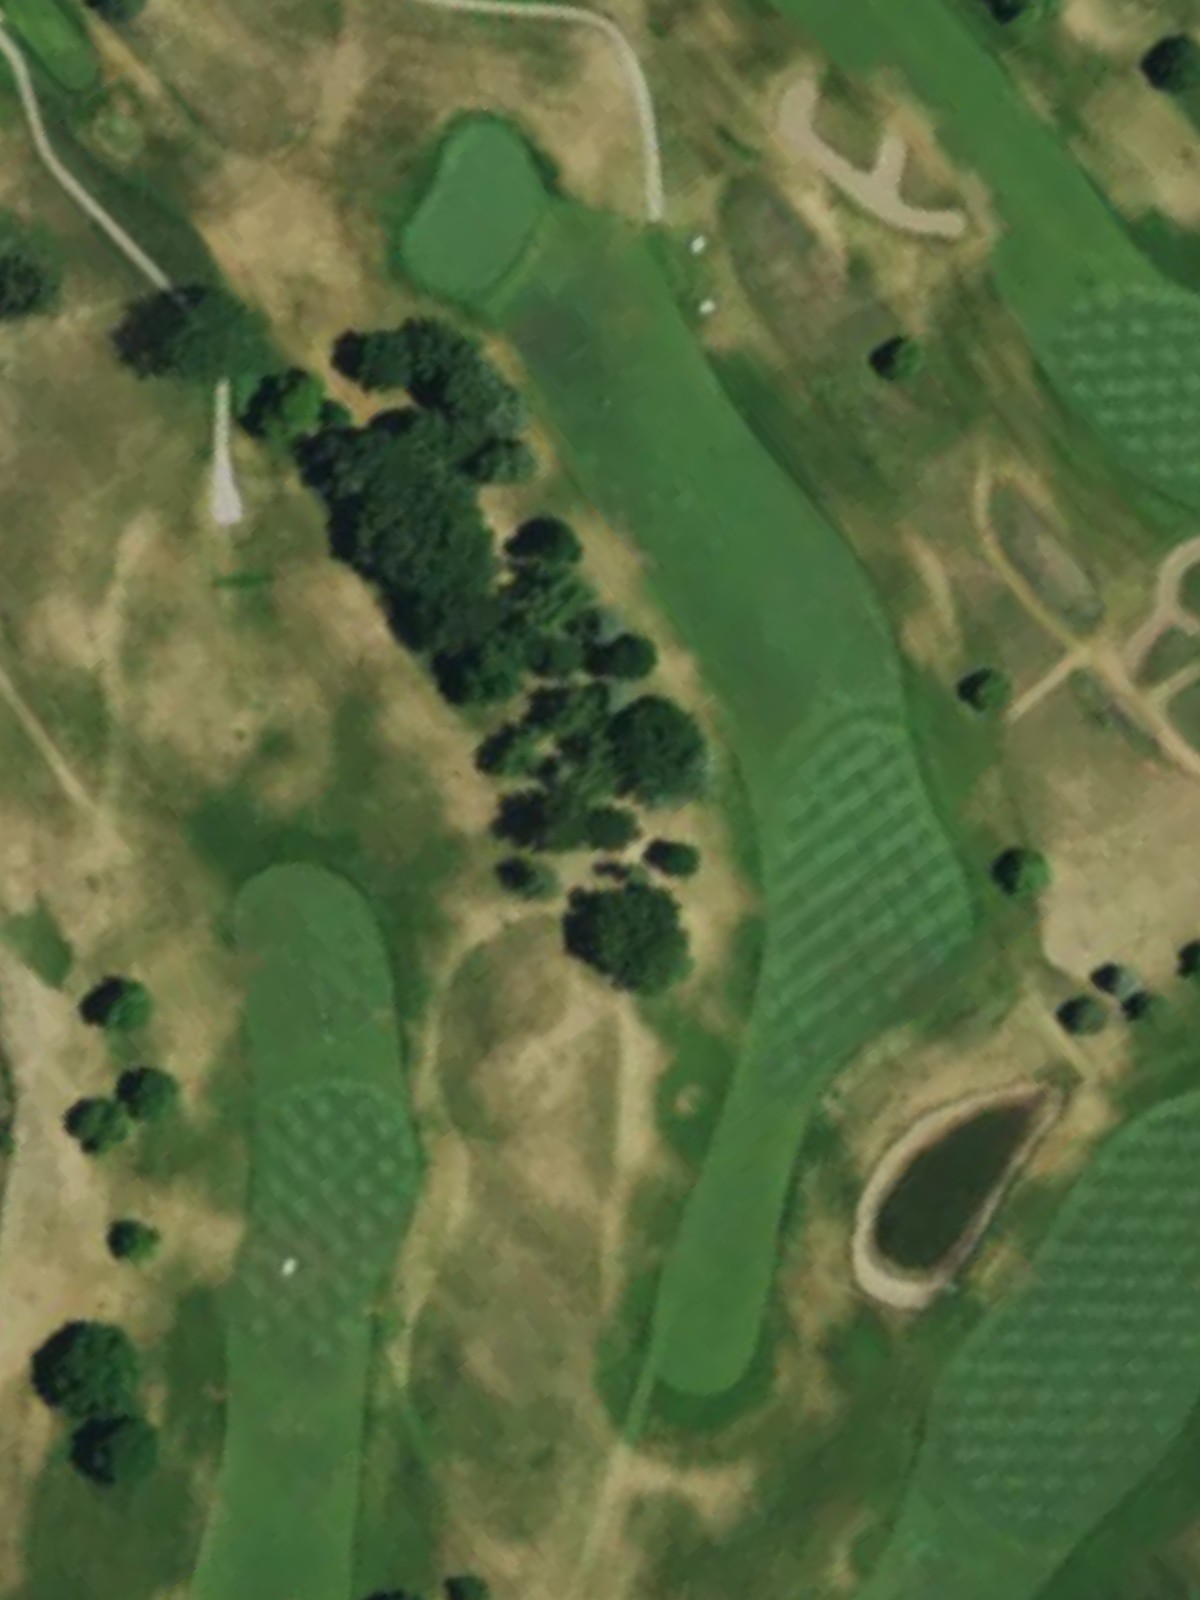
A straightforward par 4 that plays direct to the green with a fairway that gradually narrows as it approaches. Strategic bunkering frames both sides of the green, requiring accuracy on the approach shot to avoid sand.
A short par 4 offering a good birdie opportunity with a relatively open fairway. The green is well-bunkered on the right side, making precision important despite the modest length.
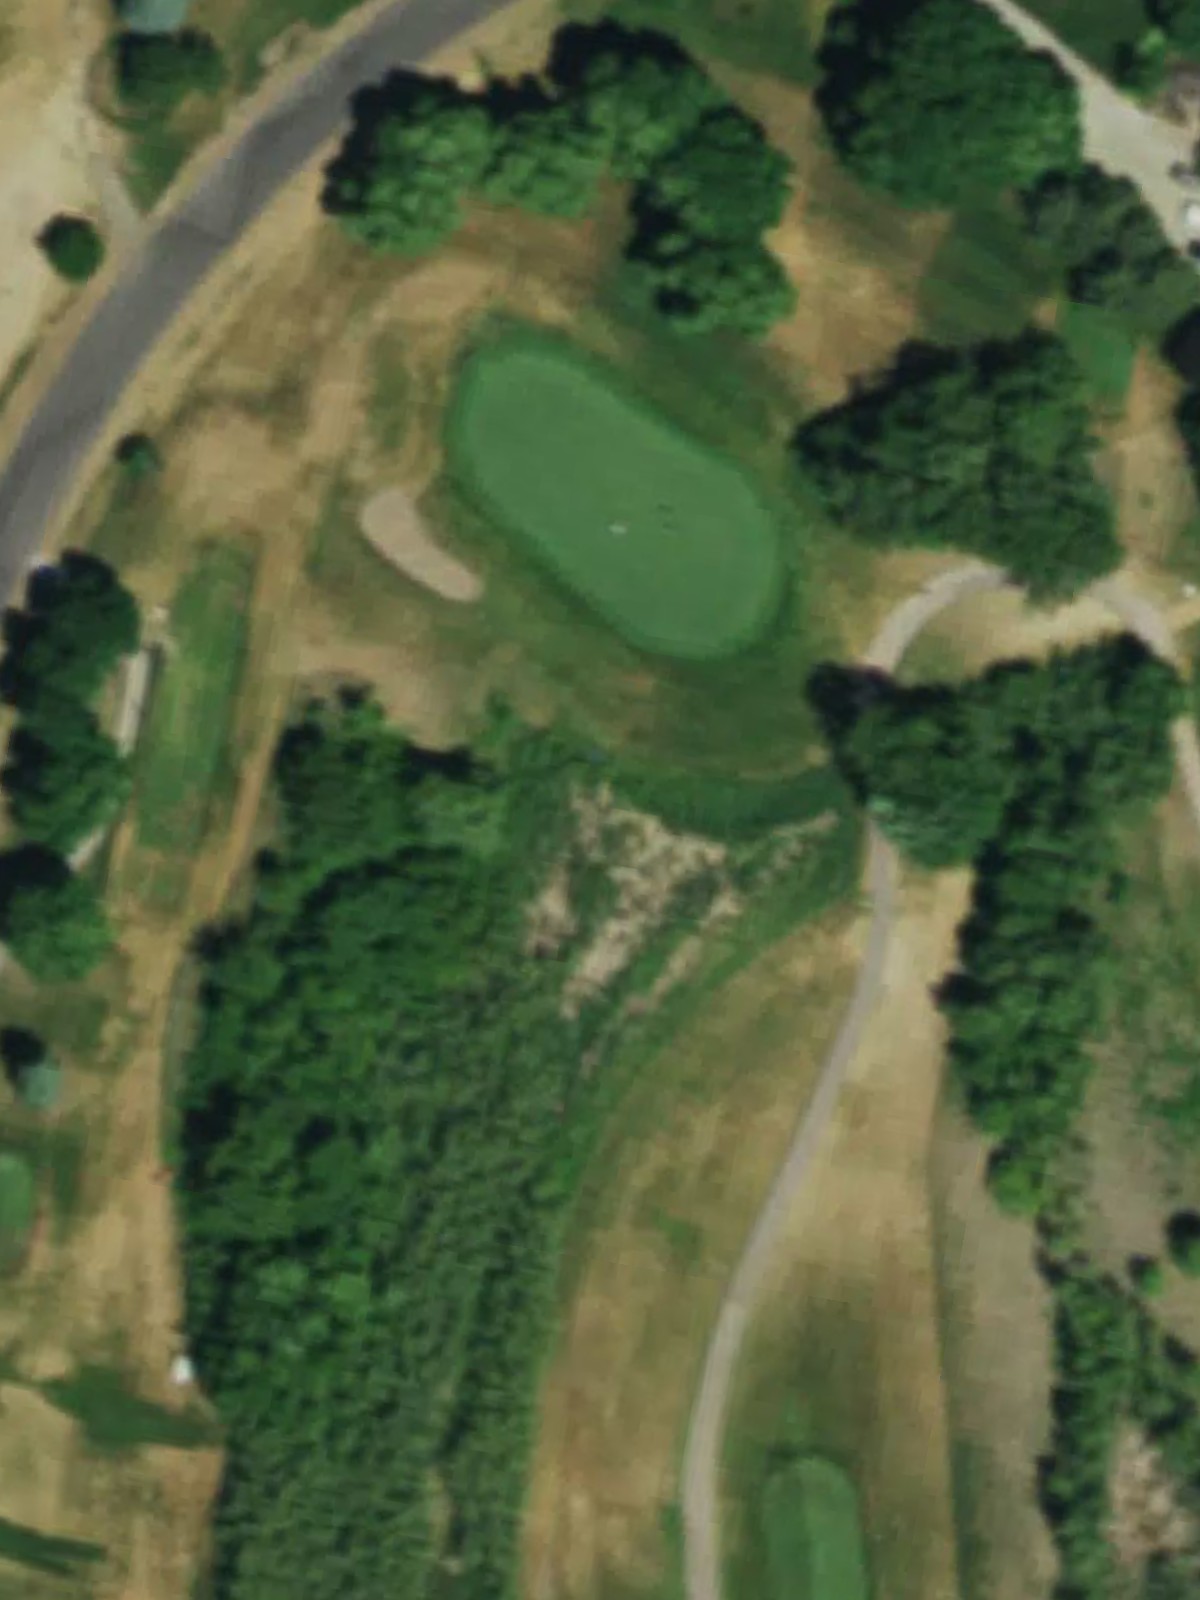
A short par 3 with minimal hazards, making it one of the course's more forgiving one-shot holes. The compact green allows for straightforward target golf without significant obstacles.
A lengthy par 5 that demands placement on two successive shots to reach scoring position. The fairway tightens in the landing areas, and bunkers protect the green's approaches on both sides.
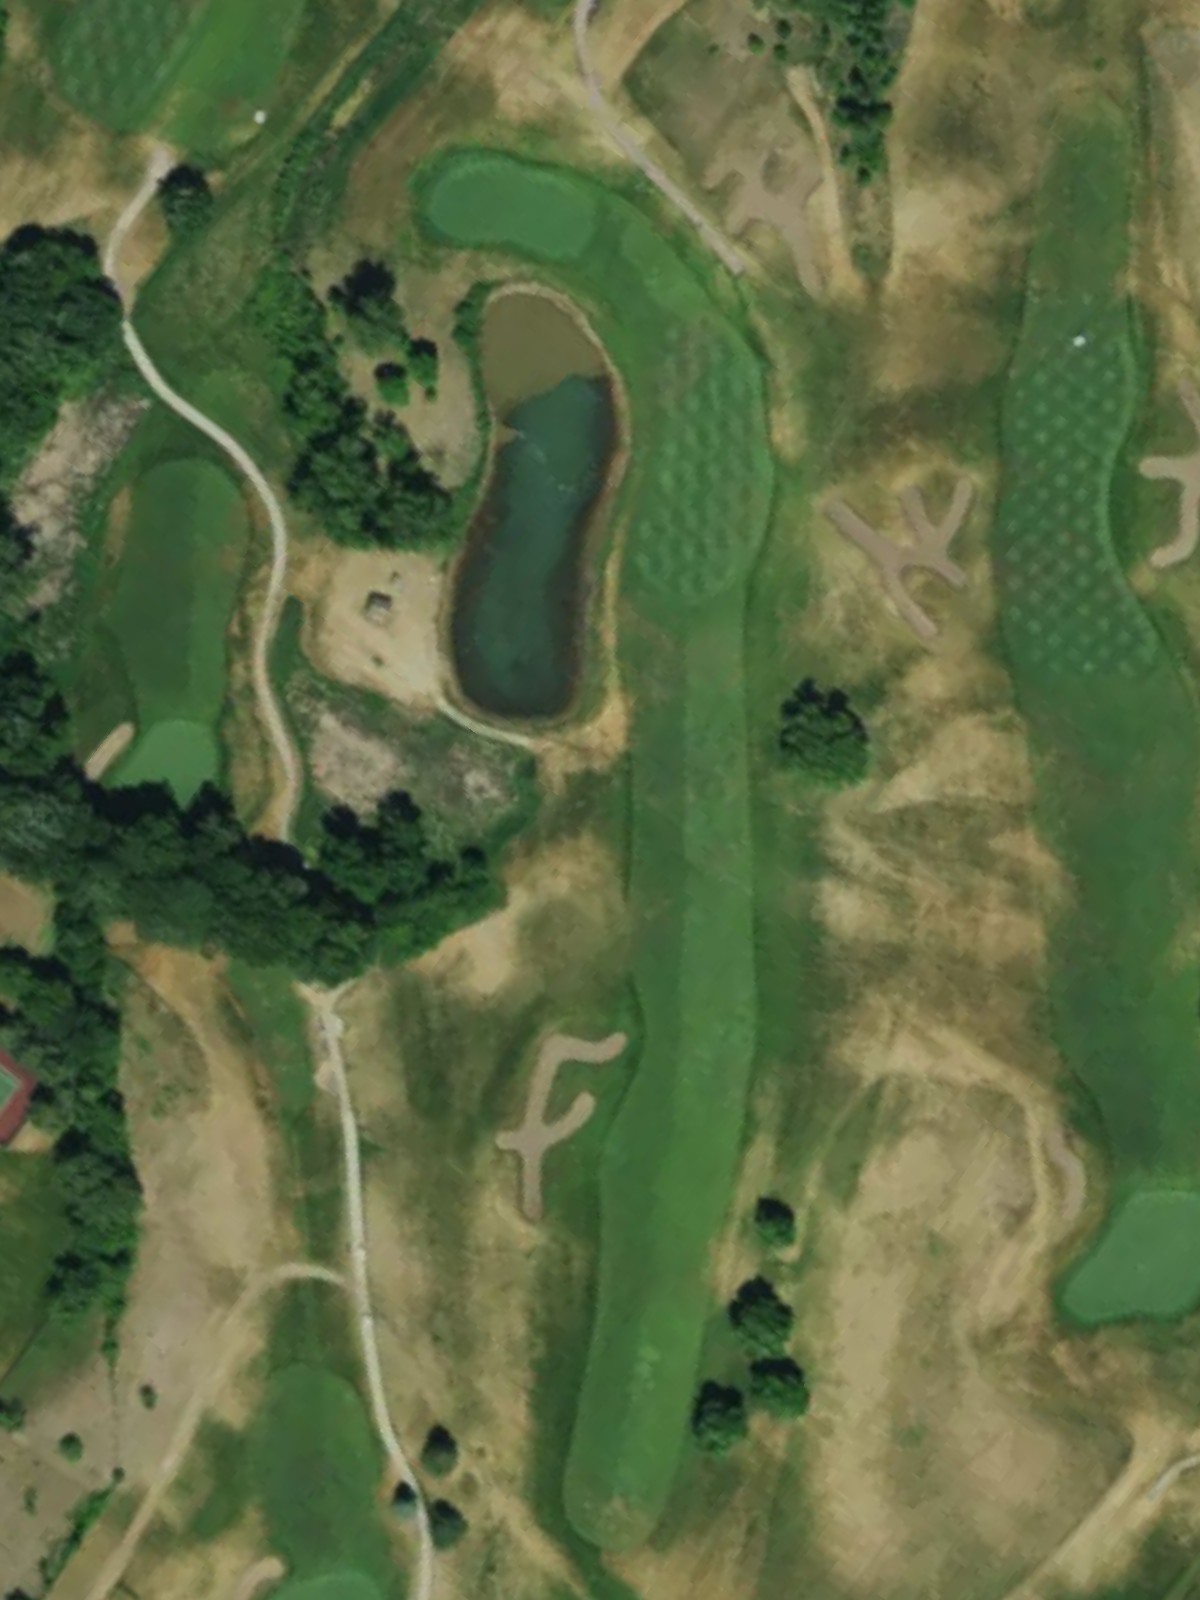
A strategic par 5 with a wide-open fairway that invites aggressive play from the tee. Water hazards come into play on the left side, particularly for those attempting to reach the green in two shots.
A demanding par 4 ranked among the course's most difficult holes, with a fairway that tightens significantly in the approach zone. Well-placed bunkers frame the green on both sides, penalizing any wayward approach shots.

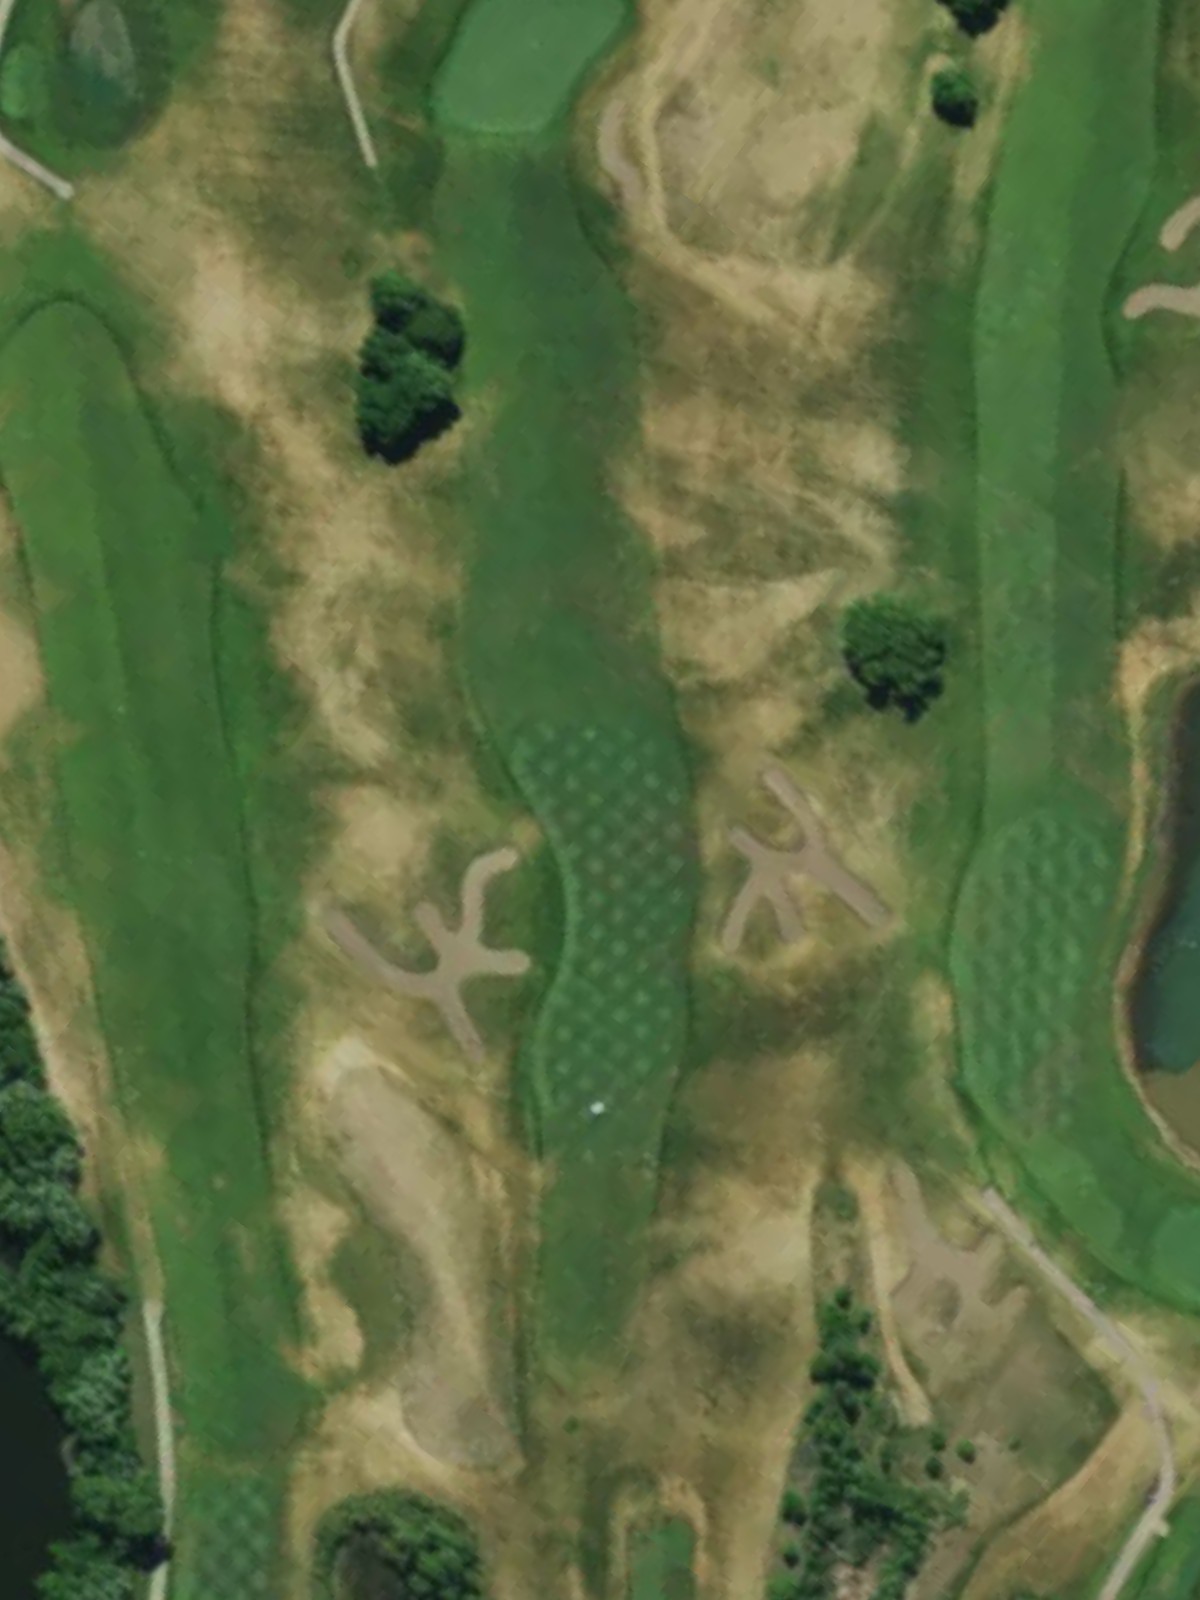
The course's hardest-ranked hole, this par 4 features a tight driving corridor with bunkers framing the fairway. The green is heavily defended by sand on the right and left, demanding precision from tee to pin.
A mid-range par 3 with a modest green complex that requires accurate distance control. Bunkers bookend the green, making club selection critical on this straightforward one-shot hole.
A compact par 4 with a relatively short overall length but a narrow fairway that demands accuracy off the tee. The green sits snugly between bunkers, leaving little margin for error on the approach.
A strong par 4 with a fairway that opens initially but narrows considerably near the green. Strategic bunkering on both sides of the approach area requires a well-executed second shot to avoid sand.
A lengthy par 5 with a fairway that requires two precise shots to set up a reasonable third shot to the green. Bunkers positioned throughout the hole penalize poor positioning at any stage.
A short par 3 presenting a straightforward target over modest distance. The small green is surrounded by bunkers, rewarding accurate aim while punishing any deviation off the center.
The course's second-most difficult hole, this par 4 features a dramatic length difference between tees and a fairway that narrows significantly. Heavy bunkering flanks the approach to a well-defended green, creating a true test of shotmaking.
A powerful par 5 with a fairway that offers width off the tee but tightens as it approaches the green complex. Water and bunkers guard the final approach, requiring strategic positioning rather than all-out aggression.
The course's shortest hole, this par 3 plays downhill to a small, relatively uncluttered green. While minimal hazards surround the target, the compact green demands precision despite the short distance.
A short par 4 offering birdie potential with a fairway that remains open through the landing area. Strategic bunkers near the green add bite to an otherwise straightforward hole, punishing poor approach shots.
A moderate par 4 with a fairway that allows for reasonable positioning off the tee before narrowing into the approach zone. Bunkers frame the green on both sides, making the final shot the hole's primary challenge.
A finishing par 4 with a balanced risk-reward setup featuring a fairway that gradually tightens toward the green. Bunkers strategically placed on both sides of the approach create a dramatic conclusion to the round.
Scorecard
| Hole | 1 | 2 | 3 | 4 | 5 | 6 | 7 | 8 | 9 | Out | 10 | 11 | 12 | 13 | 14 | 15 | 16 | 17 | 18 | In | Tot |
|---|---|---|---|---|---|---|---|---|---|---|---|---|---|---|---|---|---|---|---|---|---|
| Par | 4 | 4 | 3 | 5 | 5 | 4 | 4 | 3 | 4 | 36 | 4 | 5 | 3 | 4 | 5 | 3 | 4 | 4 | 4 | 36 | 72 |
| HCP | 5 | 15 | 11 | 17 | 9 | 3 | 1 | 13 | 7 | 4 | 16 | 14 | 2 | 8 | 18 | 12 | 10 | 6 | |||
| blue | 396 | 350 | 170 | 515 | 513 | 428 | 413 | 192 | 375 | 3352 | 406 | 501 | 179 | 459 | 541 | 156 | 351 | 389 | 394 | 3376 | 6728 |
| white | 383 | 304 | 156 | 457 | 497 | 405 | 397 | 161 | 365 | 3125 | 389 | 490 | 158 | 417 | 523 | 131 | 315 | 338 | 380 | 3141 | 6266 |
| yellow | 363 | 291 | 142 | 449 | 467 | 377 | 371 | 148 | 359 | 2967 | 365 | 453 | 141 | 337 | 502 | 110 | 279 | 298 | 358 | 2843 | 5810 |
| yellow/red | 363 | 291 | 142 | 449 | 427 | 327 | 371 | 148 | 295 | 2813 | 330 | 453 | 129 | 337 | 420 | 110 | 279 | 278 | 311 | 2647 | 5460 |
| red | 317 | 248 | 97 | 407 | 427 | 327 | 333 | 138 | 295 | 2589 | 330 | 410 | 129 | 329 | 420 | 100 | 270 | 278 | 311 | 2577 | 5166 |