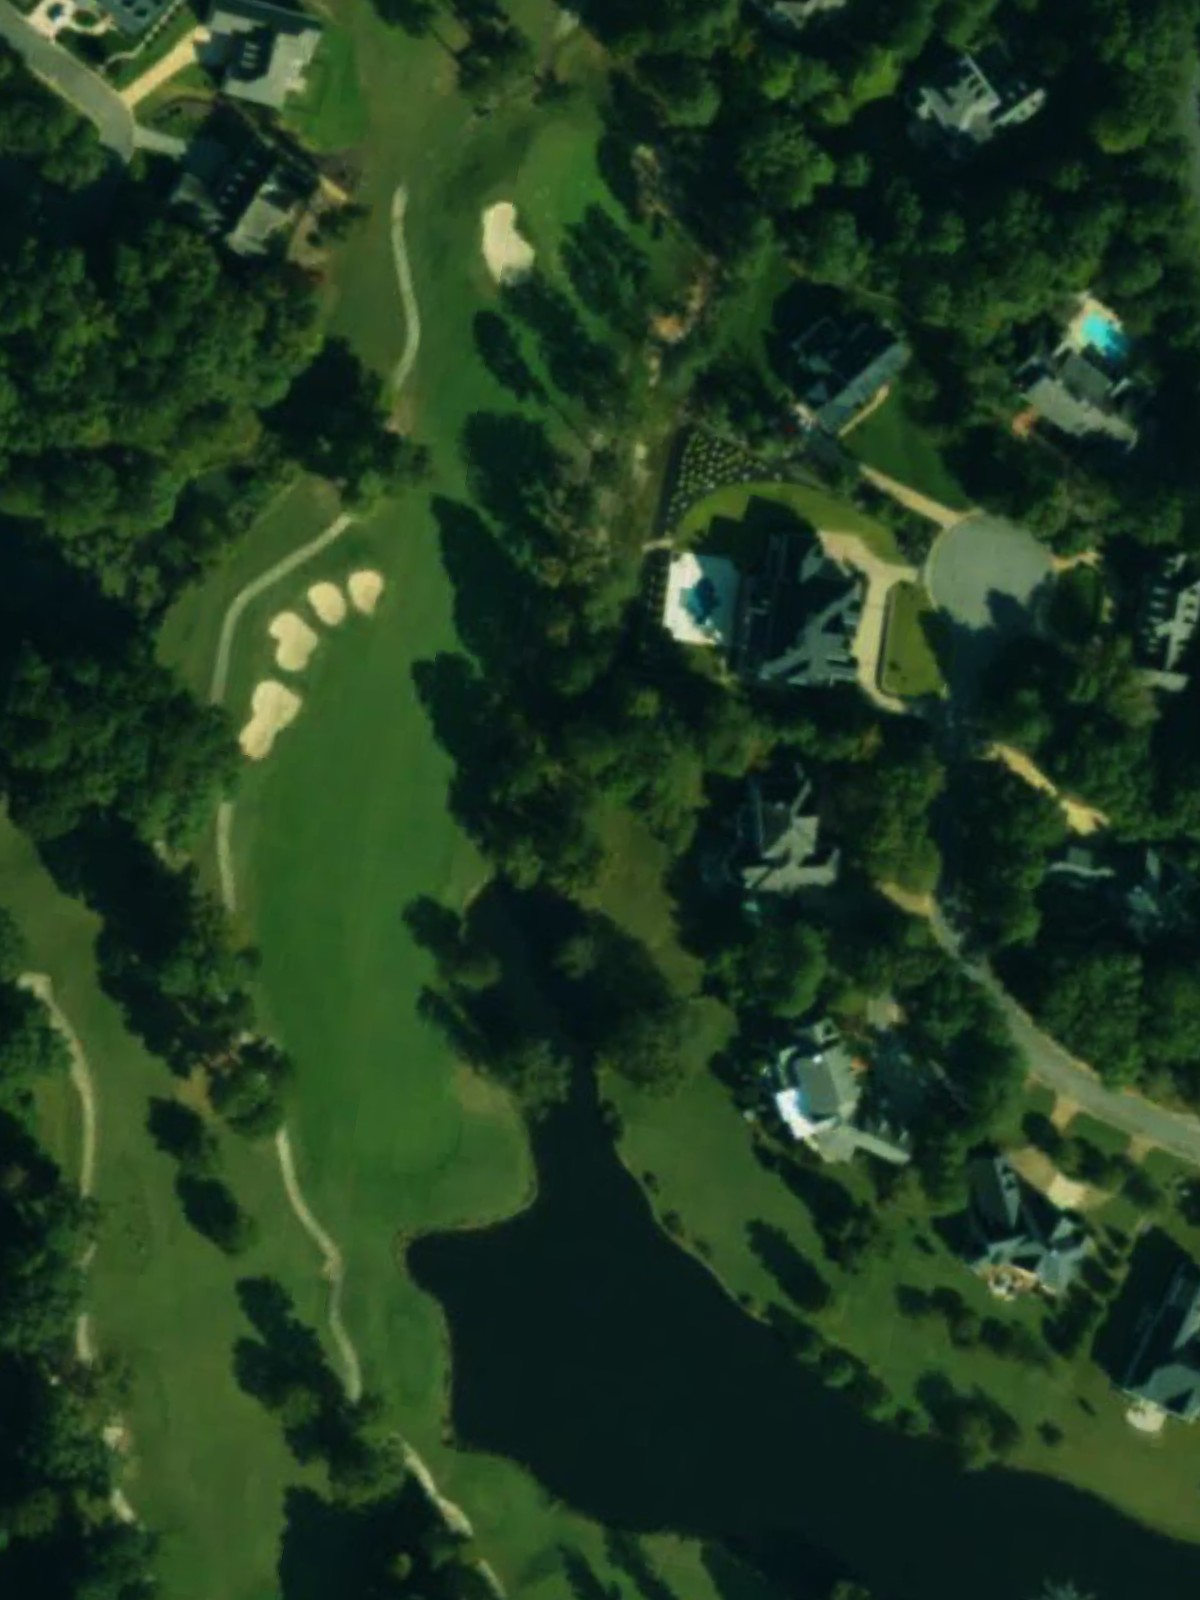
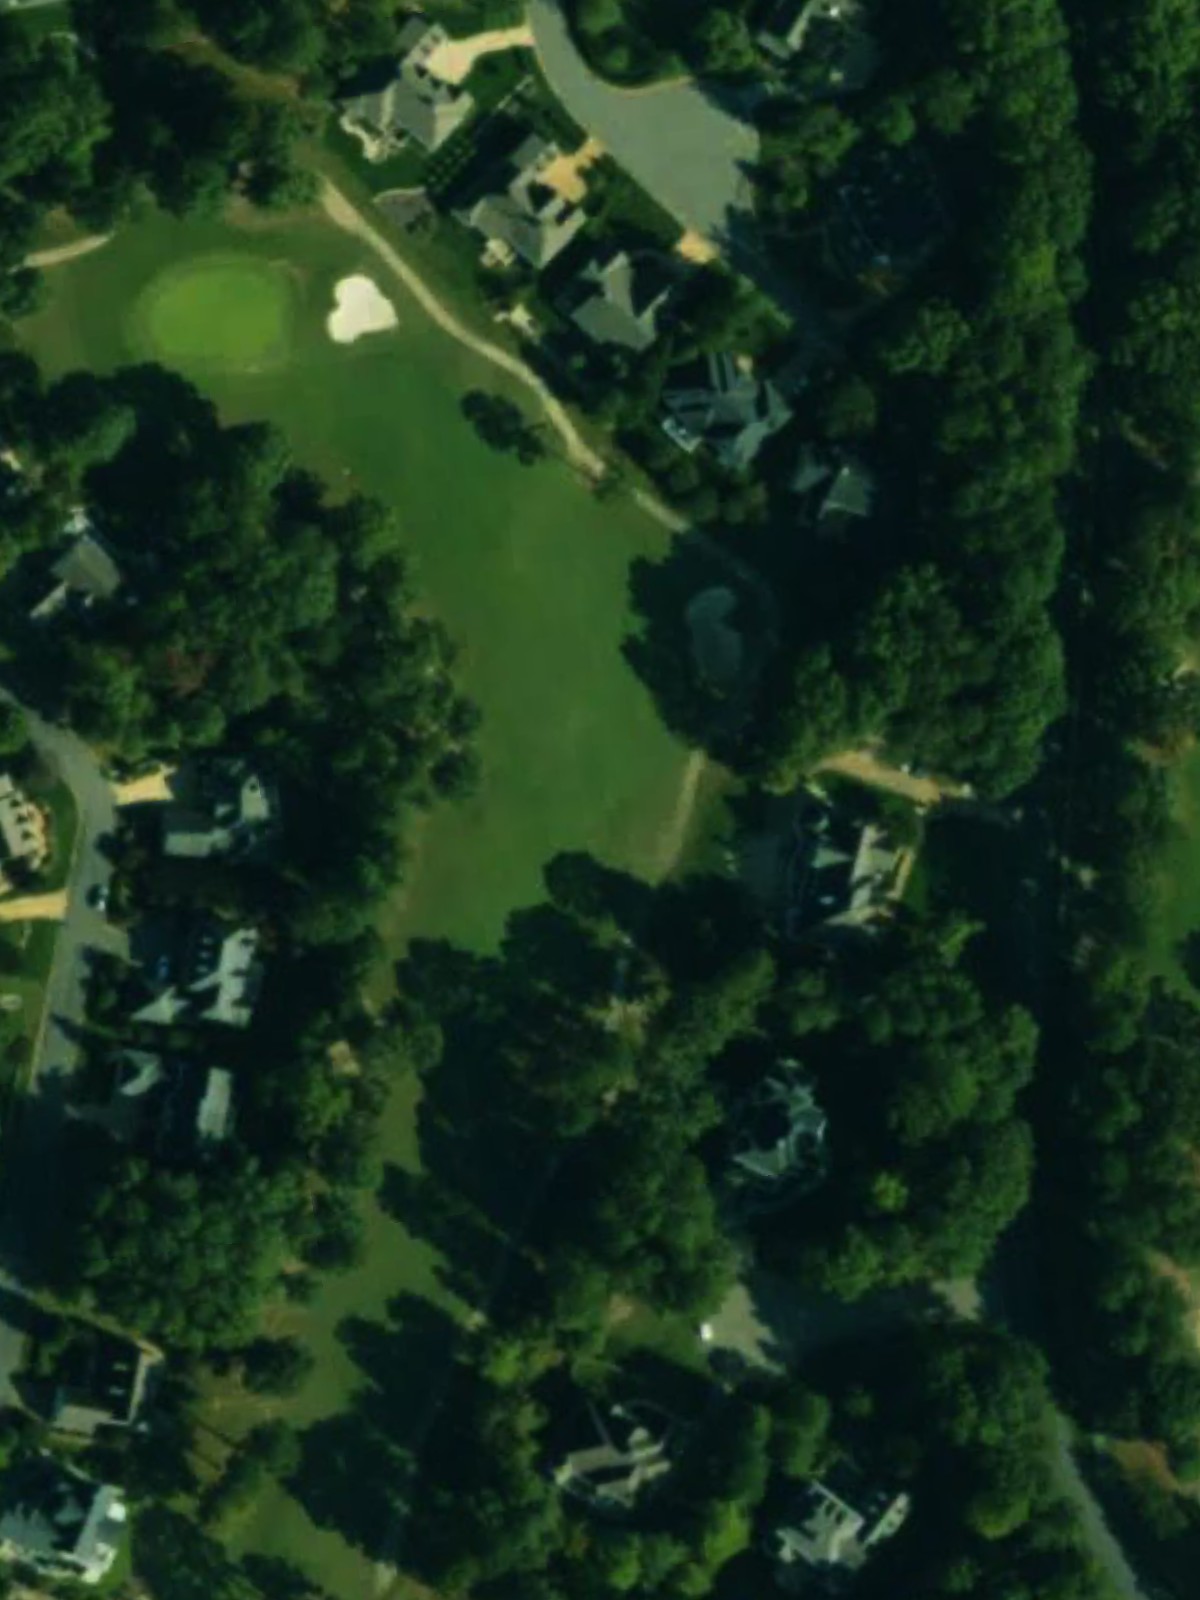
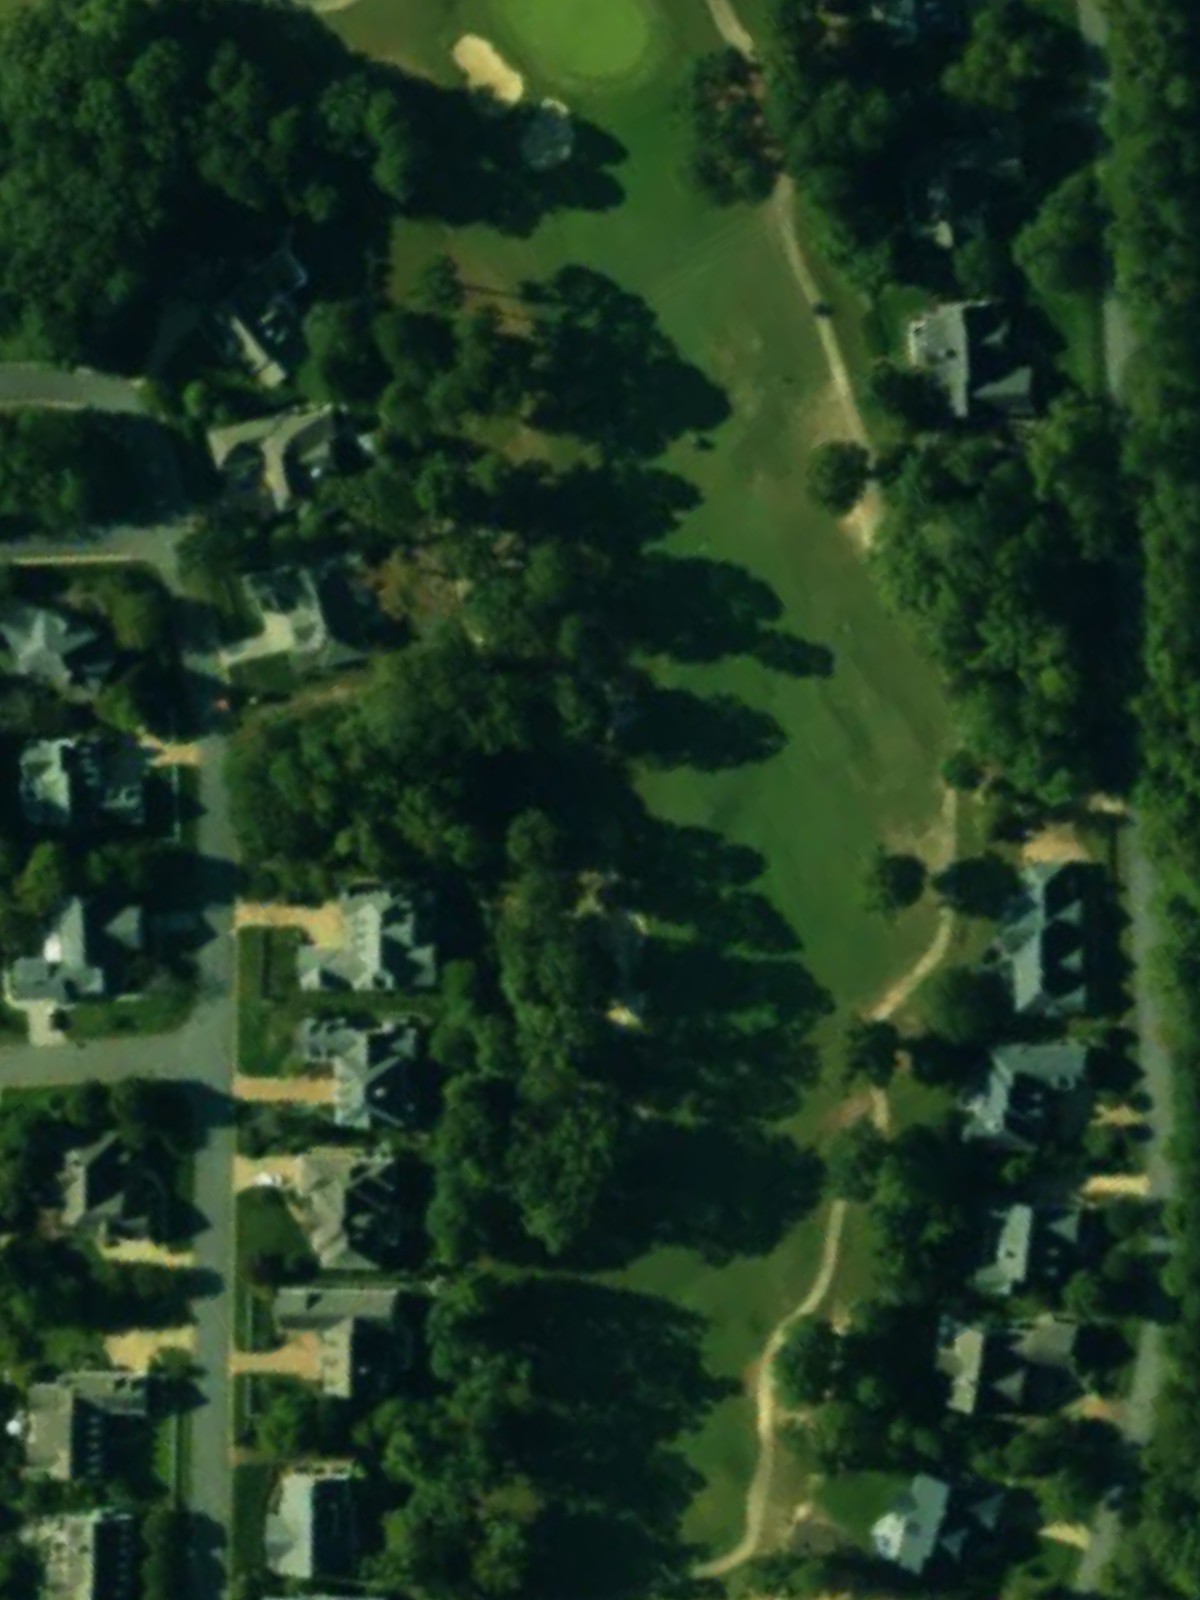
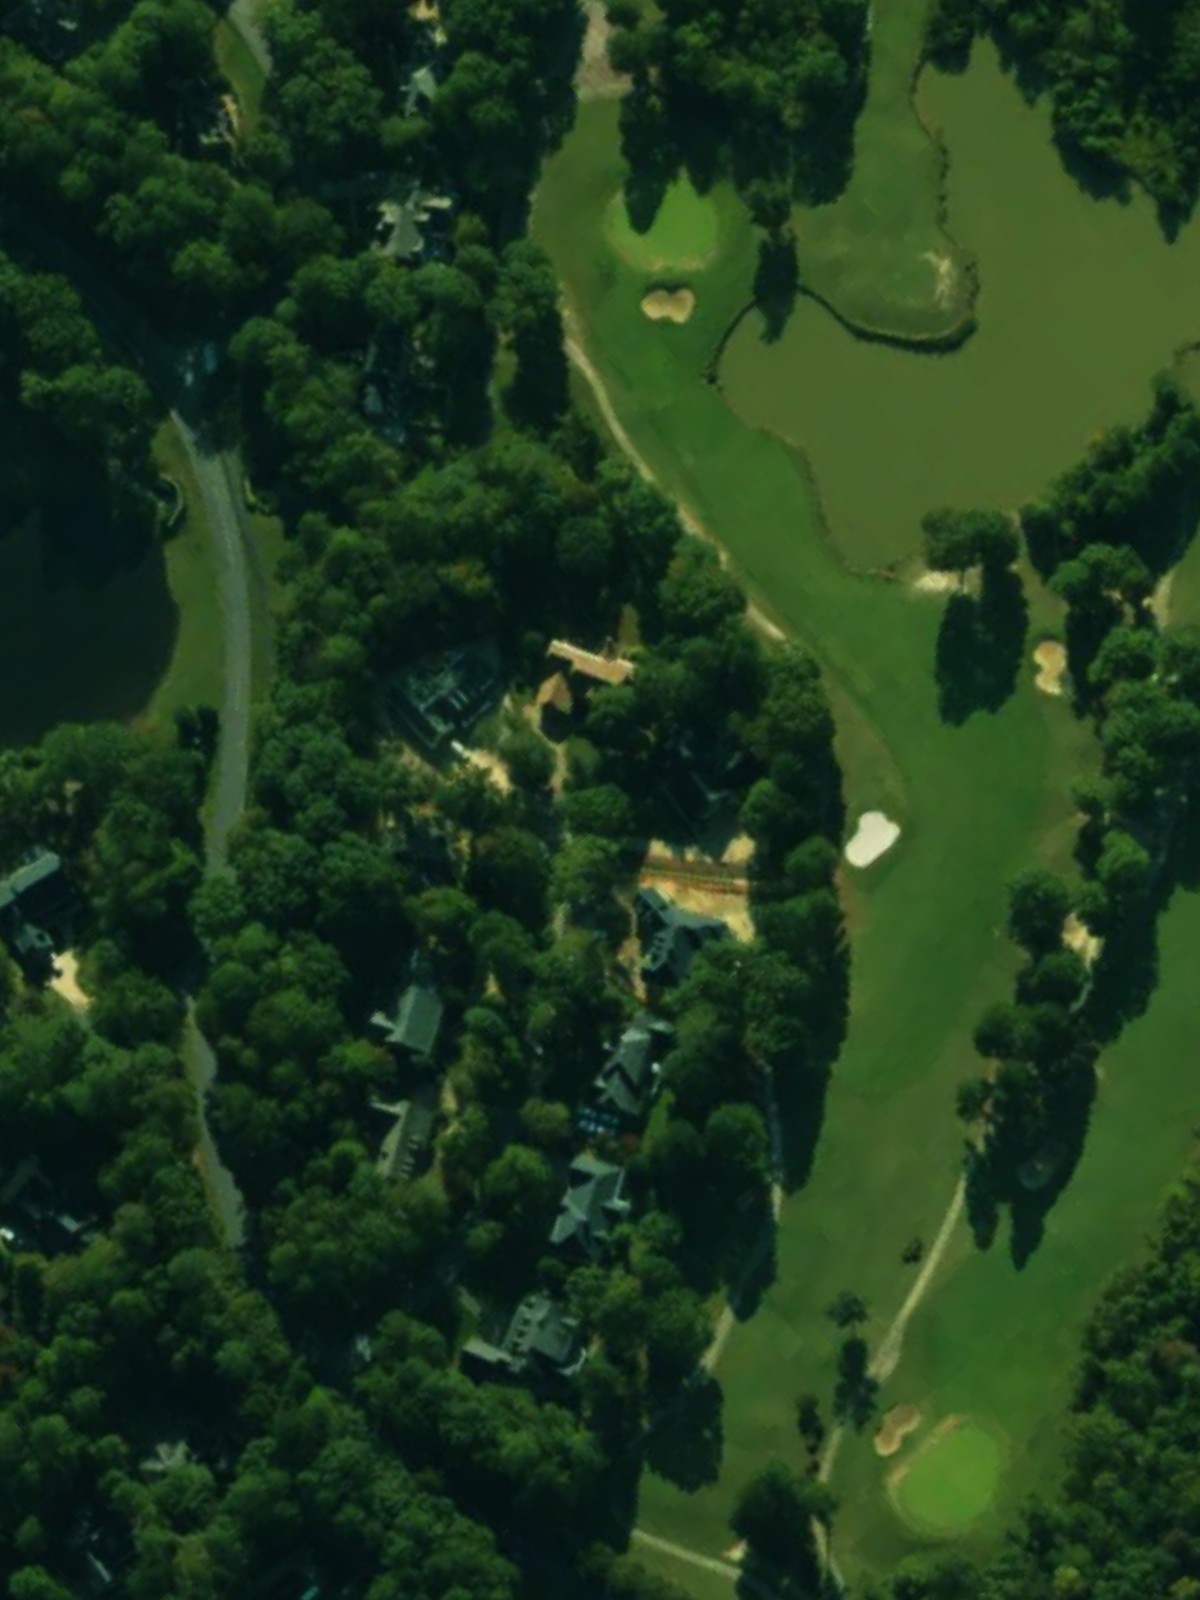
Ford'S Colony Country Club is an 18-hole golf course in Williamsburg, VA with a par of 72. It offers 8 tee sets: black (6,954 yards, slope 133, rating 73.6), black/blue (6,607 yards, slope 130, rating 72), blue (6,305 yards, slope 127, rating 70.7), blue/white (6,049 yards, slope 123, rating 69.5), white (5,808 yards, slope 120, rating 68.2), white/red (5,387 yards, slope 115, rating 66.2), red (5,149 yards, slope 114, rating 65), orange (3,051 yards, slope 90, rating 56.1). The hardest hole is #4, a par 5 playing 437 yards from the first tee.
Ford'S Colony Country Club
Williamsburg, VA
Get PDF Yardage Book
We'll email you the PDF link. No spam, ever.
Create Your Game Plan
Pick your tees, enter your bag, and get a personalized shot-by-shot strategy for every hole.
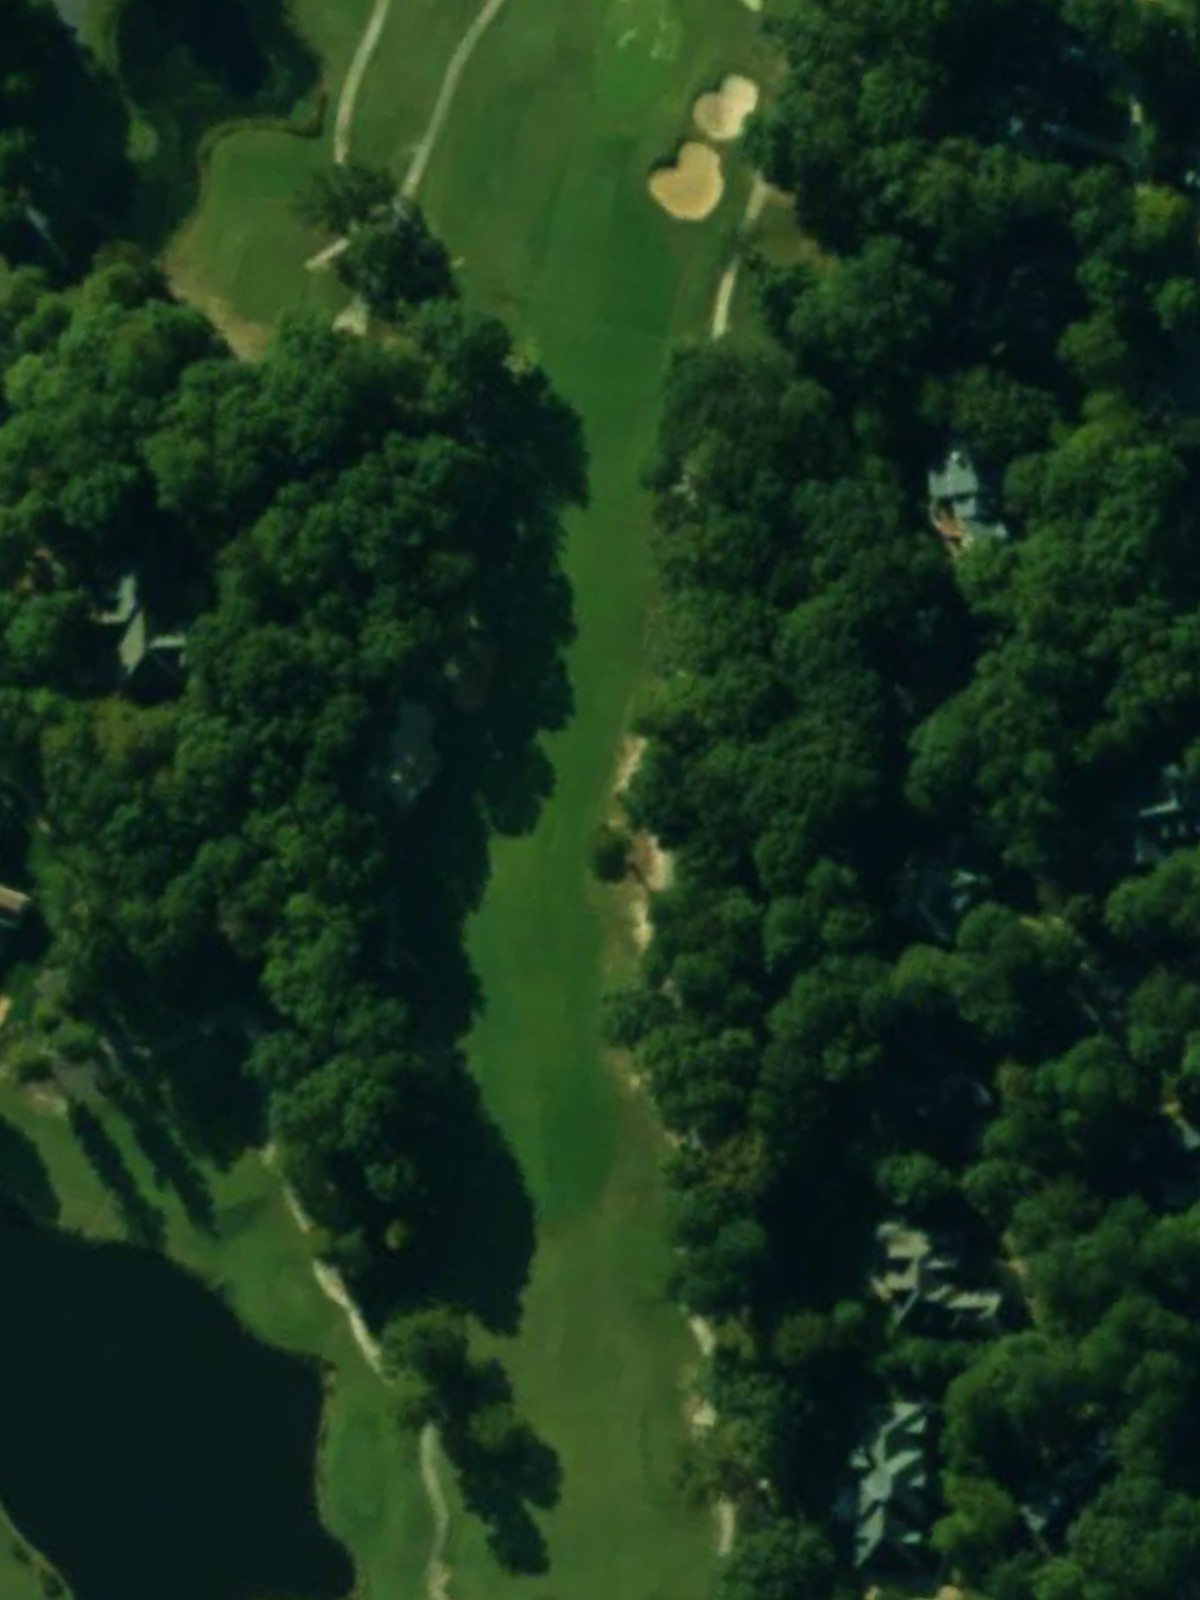
A straightforward opening par 4 with a fairway that narrows as it approaches the green. Bunkers guard the right side of the putting surface, requiring precision on the approach shot.
A short par 4 that plays deceptively simple from the tee. Bunkers around the green demand accuracy on the second shot, and the relatively flat terrain offers few hiding places for wayward drives.
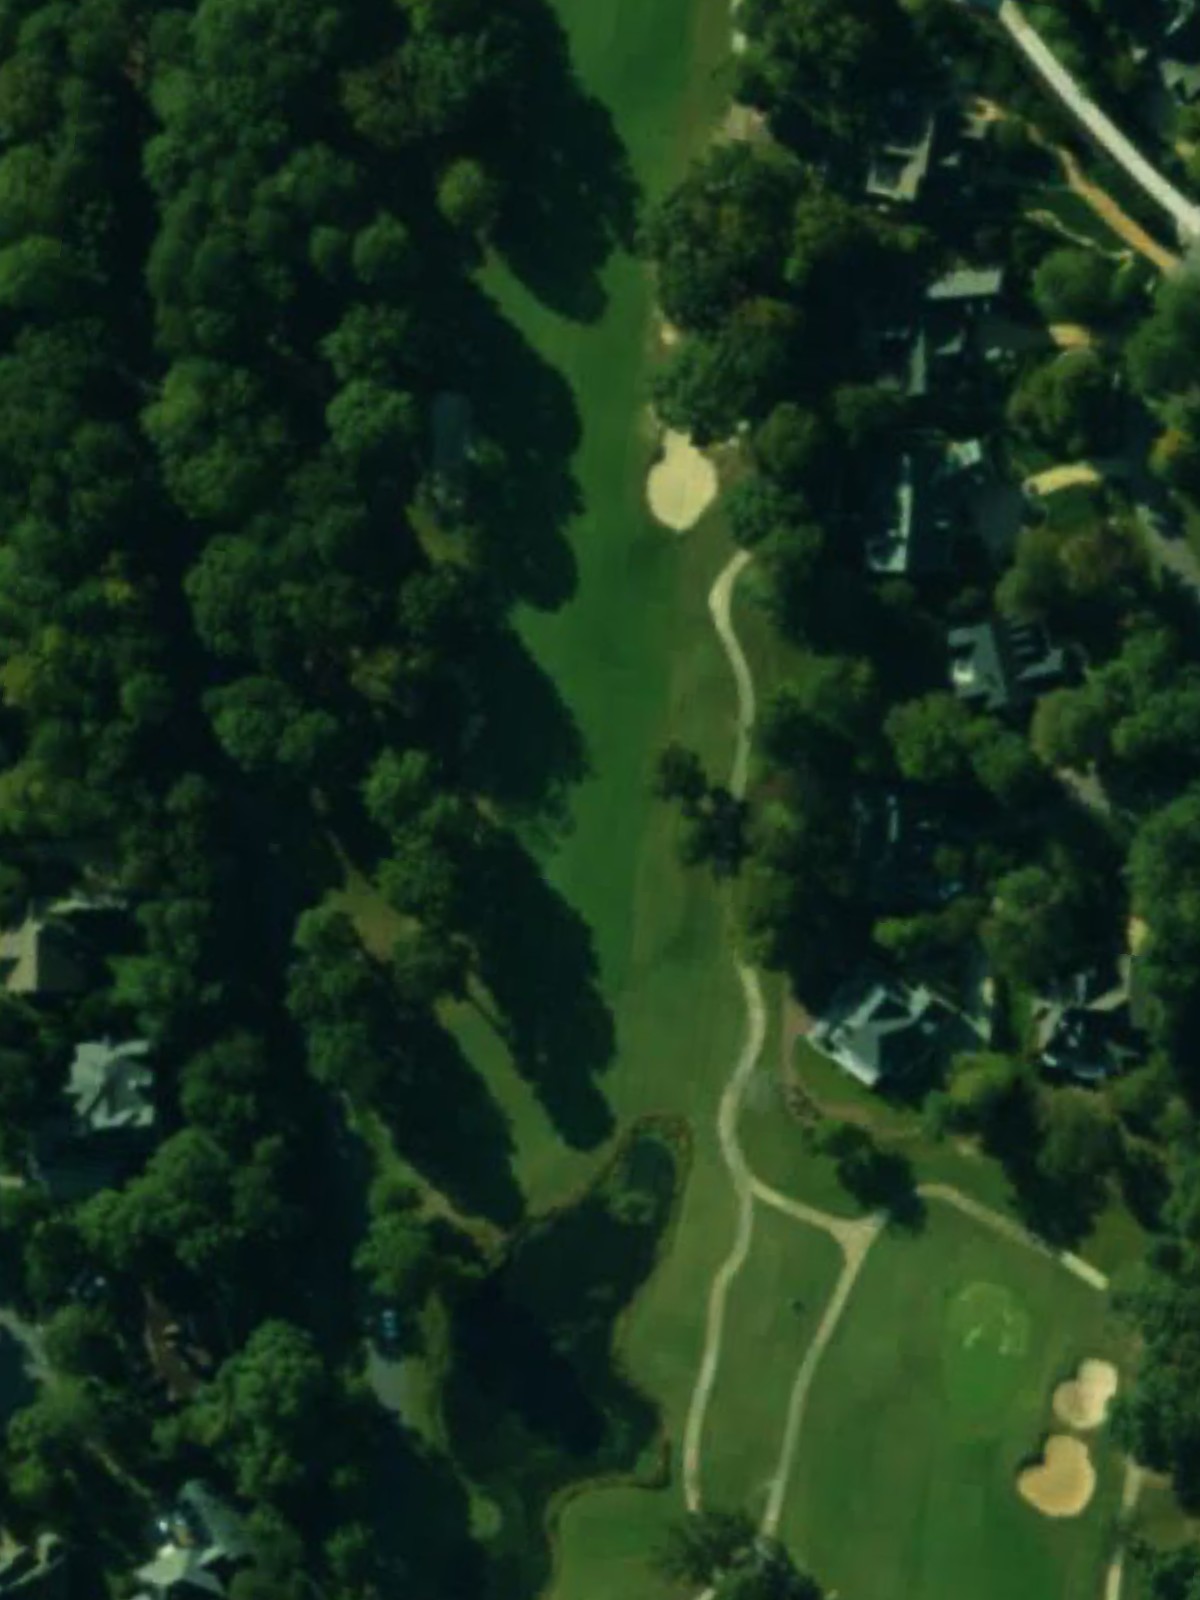
A modest par 4 that can be driven aggressively by longer hitters. Strategic bunkering near the green adds complexity to what appears at first glance to be a straightforward approach.
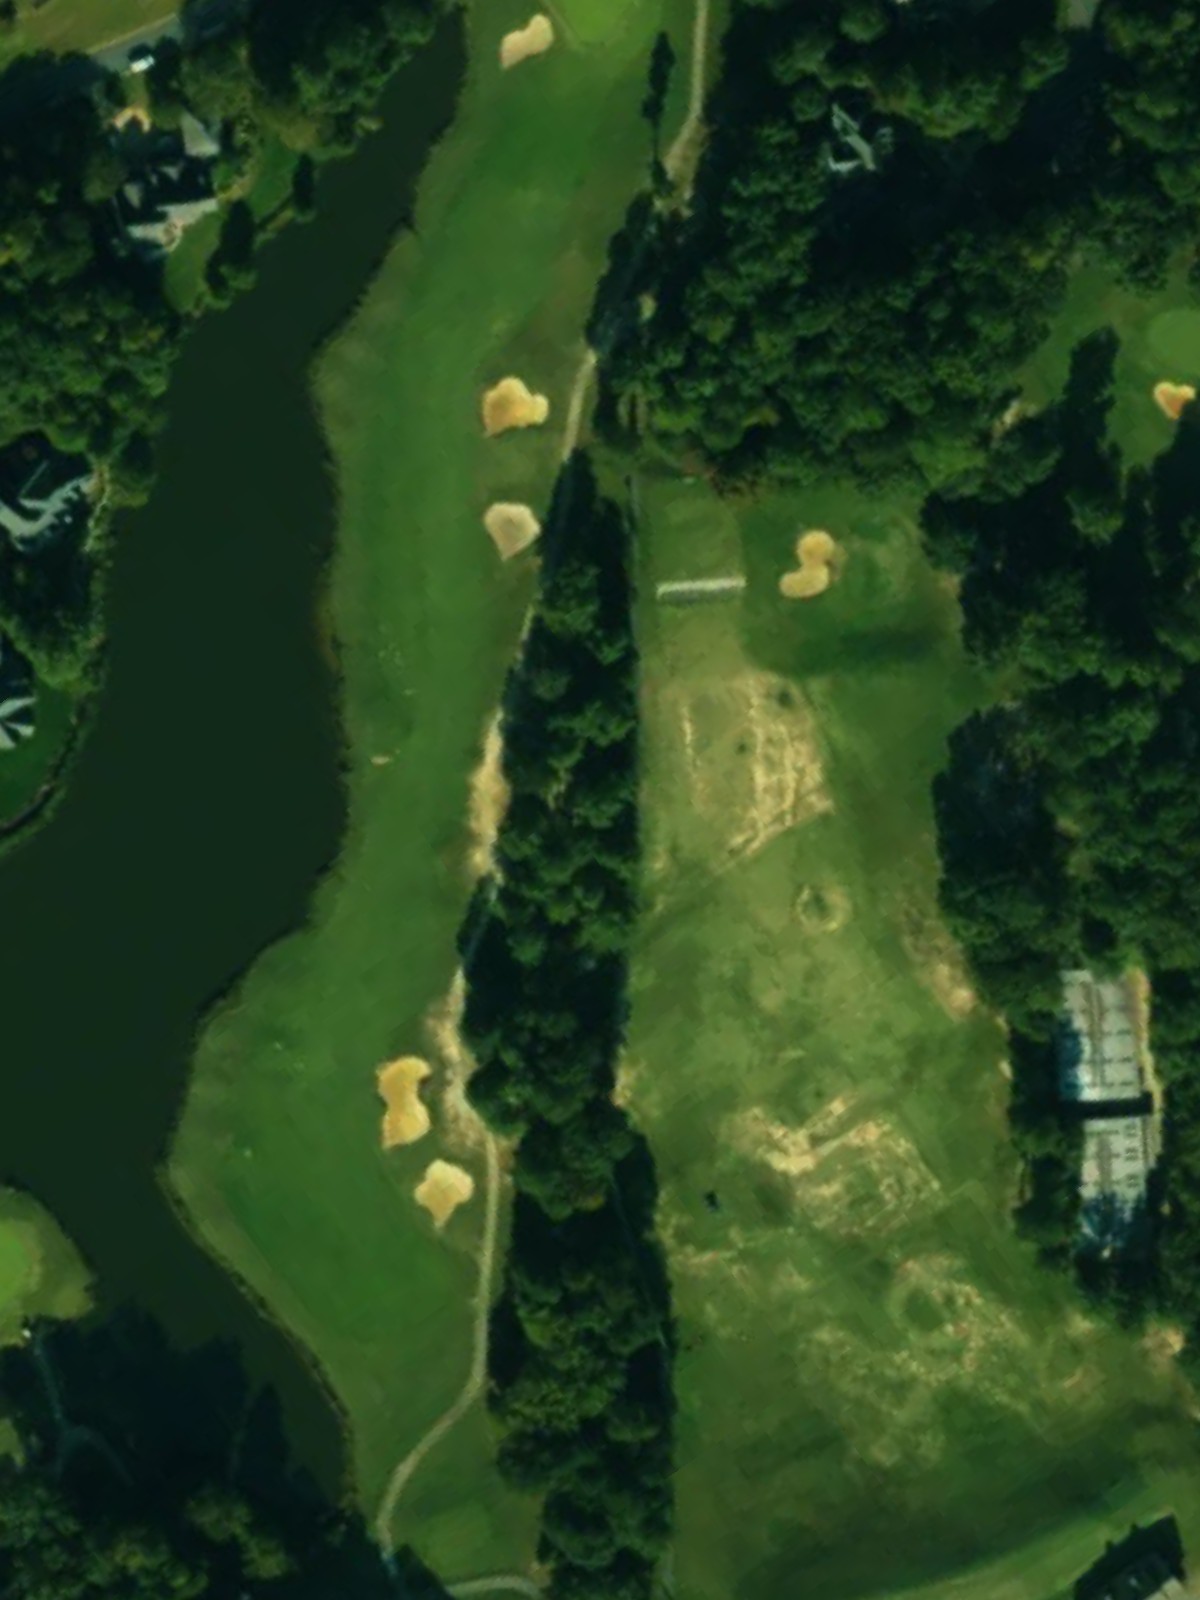
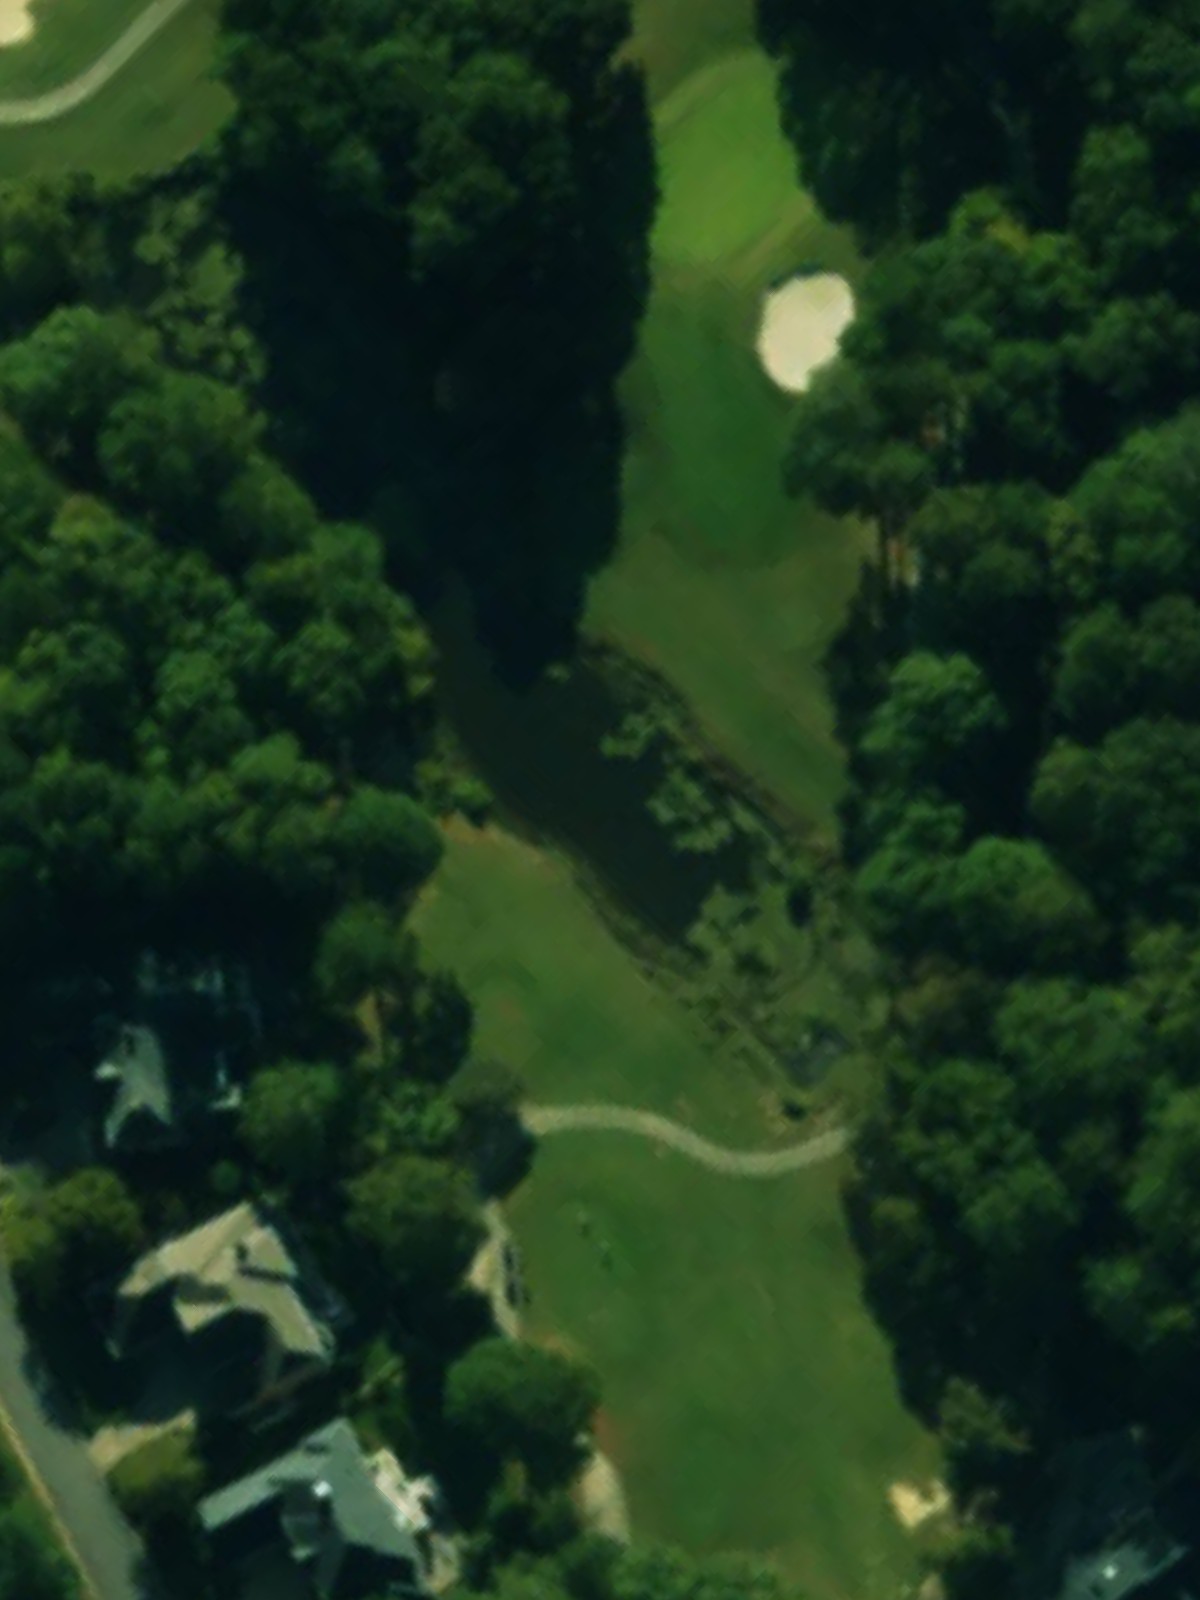
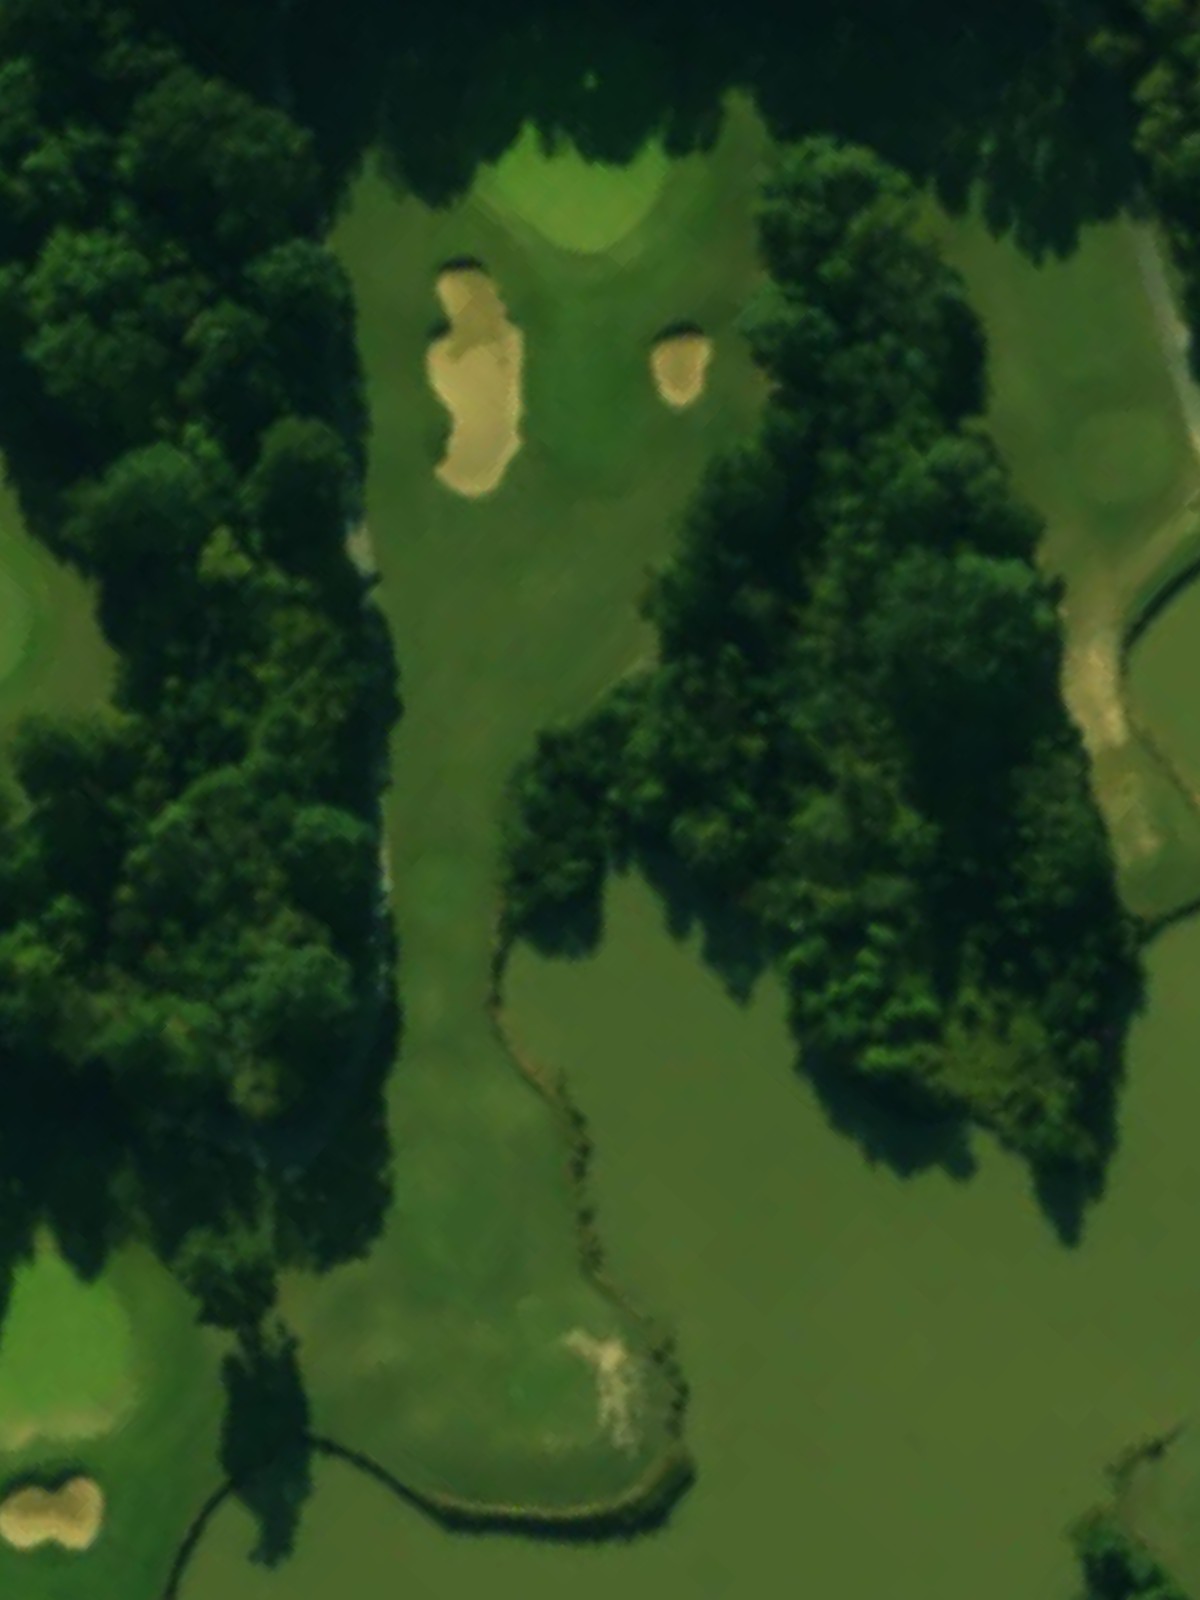
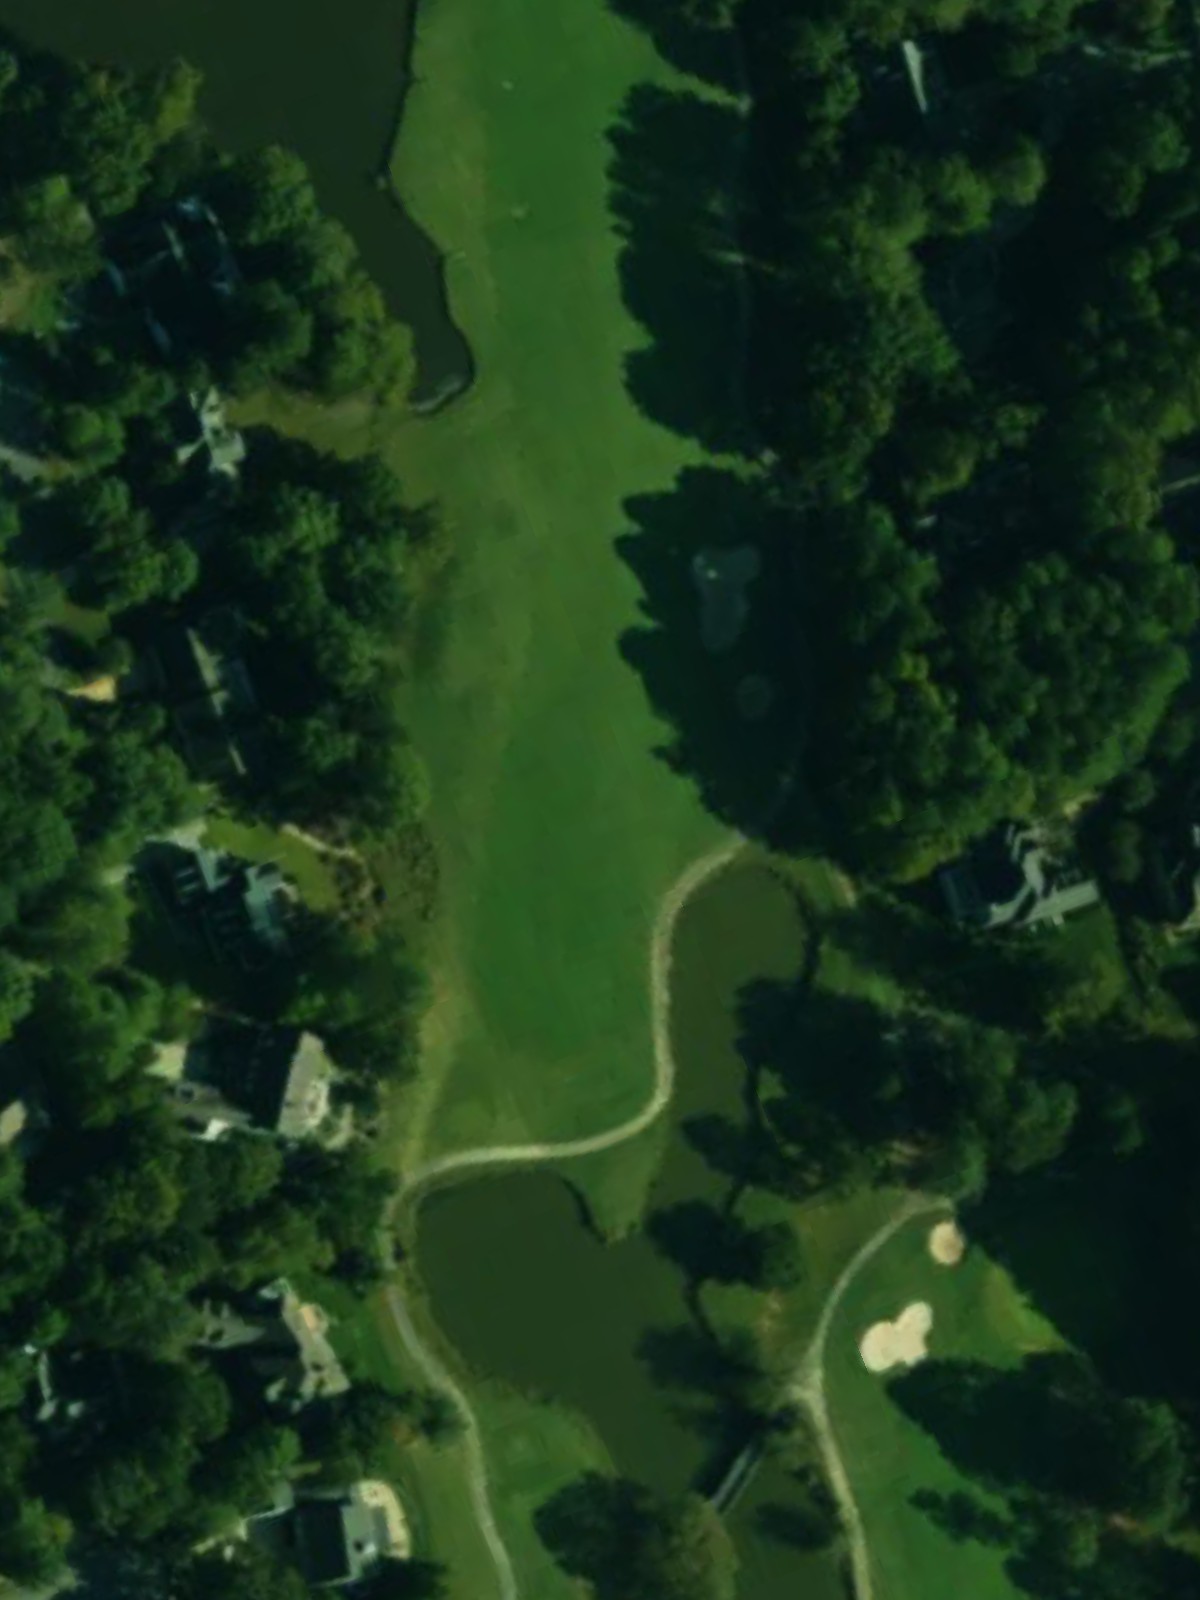
The course's most difficult hole, this long par 5 features water hazards that come into play throughout. Bunkers protect the green and reward strategic positioning of both the drive and layup shot.
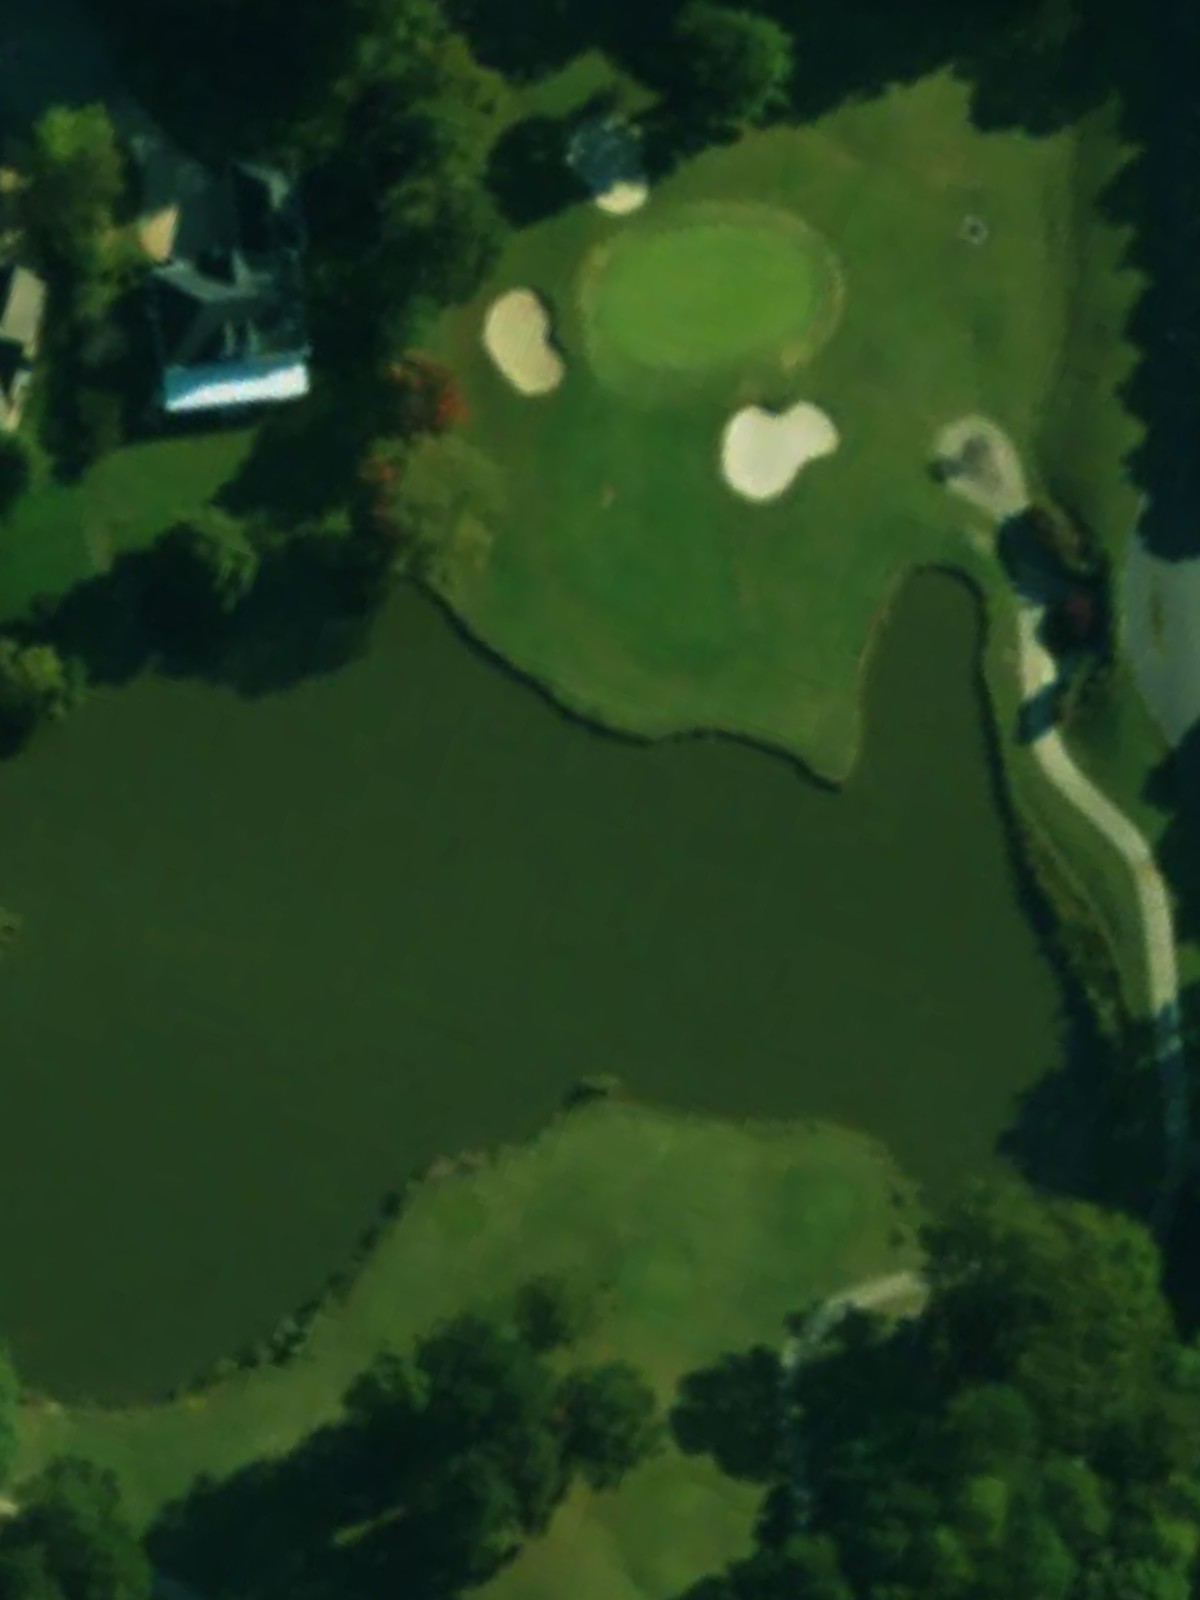
A challenging par 4 where water hazards and bunkers narrow the acceptable landing areas. The fairway demands careful navigation, and the green's proximity to water makes the approach shot critical.
A short par 3 that straightforward in appearance but defended by bunkers around the green. The relatively modest length is deceptive, as accurate club selection is essential to avoid sand.
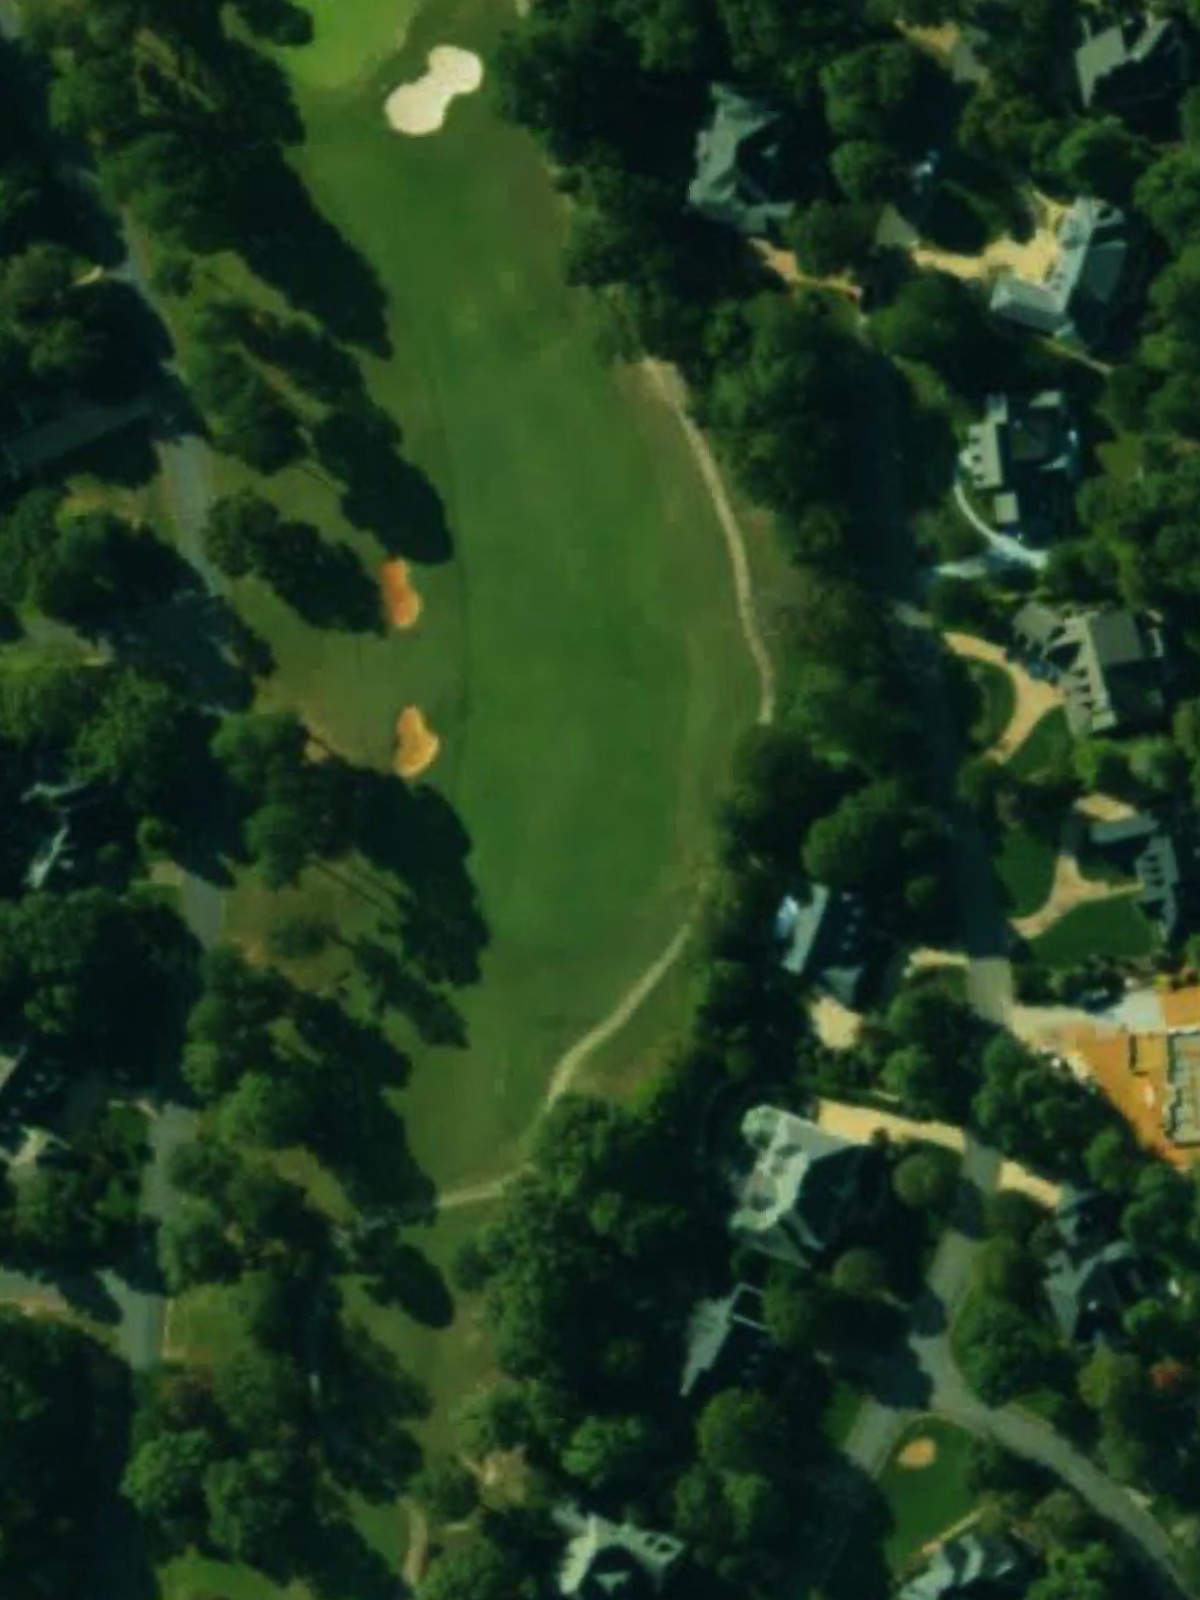
A well-bunkered par 4 that tests accuracy from tee to green. Bunkers frame the fairway and guard the putting surface, demanding controlled shot-making throughout the hole.
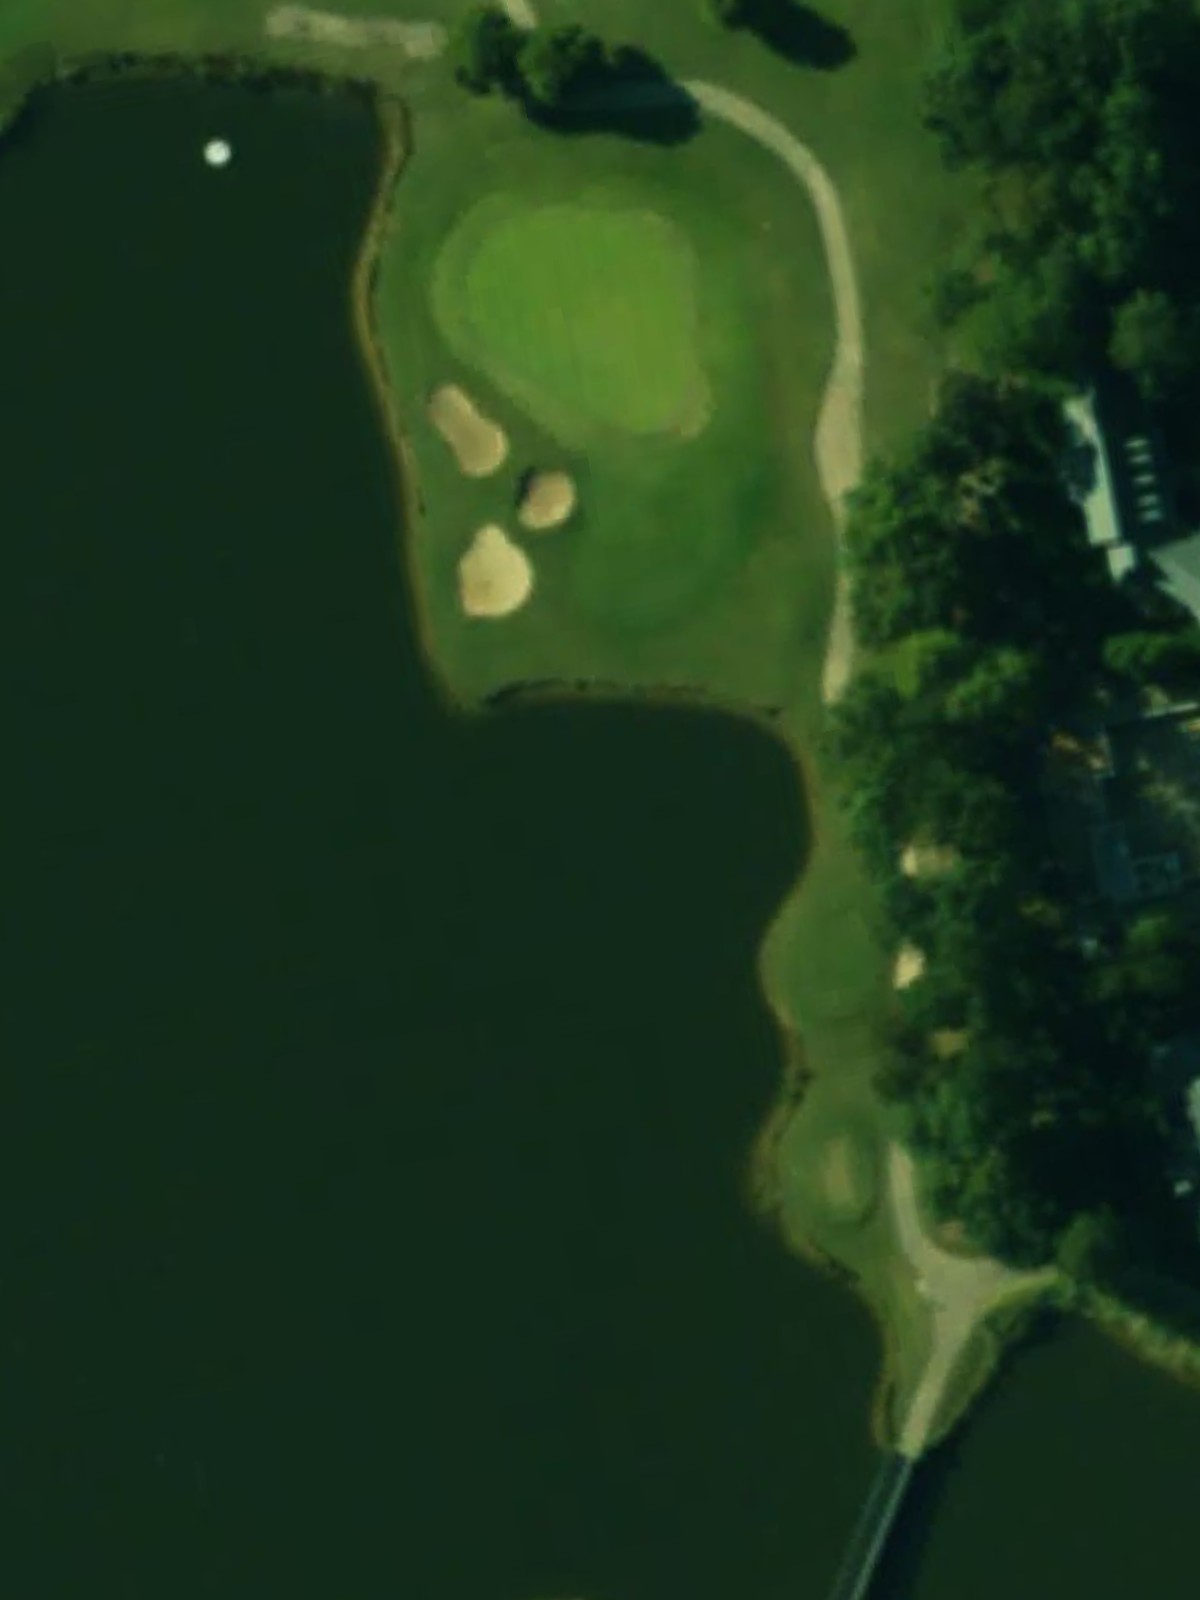
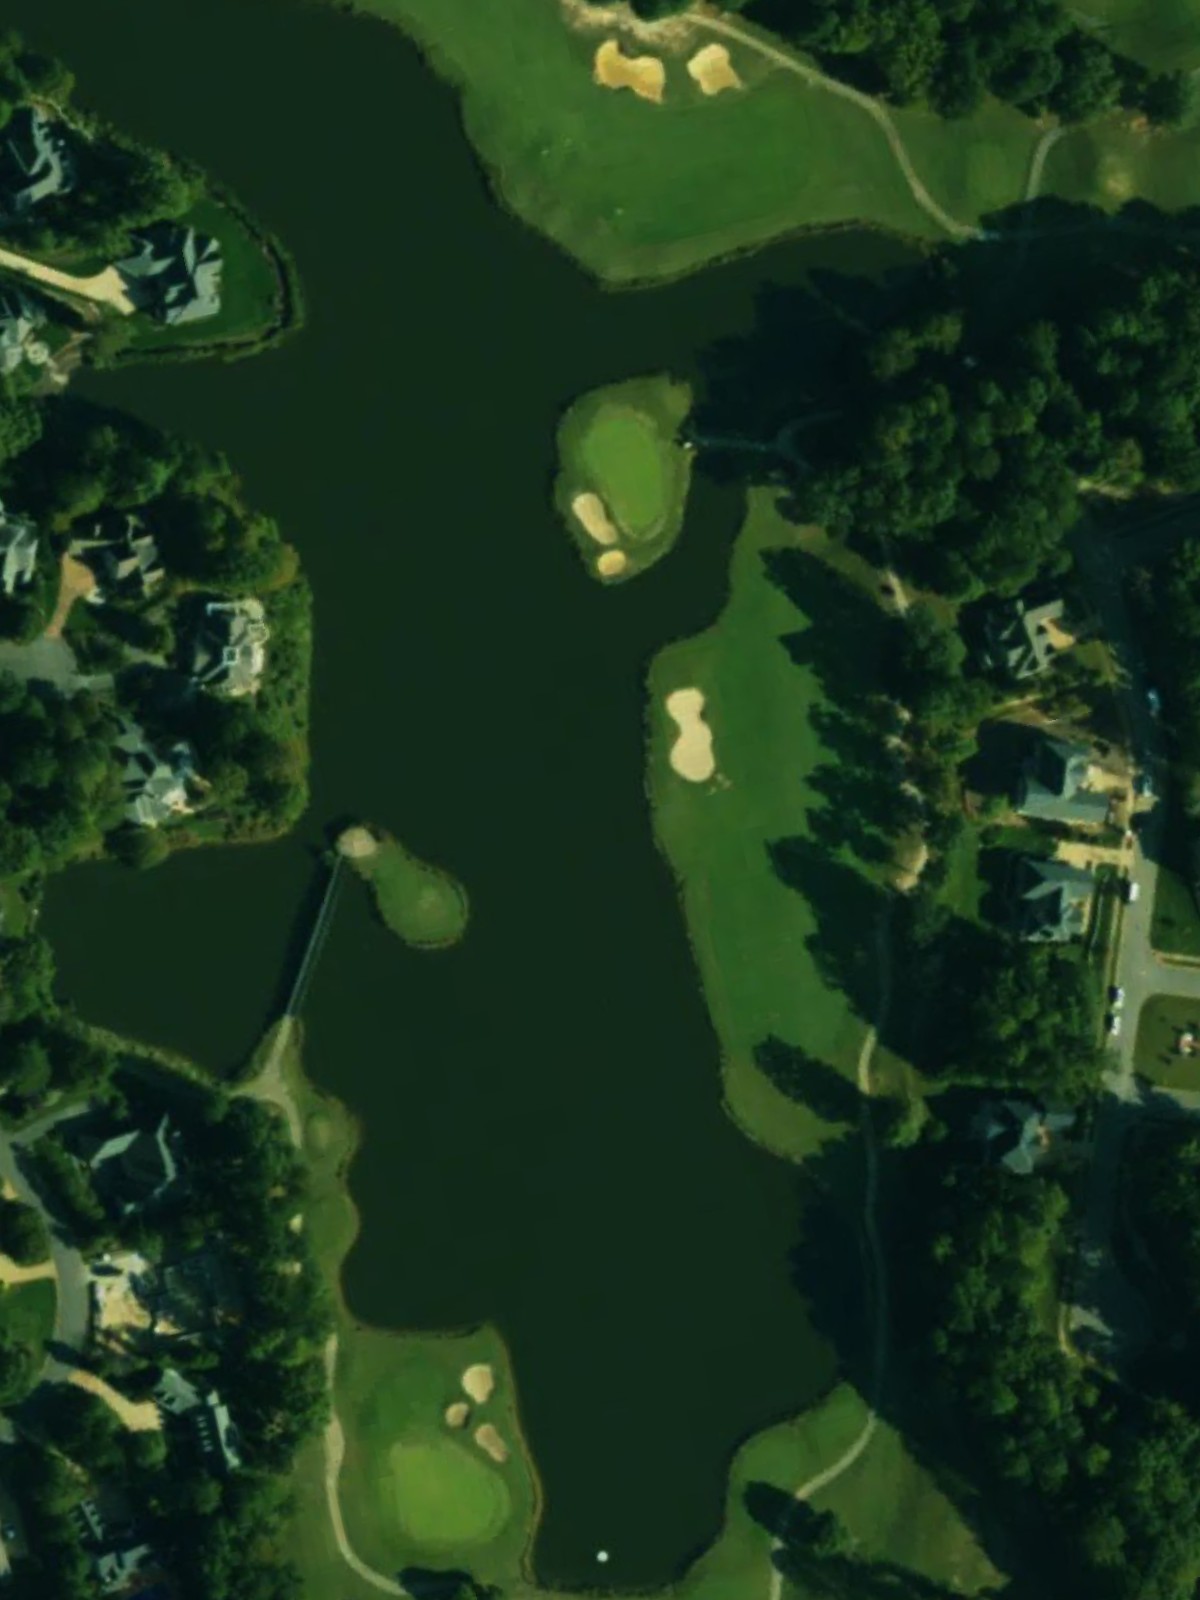
A short but perilous par 3 where water and bunkers combine to create a modest target area. The diminutive length belies the precision required to avoid the surrounding hazards.
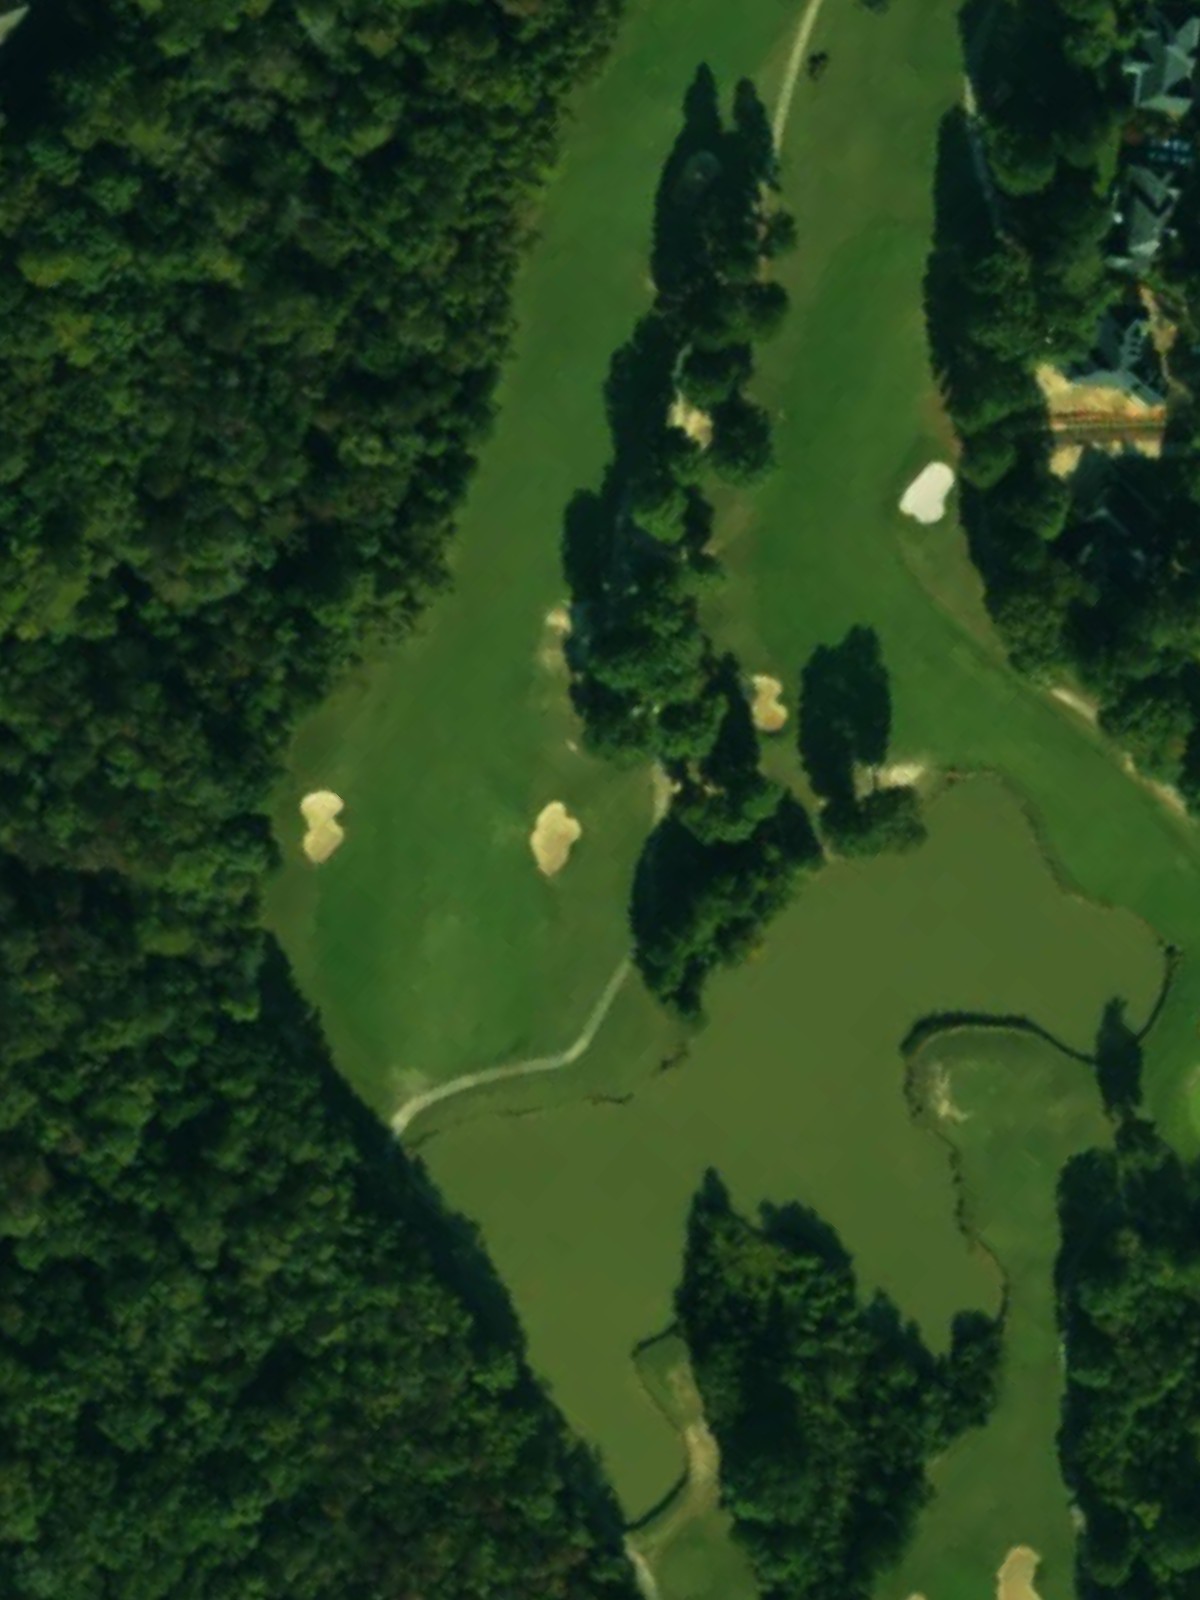
A substantial par 5 that ranks among the course's most demanding holes. Bunkers strategically positioned throughout reward thoughtful course management and proper positioning for the approach to the green.
A mid-length par 4 featuring water hazards and bunkers that tighten the fairway. The water threat and greenside bunkers combine to make the approach shot a key test of accuracy.
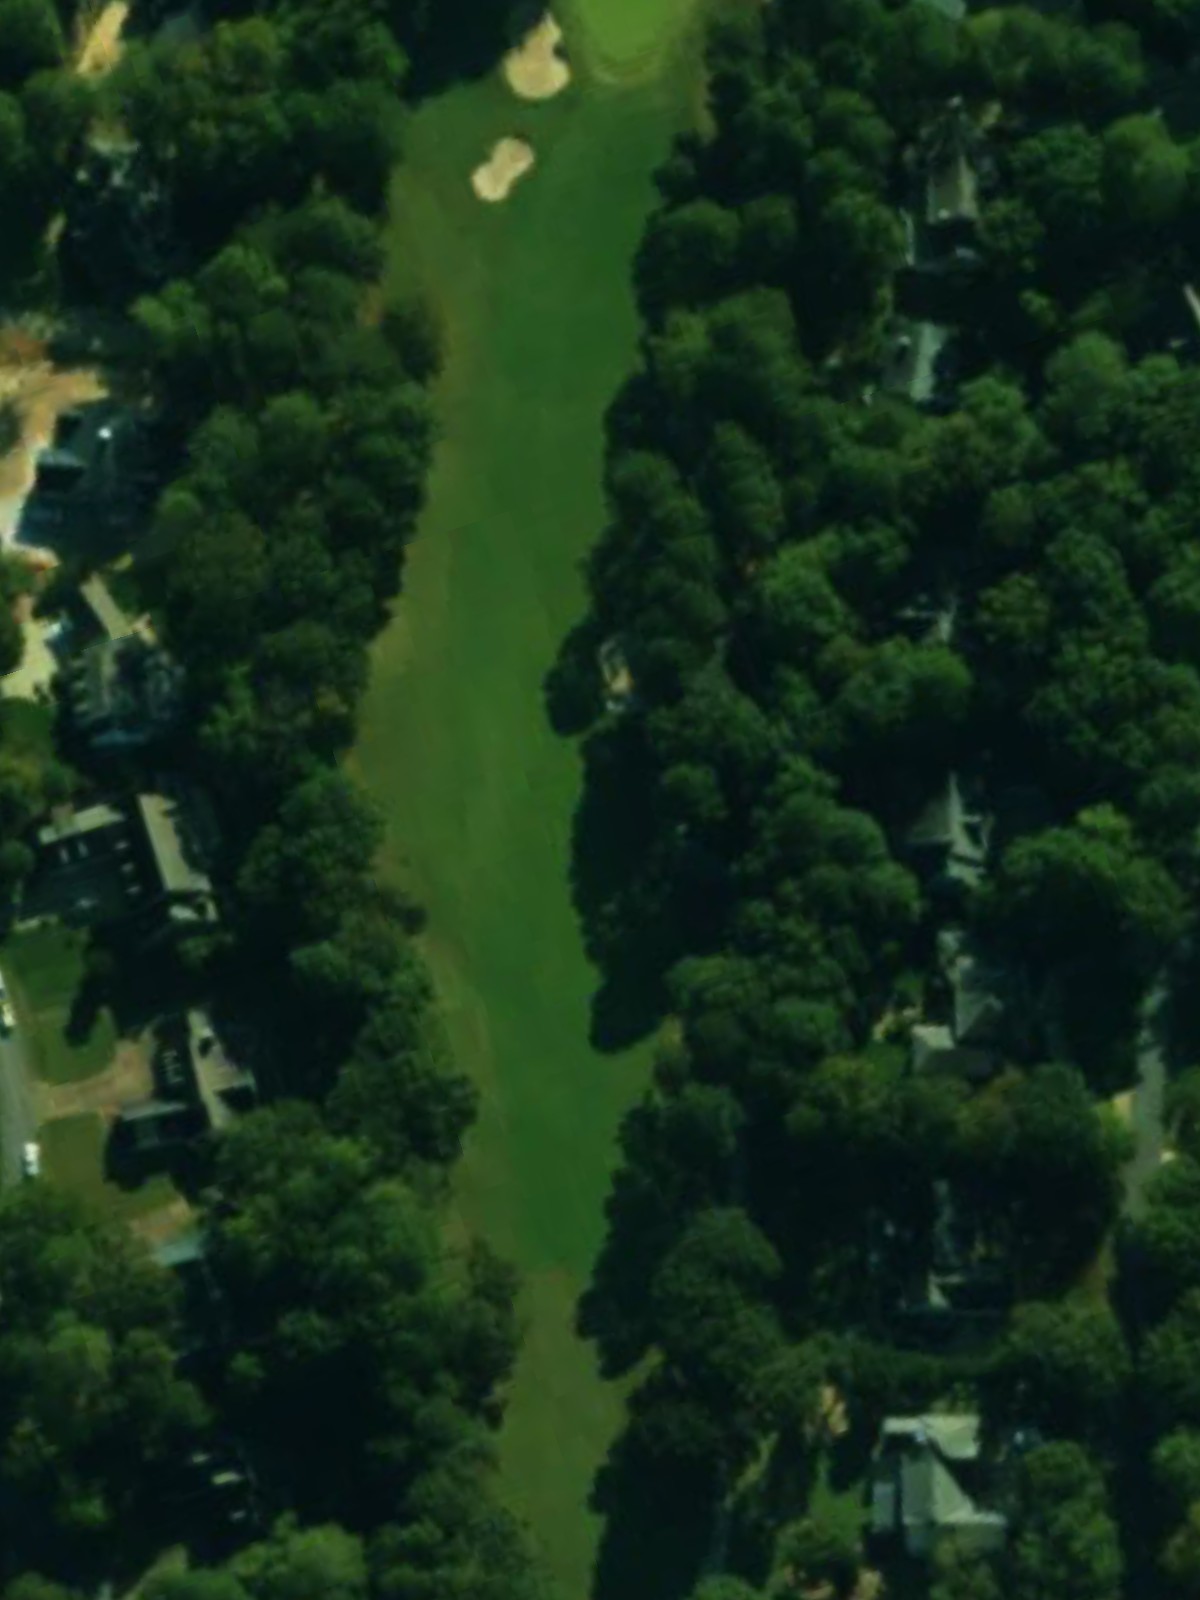
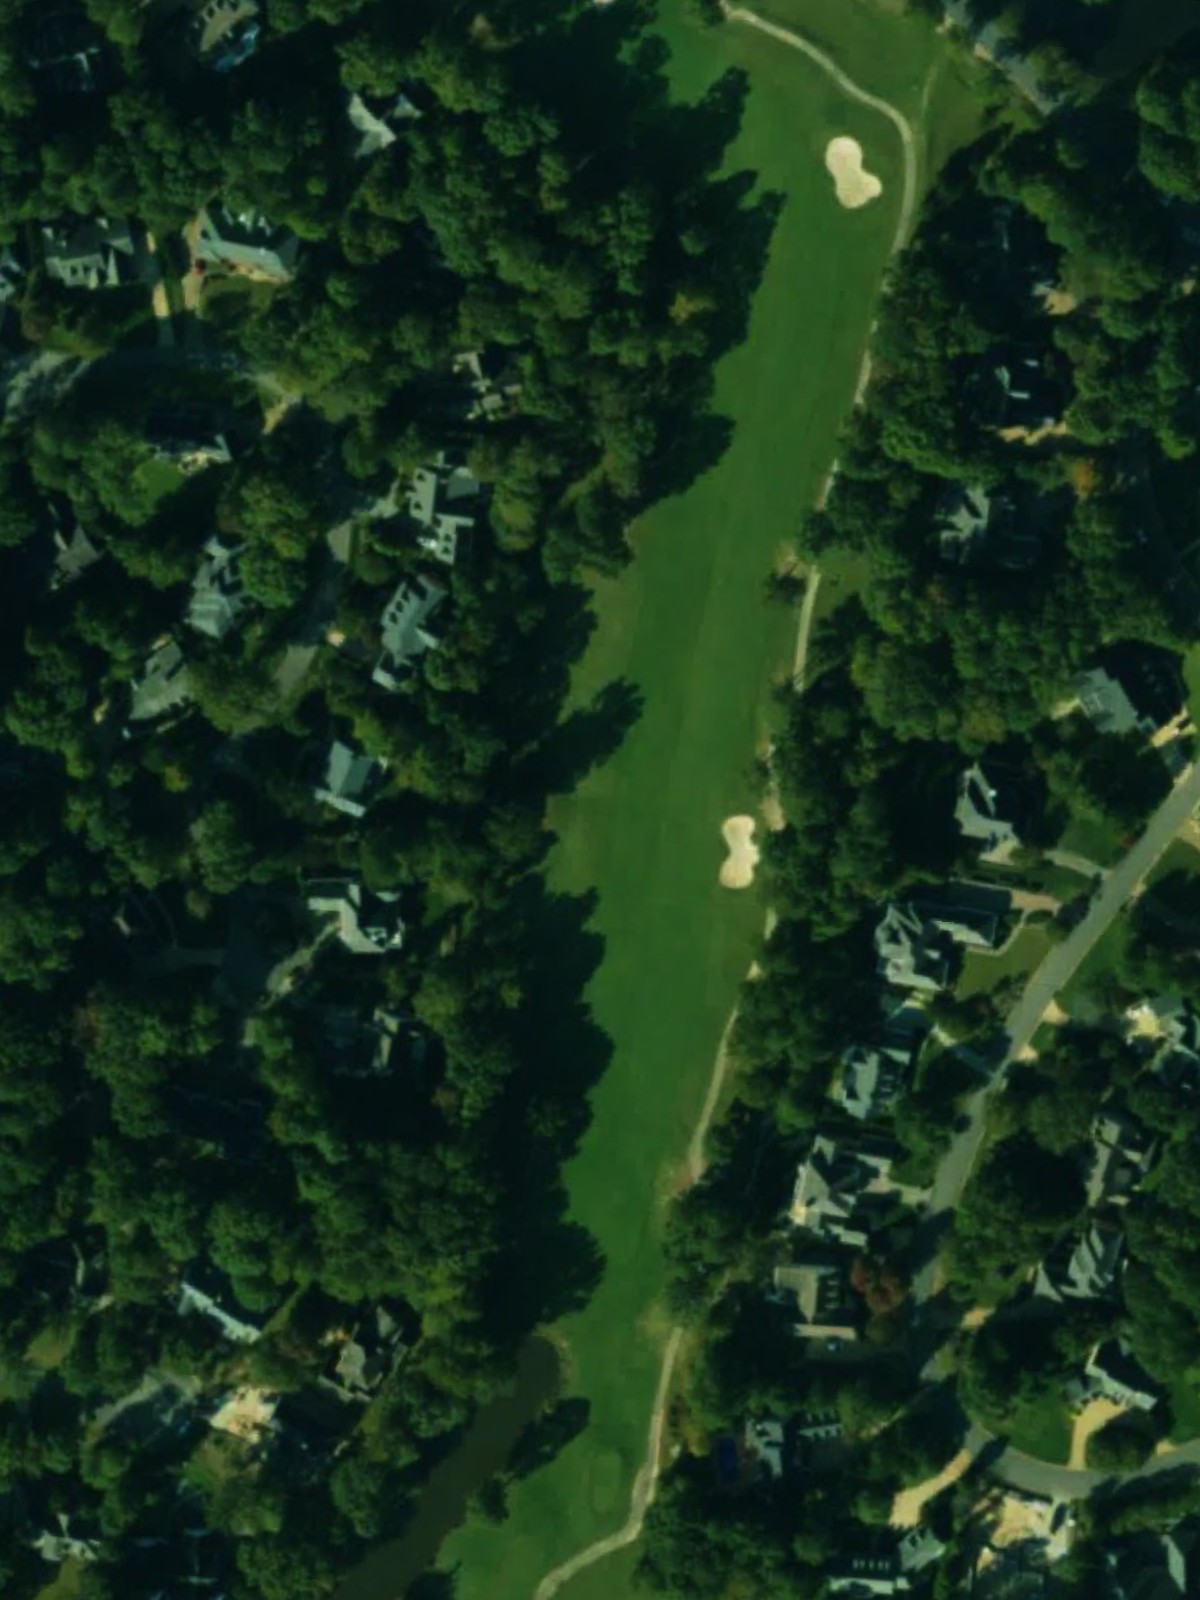
A solid par 4 with bunkers framing the fairway and green. The relatively straightforward routing belies the importance of positioning for a clean approach to a well-defended putting surface.
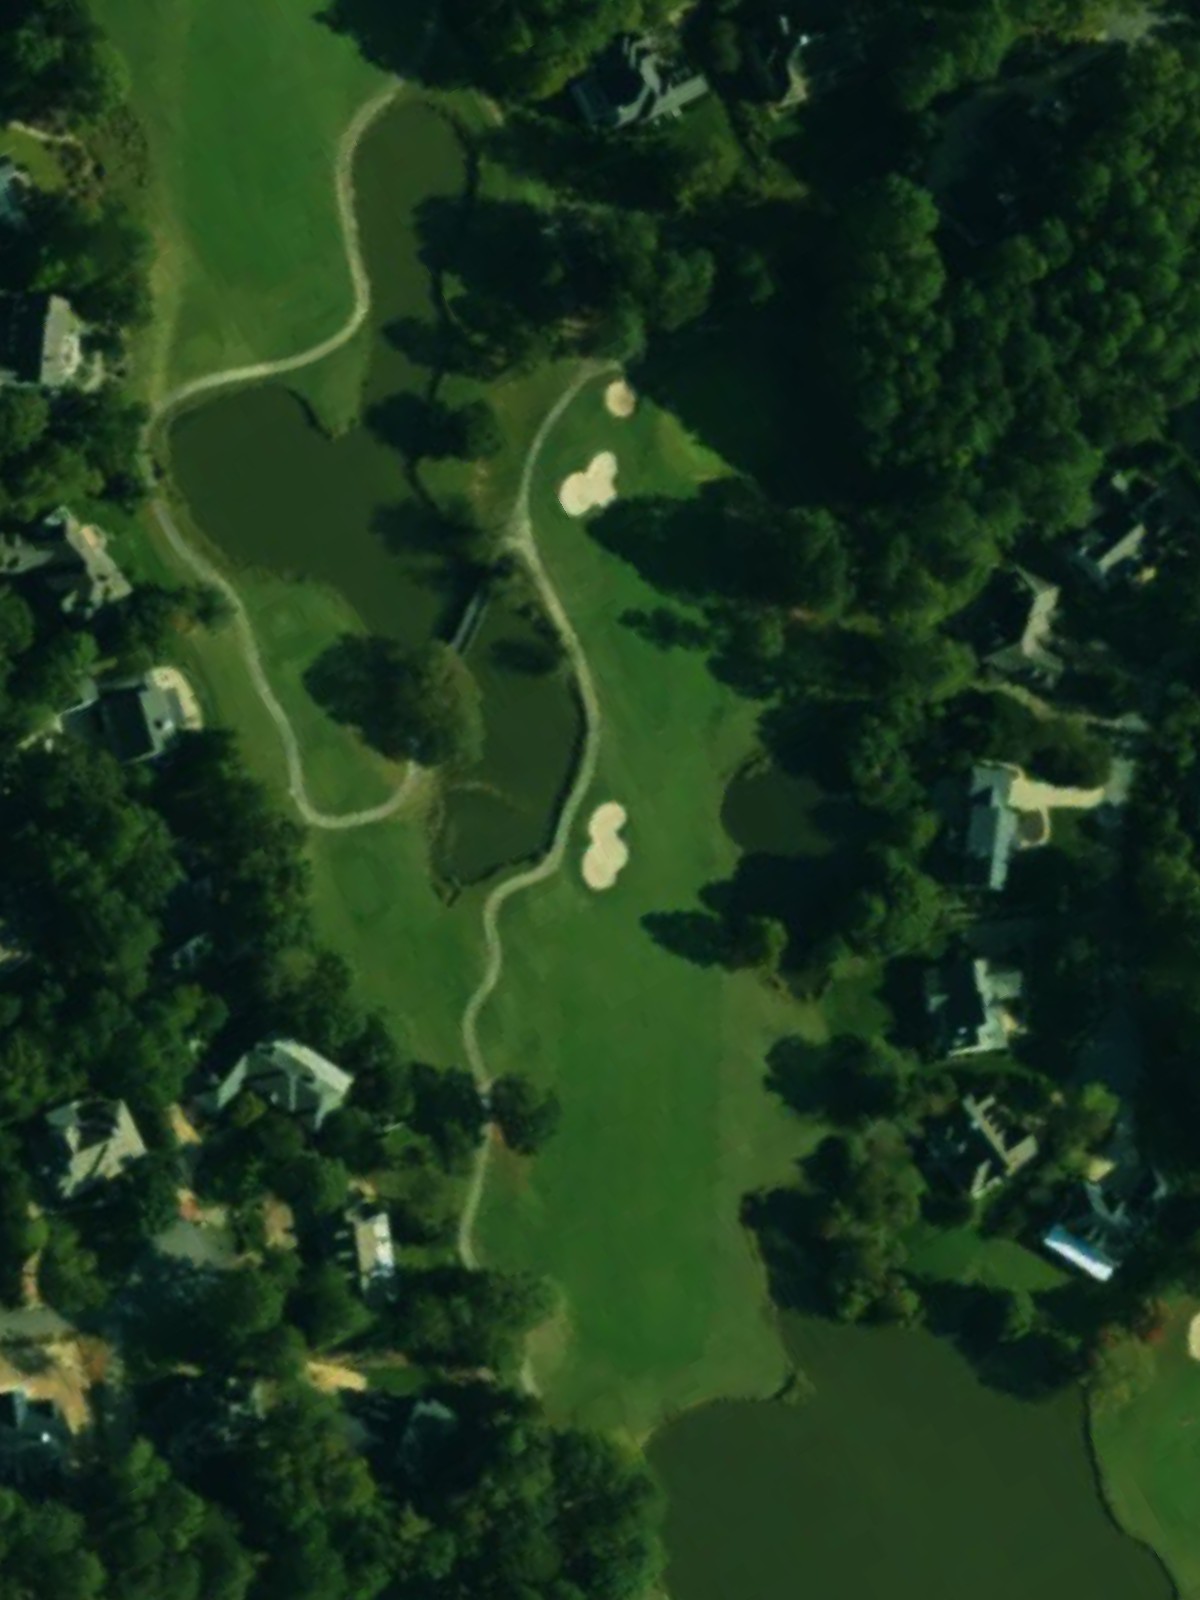
A long par 5 where water hazards and bunkers demand respect from the outset. Multiple strategic options exist for the layup, but water hazards penalize both poor drives and aggressive approaches to the green.
The second-most difficult hole on the course, this par 4 features water and bunkers that squeeze the fairway. The combination of hazards makes both drive and approach increasingly challenging.
A short par 3 with water and bunkers defending a modest green. The modest yardage does not diminish the challenge posed by precise placement of hazards around the putting surface.
A manageable par 4 with bunkers positioned to challenge the approach shot. The relatively straightforward layout rewards solid ball-striking and smart positioning off the tee.
A long par 5 where water hazards and bunkers create strategic decision points throughout. The length and hazard placement offer multiple paths to the green, but risk and reward must be carefully weighed.
A deceptively short par 3 with bunkers guarding the green. The modest length and final-nine position make it an easy hole to underestimate, but accurate targeting of the small green is essential.
The finishing par 4 features water hazards and bunkers that frame both the fairway and green. The narrowed approach and hazard positioning make this a demanding conclusion to the round.
Scorecard
| Hole | 1 | 2 | 3 | 4 | 5 | 6 | 7 | 8 | 9 | Out | 10 | 11 | 12 | 13 | 14 | 15 | 16 | 17 | 18 | In | Tot |
|---|---|---|---|---|---|---|---|---|---|---|---|---|---|---|---|---|---|---|---|---|---|
| Par | 4 | 4 | 4 | 5 | 4 | 3 | 4 | 3 | 5 | 36 | 4 | 4 | 5 | 4 | 3 | 4 | 5 | 3 | 4 | 36 | 72 |
| HCP | 9 | 13 | 11 | 1 | 5 | 15 | 7 | 17 | 3 | 12 | 8 | 4 | 2 | 16 | 14 | 6 | 18 | 10 | |||
| black | 409 | 408 | 394 | 543 | 426 | 230 | 410 | 175 | 570 | 3565 | 401 | 385 | 505 | 405 | 203 | 387 | 532 | 193 | 378 | 3389 | 6954 |
| black/blue | 409 | 365 | 394 | 543 | 392 | 170 | 390 | 175 | 532 | 3370 | 368 | 385 | 473 | 383 | 182 | 387 | 532 | 149 | 378 | 3237 | 6607 |
| blue | 369 | 365 | 358 | 488 | 392 | 170 | 390 | 145 | 532 | 3209 | 368 | 358 | 473 | 383 | 182 | 358 | 473 | 149 | 352 | 3096 | 6305 |
| blue/white | 360 | 329 | 358 | 466 | 374 | 170 | 355 | 145 | 486 | 3043 | 368 | 358 | 455 | 340 | 182 | 358 | 467 | 149 | 329 | 3006 | 6049 |
| white | 360 | 329 | 322 | 466 | 374 | 134 | 355 | 120 | 486 | 2946 | 329 | 328 | 455 | 340 | 154 | 334 | 467 | 126 | 329 | 2862 | 5808 |
| white/red | 360 | 291 | 322 | 437 | 298 | 134 | 330 | 120 | 455 | 2747 | 329 | 300 | 410 | 310 | 131 | 334 | 410 | 126 | 290 | 2640 | 5387 |
| red | 325 | 291 | 260 | 437 | 298 | 115 | 330 | 100 | 455 | 2611 | 298 | 300 | 410 | 310 | 131 | 289 | 410 | 100 | 290 | 2538 | 5149 |
| orange | 168 | 175 | 165 | 197 | 147 | 101 | 168 | 100 | 270 | 1491 | 175 | 180 | 265 | 130 | 85 | 195 | 275 | 95 | 160 | 1560 | 3051 |