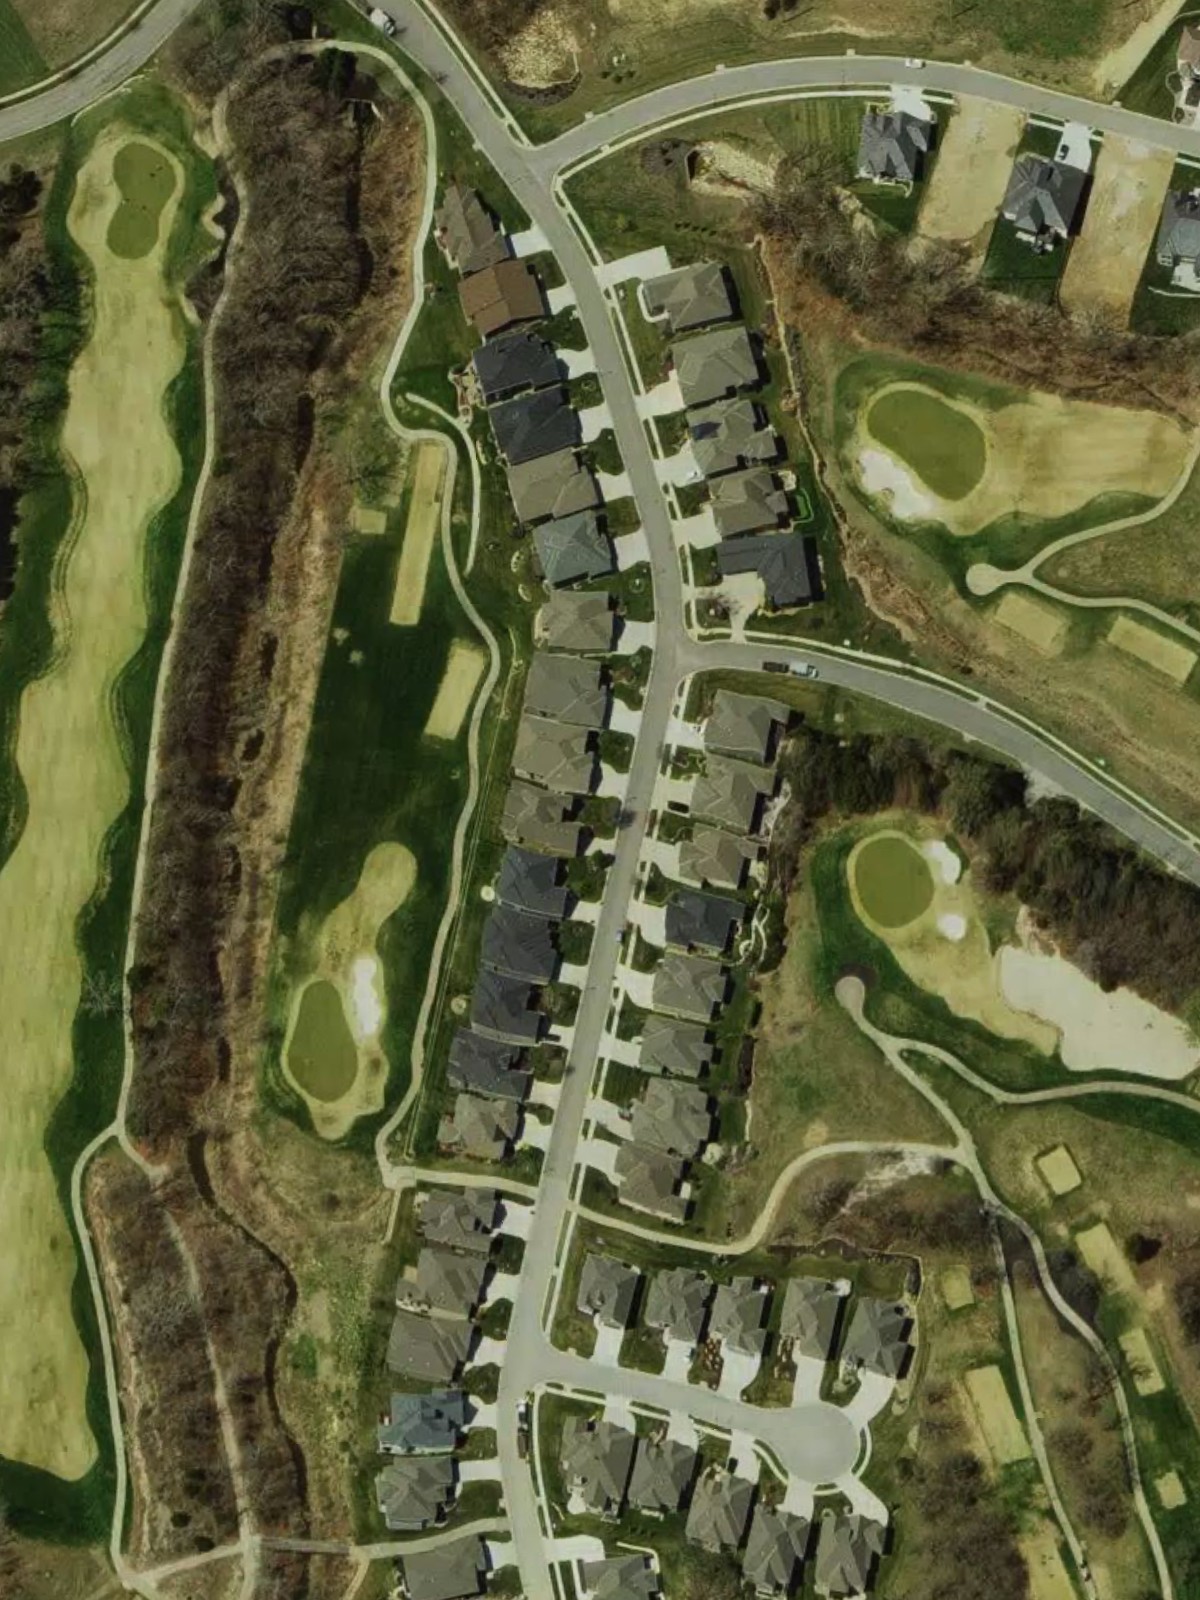
Falcon Valley Golf Course is an 18-hole golf course in Lenexa, KS with a par of 72. It offers 5 tee sets: black (6,846 yards, slope 135, rating 73.8), blue (6,290 yards, slope 127, rating 71), tournament tees (6,155 yards, slope 124, rating 70.7), white (5,820 yards, slope 122, rating 69.4), red (5,220 yards, slope 118, rating 66.2). The hardest hole is #7, a par 4 playing 308 yards from the first tee.
Falcon Valley Golf Course
Lenexa, KS
Get PDF Yardage Book
We'll email you the PDF link. No spam, ever.
Create Your Game Plan
Pick your tees, enter your bag, and get a personalized shot-by-shot strategy for every hole.
A long par 5 that plays uphill throughout, offering multiple routes to the green for players of different abilities. The fairway is relatively open off the tee, but the elevated green is well-bunkered on both sides, demanding accuracy on the approach shot.
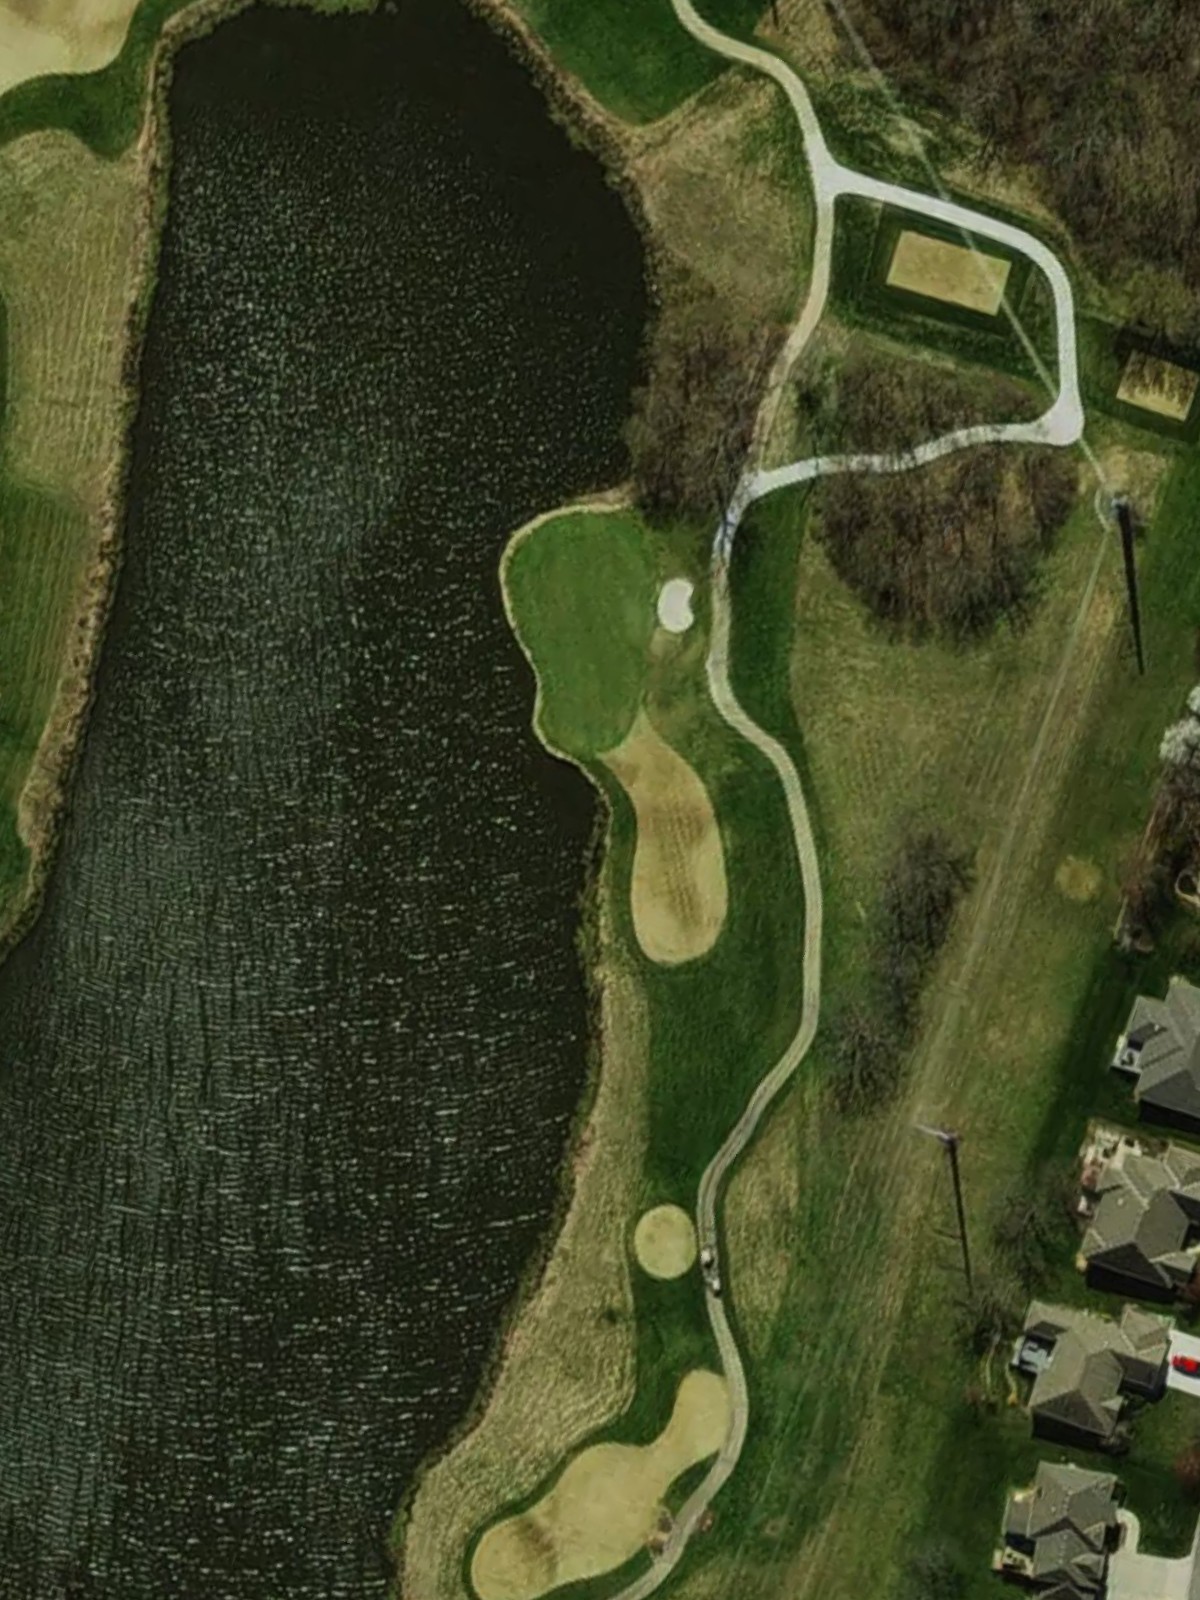
A short par 3 over water that requires a precise tee shot to a well-protected green. The water guards the front and left side, with bunkers positioned right, making club selection and shot accuracy critical on this straightforward but demanding hole.
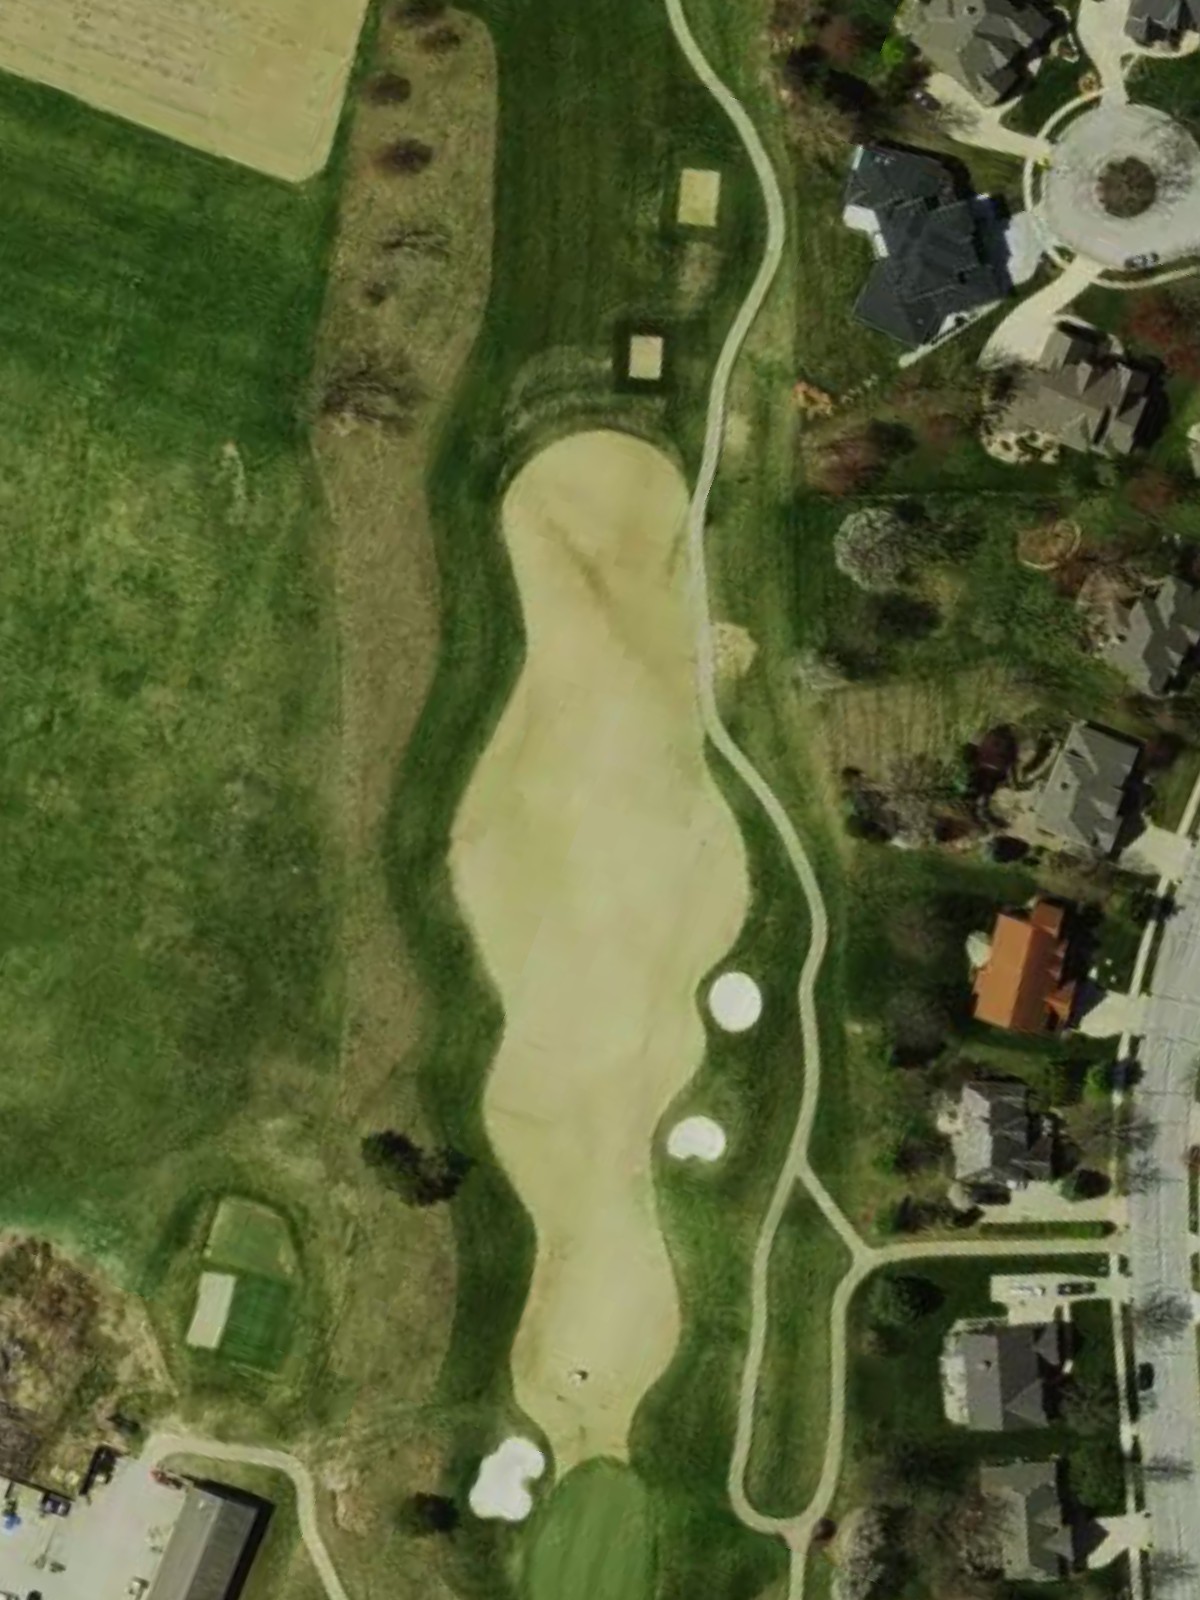
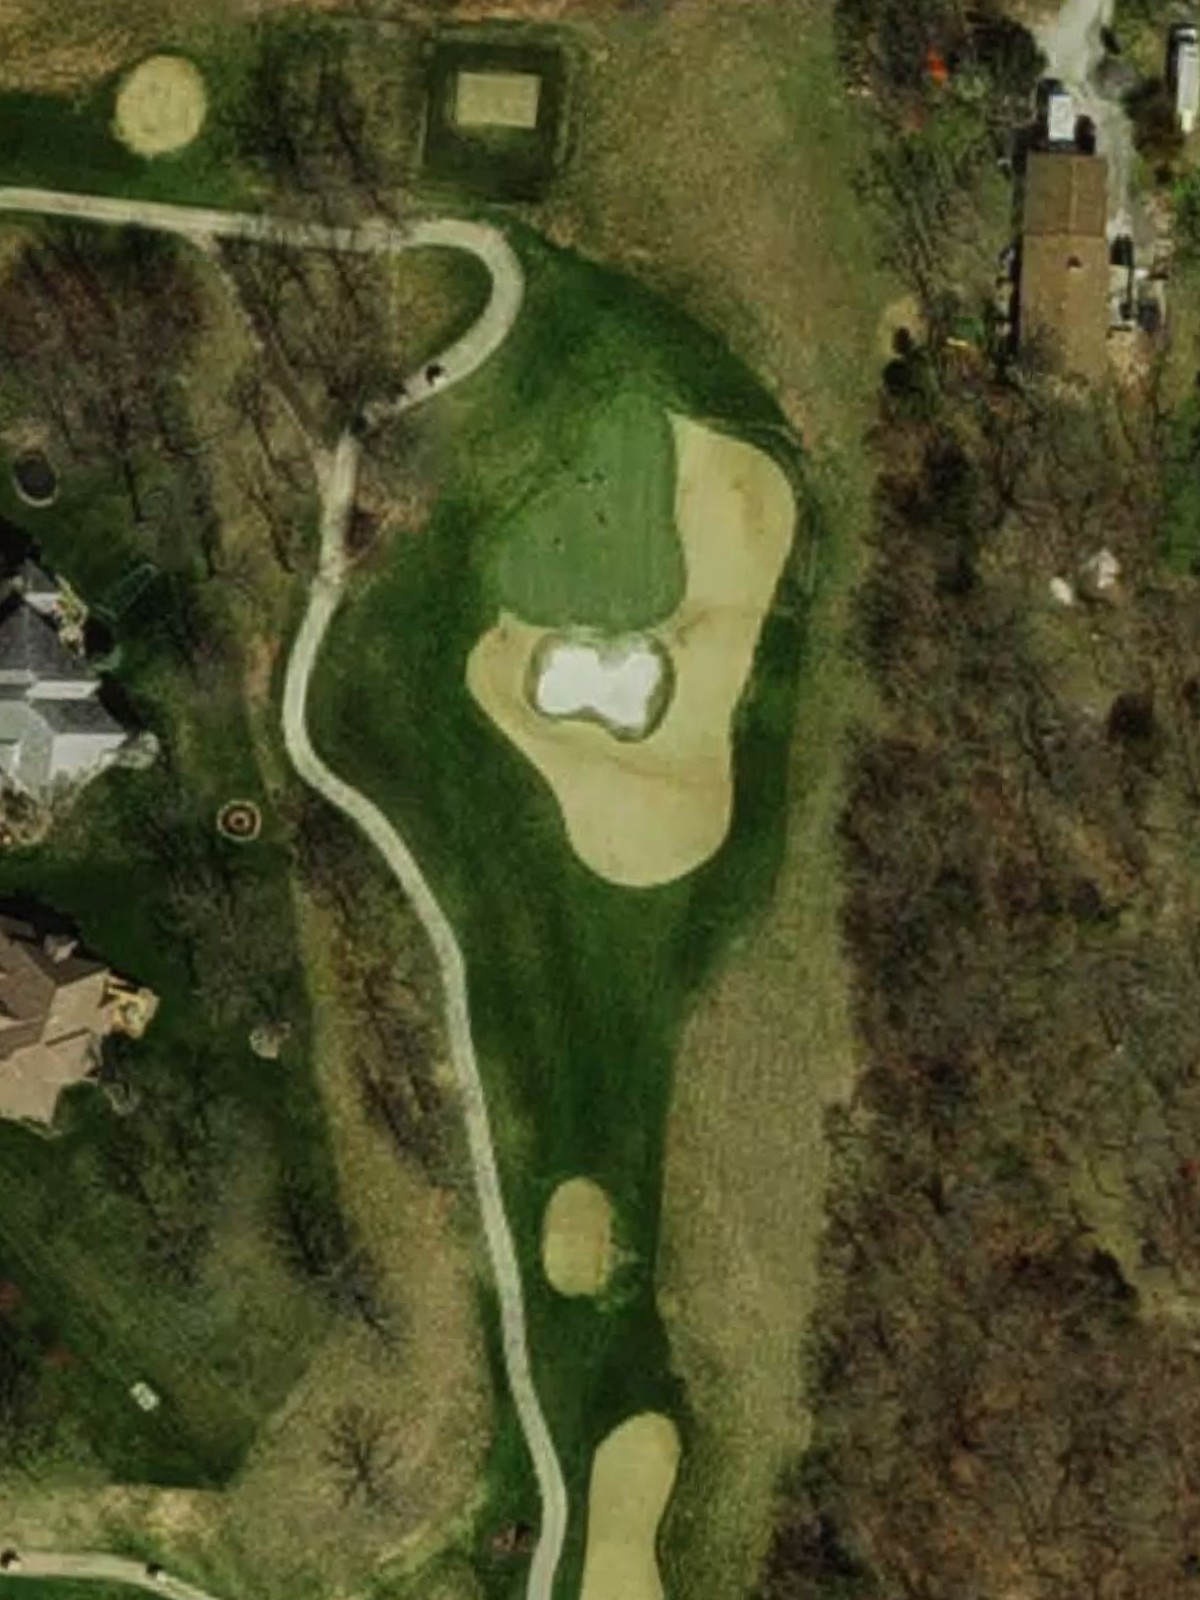
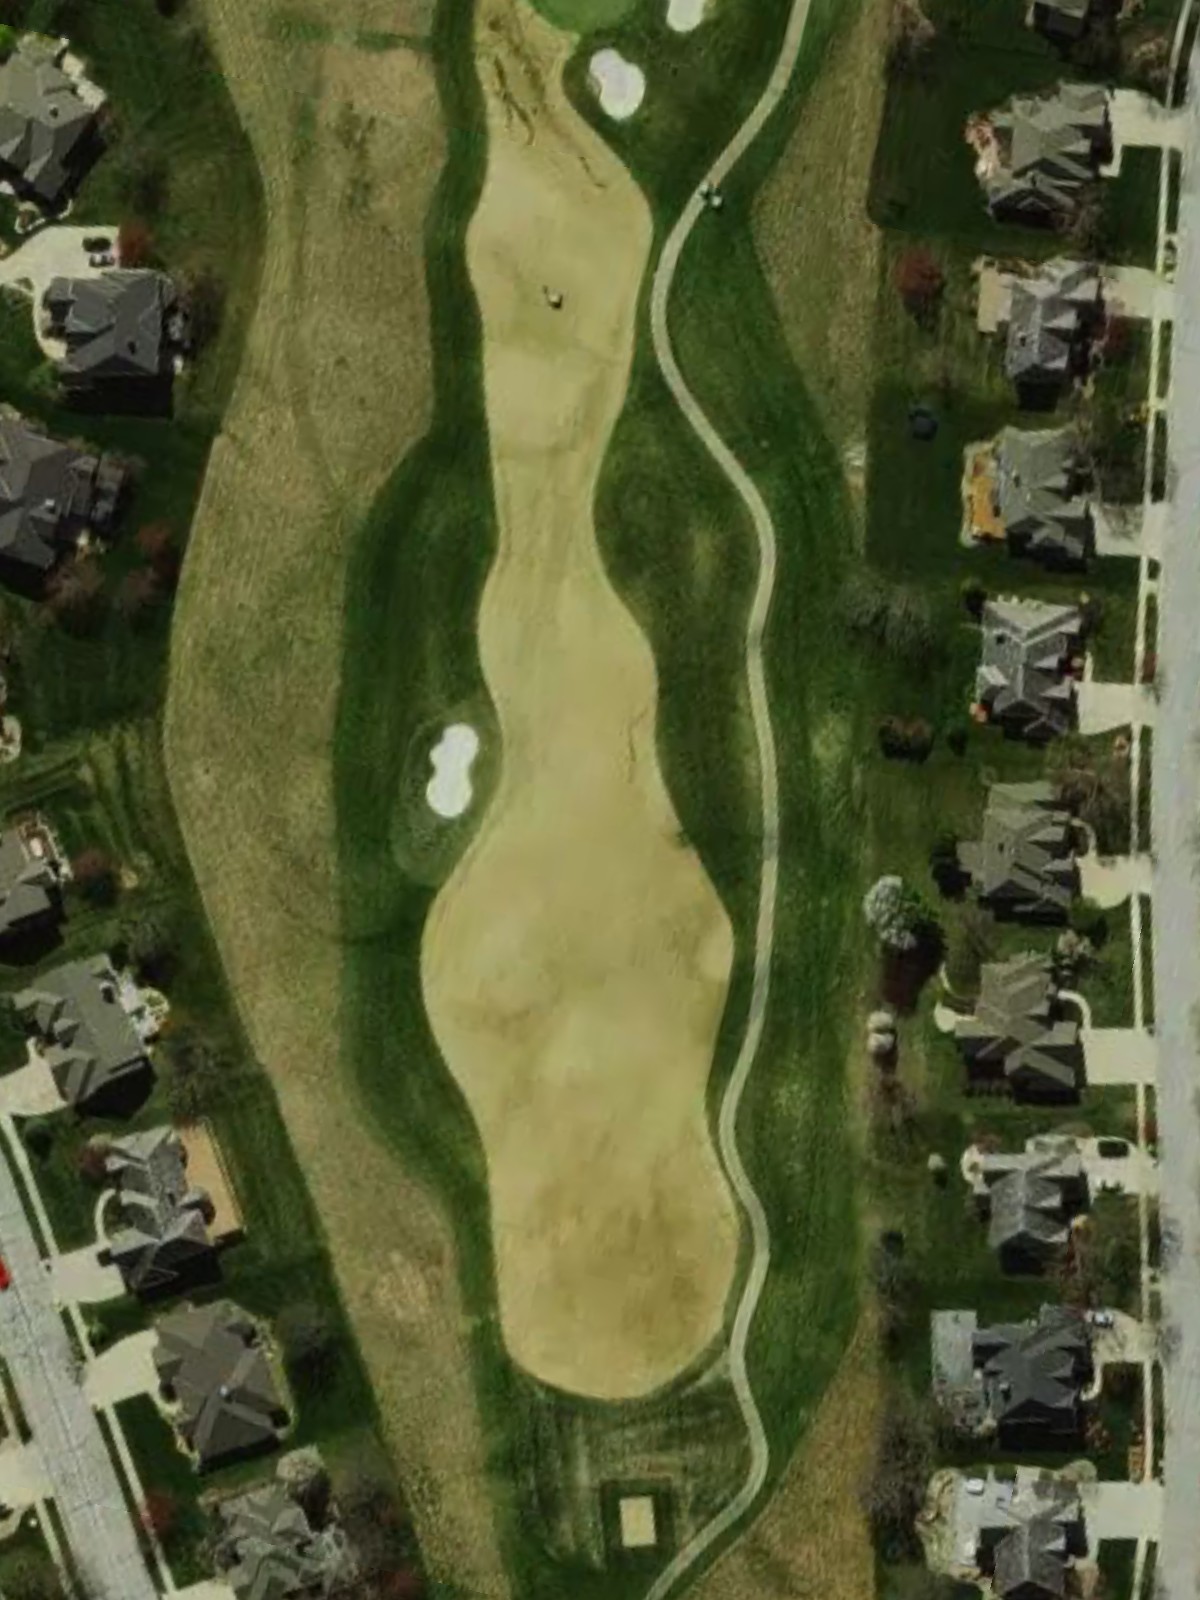
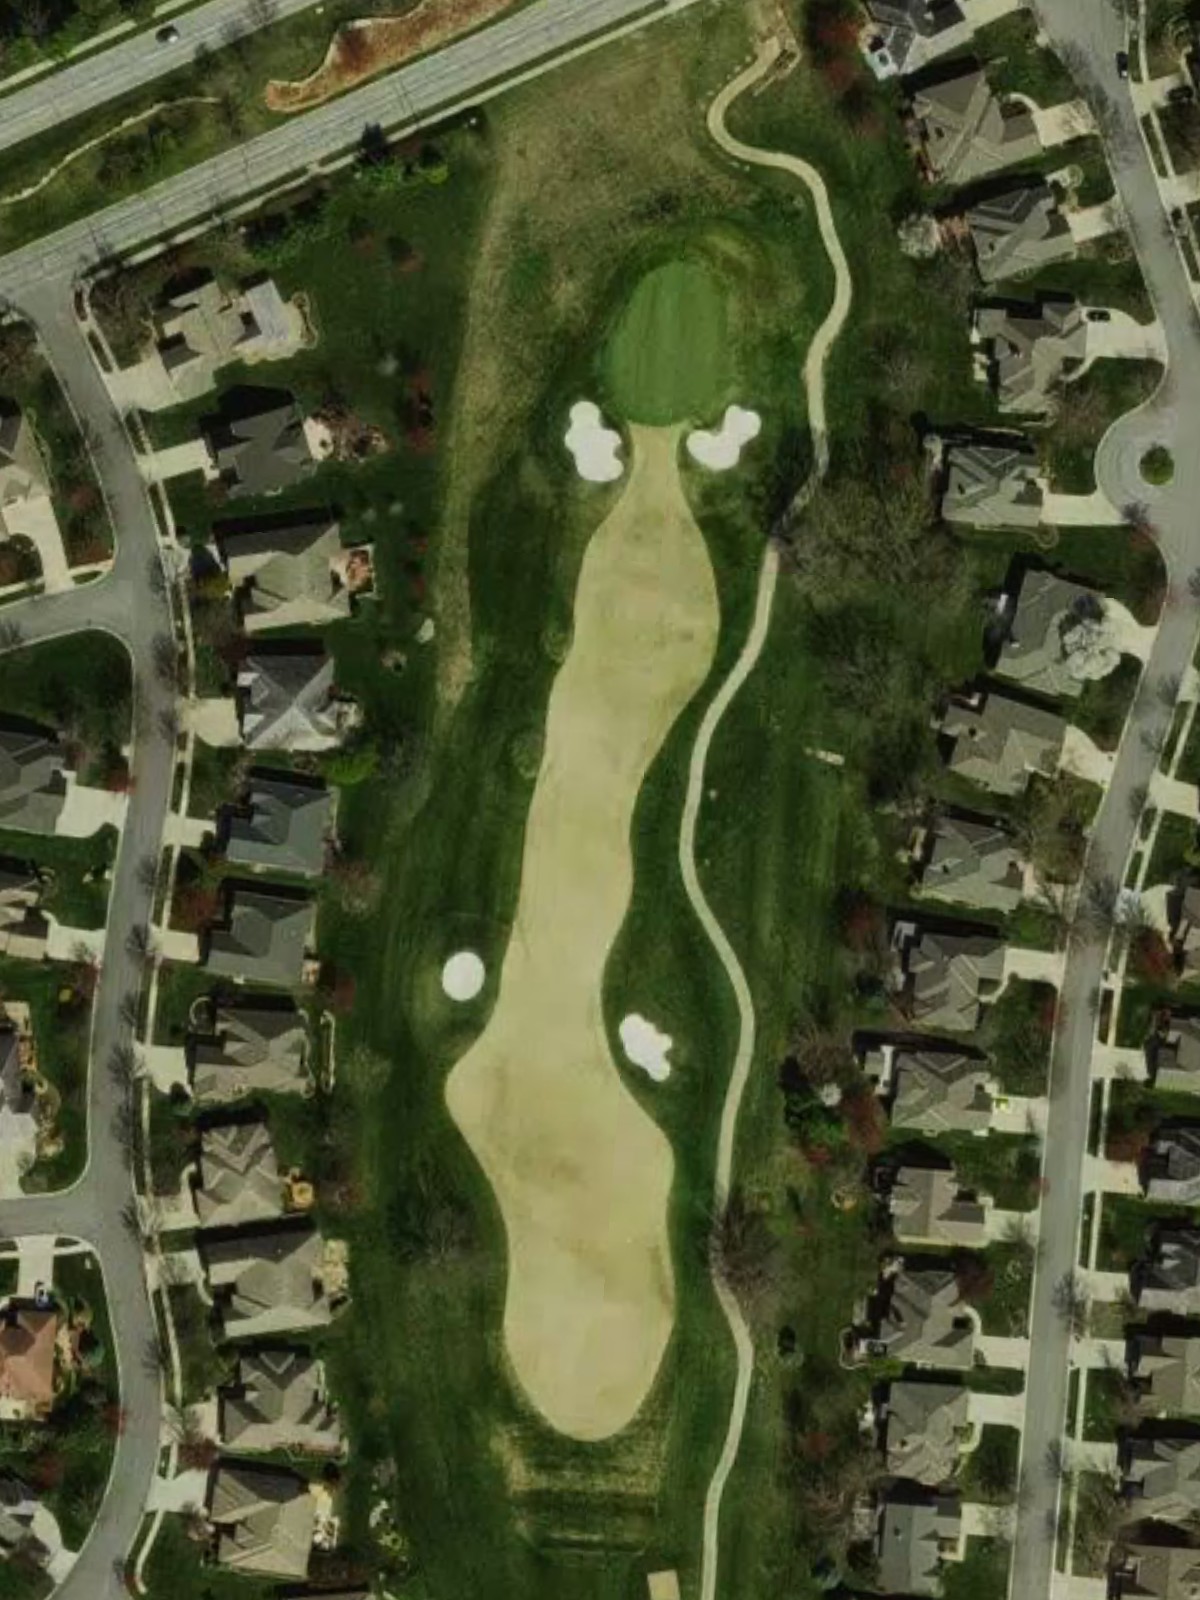
A strong par 4 with a dogleg right configuration that tightens significantly as it approaches the green. Bunkers guard the right side of the fairway and surround the green, punishing both wayward drives and poor approach shots on this most-difficult hole.
A long, strategic par 5 with a wide fairway that narrows substantially near the green. Water hazards come into play left and right of the landing area, and the green is heavily bunkered, requiring careful positioning for the approach shot.
A short par 3 with a narrow, elevated green that plays longer than its yardage suggests. Bunkers flank both sides of the green while water threatens the front, making this one of the course's most deceptive short holes.
A short par 4 that rewards aggressive play off the tee with a clear look at the green. Out of bounds right constrains the fairway width, while bunkers guard the right side of the green, creating risk-reward opportunities throughout the hole.
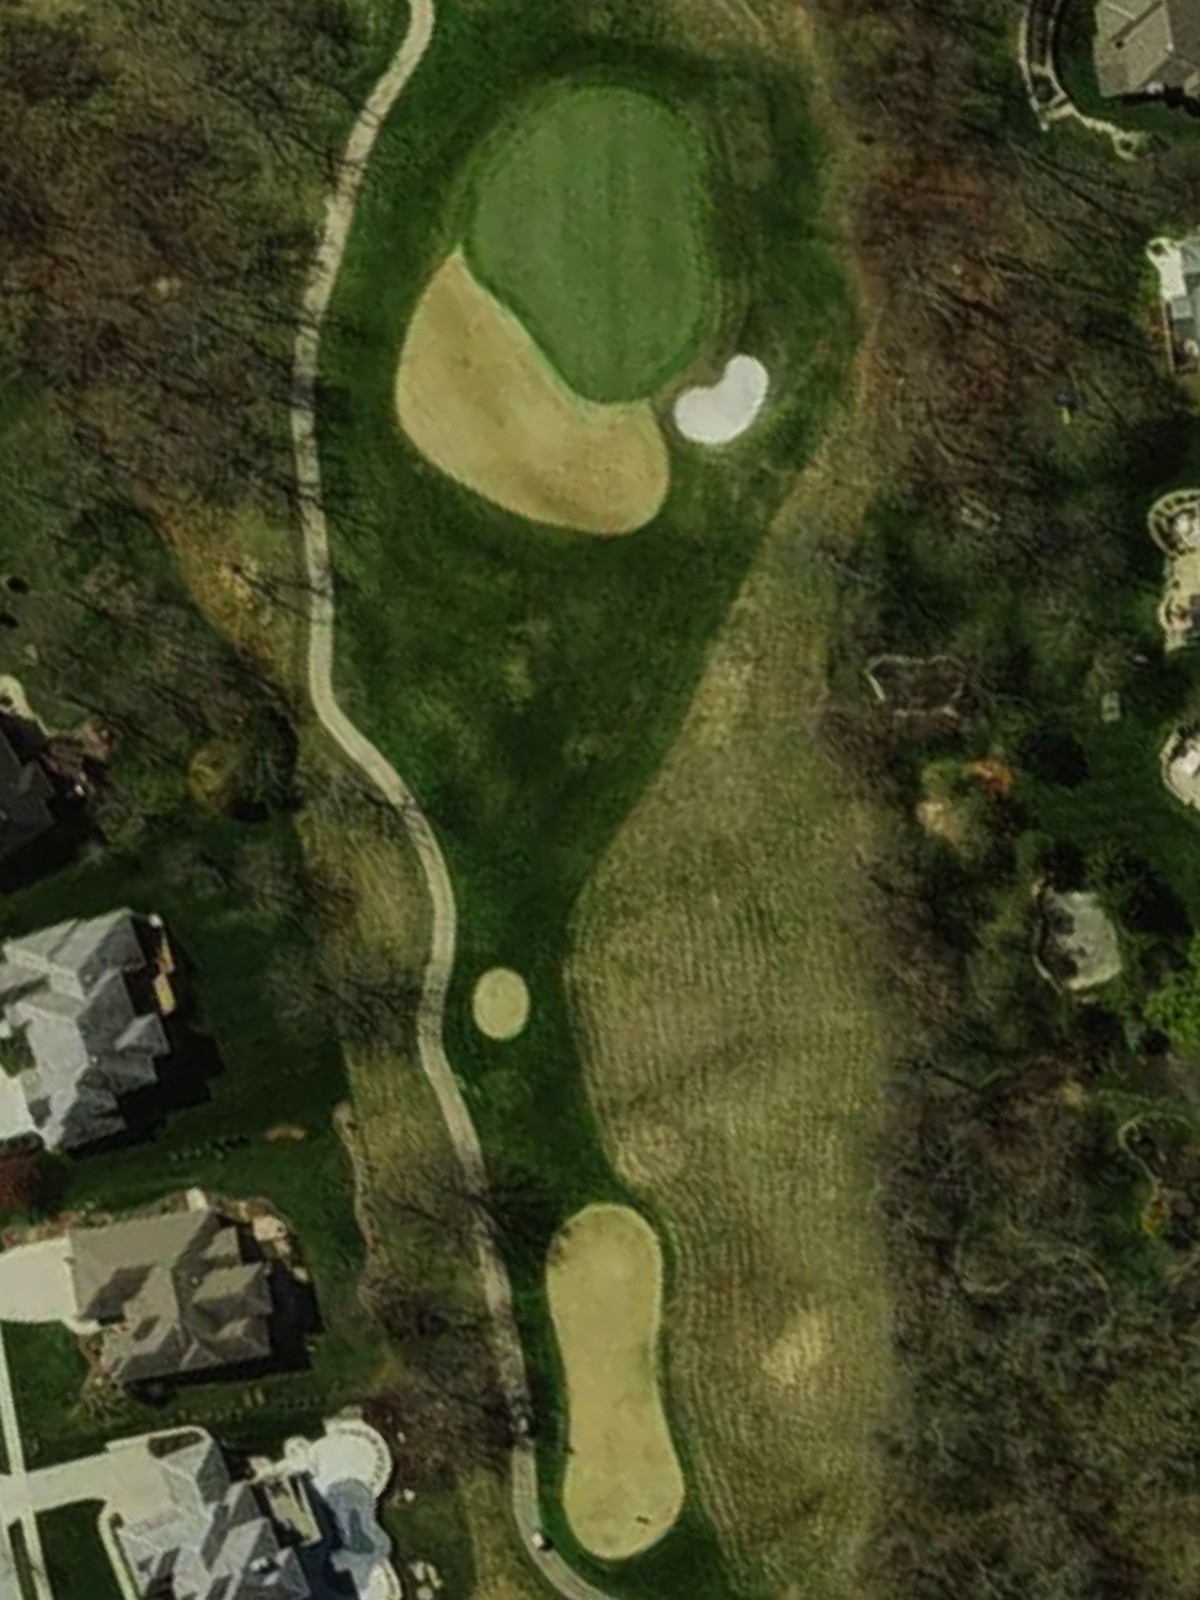
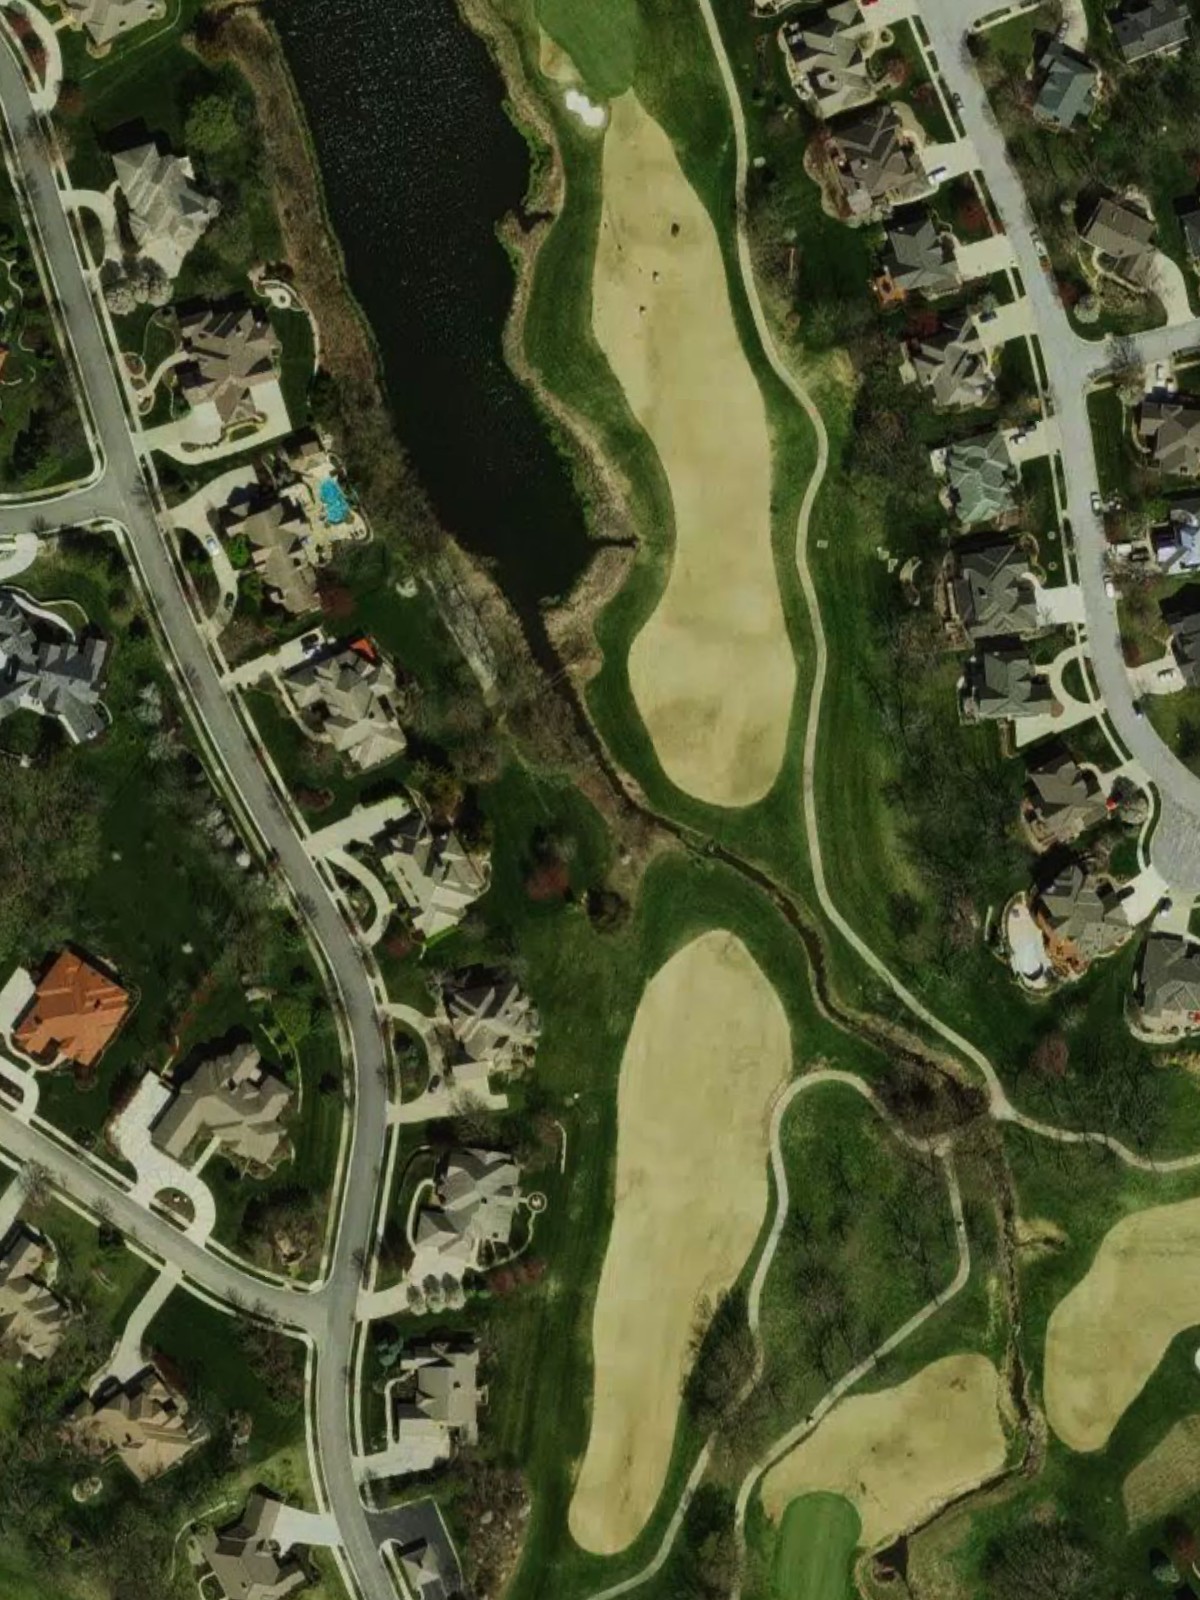
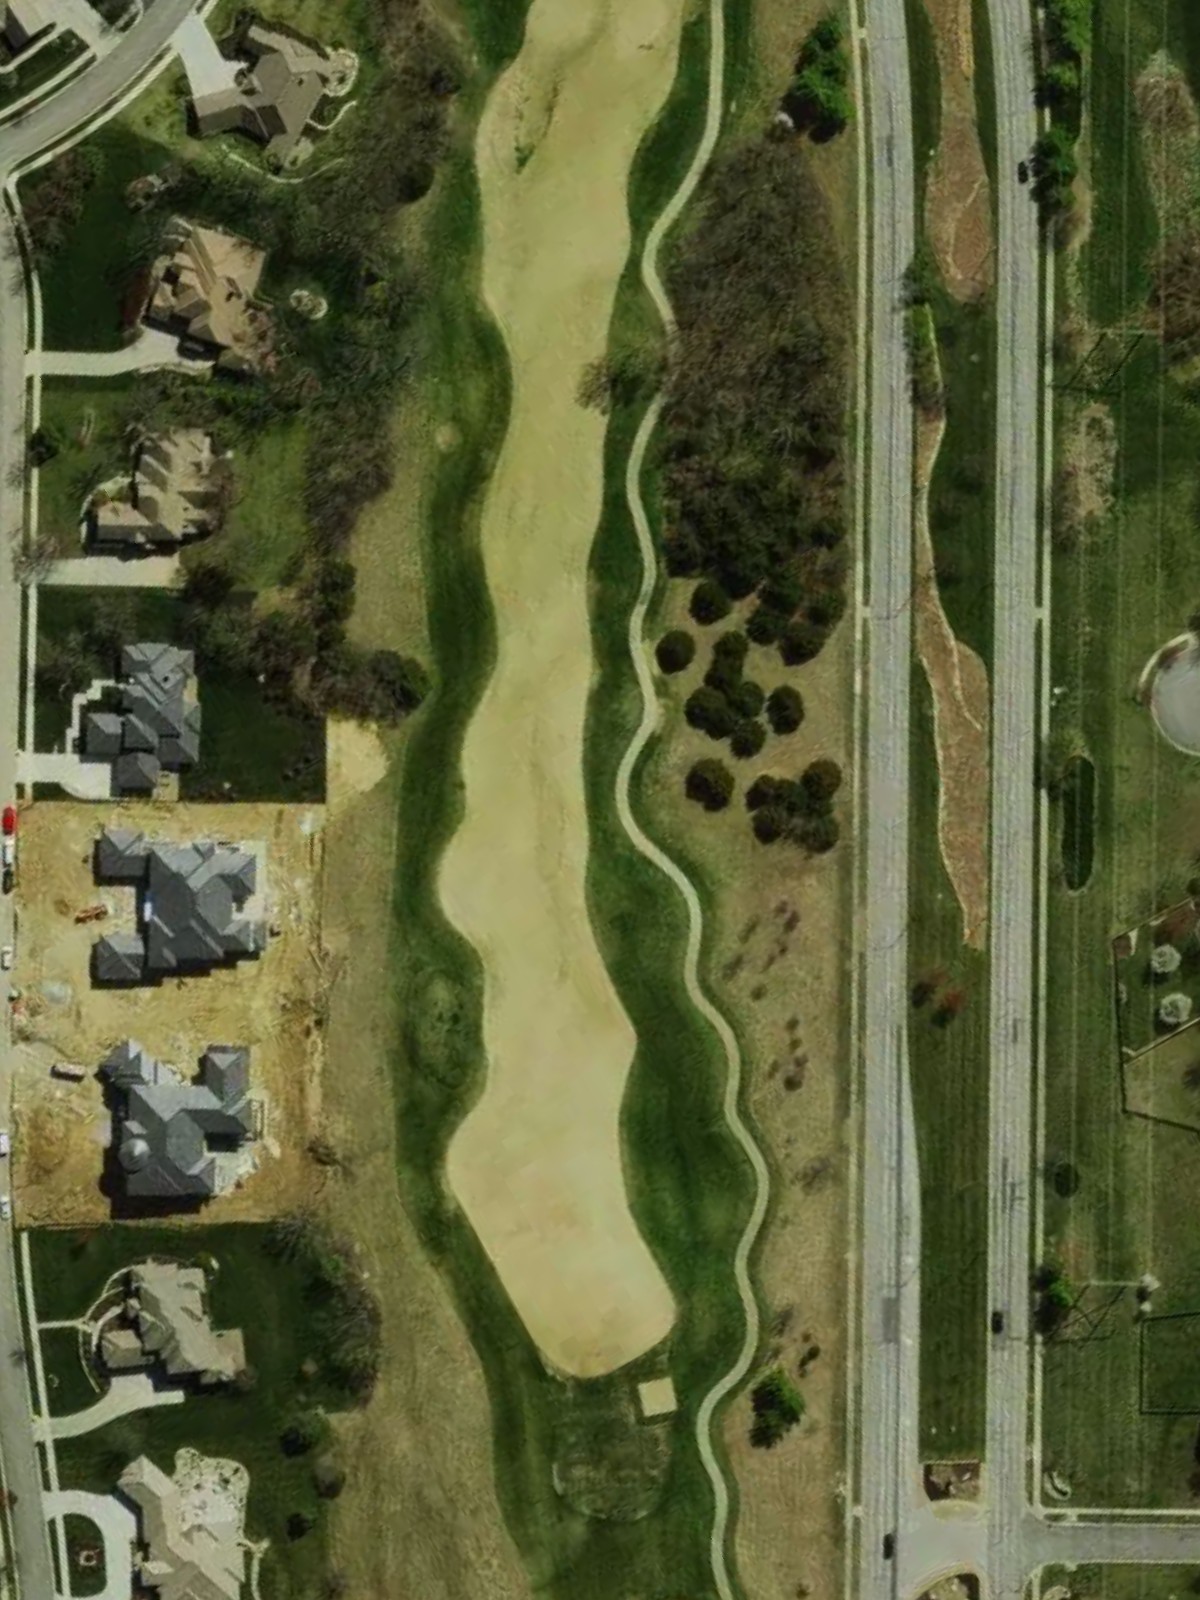
The course's most-difficult hole, this par 4 features a dramatic dogleg left with water running the full length of the left side. The fairway narrows considerably at the bend, and the green is heavily bunkered left and right, demanding both length and precision.
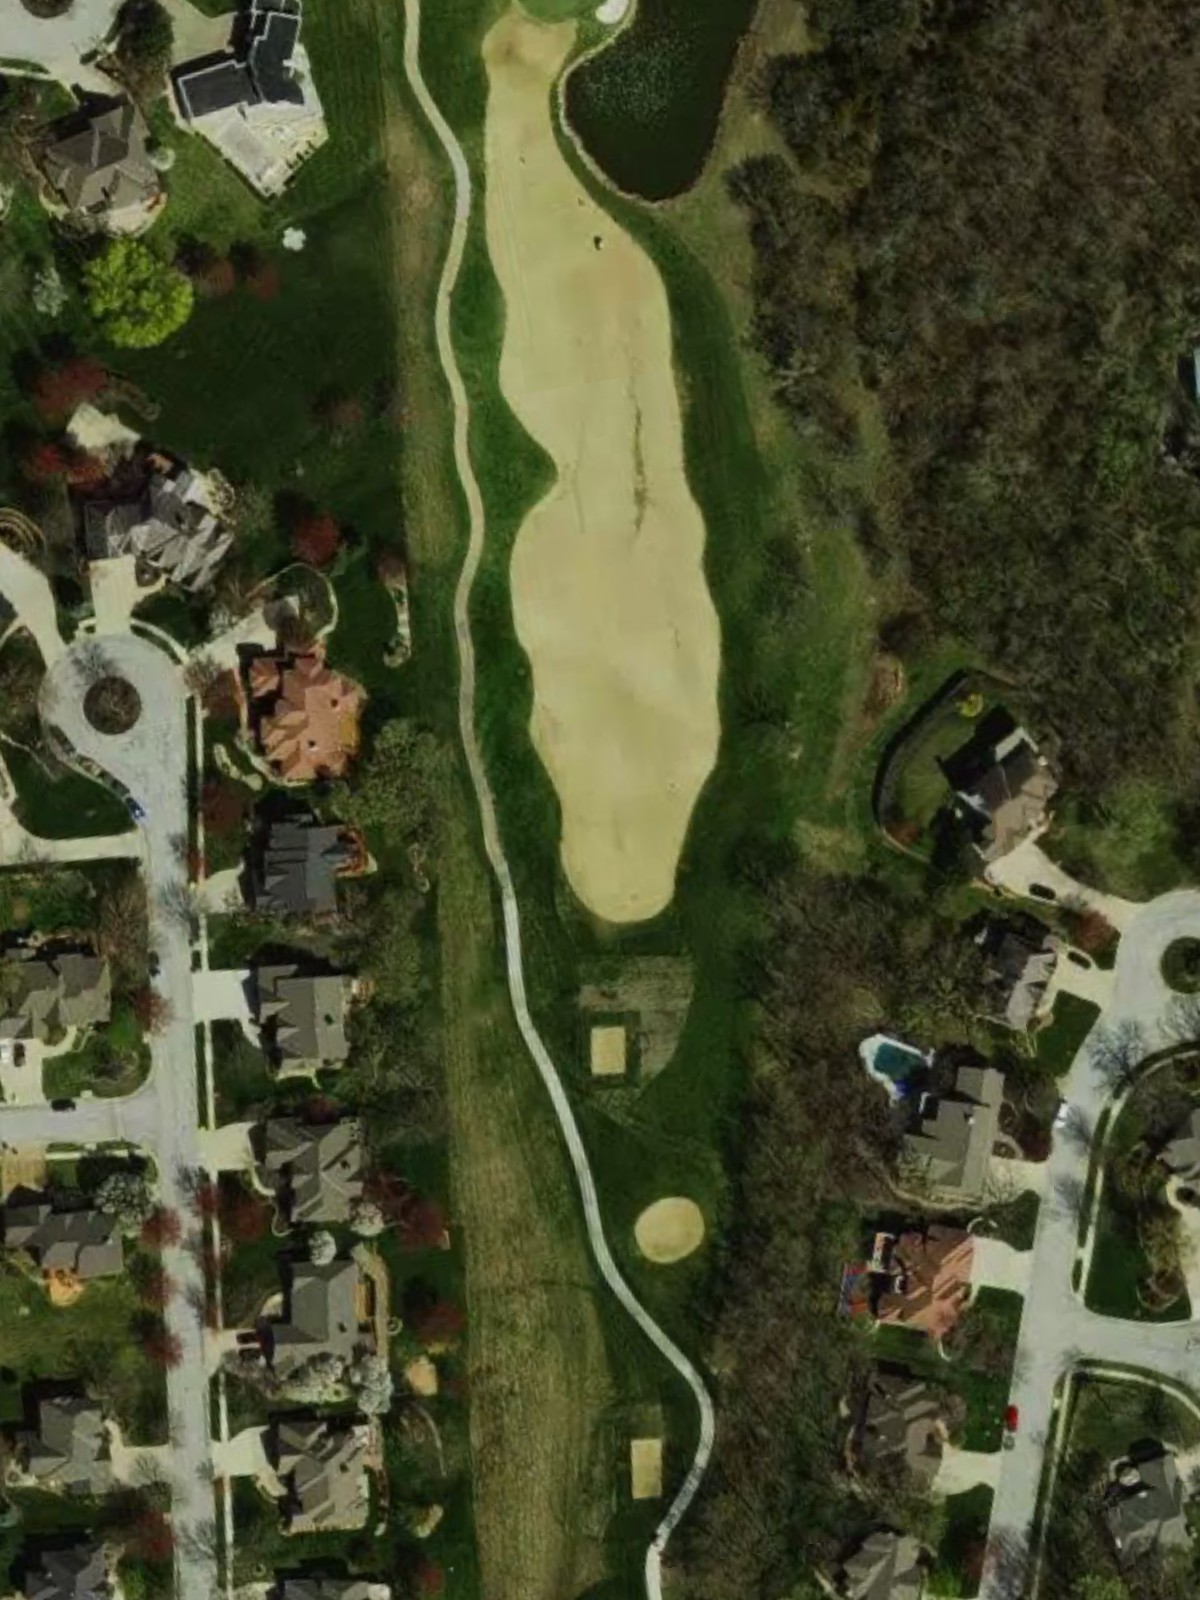
A straightforward par 4 with a wide fairway that gradually narrows toward a well-bunkered green. Bunkers positioned left and right of the green force a careful approach, while out of bounds right creates a boundary concern off the tee.
A short par 4 with an inviting fairway that sets up an easy scoring opportunity. However, the green is tightly guarded by bunkers on both sides, and water left penalizes any missed approach shot, turning this birdie hole into a potential trouble spot.
A lengthy par 5 that plays downhill off the tee before flattening out toward the green. Water and bunkers left of the fairway force positioning, while the elevated green is well-protected front and right, making this a three-shot hole for most players.
A mid-length par 3 to an island green completely surrounded by water and sand. Accuracy from the tee is paramount, with bunkers positioned all around the green creating a dramatic and demanding short hole.
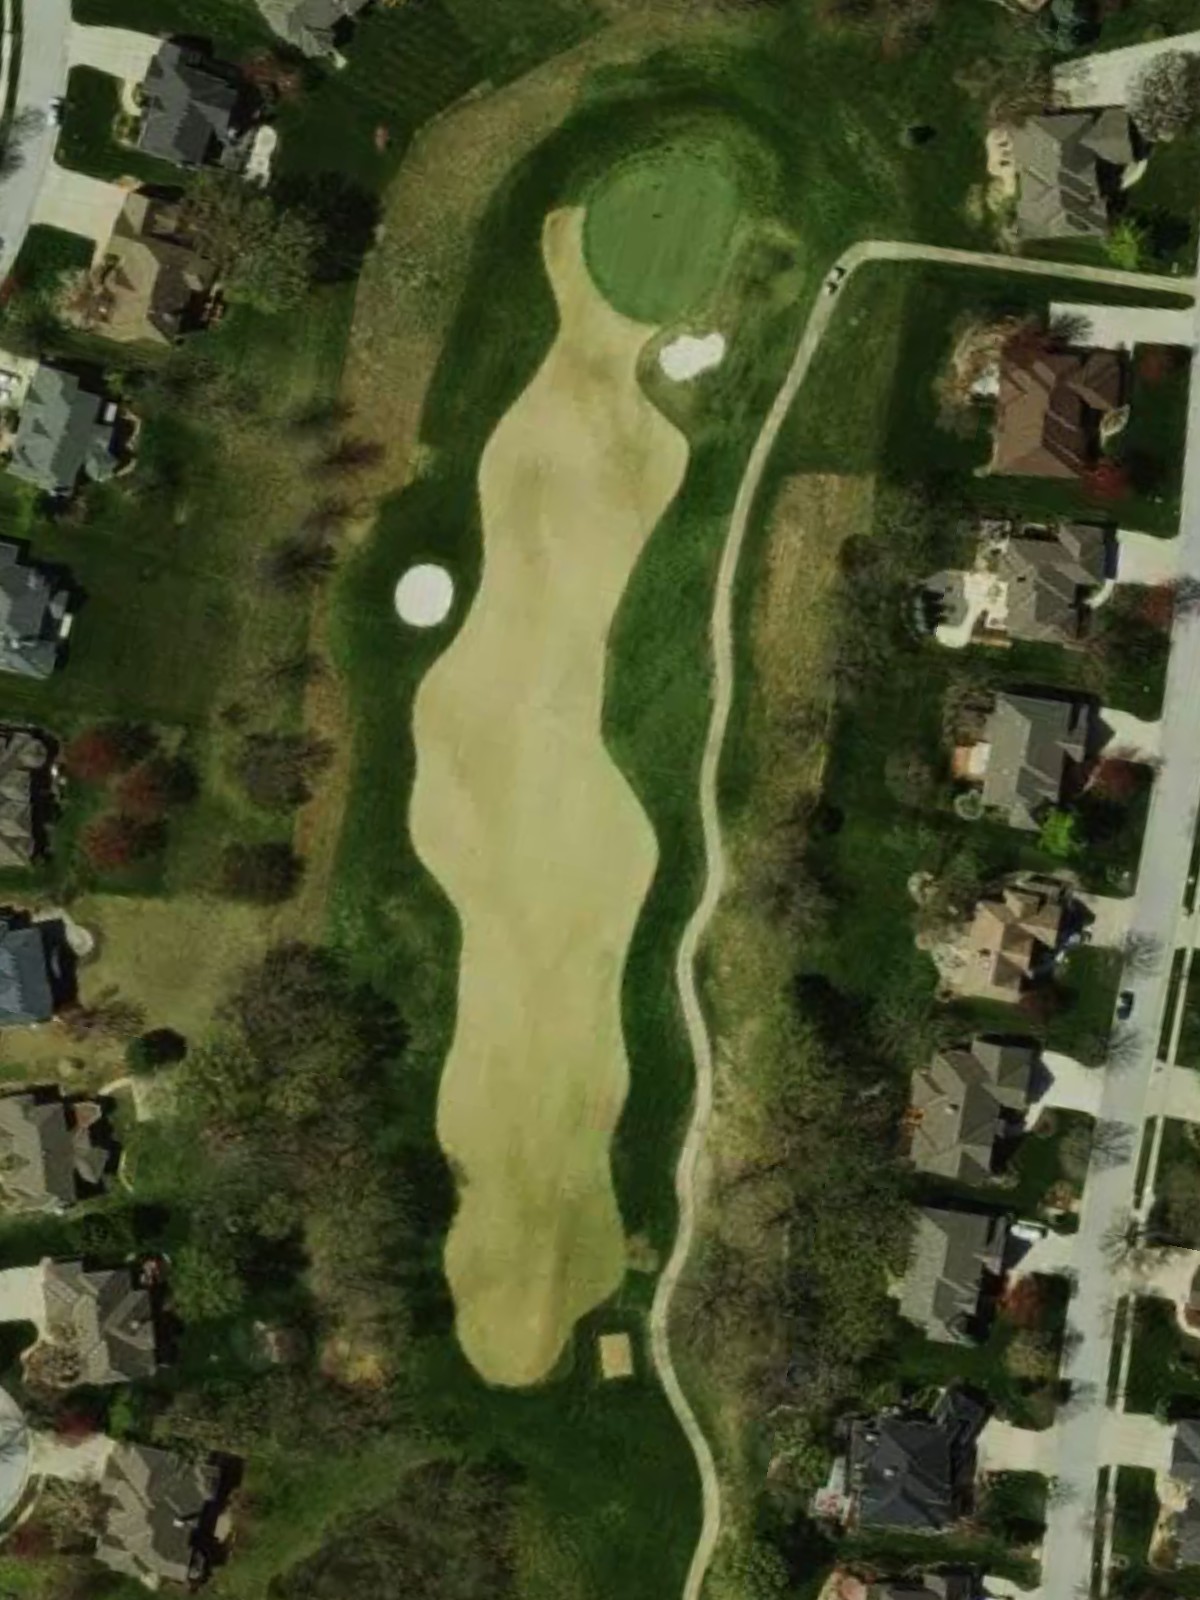
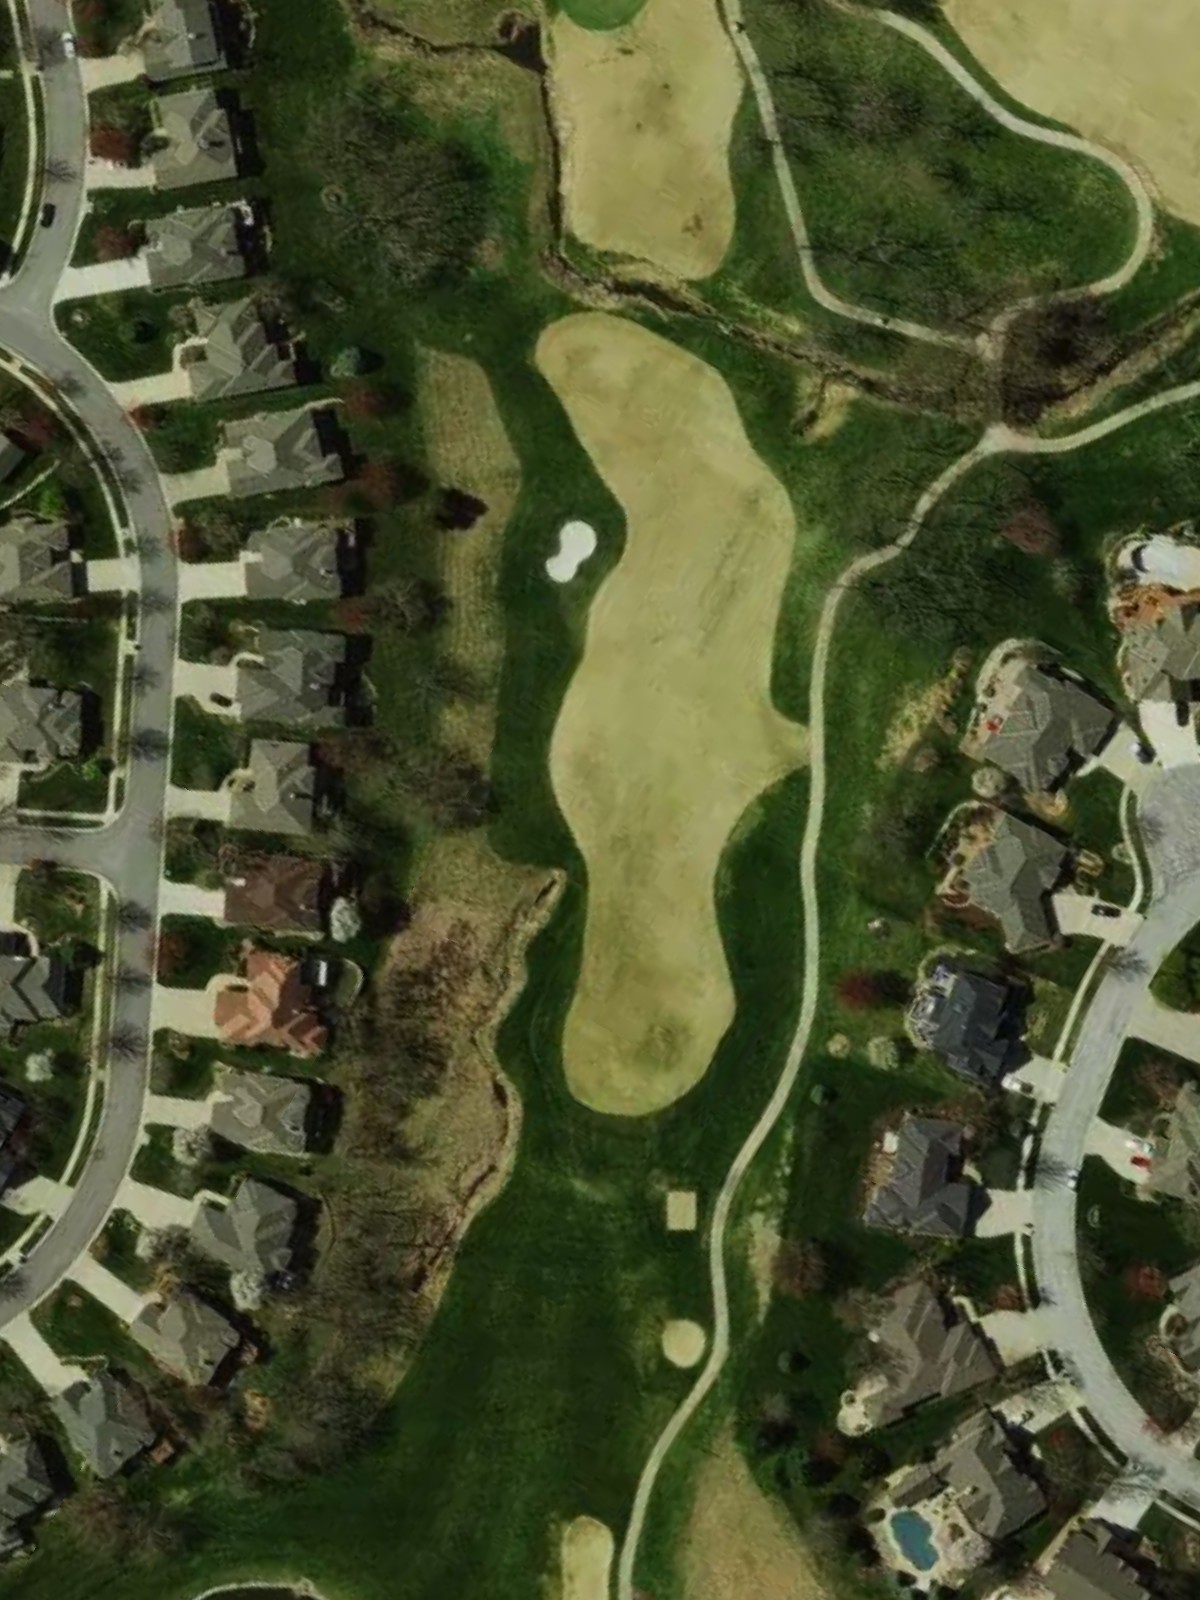
A tough par 4 with a dogleg right that tightens as it approaches the elevated green. Bunkers right of the fairway at the turn and guarding both sides of the green demand precise positioning and a quality approach shot on this challenging hole.

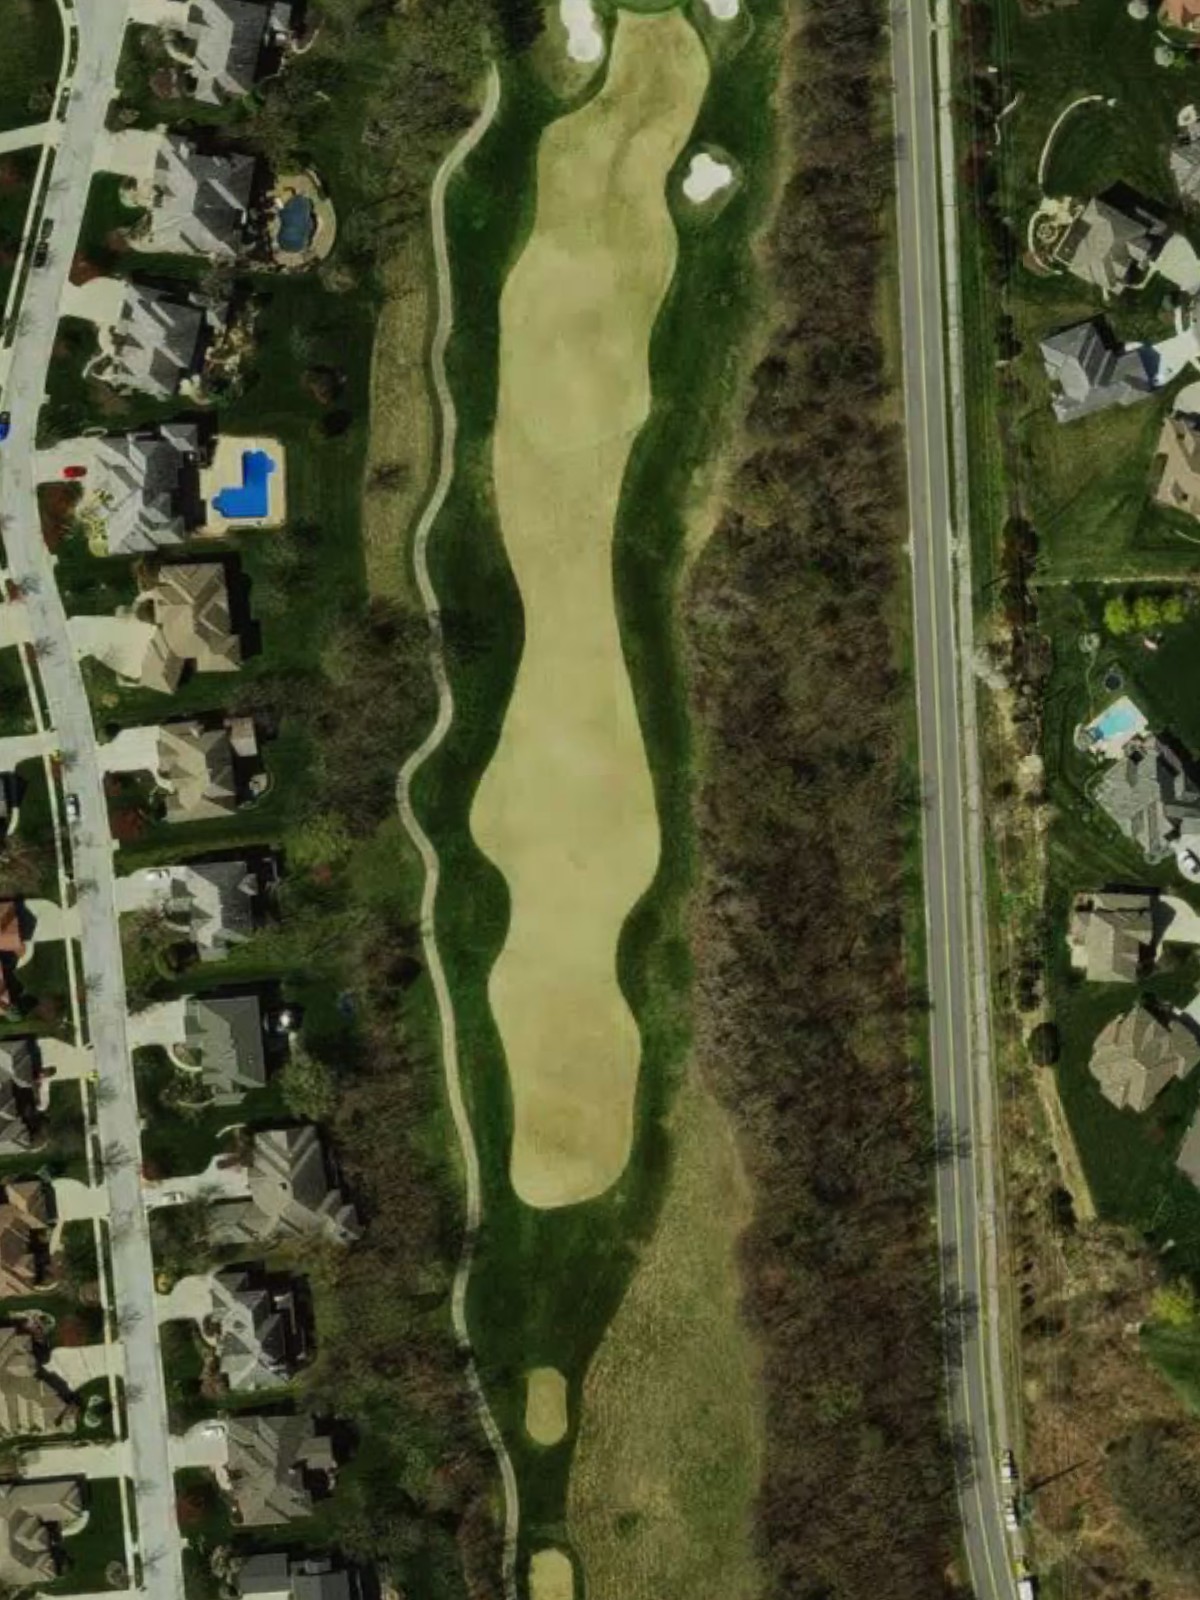
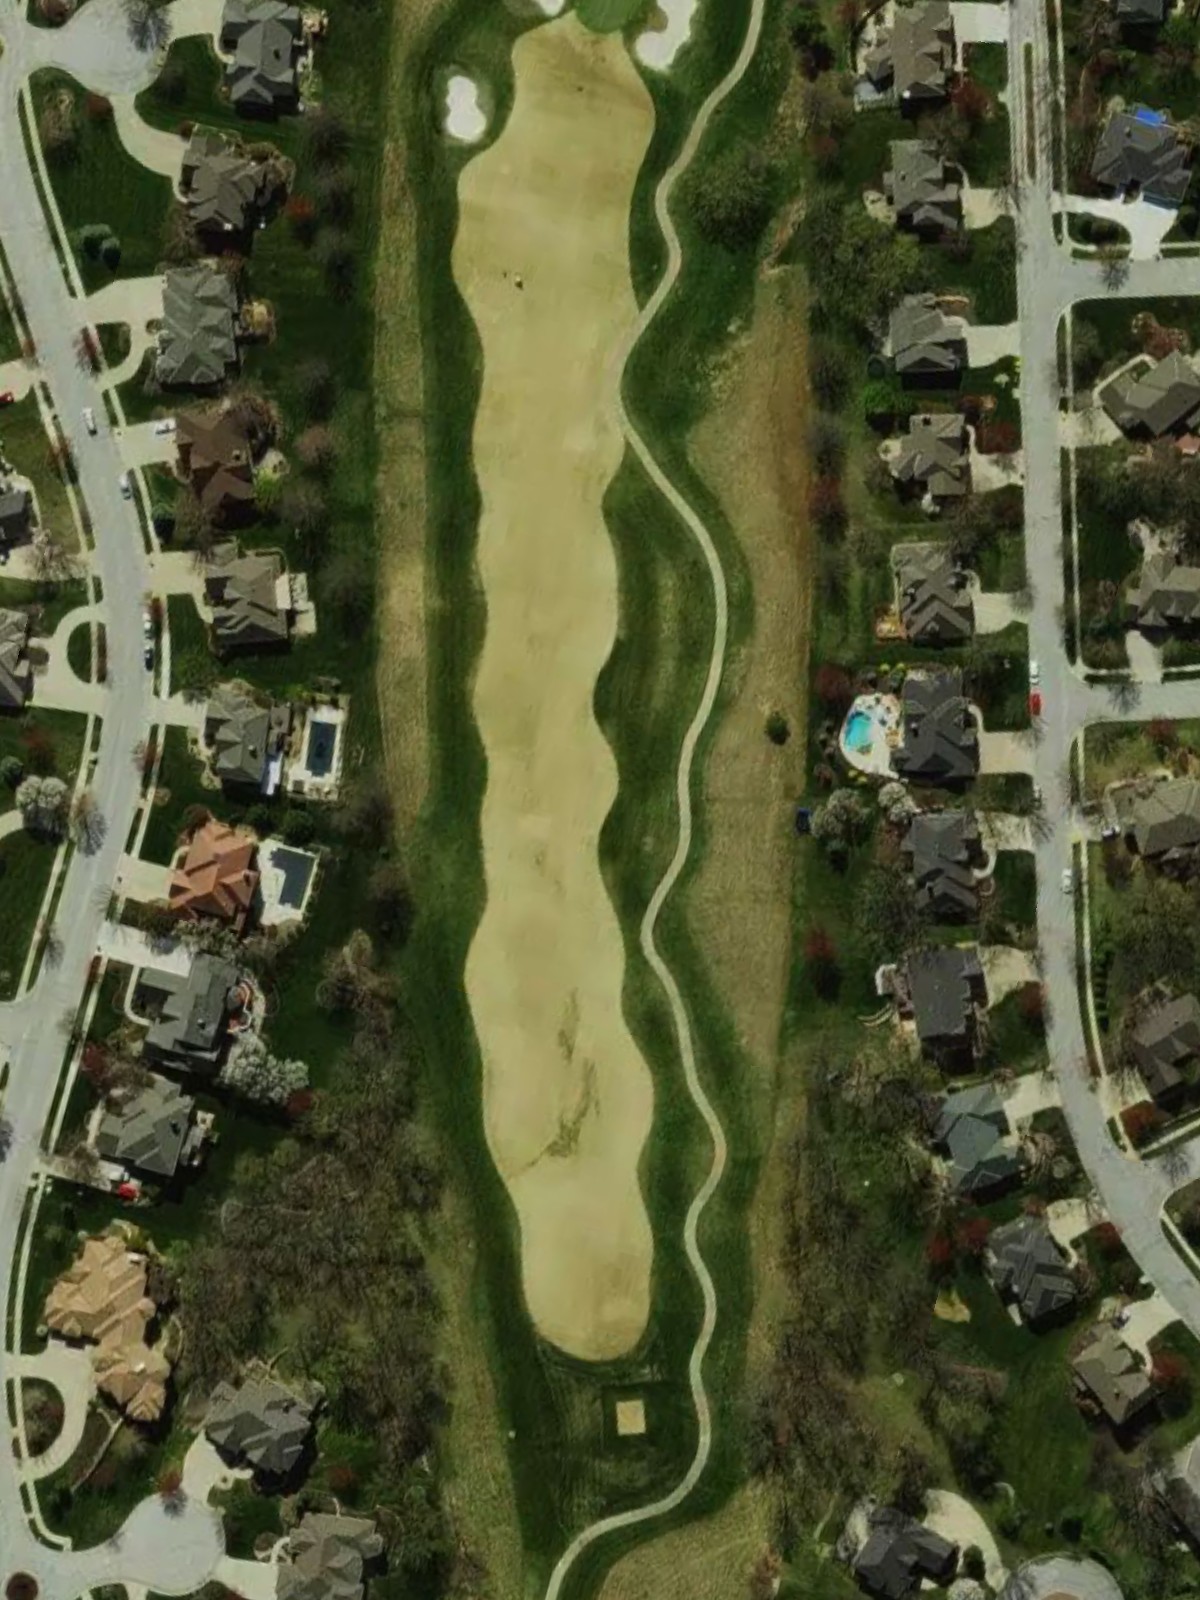
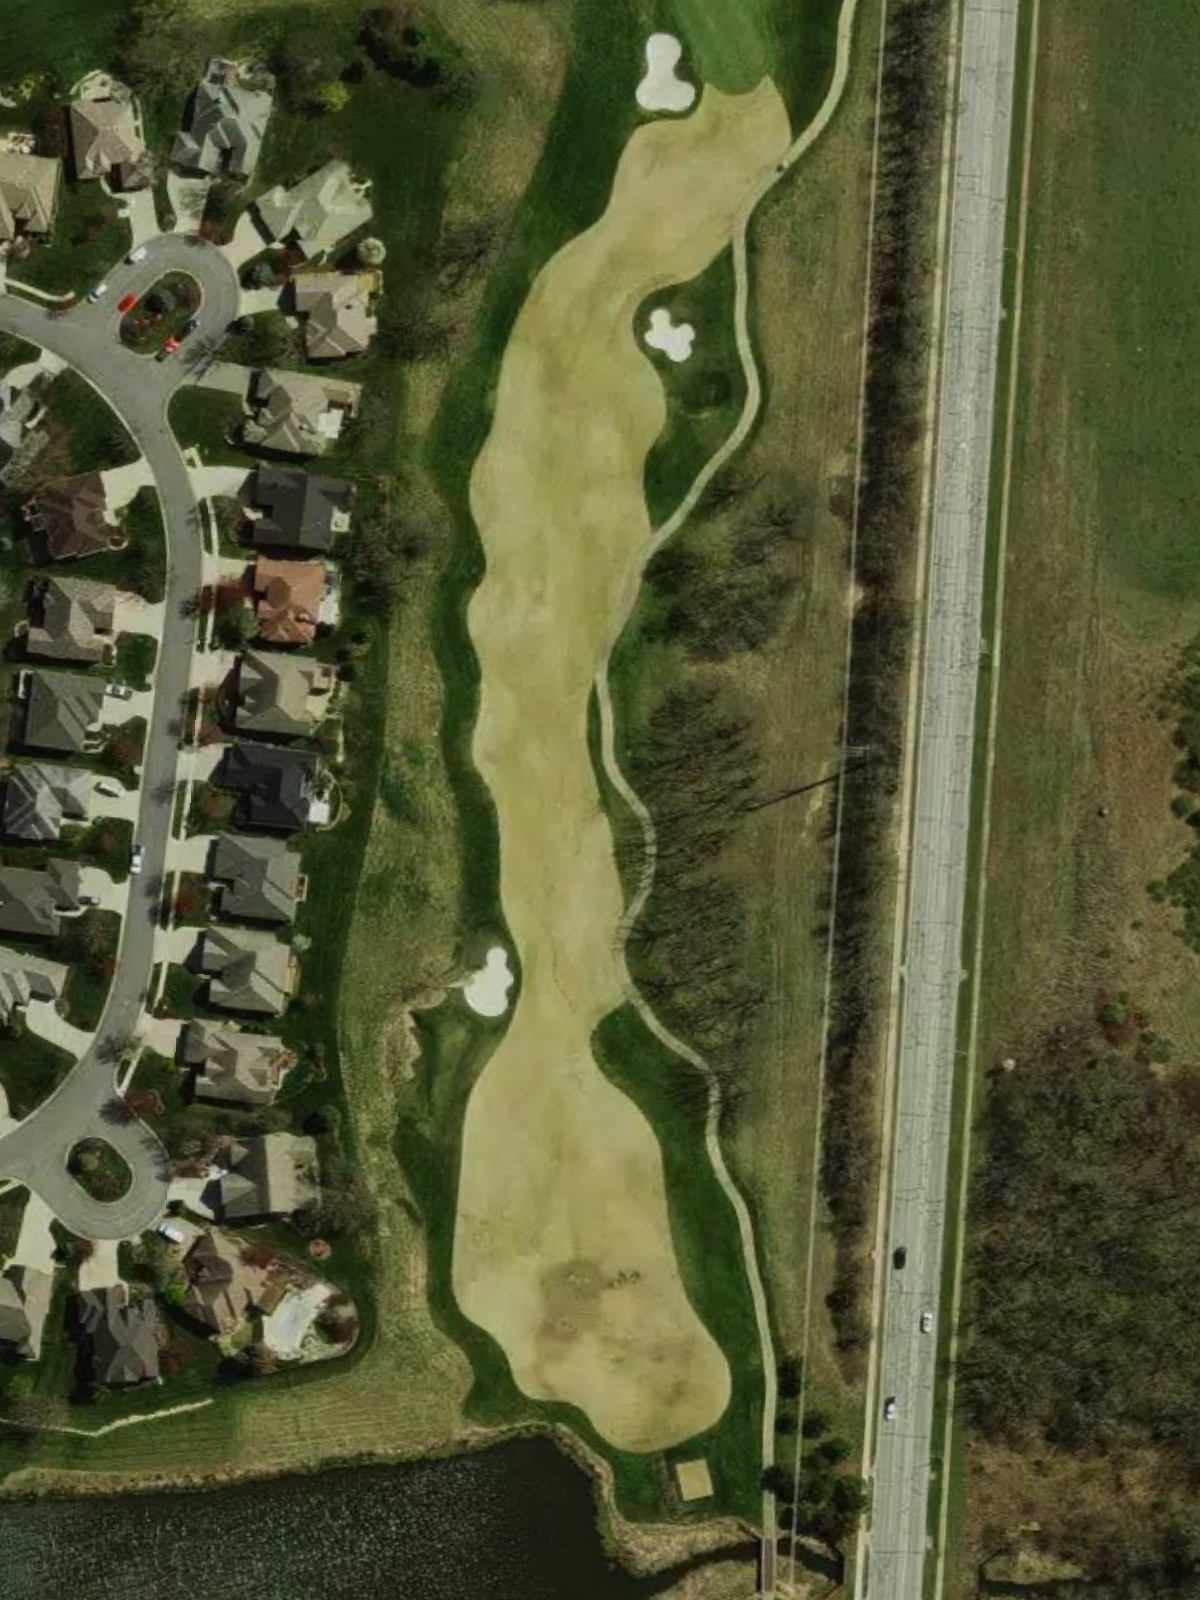
A long par 5 with a wide fairway that narrows significantly in the landing area and near the green. Water left and right constrains the route, and the green is heavily bunkered, making this a strategic hole that rewards careful course management.
A short par 3 that appears deceptively simple but demands precision to a small, well-bunkered green. Water short and left creates hazards off the tee, while bunkers right require the tee shot to find the narrow green for par.
A short par 4 with a tight fairway bordered by out of bounds right and water left. The narrow green is heavily protected by bunkers, turning this potentially driveable hole into a strategic test requiring careful navigation.
The second-most difficult hole, this par 4 features a dramatic dogleg left with water running the entire left side. The fairway tightens as it bends, and the green is surrounded by bunkers, demanding both precision off the tee and an exceptional approach shot.
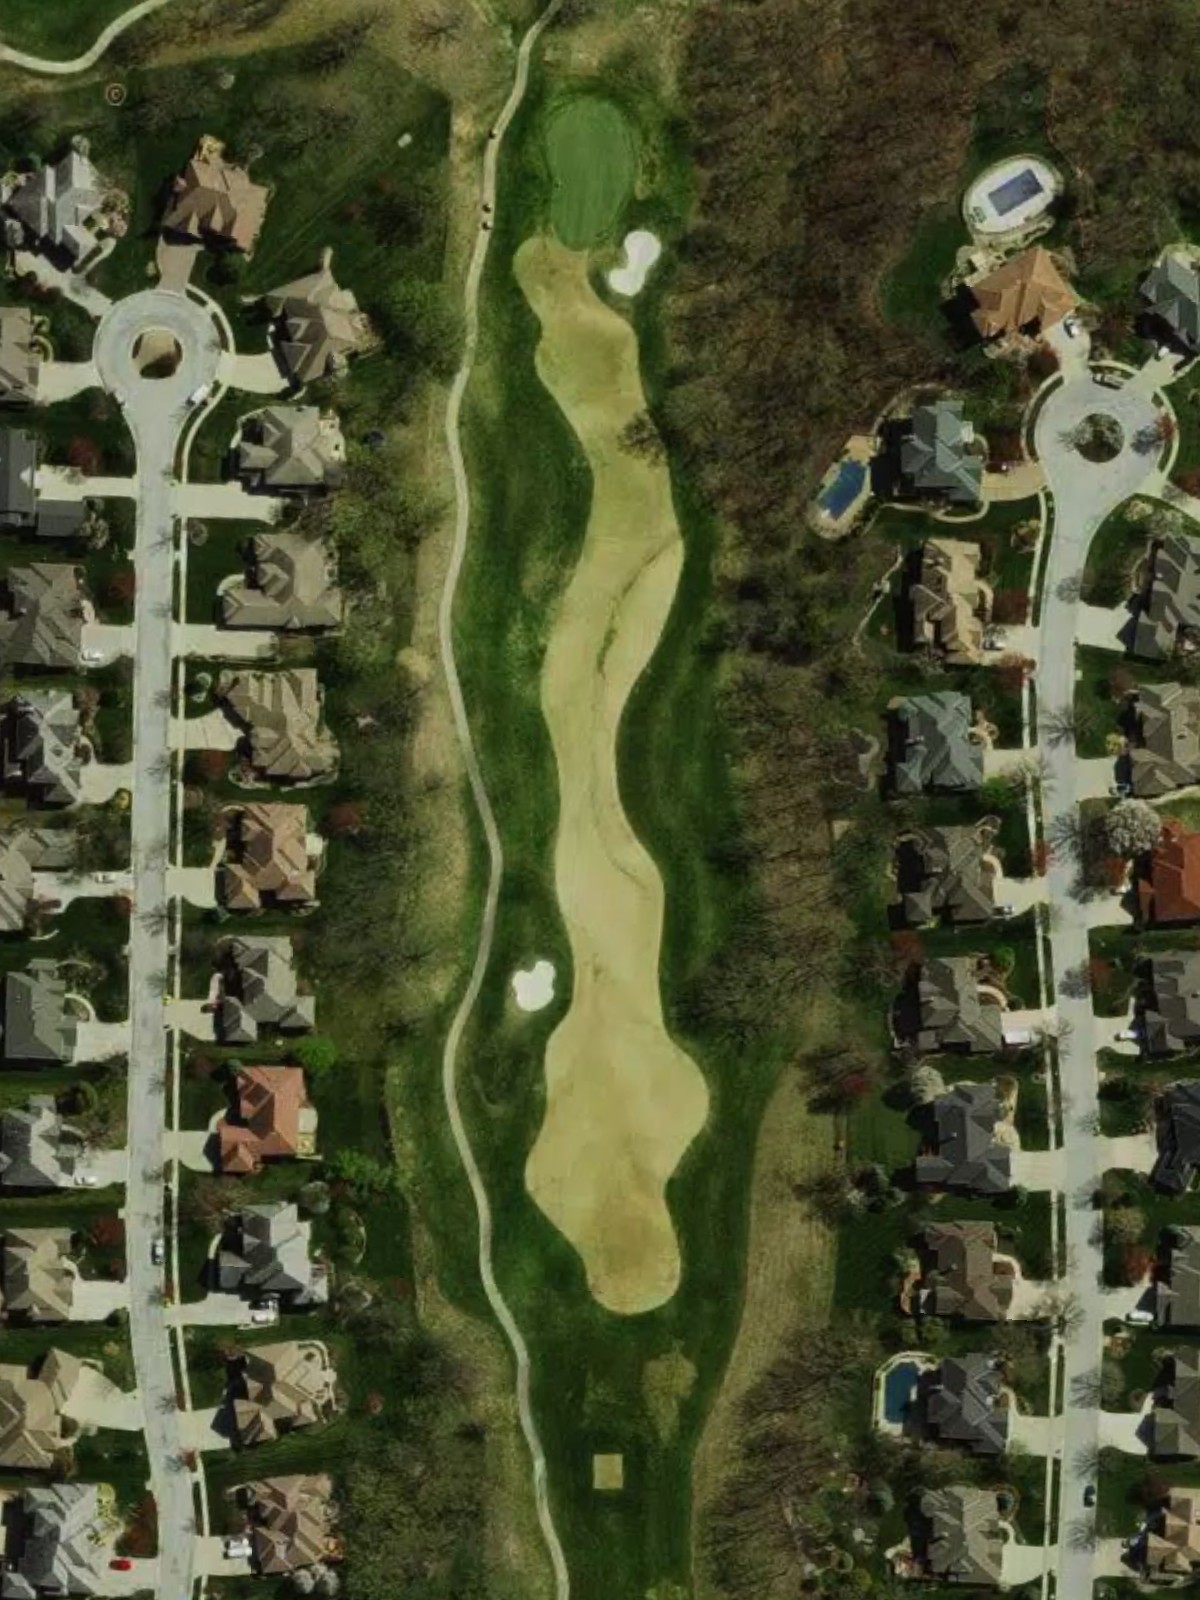
A solid par 4 with a fairway that narrows progressively toward the green. Bunkers guard both sides of the approach area, and water right creates additional hazard concern, requiring solid contact on both the drive and approach to score well.
The closing par 4 is relatively open off the tee but features a severely sloped, bunkered green that makes the approach shot the key to finishing well. Out of bounds right and water left frame the hole, leaving little margin for error on this challenging final test.
Scorecard
| Hole | 1 | 2 | 3 | 4 | 5 | 6 | 7 | 8 | 9 | Out | 10 | 11 | 12 | 13 | 14 | 15 | 16 | 17 | 18 | In | Tot |
|---|---|---|---|---|---|---|---|---|---|---|---|---|---|---|---|---|---|---|---|---|---|
| Par | 5 | 3 | 4 | 5 | 3 | 4 | 4 | 4 | 4 | 36 | 5 | 3 | 4 | 5 | 3 | 4 | 4 | 4 | 4 | 36 | 72 |
| HCP | 9 | 7 | 3 | 5 | 15 | 13 | 1 | 11 | 17 | 10 | 8 | 4 | 6 | 16 | 14 | 2 | 12 | 18 | |||
| black | 543 | 211 | 400 | 536 | 150 | 390 | 413 | 400 | 380 | 3423 | 543 | 211 | 400 | 536 | 150 | 390 | 413 | 400 | 380 | 3423 | 6846 |
| blue | 490 | 193 | 378 | 520 | 142 | 324 | 392 | 363 | 343 | 3145 | 490 | 193 | 378 | 520 | 142 | 324 | 392 | 363 | 343 | 3145 | 6290 |
| tournament tees | 490 | 148 | 363 | 486 | 150 | 333 | 380 | 326 | 343 | 3019 | 465 | 211 | 378 | 520 | 127 | 300 | 392 | 363 | 380 | 3136 | 6155 |
| white | 465 | 181 | 363 | 486 | 133 | 300 | 380 | 326 | 276 | 2910 | 465 | 181 | 363 | 486 | 133 | 300 | 380 | 326 | 276 | 2910 | 5820 |
| red | 428 | 148 | 330 | 450 | 127 | 266 | 308 | 300 | 253 | 2610 | 428 | 148 | 330 | 450 | 127 | 266 | 308 | 300 | 253 | 2610 | 5220 |