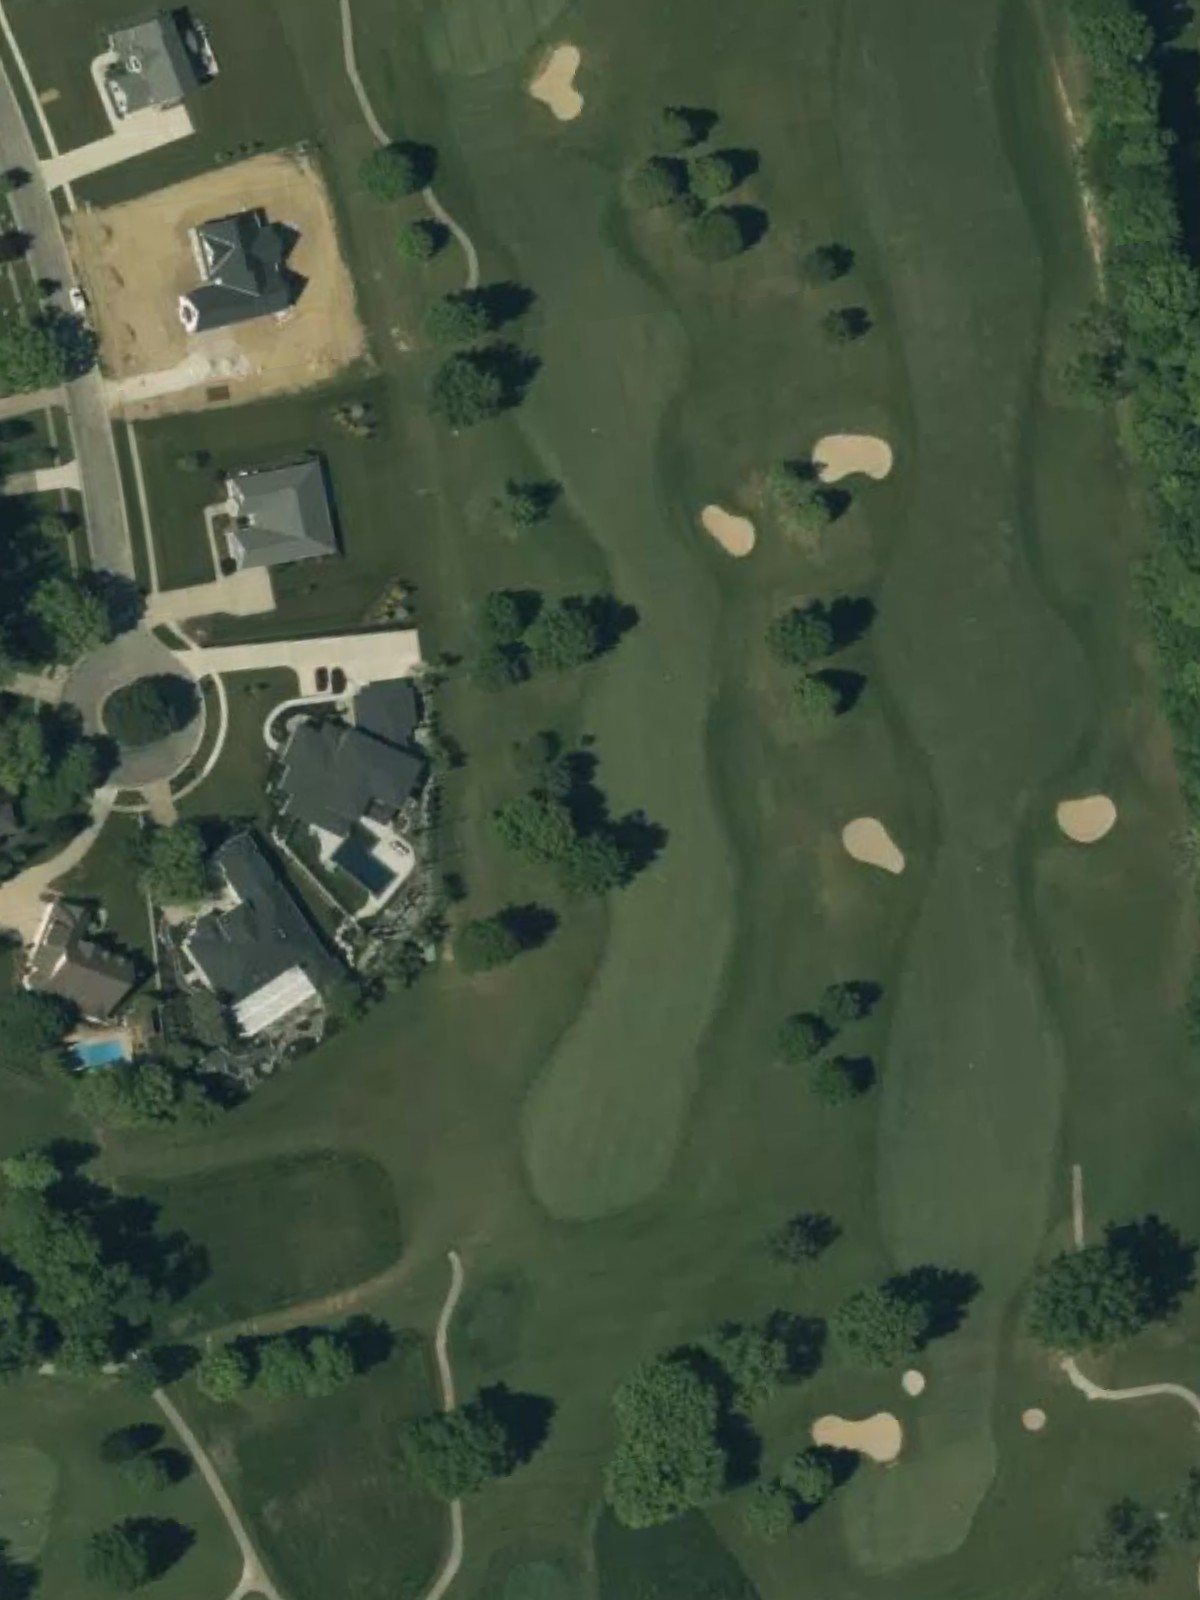
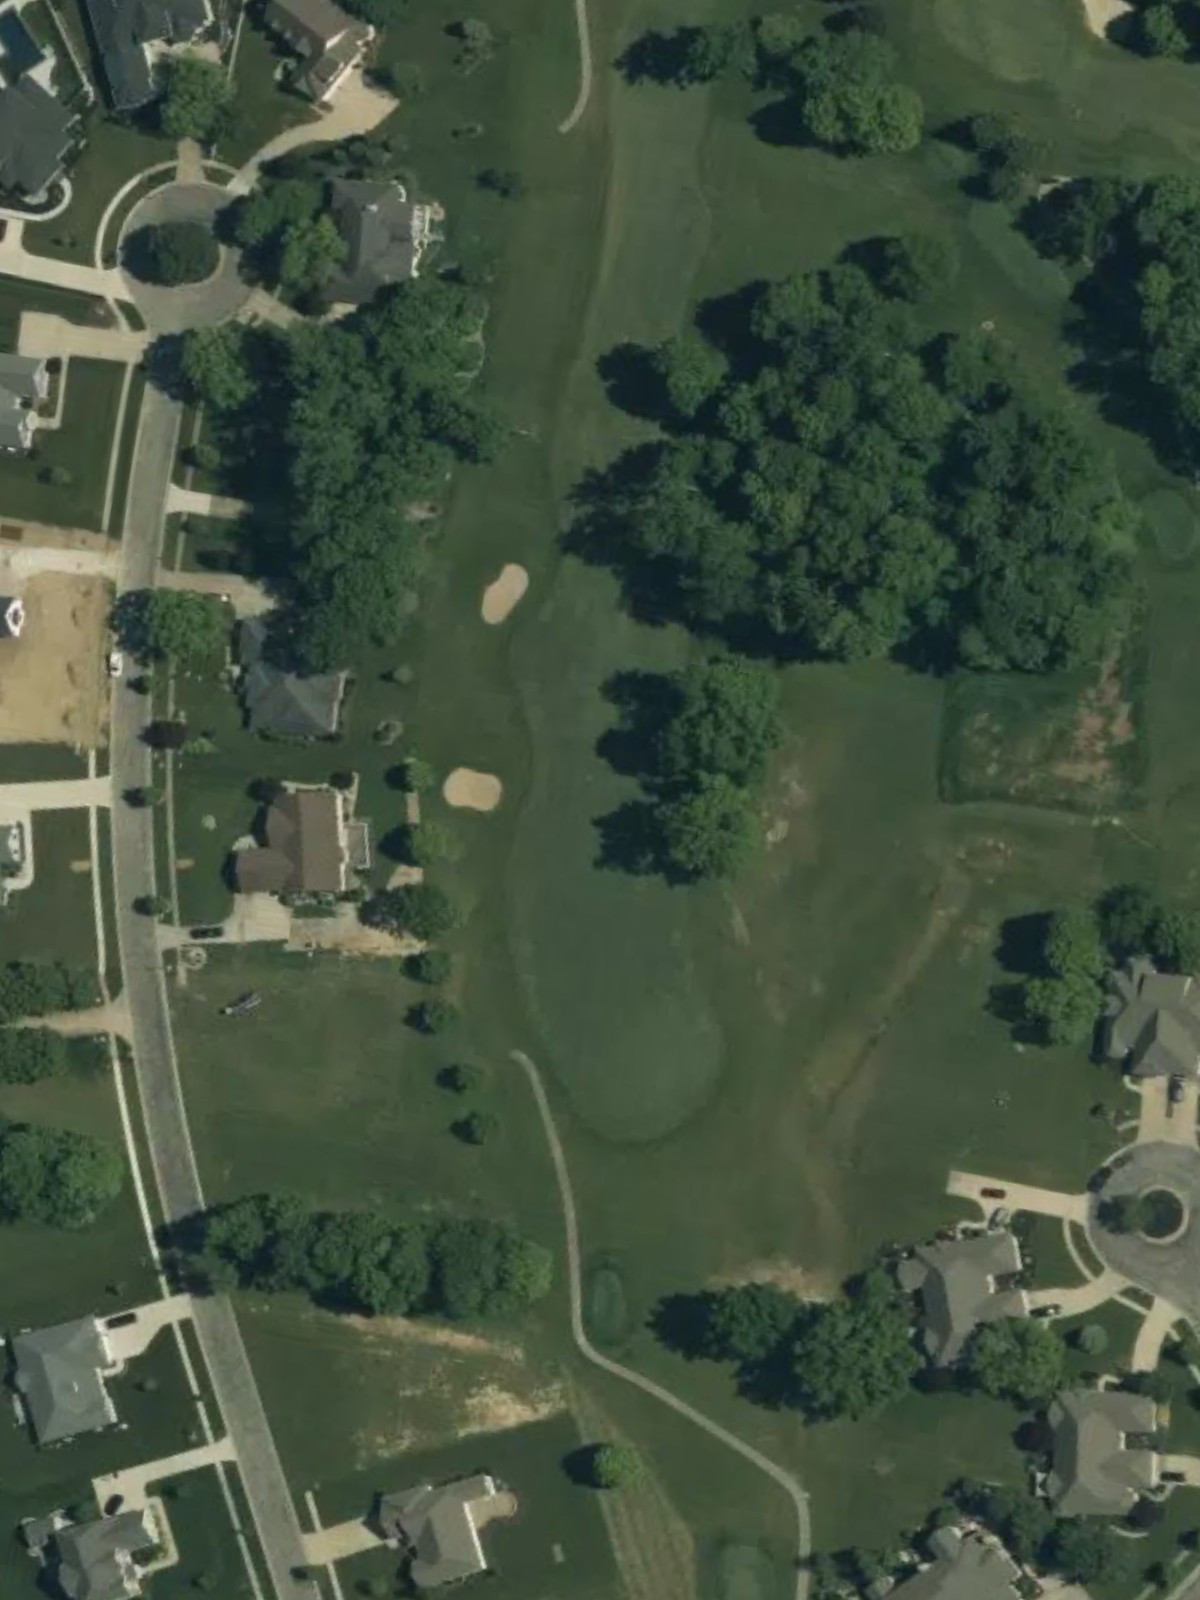
Eagle Creek Golf Club is an 18-hole golf course in Norwalk, OH with a par of 71. It offers 6 tee sets: gold (6,633 yards, slope 127, rating 71.7), gold/black (6,419 yards, slope 125, rating 70.8), black (6,234 yards, slope 124, rating 69.8), black/white (6,041 yards, slope 122, rating 68.9), white (5,835 yards, slope 121, rating 67.9), white/silver (5,366 yards, slope 116, rating 65.8). The hardest hole is #3, a par 4 playing 449 yards from the first tee.
Eagle Creek Golf Club
Norwalk, OH
Get PDF Yardage Book
We'll email you the PDF link. No spam, ever.
Create Your Game Plan
Pick your tees, enter your bag, and get a personalized shot-by-shot strategy for every hole.

A strategic par 5 that plays relatively short, offering birdie opportunity for longer hitters. The fairway is generally open, but positioning off the tee is important for an ideal approach to a well-bunkered green.
A modest par 4 that demands precision over distance. The tight fairway and greenside bunkers create a challenging short game, making accurate approach shots critical to scoring.
The #1 handicap hole presents a demanding par 4 with a narrow fairway that tightens considerably on approach. Bunkers and hazards around the green punish wayward shots and require a controlled second shot to find the putting surface.

A short par 4 that tempts aggressive play off the tee, but positioning is everything on this tight hole. The small green is well-protected, making accuracy more valuable than distance.

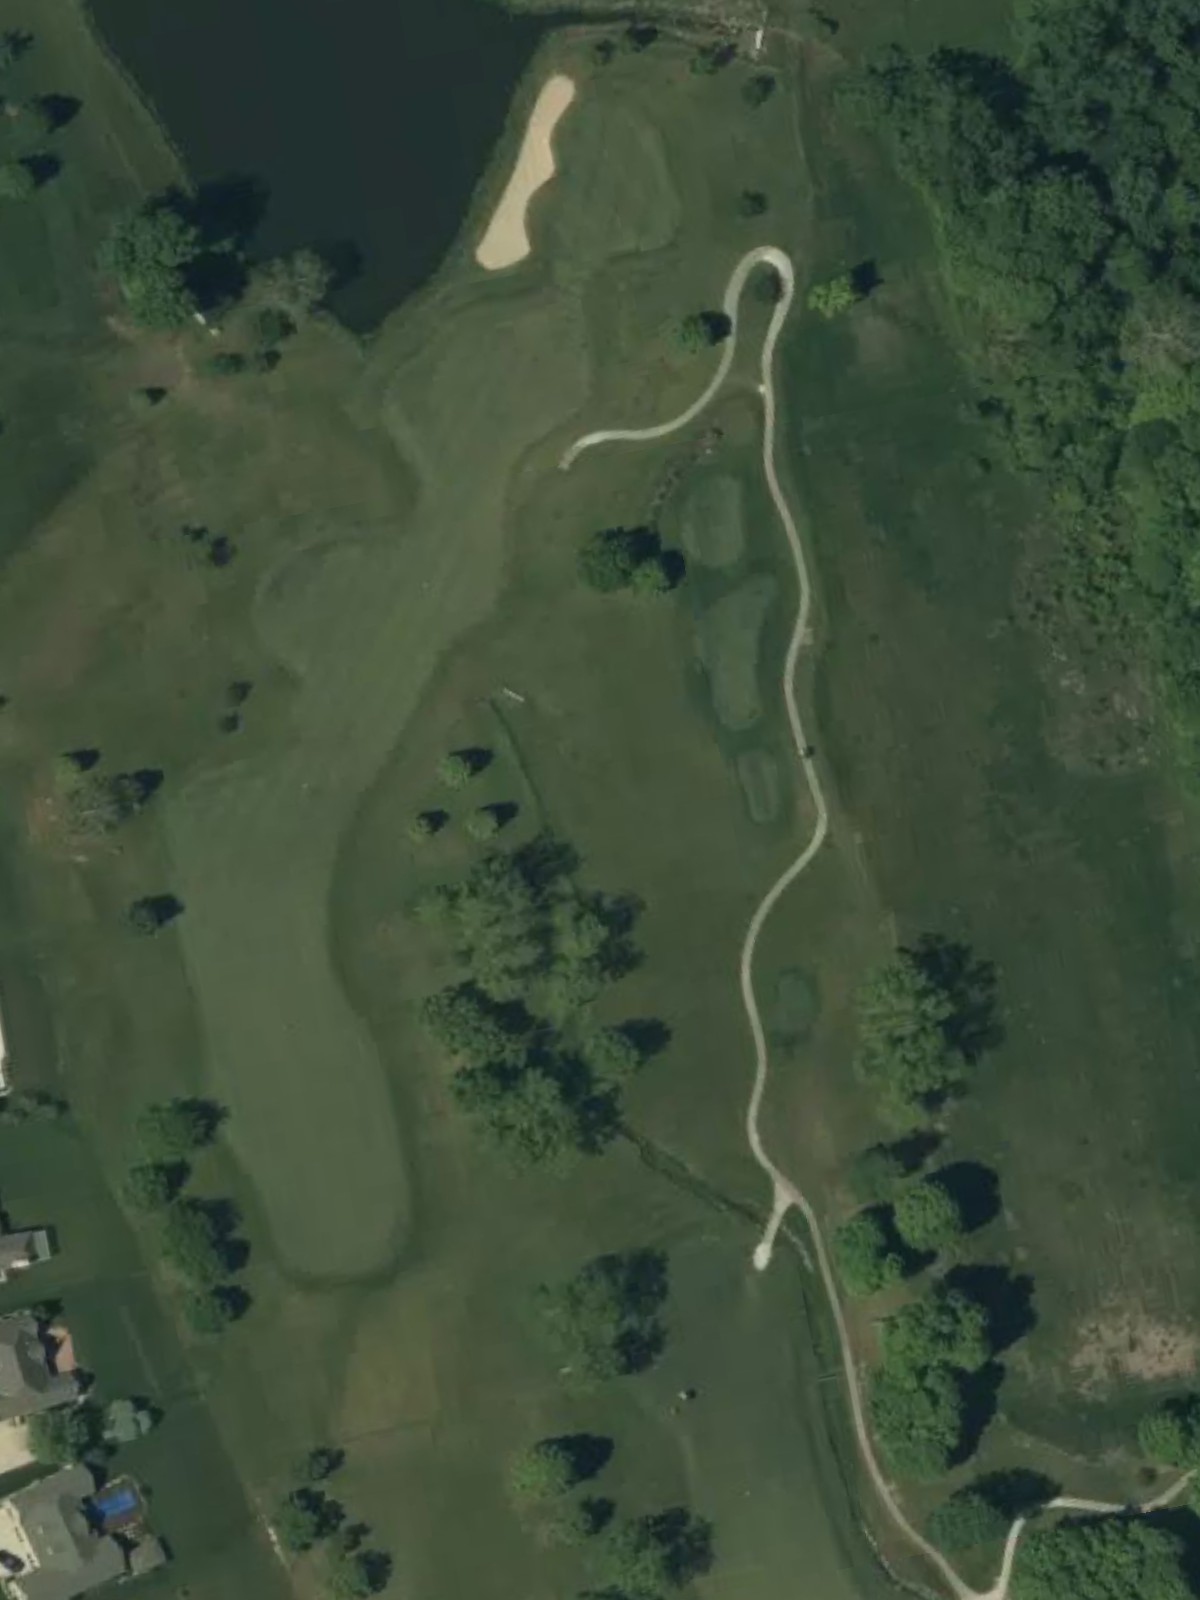
A lengthy par 5 with a fairway that may require two solid shots to reach green in regulation. Hazards should be identified and avoided on both the tee and second shots for a clear third shot to the green.

A mid-length par 3 that demands an accurate shot from the tee to reach a moderately sized green. The surrounding hazards and bunkers mean there is little margin for error on this one-shot hole.

A substantial par 4 with a fairway that requires a well-struck drive to set up a manageable approach. The green is protected by bunkers and hazards, making the second shot both technical and critical.

A short par 3 with a deceptive layout where distance control is paramount. The small target and surrounding hazards leave little room for miss-hits from the tee.

The #3 handicap hole is a serious par 4 test with a tight fairway and strategic bunkering throughout. Both tee and approach shots demand precision to navigate the hazards and find a scoring position.
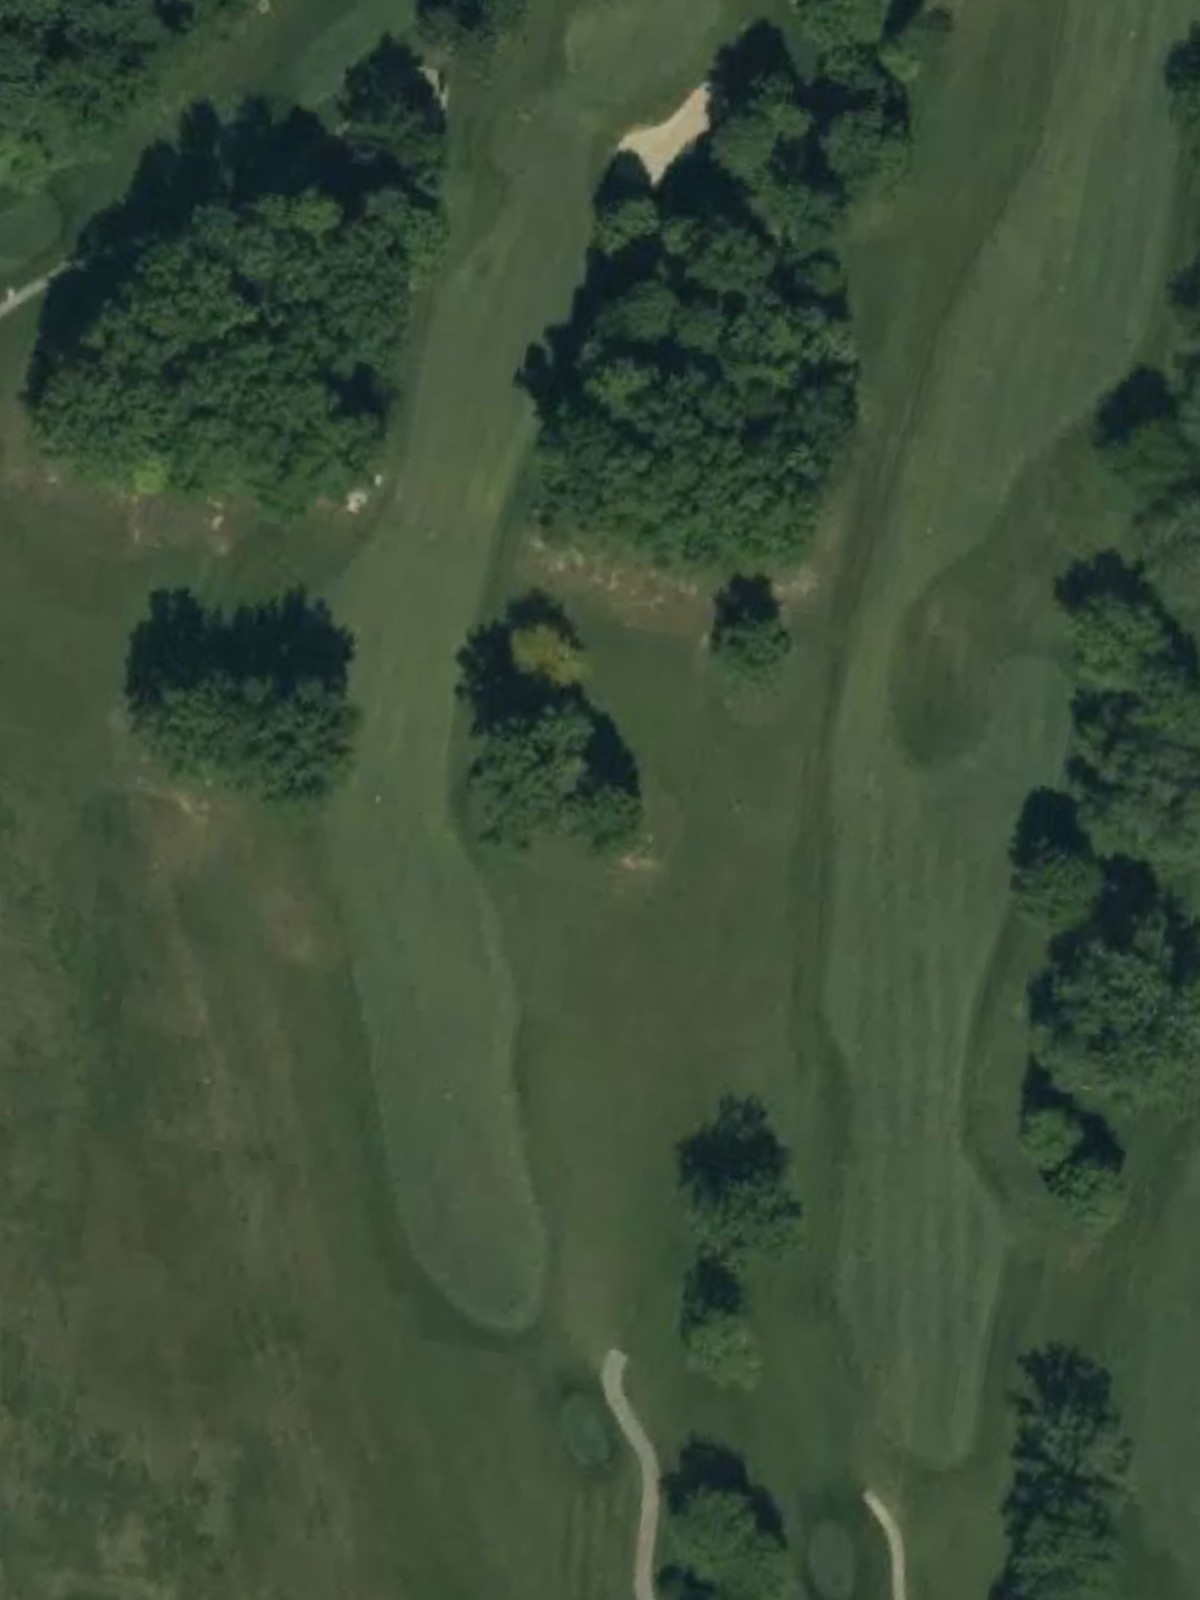
A straightforward par 4 of moderate length with a relatively open fairway. Clean lines off the tee lead to a green that is accessible with solid shotmaking.

A long par 5 that challenges even strong players to reach in three shots. The fairway offers decent width, but hazards guarding the green require careful positioning for the approach.

A substantial par 3 with a lengthy carry to a well-bunkered green. Wind and elevation may play a role, making club selection and accuracy essential.
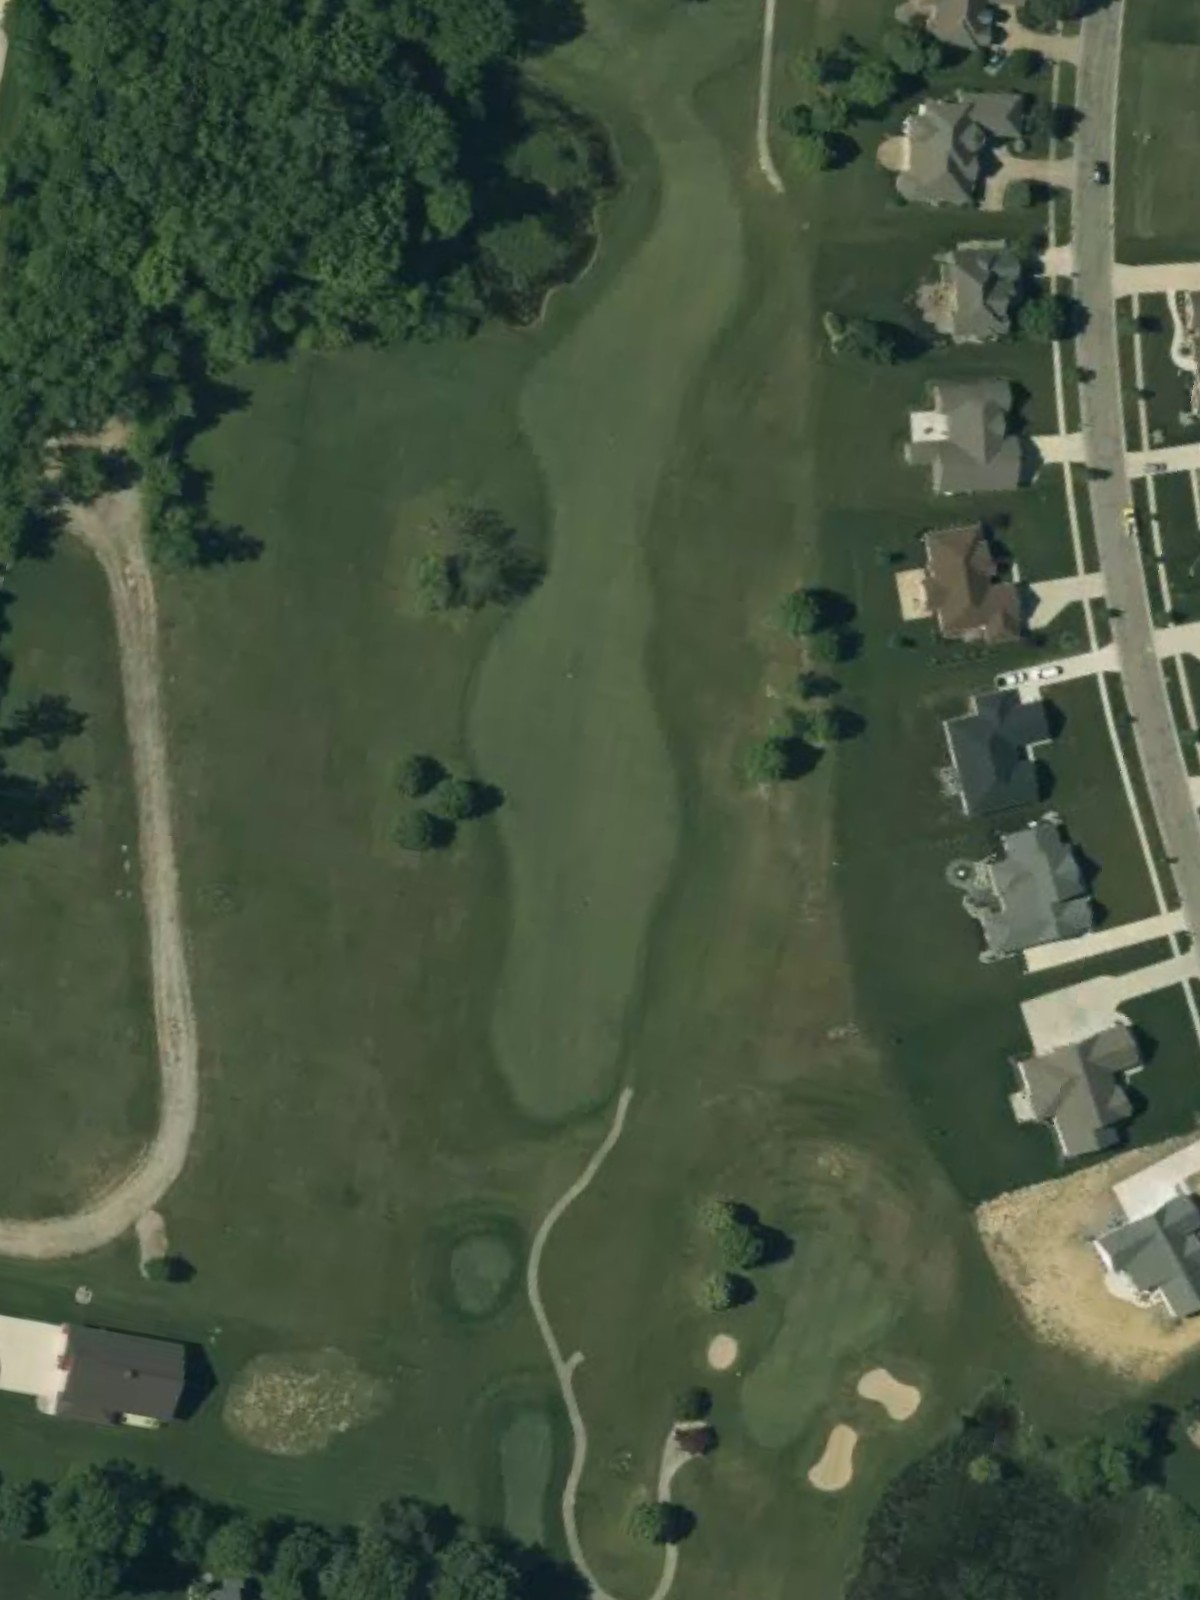
A robust par 4 where the fairway gradually narrows as it approaches the green. Bunkers and hazards pinch the landing area, demanding precision placement off the tee and a controlled approach shot.

The easiest handicap hole is a short par 3 with a relatively accessible green. While the hole appears forgiving, accuracy off the tee still rewards good shotmaking.

The #4 handicap hole is a challenging par 4 with a fairway that tightens near the green. Hazards frame both sides of the approach, requiring a well-executed second shot to secure par.

A mid-length par 3 with a narrow green guarded by bunkers and hazards. Precision tee shots are rewarded on this deceptive one-shotter.
The #2 handicap hole is a formidable par 4 with a tight, dog-legging fairway that demands an accurate tee shot. The well-protected green and surrounding hazards make the approach shot a crucial test of shotmaking.

A strong finishing par 5 that requires two powerful, accurate shots to set up a scoring opportunity. Hazards and bunkers strategically placed throughout demand careful course management for a satisfying conclusion.
Scorecard
| Hole | 1 | 2 | 3 | 4 | 5 | 6 | 7 | 8 | 9 | Out | 10 | 11 | 12 | 13 | 14 | 15 | 16 | 17 | 18 | In | Tot |
|---|---|---|---|---|---|---|---|---|---|---|---|---|---|---|---|---|---|---|---|---|---|
| Par | 5 | 4 | 4 | 4 | 5 | 3 | 4 | 3 | 4 | 36 | 4 | 5 | 3 | 4 | 3 | 4 | 3 | 4 | 5 | 35 | 71 |
| HCP | 5 | 7 | 1 | 11 | 9 | 17 | 13 | 15 | 3 | 12 | 6 | 16 | 8 | 18 | 4 | 14 | 2 | 10 | |||
| gold | 502 | 402 | 449 | 330 | 556 | 180 | 420 | 159 | 397 | 3395 | 365 | 522 | 198 | 420 | 167 | 427 | 182 | 434 | 523 | 3238 | 6633 |
| gold/black | 502 | 402 | 422 | 330 | 526 | 154 | 420 | 159 | 380 | 3295 | 365 | 502 | 184 | 374 | 167 | 427 | 165 | 417 | 523 | 3124 | 6419 |
| black | 488 | 382 | 422 | 306 | 526 | 154 | 378 | 142 | 380 | 3178 | 346 | 502 | 184 | 374 | 158 | 406 | 165 | 417 | 504 | 3056 | 6234 |
| black/white | 488 | 371 | 407 | 288 | 507 | 154 | 378 | 142 | 371 | 3106 | 346 | 470 | 154 | 336 | 158 | 406 | 165 | 396 | 504 | 2935 | 6041 |
| white | 470 | 371 | 407 | 288 | 507 | 140 | 341 | 109 | 371 | 3004 | 326 | 470 | 154 | 336 | 144 | 379 | 139 | 396 | 487 | 2831 | 5835 |
| white/silver | 470 | 371 | 357 | 288 | 406 | 117 | 341 | 109 | 295 | 2754 | 326 | 426 | 128 | 286 | 144 | 379 | 114 | 322 | 487 | 2612 | 5366 |