Dominion Valley Country Club is an 18-hole golf course in Haymarket, VA with a par of 72. It offers 8 tee sets: black (6,891 yards, slope 145, rating 74.2), blue (6,429 yards, slope 139, rating 72.2), blue/green (6,203 yards, slope 137, rating 71), green (6,029 yards, slope 135, rating 70.5), green/white (5,796 yards, slope 133, rating 69.6), white (5,641 yards, slope 131, rating 68.7), red (5,057 yards, slope 124, rating 66), yellow (4,359 yards, slope 117, rating 63.2). The hardest hole is #5, a par 5 playing 450 yards from the first tee.
Dominion Valley Country Club
Haymarket, VA
Get PDF Yardage Book
We'll email you the PDF link. No spam, ever.
Create Your Game Plan
Pick your tees, enter your bag, and get a personalized shot-by-shot strategy for every hole.
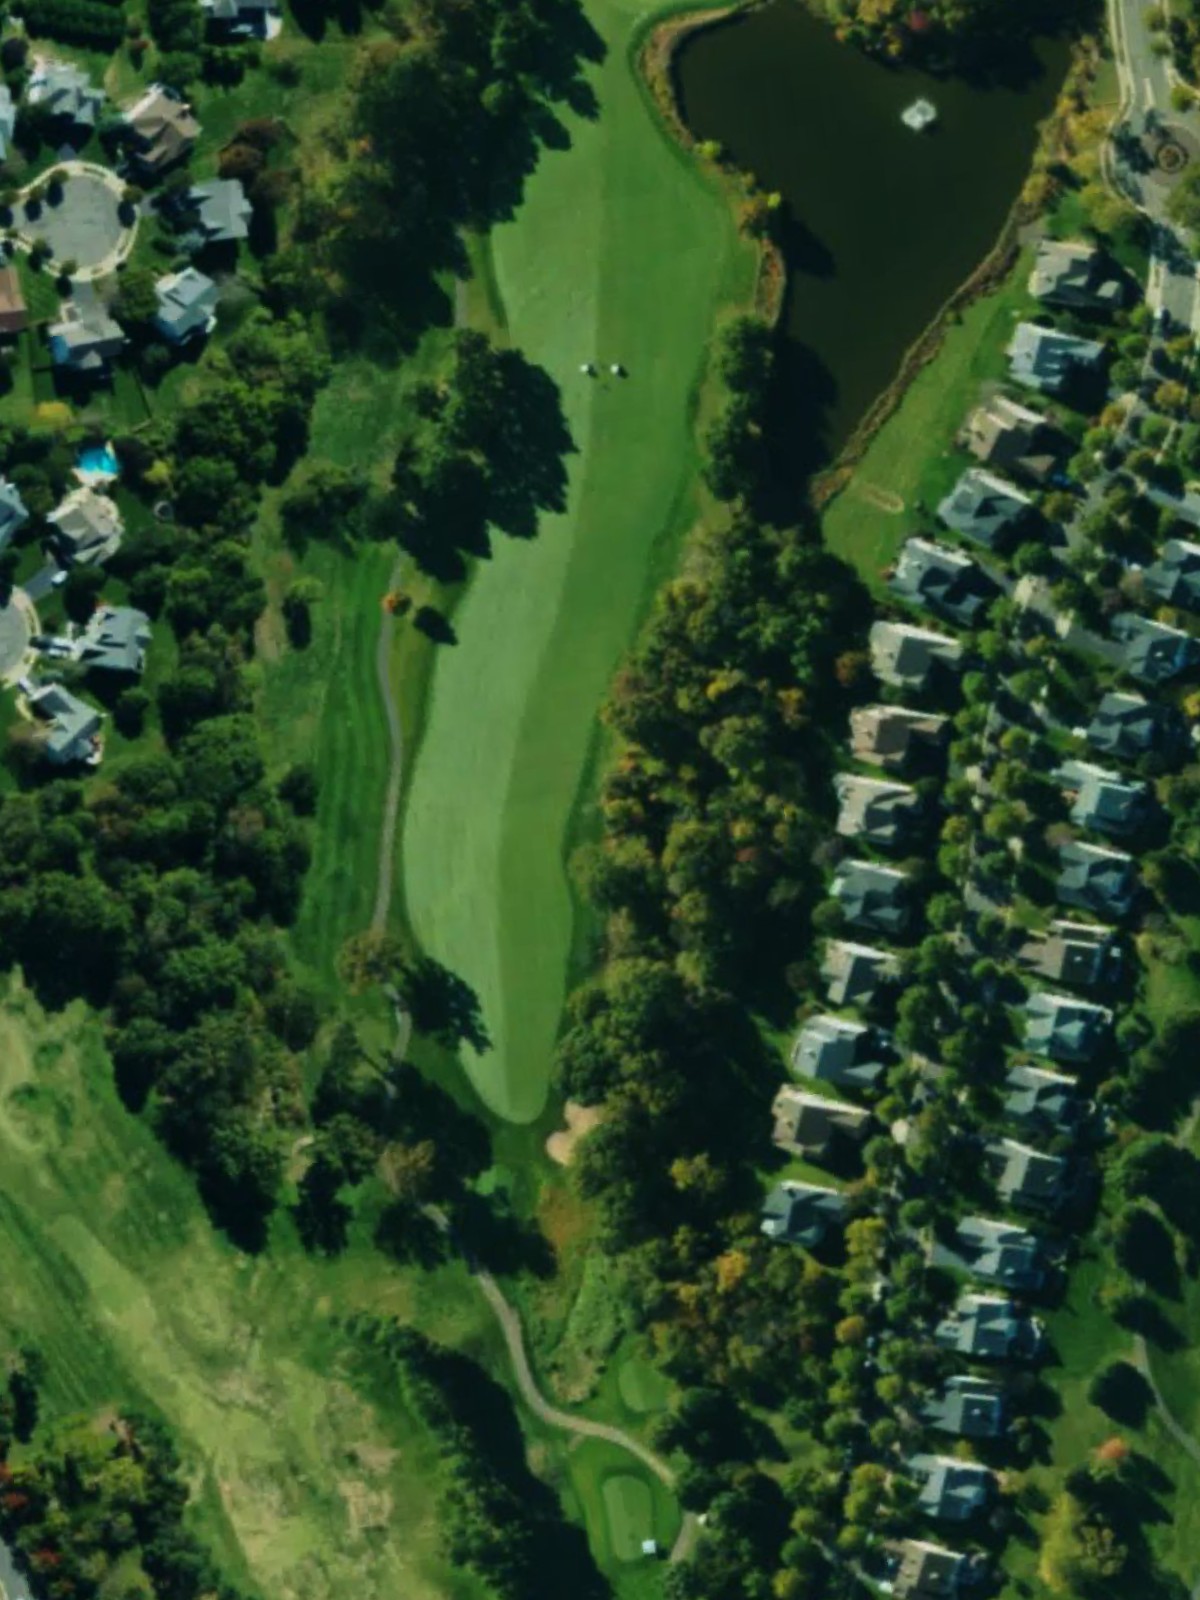
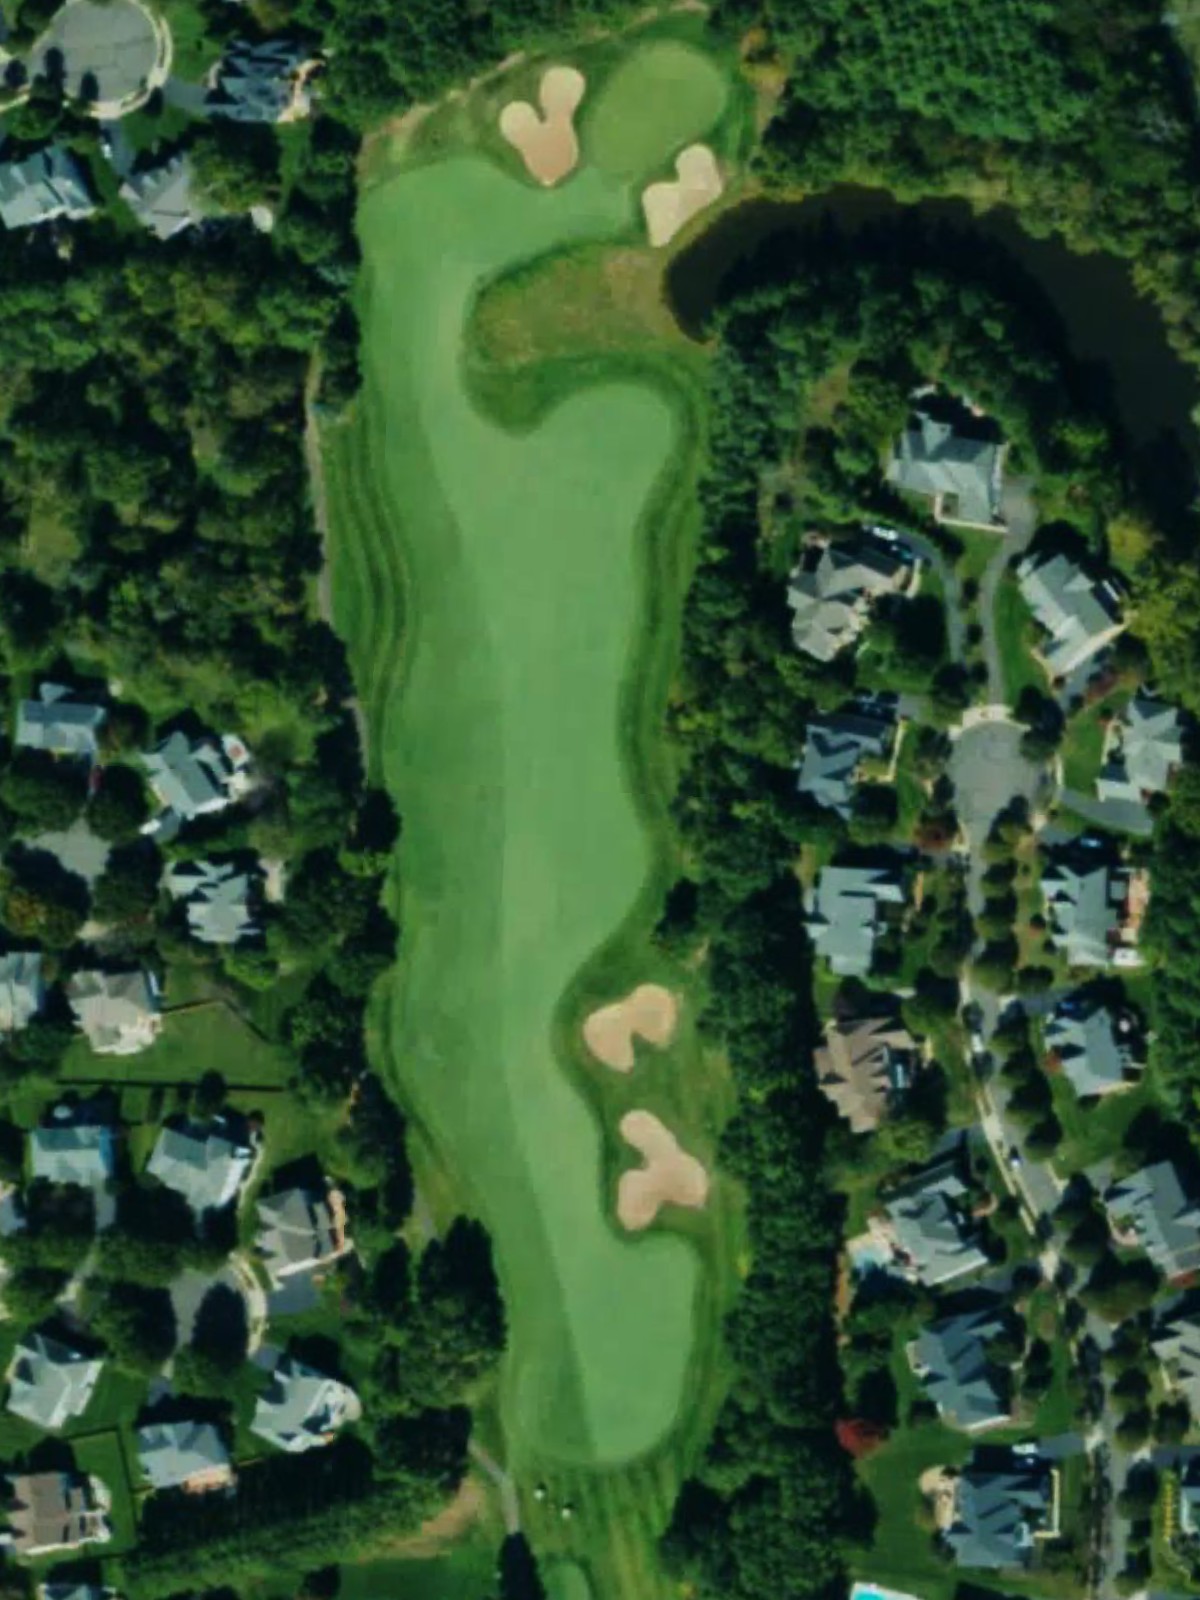
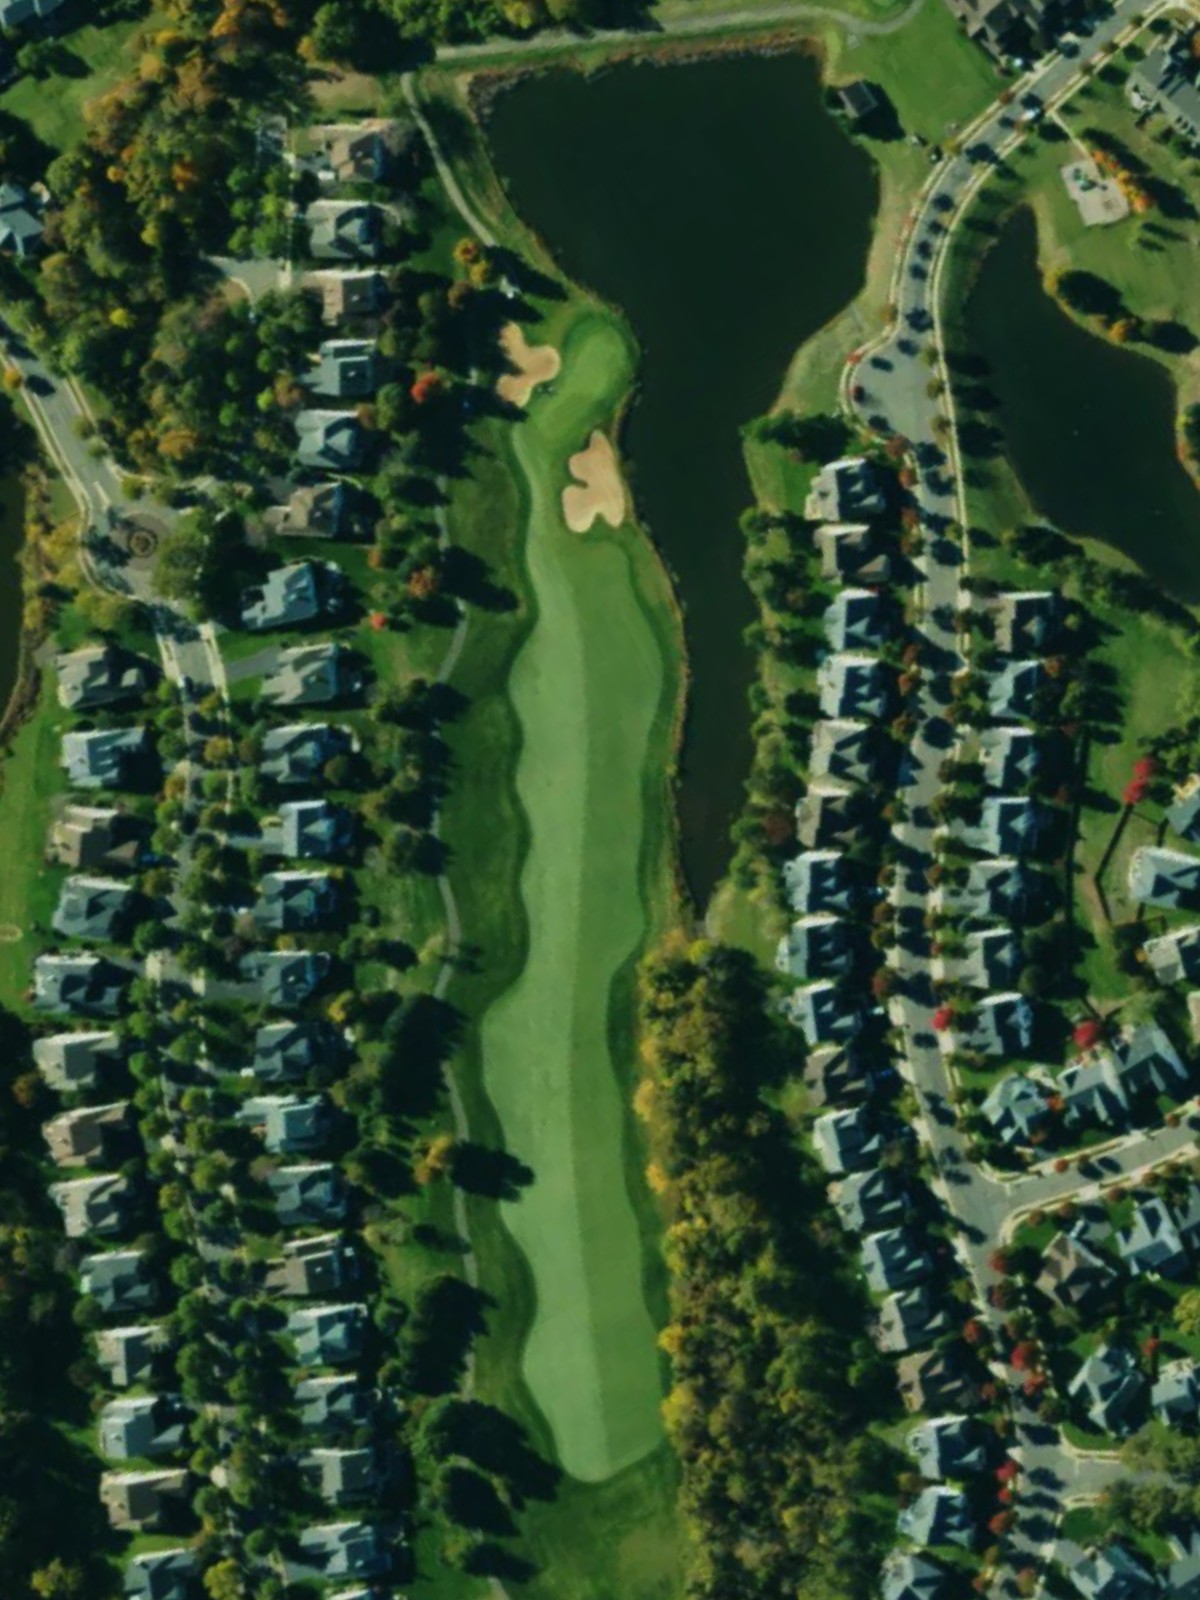
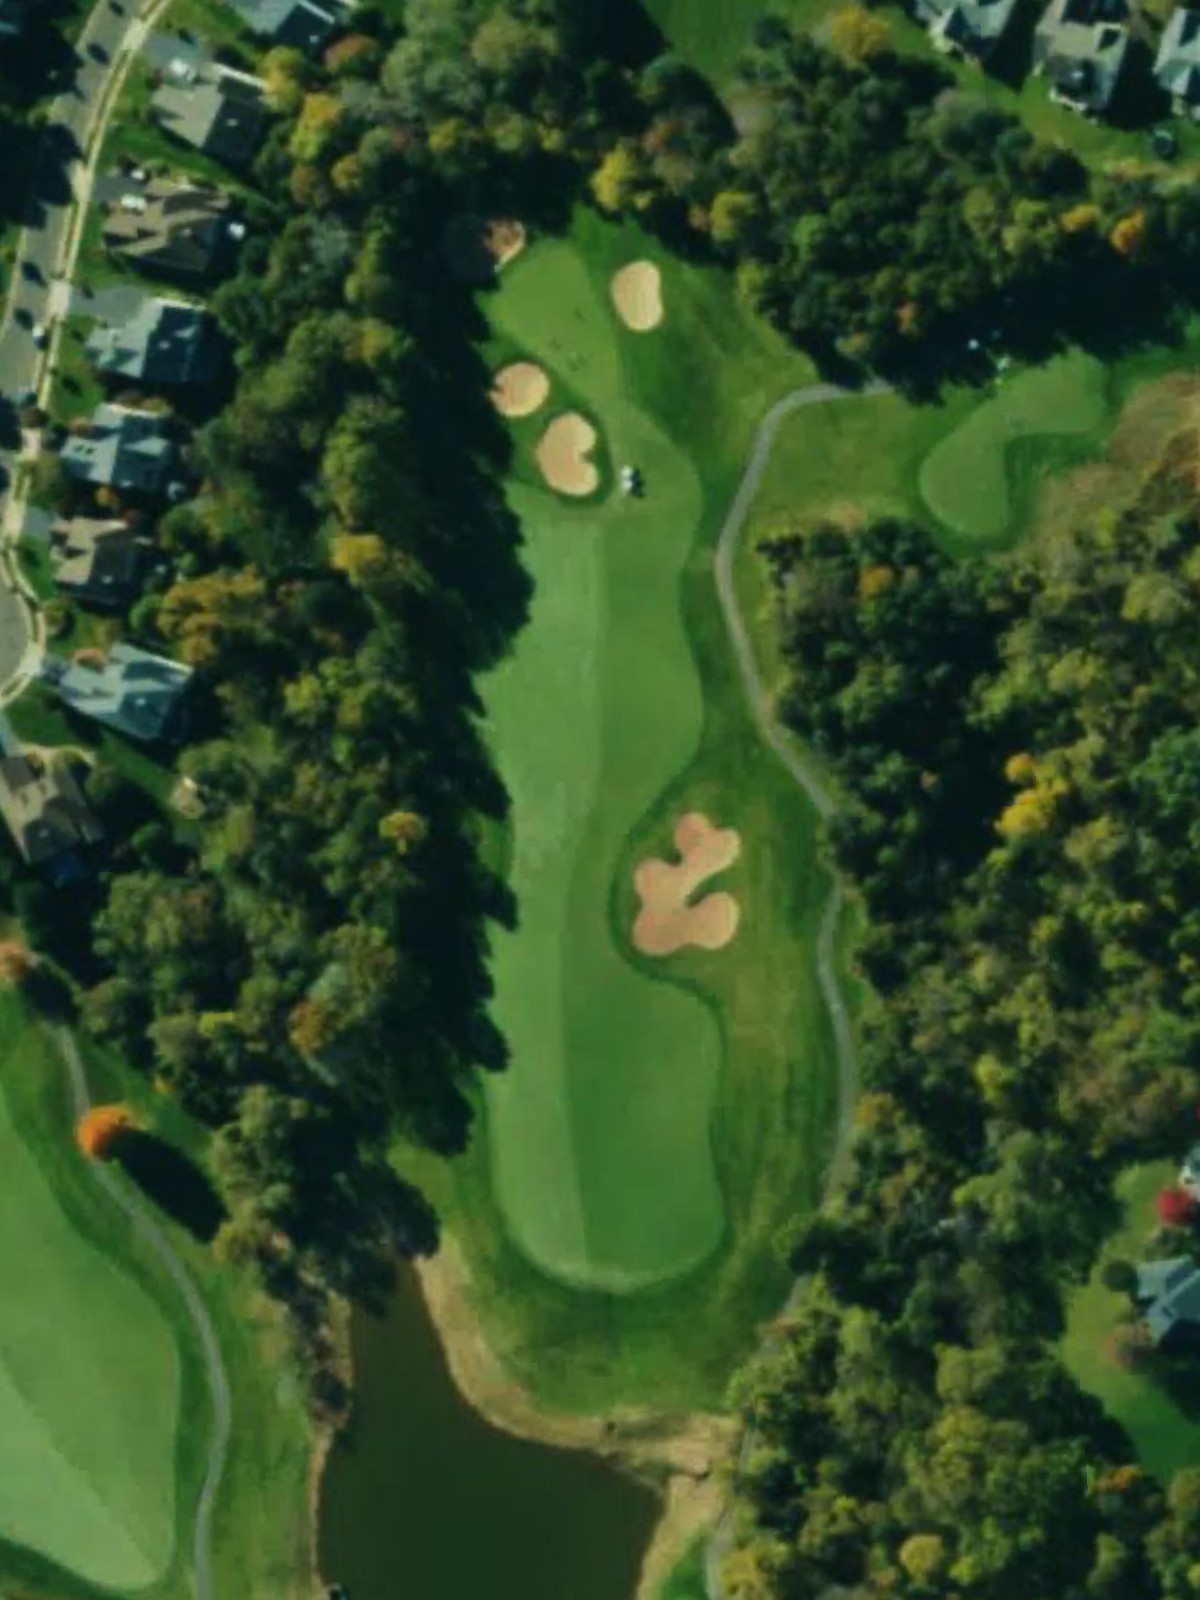
A long par 5 that demands two solid shots to reach the green in regulation. Bunkers guard the fairway and frame the green complex, requiring accuracy off the tee and on the approach.
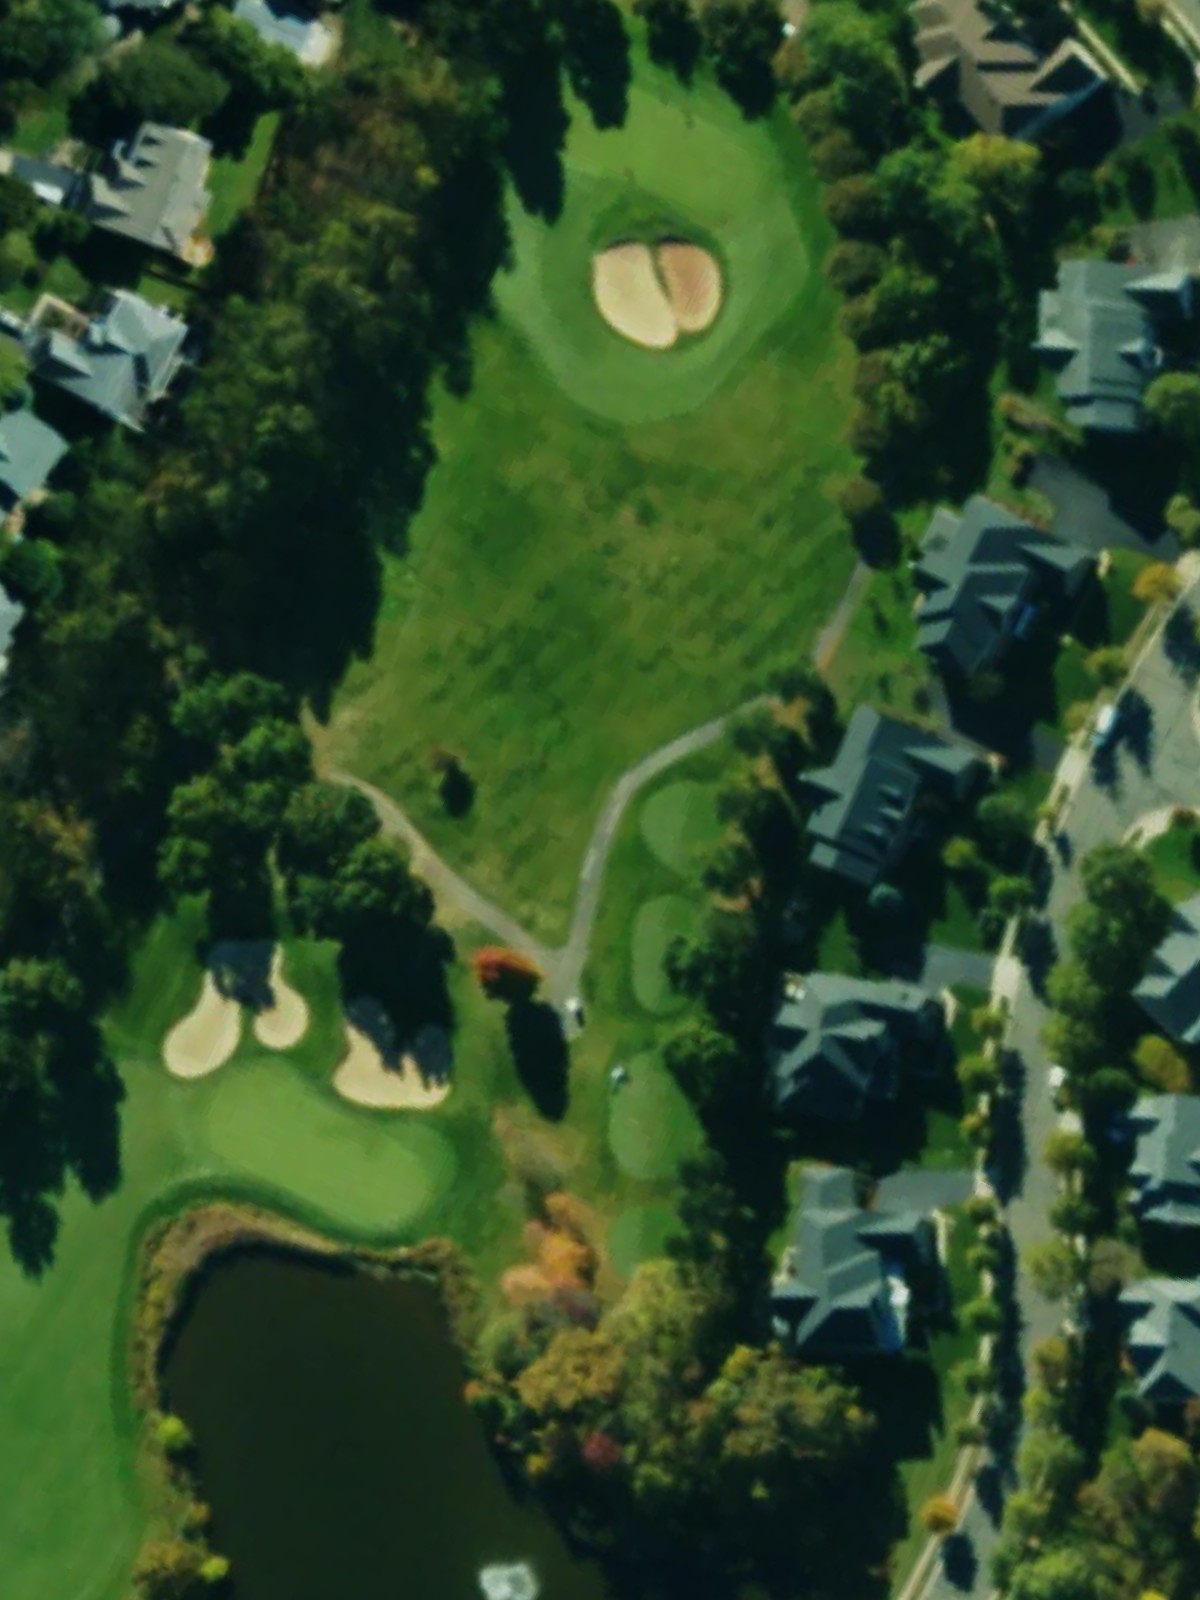
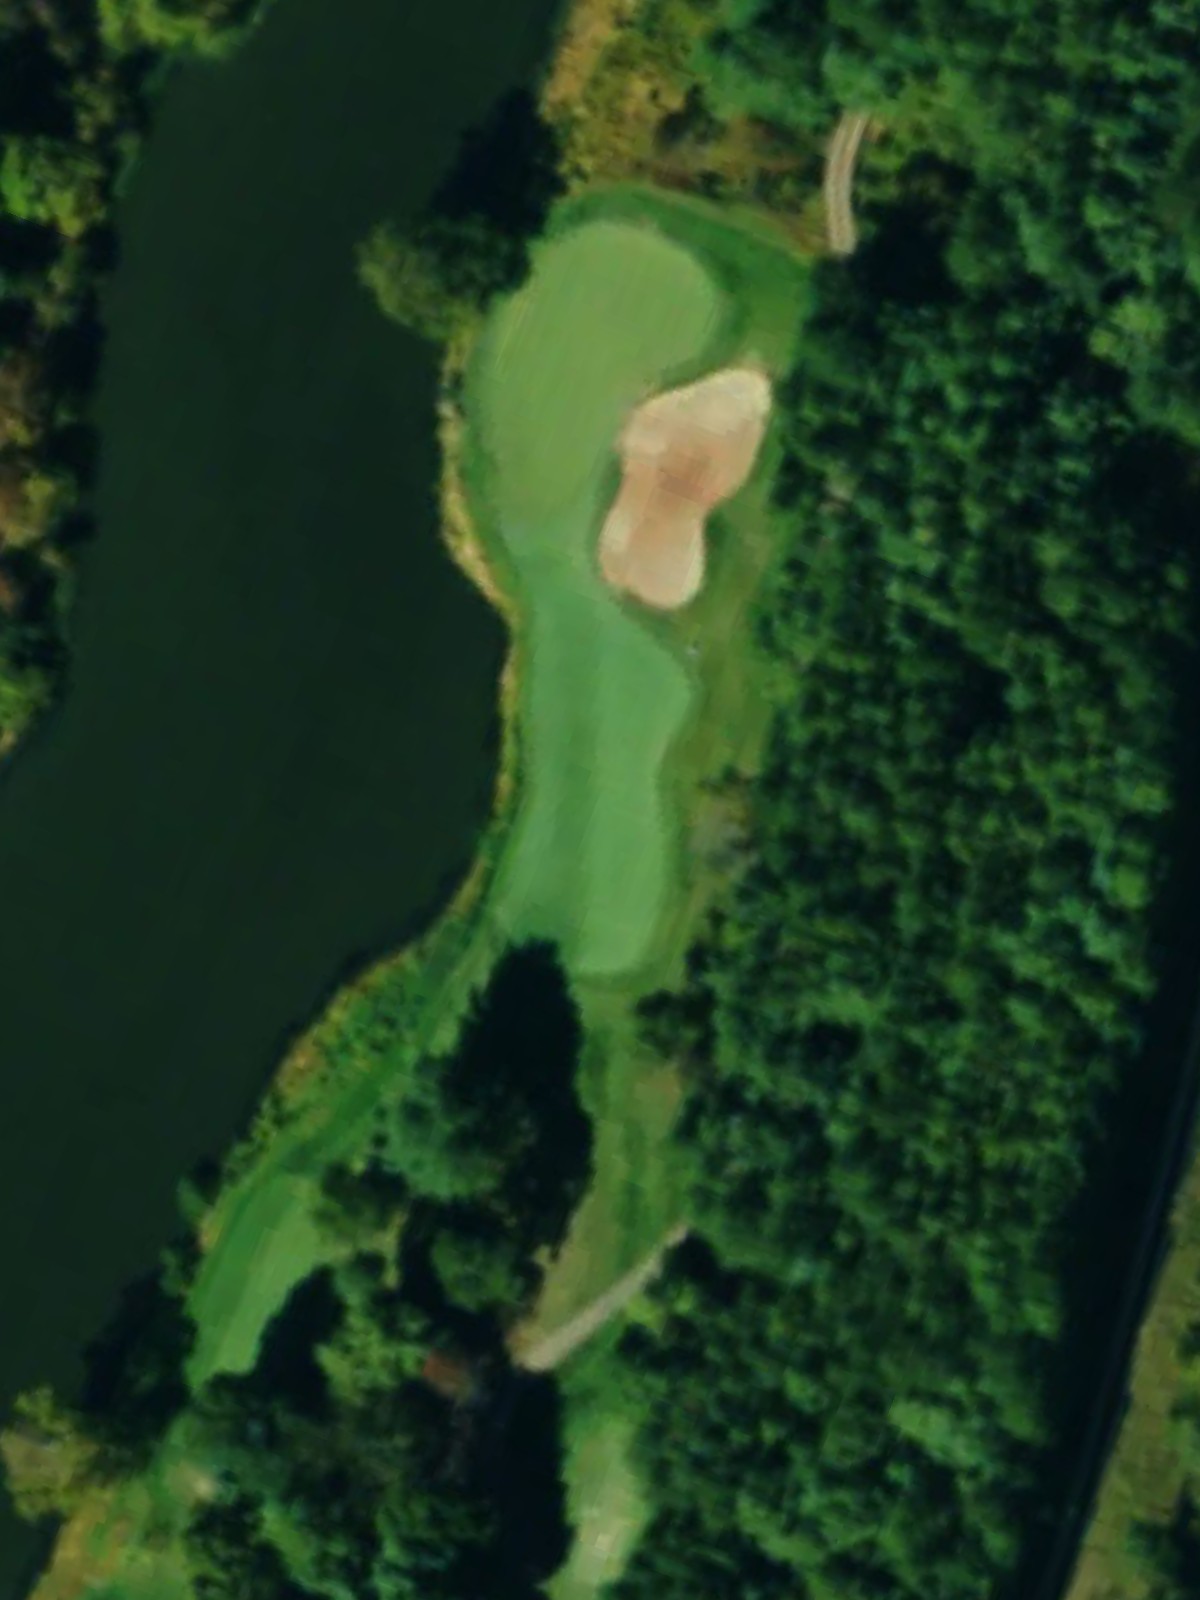
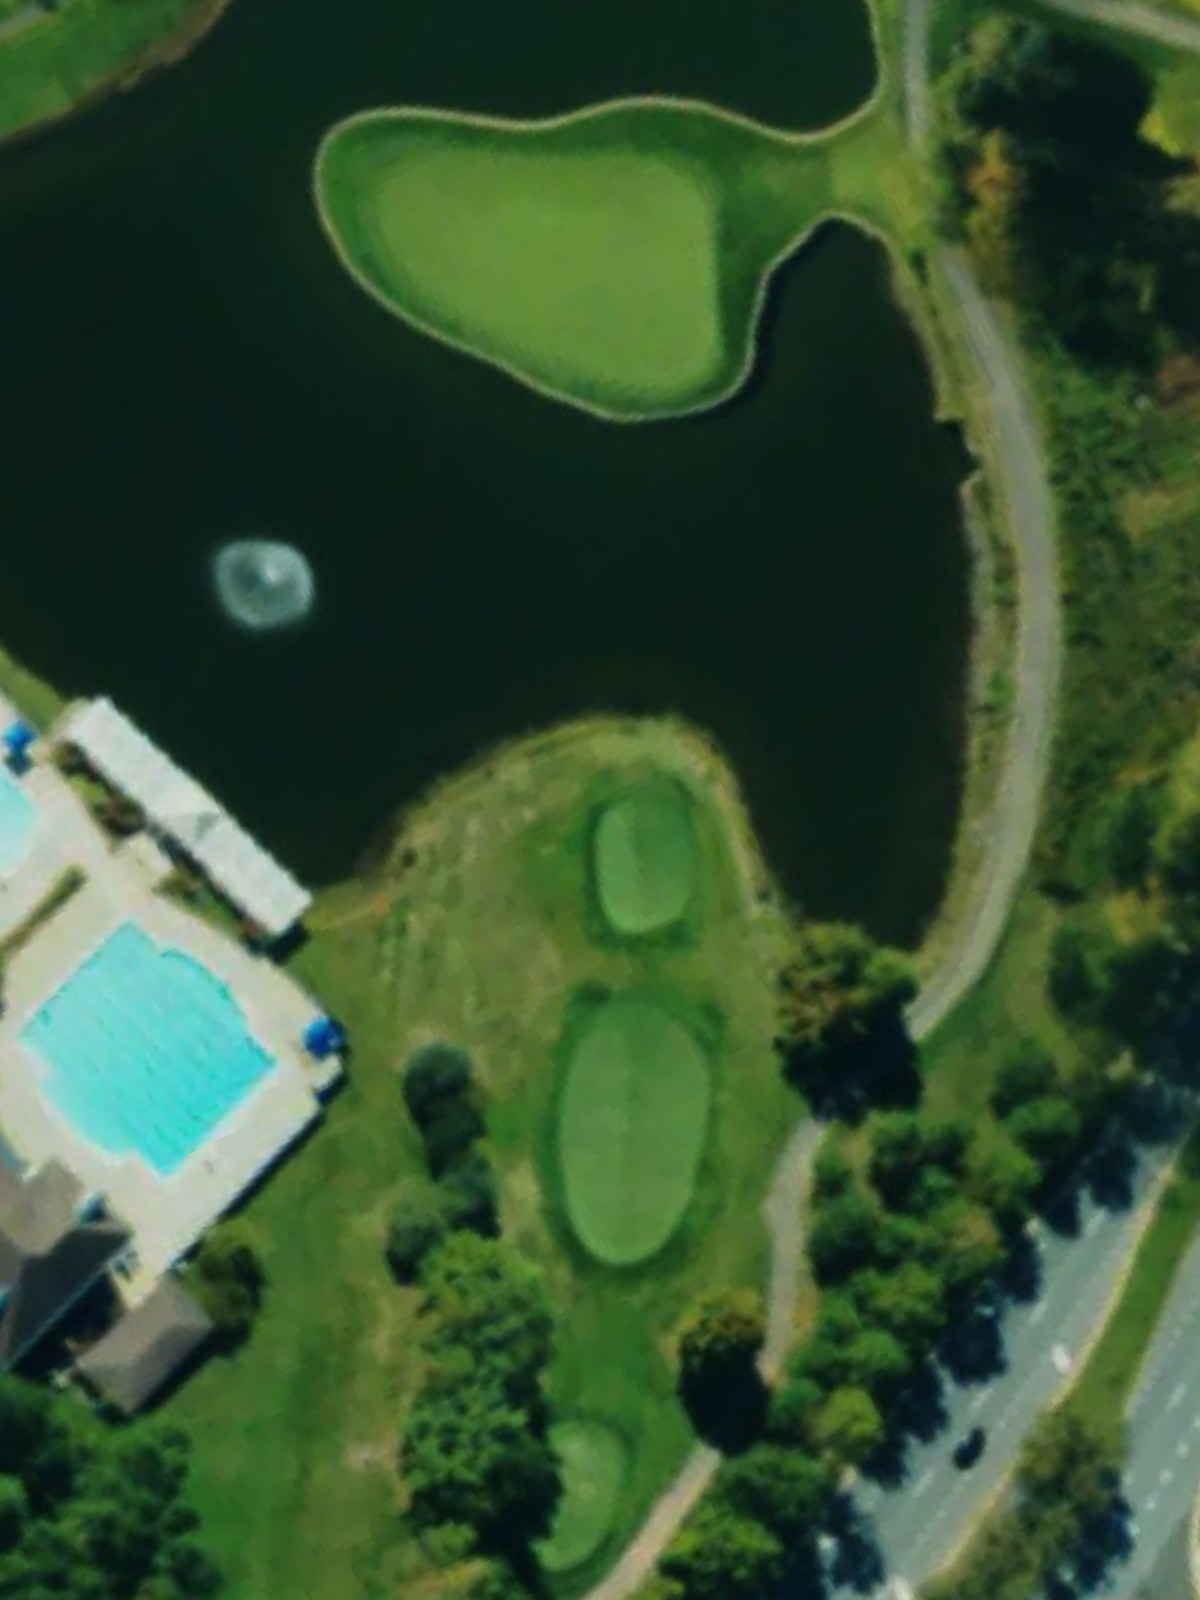
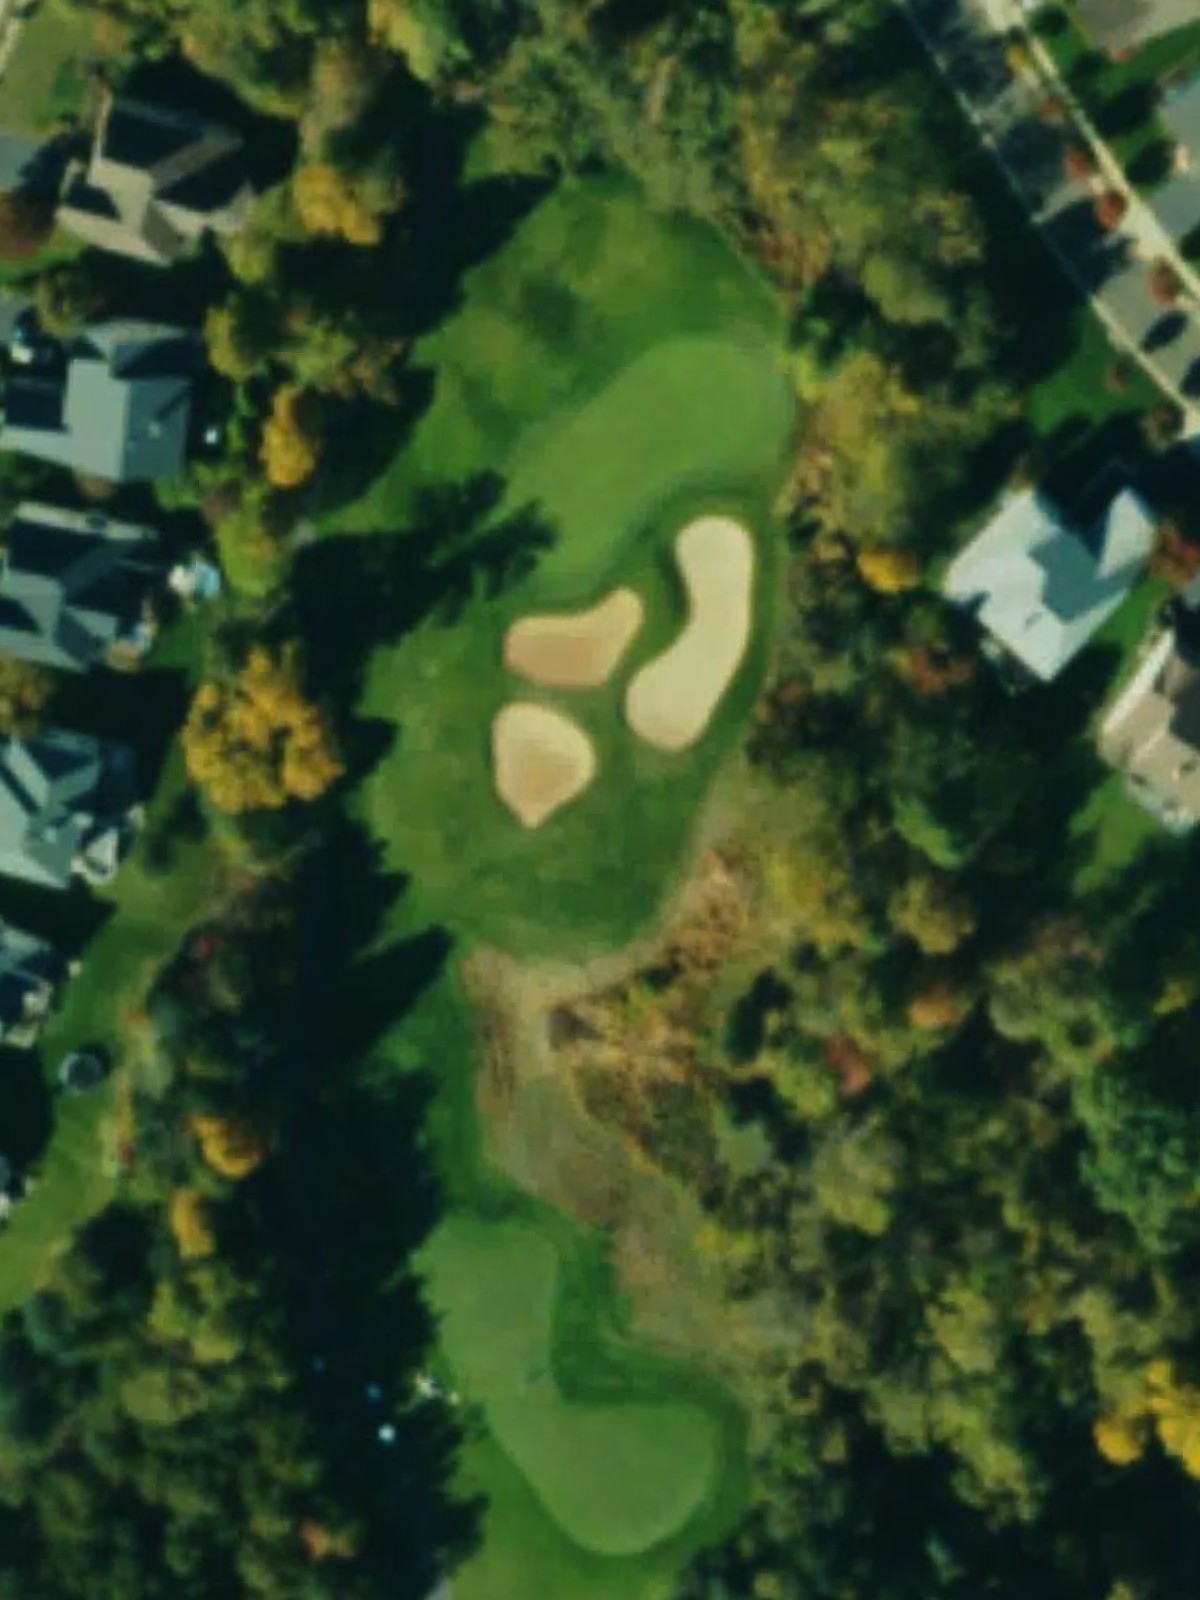
A short par 3 with water hazard protection and bunkers surrounding the green. The compact landing area demands precision from the tee.
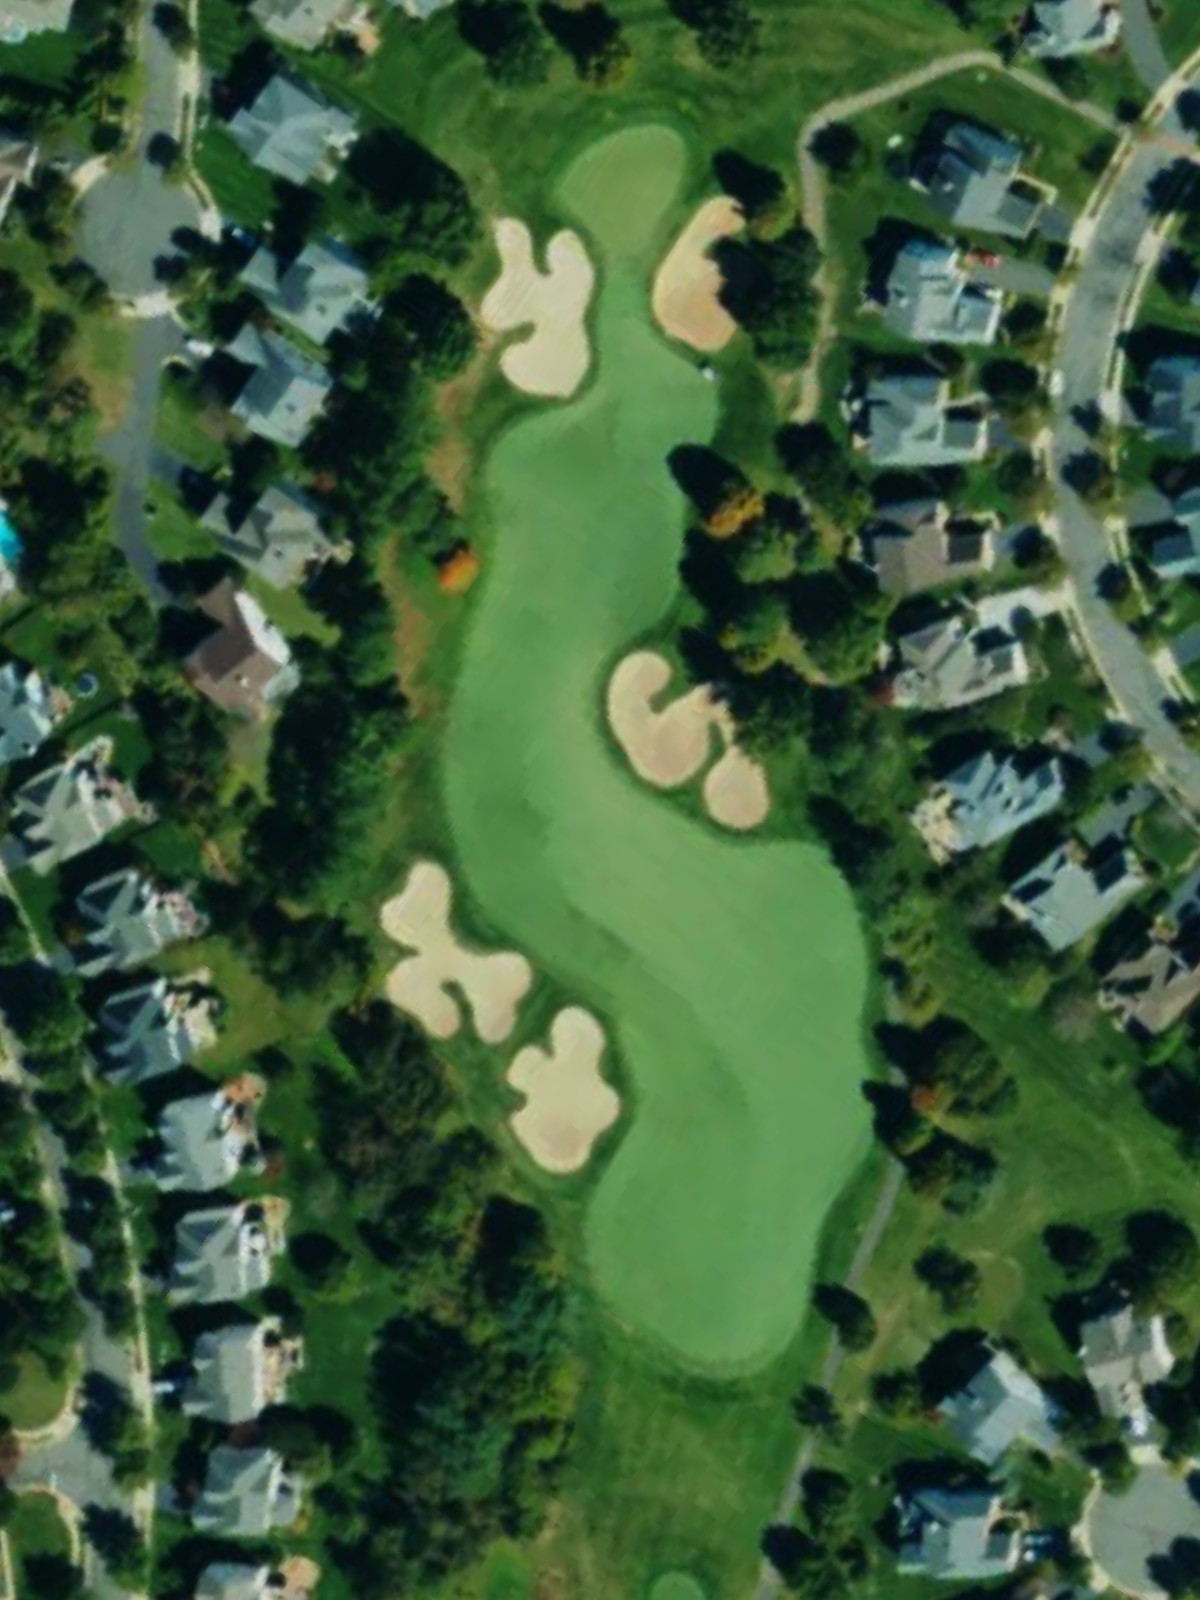
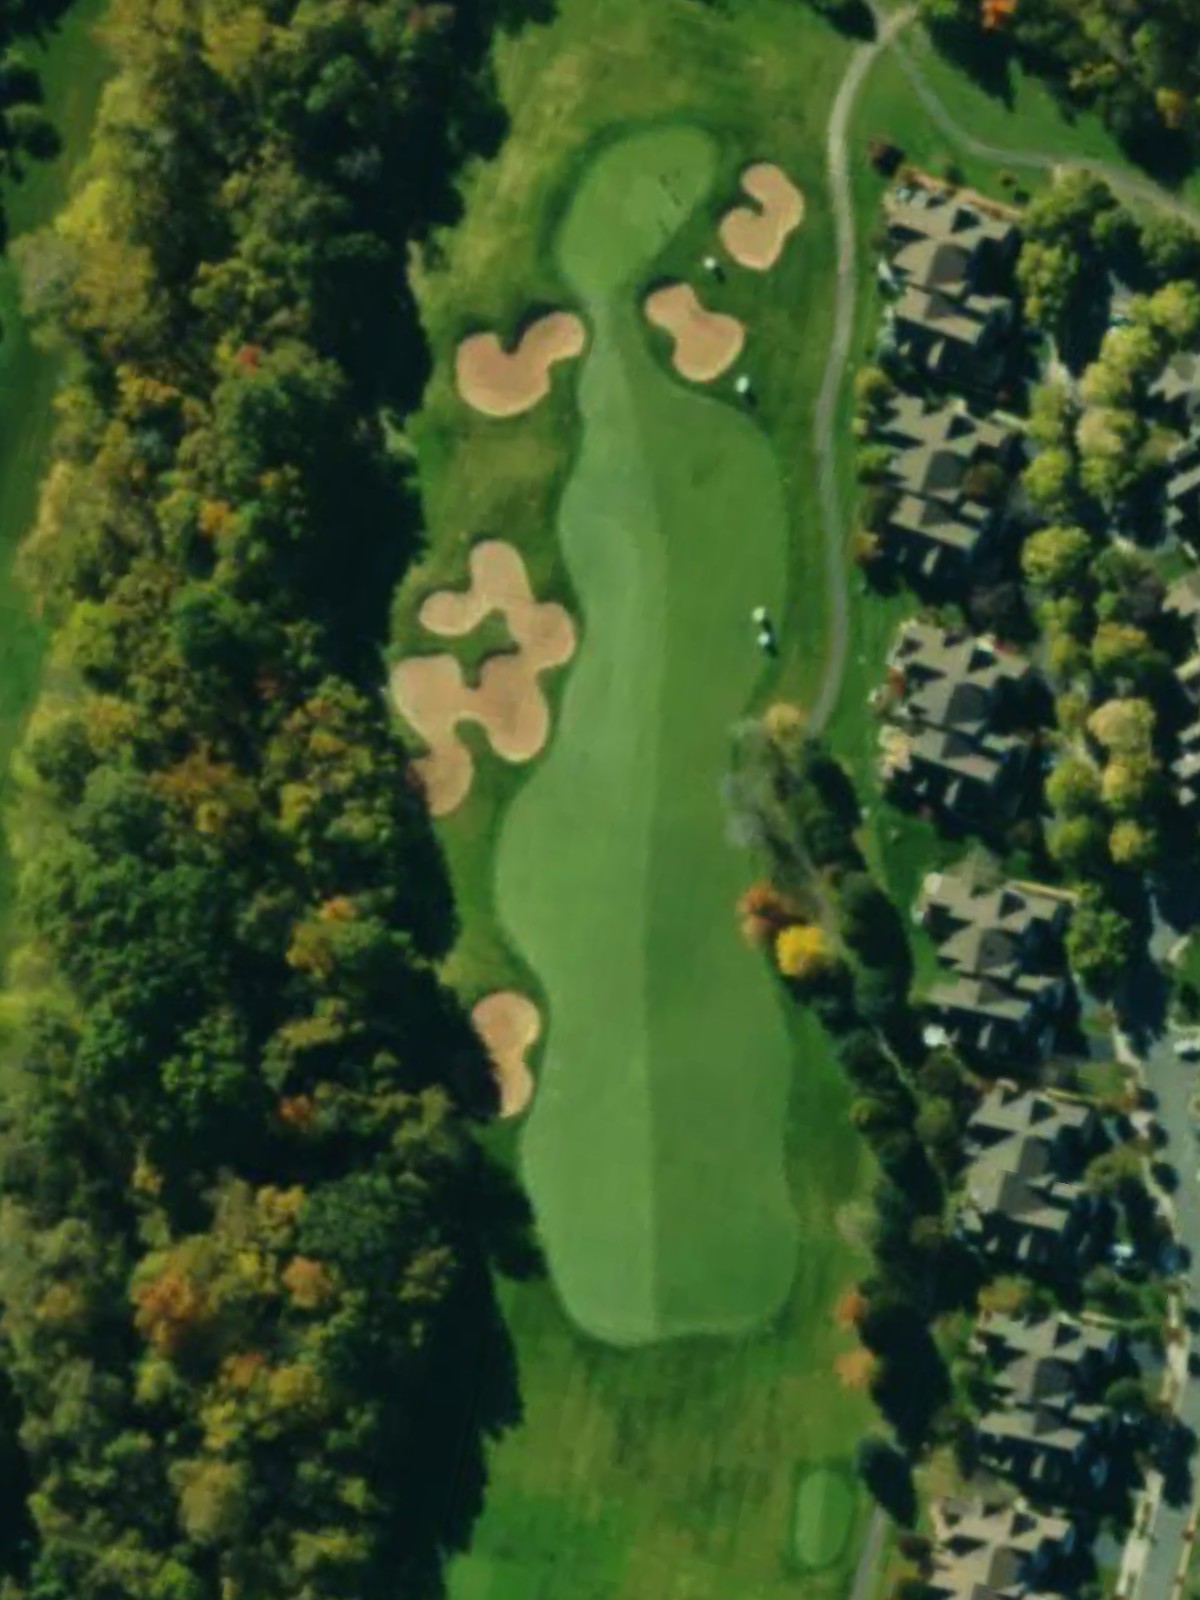
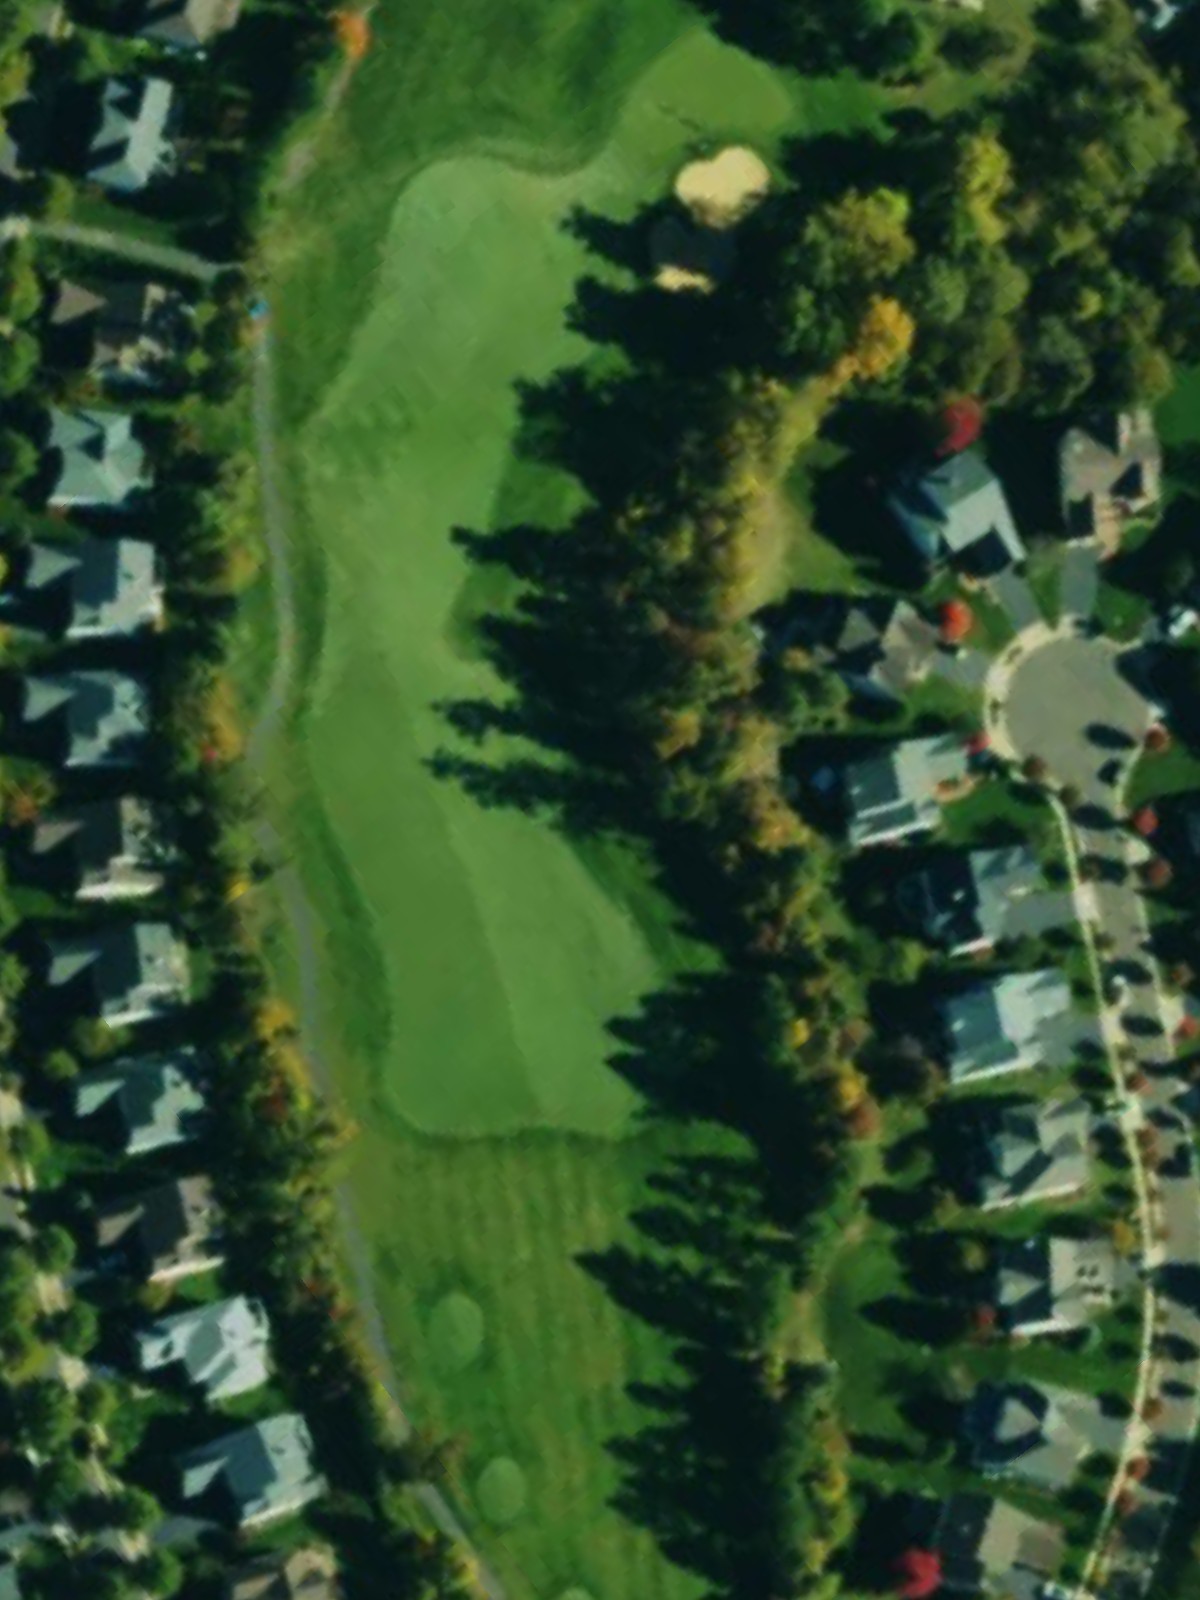
A mid-length par 4 with a straight fairway that tightens approaching the green. Bunkers flank the landing area and guard the green's perimeter.
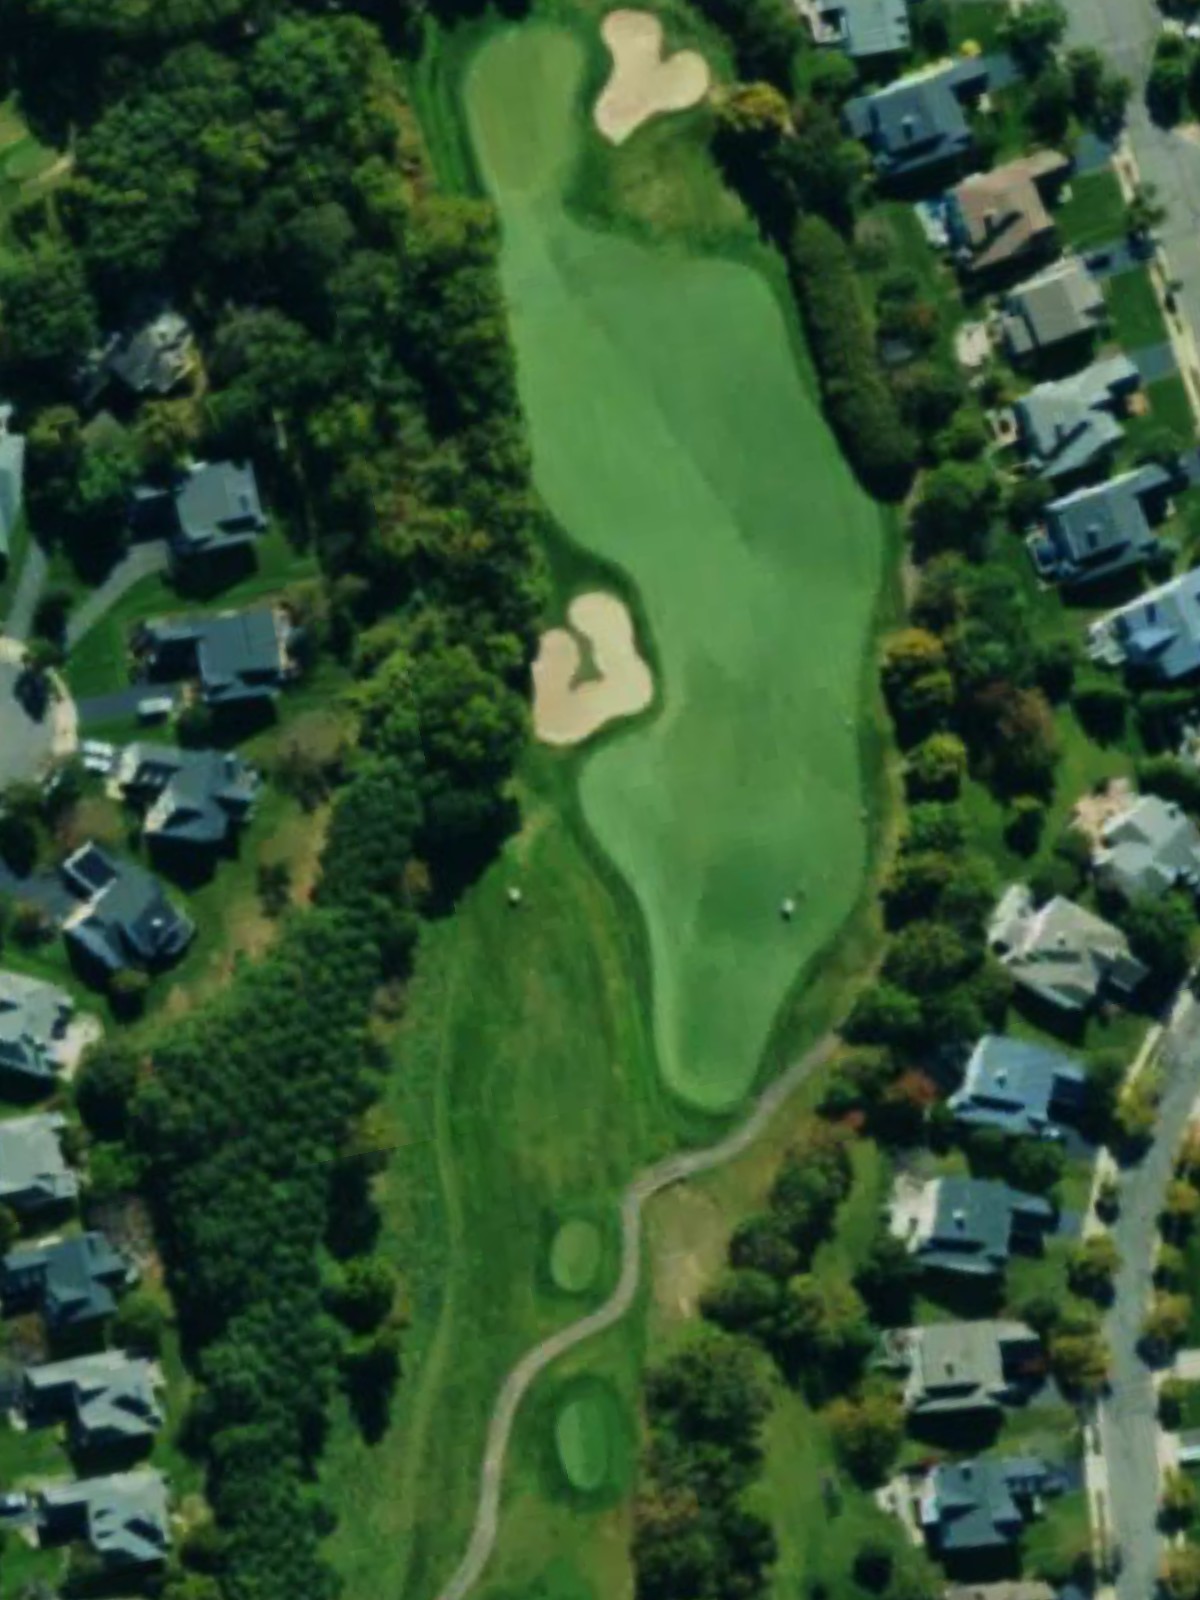
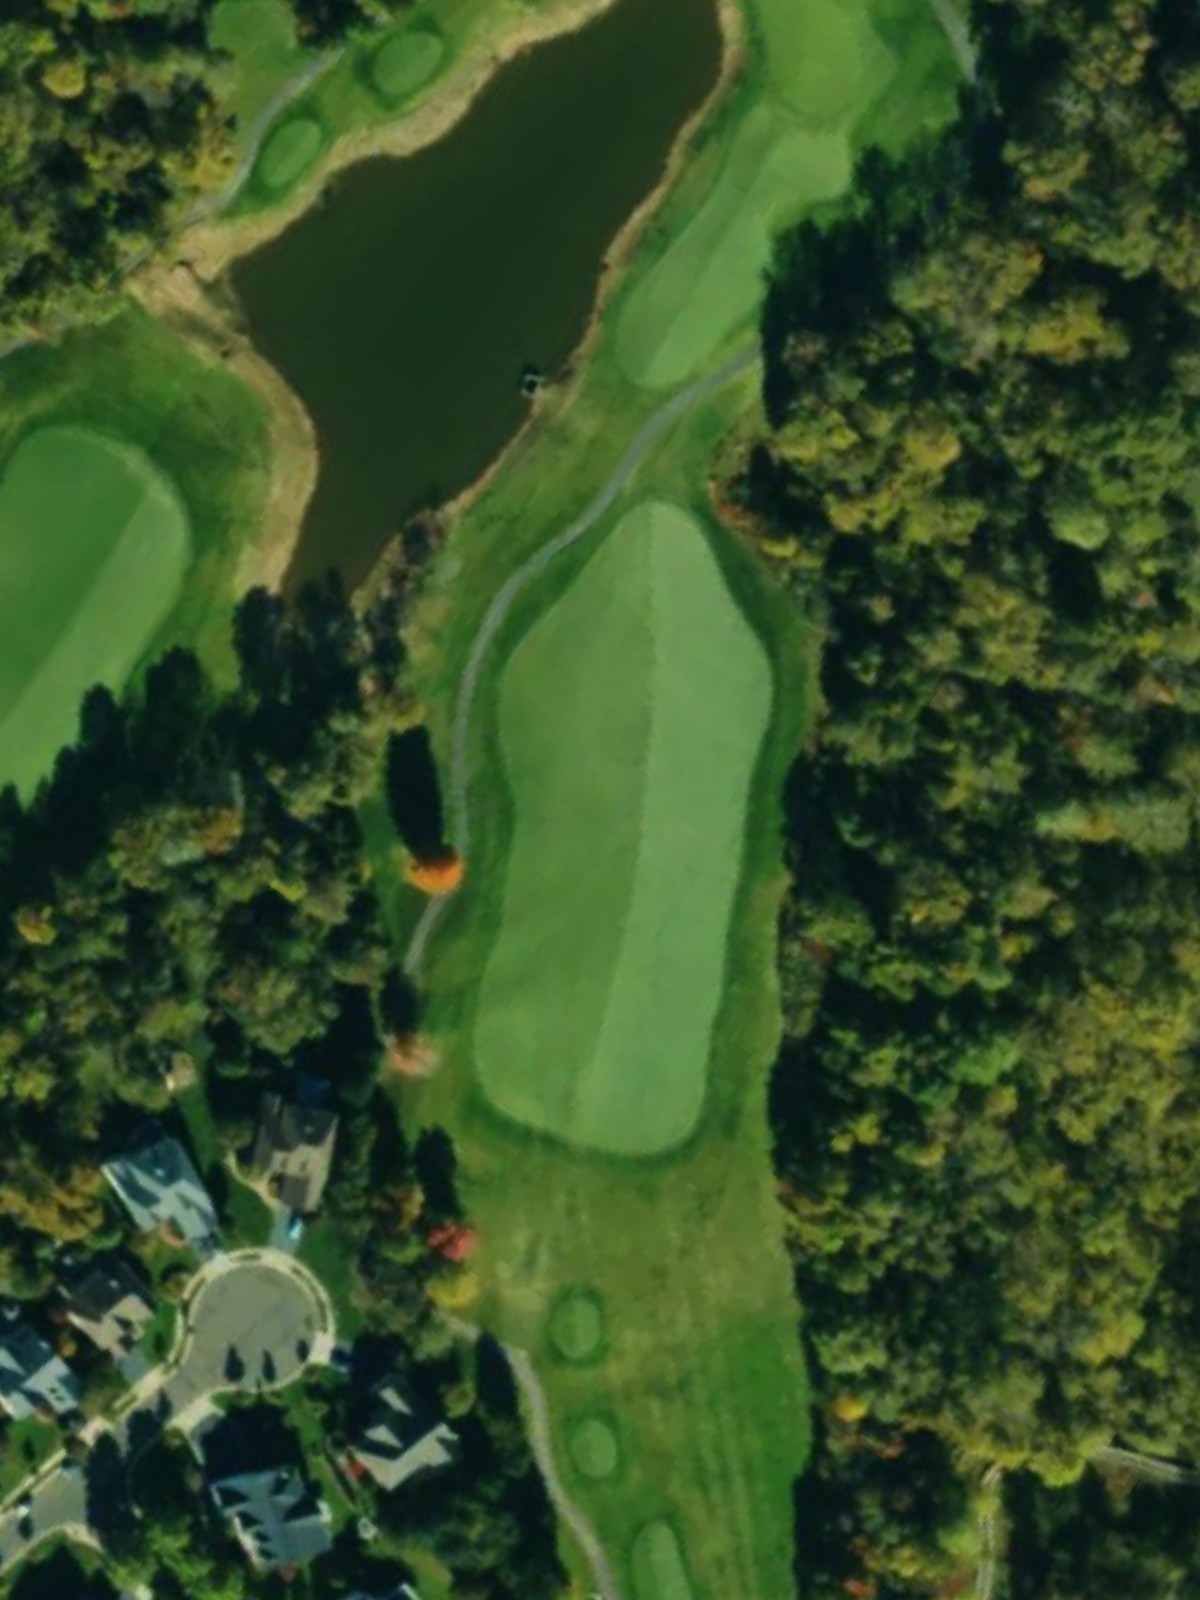
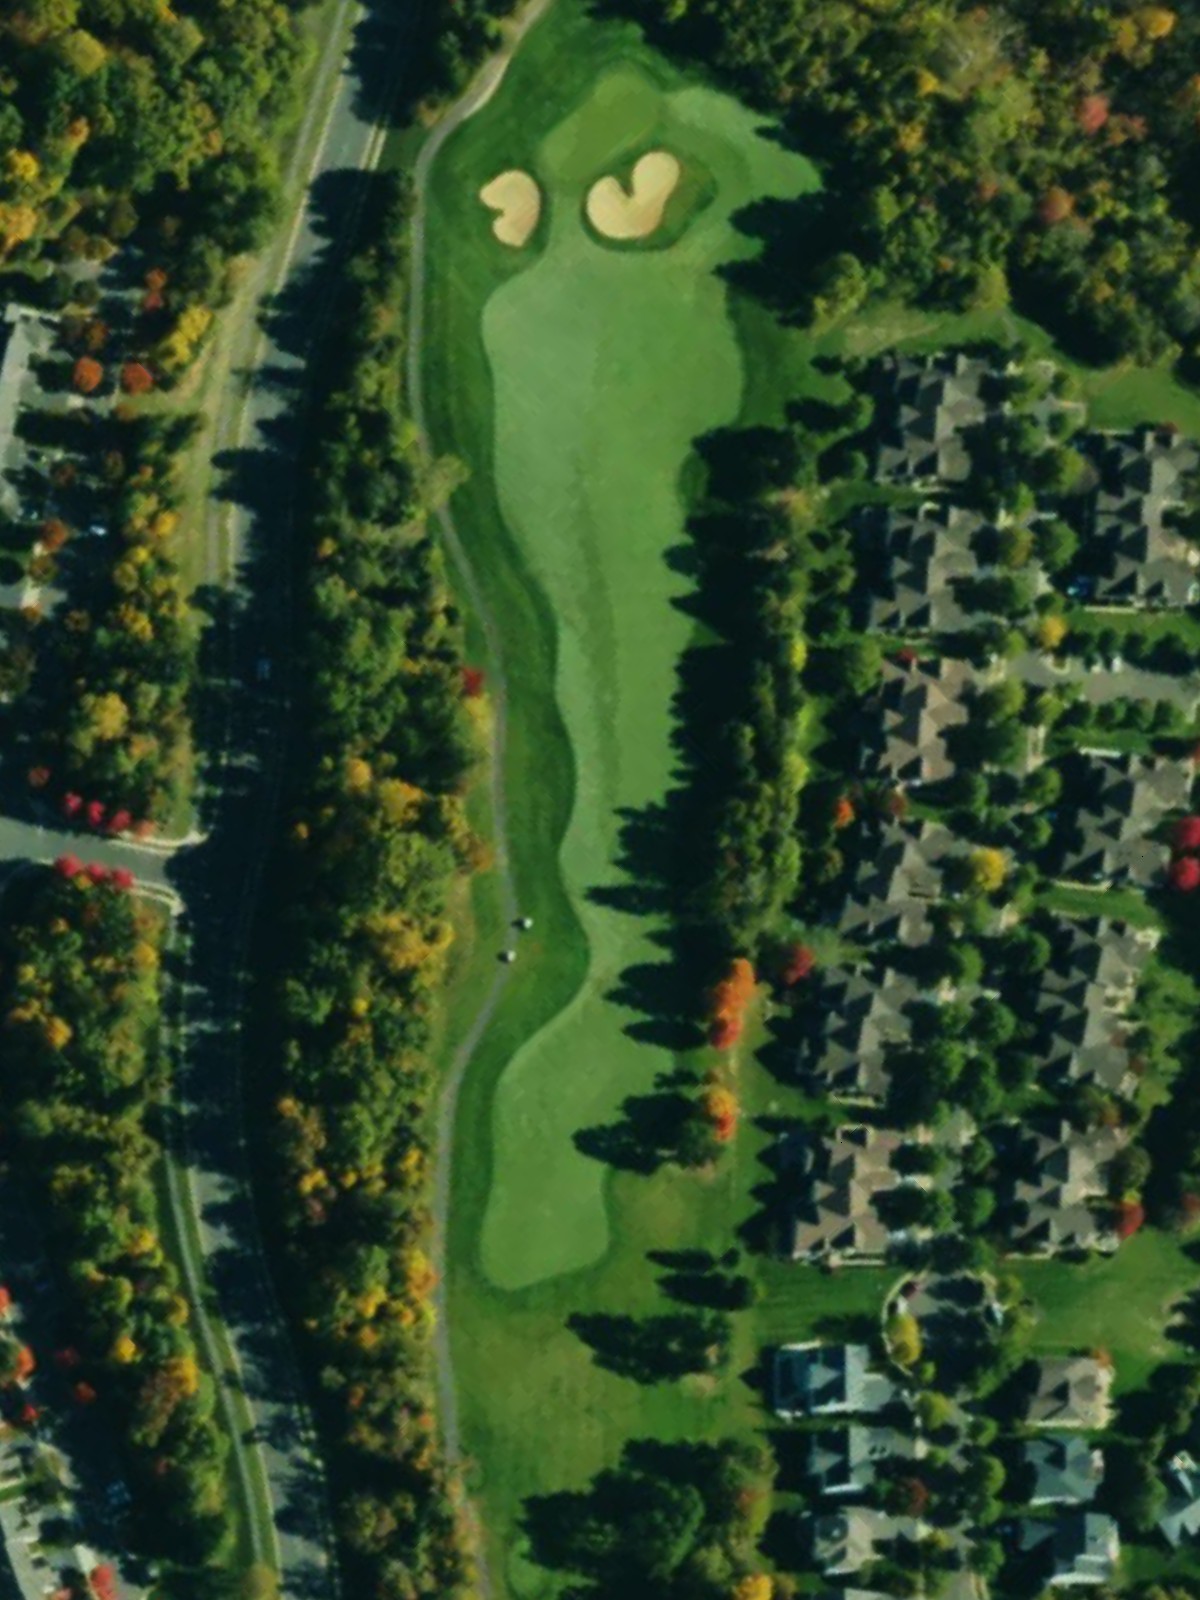
A manageable par 4 with bunkers positioned to catch both wayward tee shots and errant approaches. The relatively tight fairway rewards accuracy off the tee.
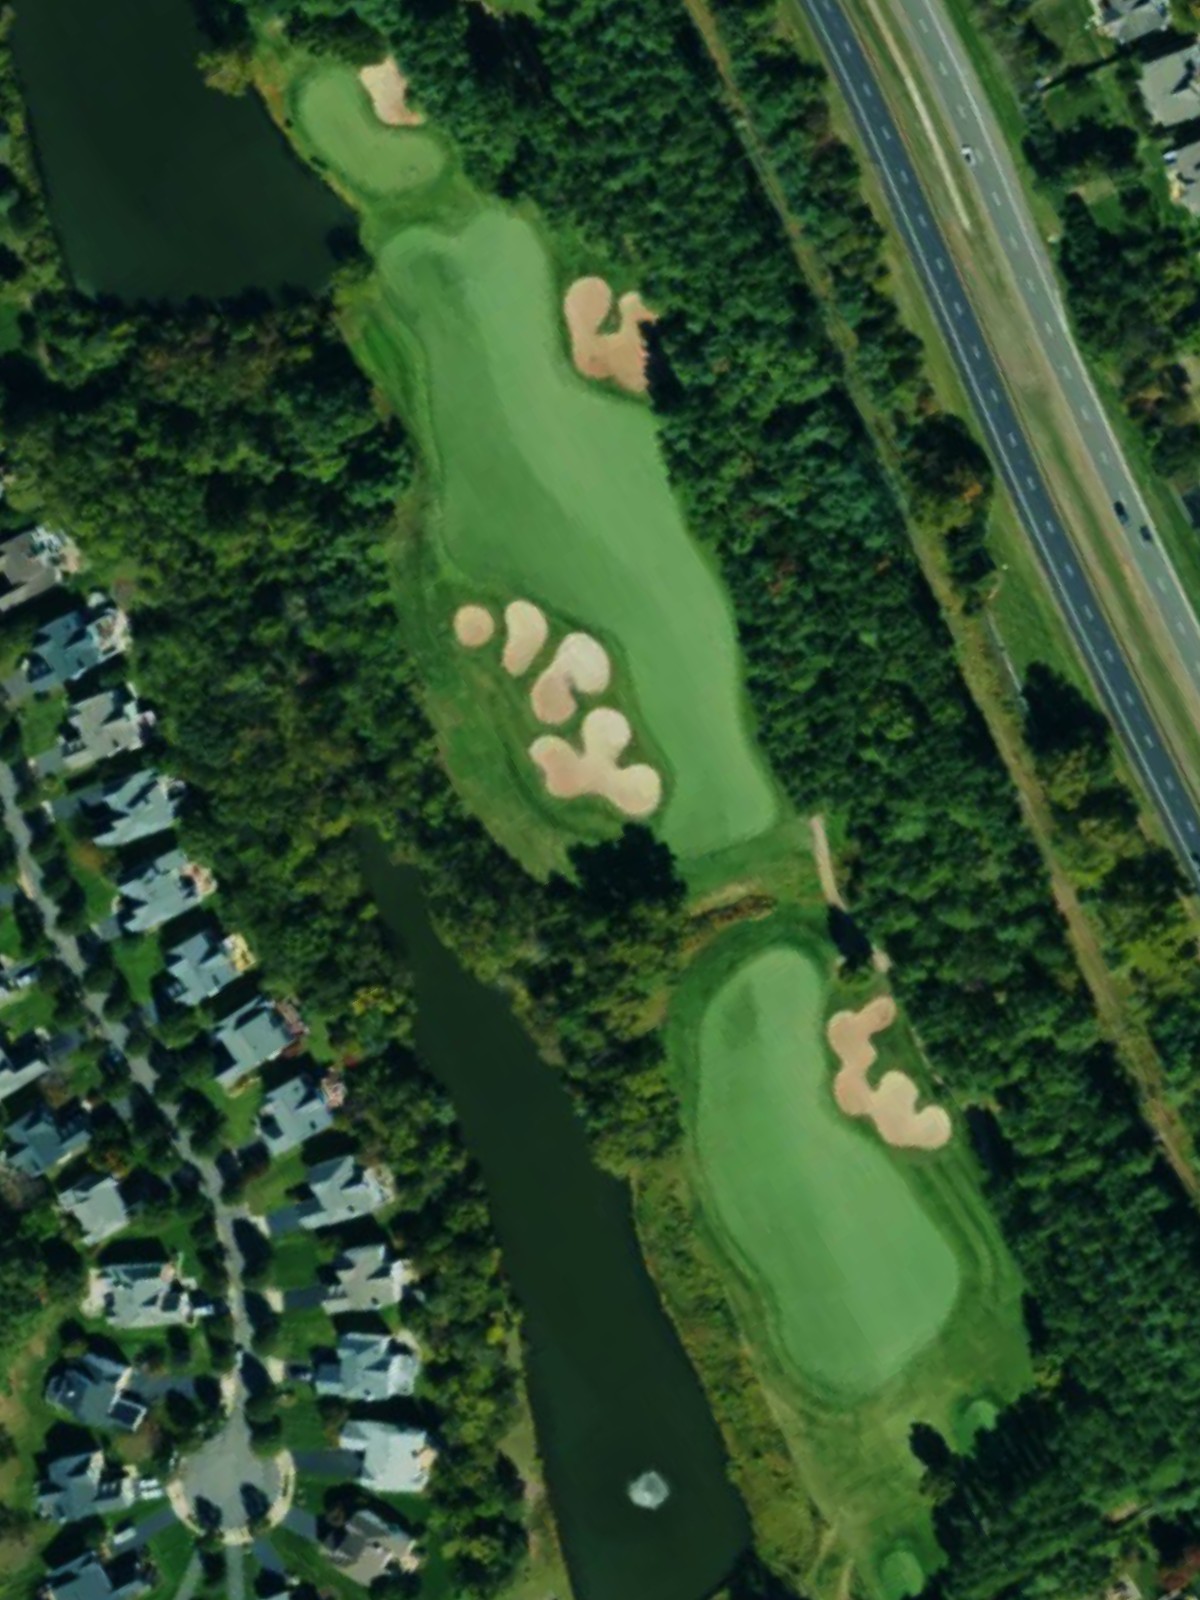
The course's most difficult hole, this long par 5 features strategic bunkers throughout the fairway and around the green. Precise positioning is essential for those attempting to reach in two.
A short par 3 with minimal landing area and bunker protection framing the green. The bunkers demand a controlled tee shot to find the putting surface.
A challenging par 5 with bunkers positioned strategically down the fairway and guarding the green. The length and hazard placement make this hole a significant test.
A well-bunkered par 4 that requires two accurate shots to avoid trouble. Bunkers frame both sides of the approach and protect the green complex.
The shortest par 3 on the course, this hole plays downhill with minimal hazard threat. The brief distance can be deceiving as the intimate green requires a delicate touch.
A long par 5 with water and bunkers creating a genuine risk-reward scenario throughout. The fairway is interrupted by hazards that must be navigated carefully on the approach to the green.
A strategic par 4 where bunkers guard the fairway corridor and surround the green. Position off the tee is critical to setting up a clear approach.
A dynamic par 4 where water hazard comes into play along the fairway and near the green. The length and water hazards combine to create a demanding approach shot.
A tough par 4 ranked fourth in difficulty, featuring bunkers throughout the hole and guarding the green. Precise ball-striking from tee to green is essential.
A short par 3 with minimal length but bunker protection that demands accuracy. The small target area rewards a well-executed tee shot.
A par 4 with bunkers framing the fairway and protecting the green approach. The moderate length is offset by the need for positional accuracy.
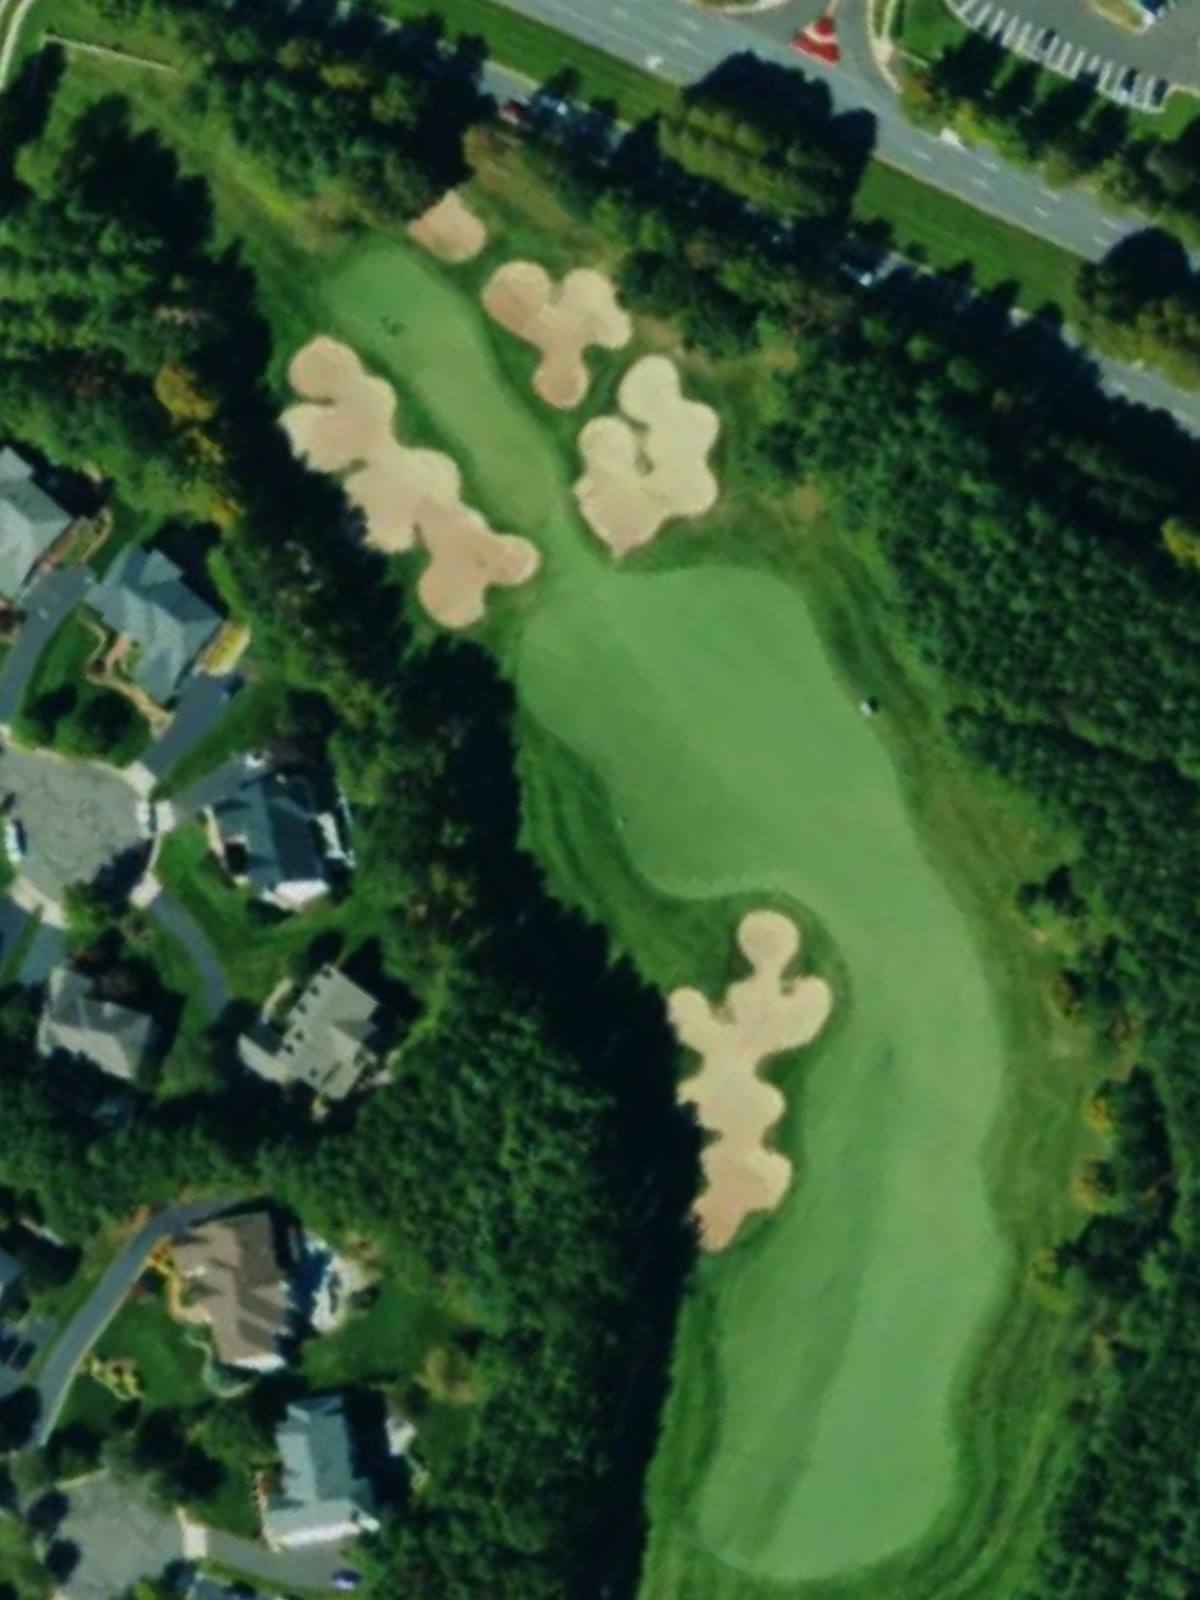
The second-most difficult hole on the course, this long par 5 features bunkers strategically placed throughout the fairway and around the green. The significant yardage and hazard placement make this a true test of skill.
The most difficult par 3 on the course, with bunker protection and fairway considerations creating a challenging short hole. The hazards demand a precise tee shot from all yardages.

A strong finishing par 4 with bunkers guarding the fairway and green complex. The demanding finishing hole requires solid execution on both tee and approach shots.
Scorecard
| Hole | 1 | 2 | 3 | 4 | 5 | 6 | 7 | 8 | 9 | Out | 10 | 11 | 12 | 13 | 14 | 15 | 16 | 17 | 18 | In | Tot |
|---|---|---|---|---|---|---|---|---|---|---|---|---|---|---|---|---|---|---|---|---|---|
| Par | 5 | 3 | 4 | 4 | 5 | 3 | 5 | 4 | 3 | 36 | 5 | 4 | 4 | 4 | 3 | 4 | 5 | 3 | 4 | 36 | 72 |
| HCP | 5 | 17 | 9 | 11 | 1 | 15 | 3 | 7 | 13 | 10 | 12 | 8 | 4 | 16 | 14 | 2 | 18 | 6 | |||
| black | 567 | 191 | 412 | 382 | 574 | 183 | 558 | 390 | 165 | 3422 | 534 | 390 | 437 | 407 | 138 | 395 | 540 | 198 | 430 | 3469 | 6891 |
| blue | 537 | 175 | 387 | 357 | 540 | 151 | 516 | 388 | 155 | 3206 | 488 | 370 | 412 | 367 | 126 | 360 | 518 | 172 | 410 | 3223 | 6429 |
| blue/green | 537 | 160 | 376 | 346 | 540 | 137 | 516 | 361 | 123 | 3096 | 488 | 353 | 365 | 355 | 115 | 355 | 518 | 158 | 400 | 3107 | 6203 |
| green | 483 | 160 | 376 | 346 | 500 | 137 | 475 | 361 | 123 | 2961 | 475 | 353 | 365 | 355 | 115 | 355 | 492 | 158 | 400 | 3068 | 6029 |
| green/white | 483 | 160 | 342 | 324 | 500 | 137 | 475 | 332 | 123 | 2876 | 475 | 336 | 331 | 322 | 115 | 325 | 492 | 158 | 366 | 2920 | 5796 |
| white | 480 | 142 | 342 | 324 | 495 | 125 | 445 | 332 | 118 | 2803 | 450 | 336 | 331 | 322 | 110 | 325 | 450 | 148 | 366 | 2838 | 5641 |
| red | 443 | 121 | 312 | 278 | 450 | 123 | 435 | 308 | 76 | 2546 | 408 | 284 | 305 | 291 | 94 | 292 | 399 | 119 | 319 | 2511 | 5057 |
| yellow | 318 | 121 | 251 | 238 | 377 | 115 | 344 | 255 | 76 | 2095 | 408 | 279 | 260 | 288 | 92 | 247 | 310 | 115 | 265 | 2264 | 4359 |