Diamond Hills Country Club is an 18-hole golf course in Diamond City, AR with a par of 71. It offers 4 tee sets: blue (6,469 yards, slope 120, rating 70.1), white (6,173 yards, slope 118, rating 68.8), gold (5,661 yards, slope 108, rating 67.8), red (5,523 yards, slope 107, rating 66.7). The hardest hole is #5, a par 4 playing 369 yards from the first tee.
Diamond Hills Country Club
Diamond City, AR
Get PDF Yardage Book
We'll email you the PDF link. No spam, ever.
Create Your Game Plan
Pick your tees, enter your bag, and get a personalized shot-by-shot strategy for every hole.
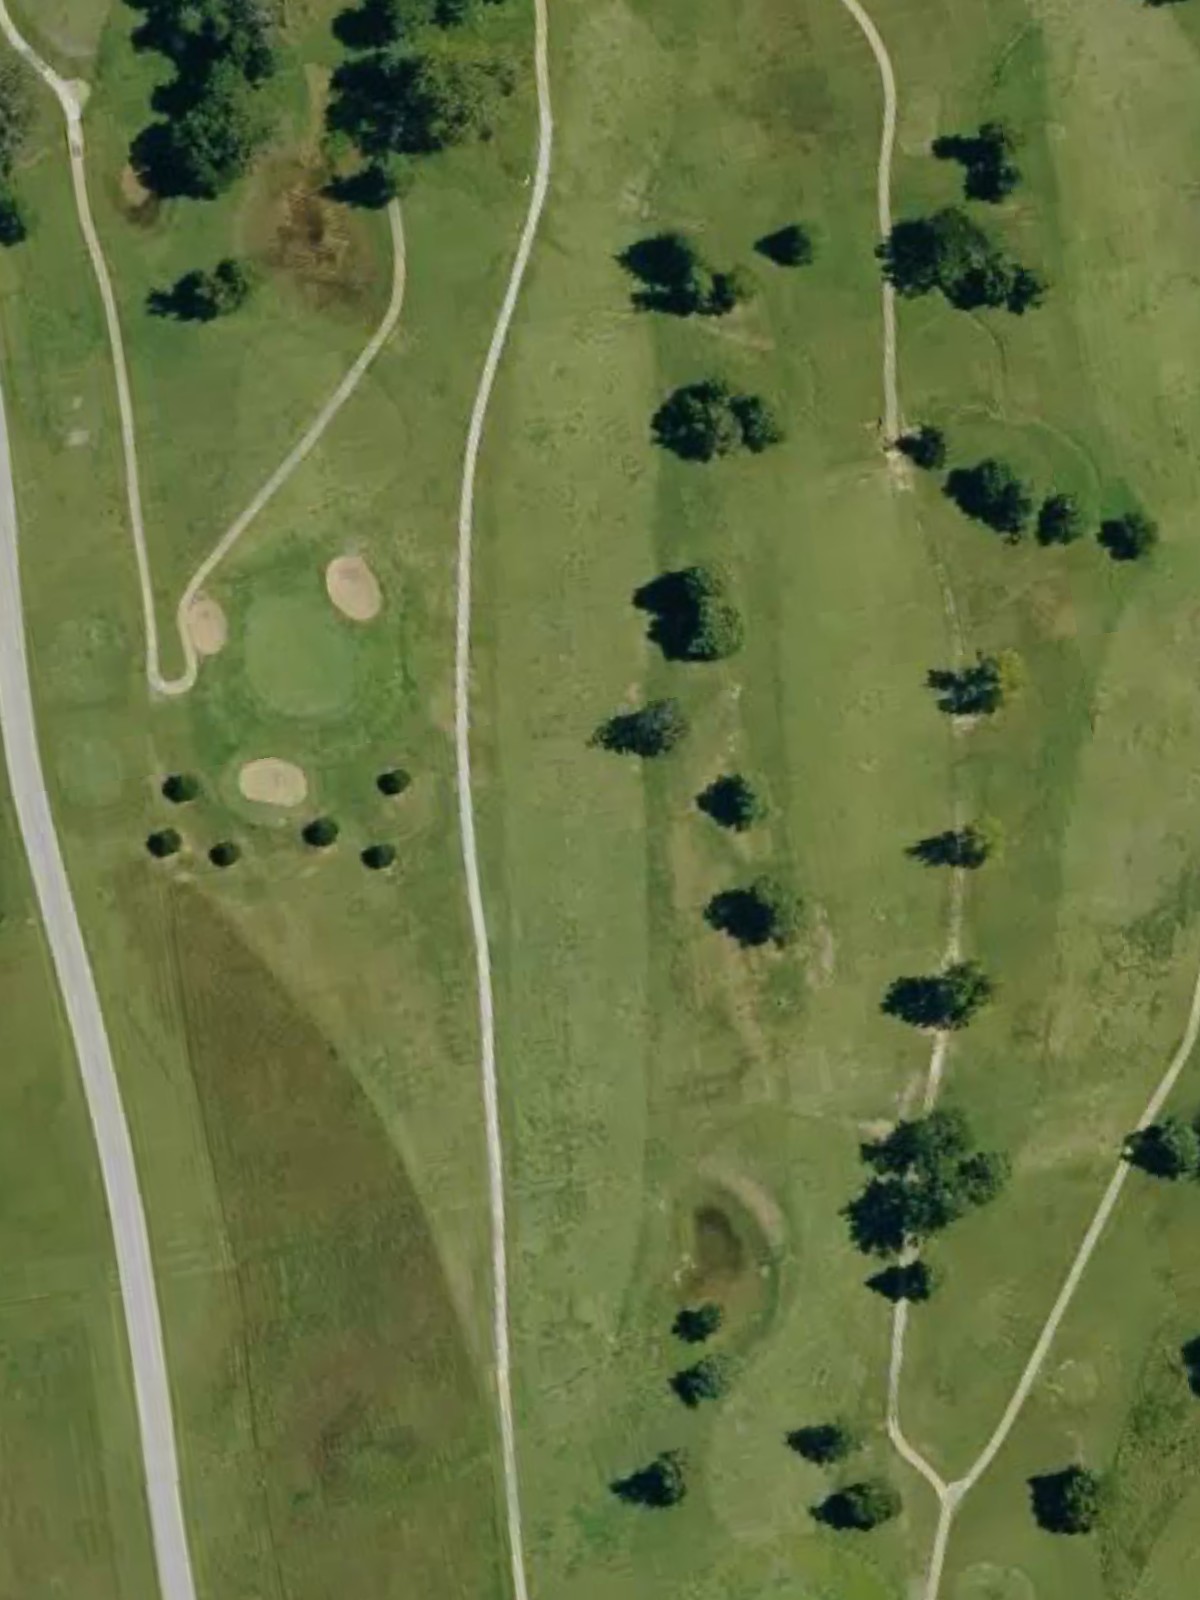
A straightforward opening par 4 with a wide fairway that gradually narrows as it approaches the green. Bunkers protect the right side of the green, rewarding accurate approach play on this relatively forgiving hole.
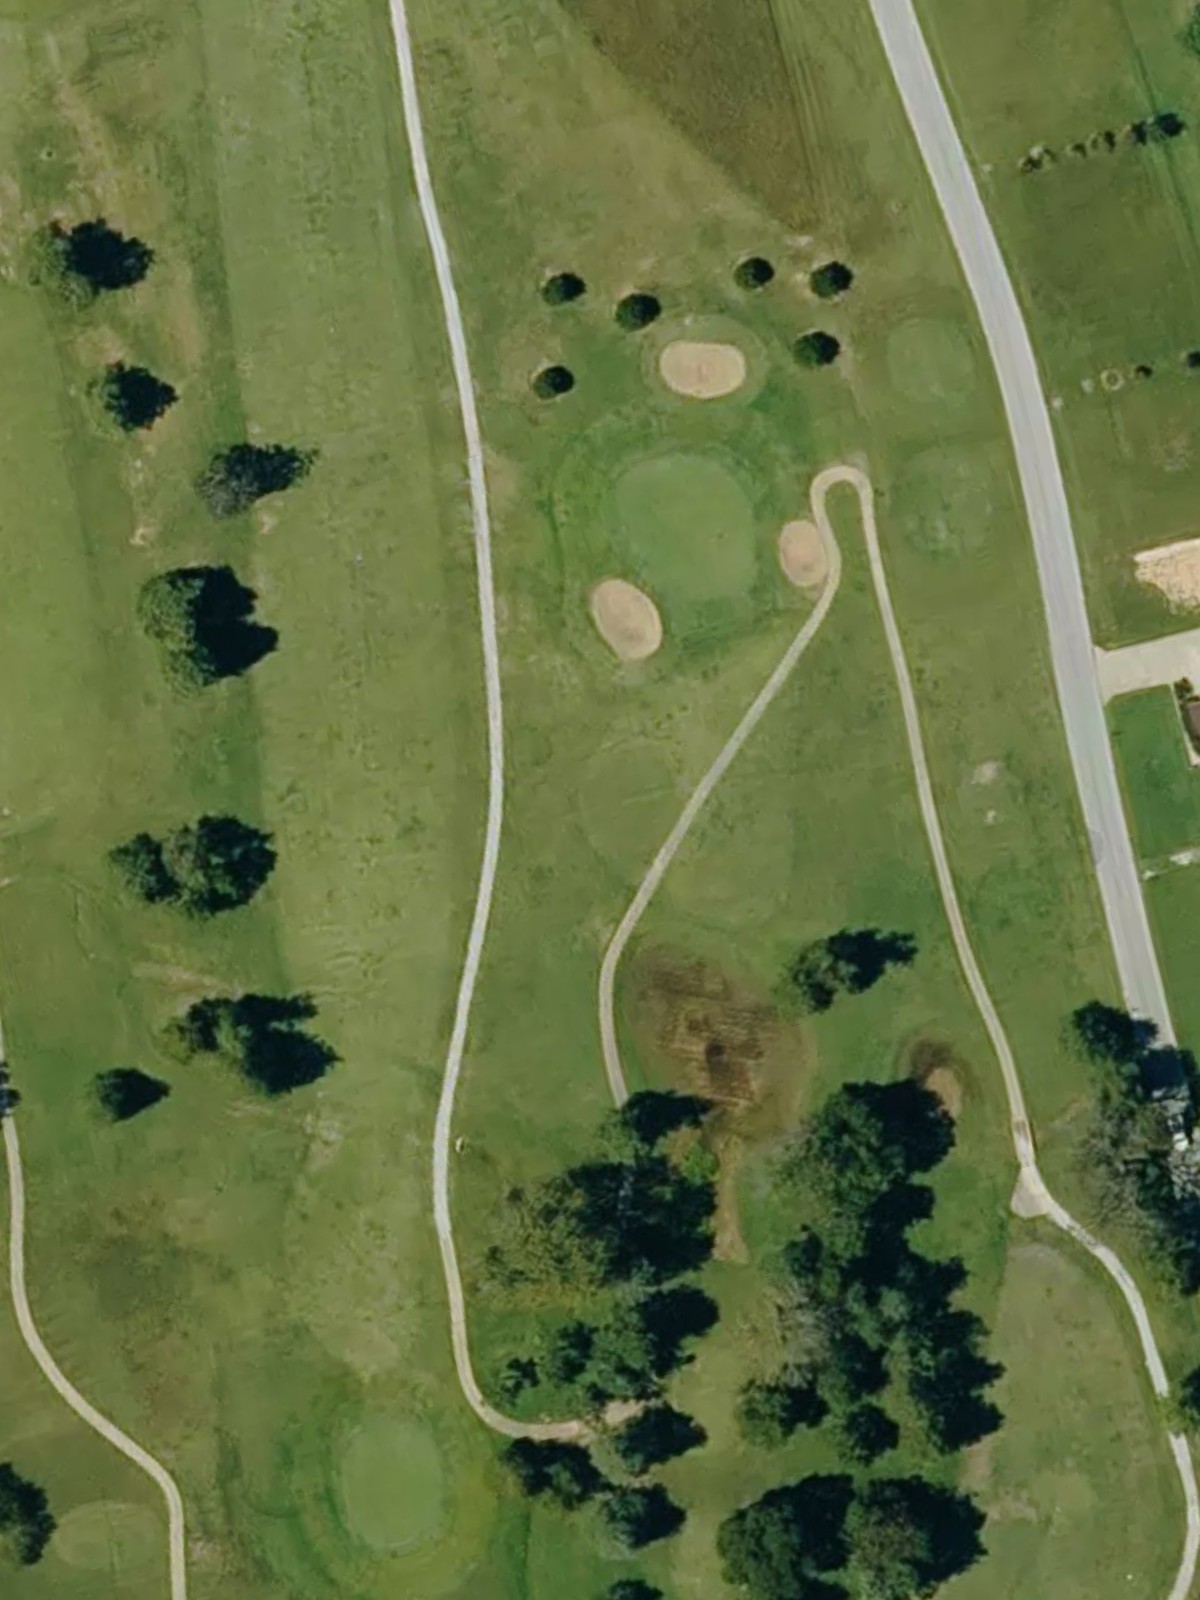
A short par 3 over level ground to a well-bunkered green. The bunkers frame both sides of the putting surface, making precision off the tee essential despite the modest yardage.
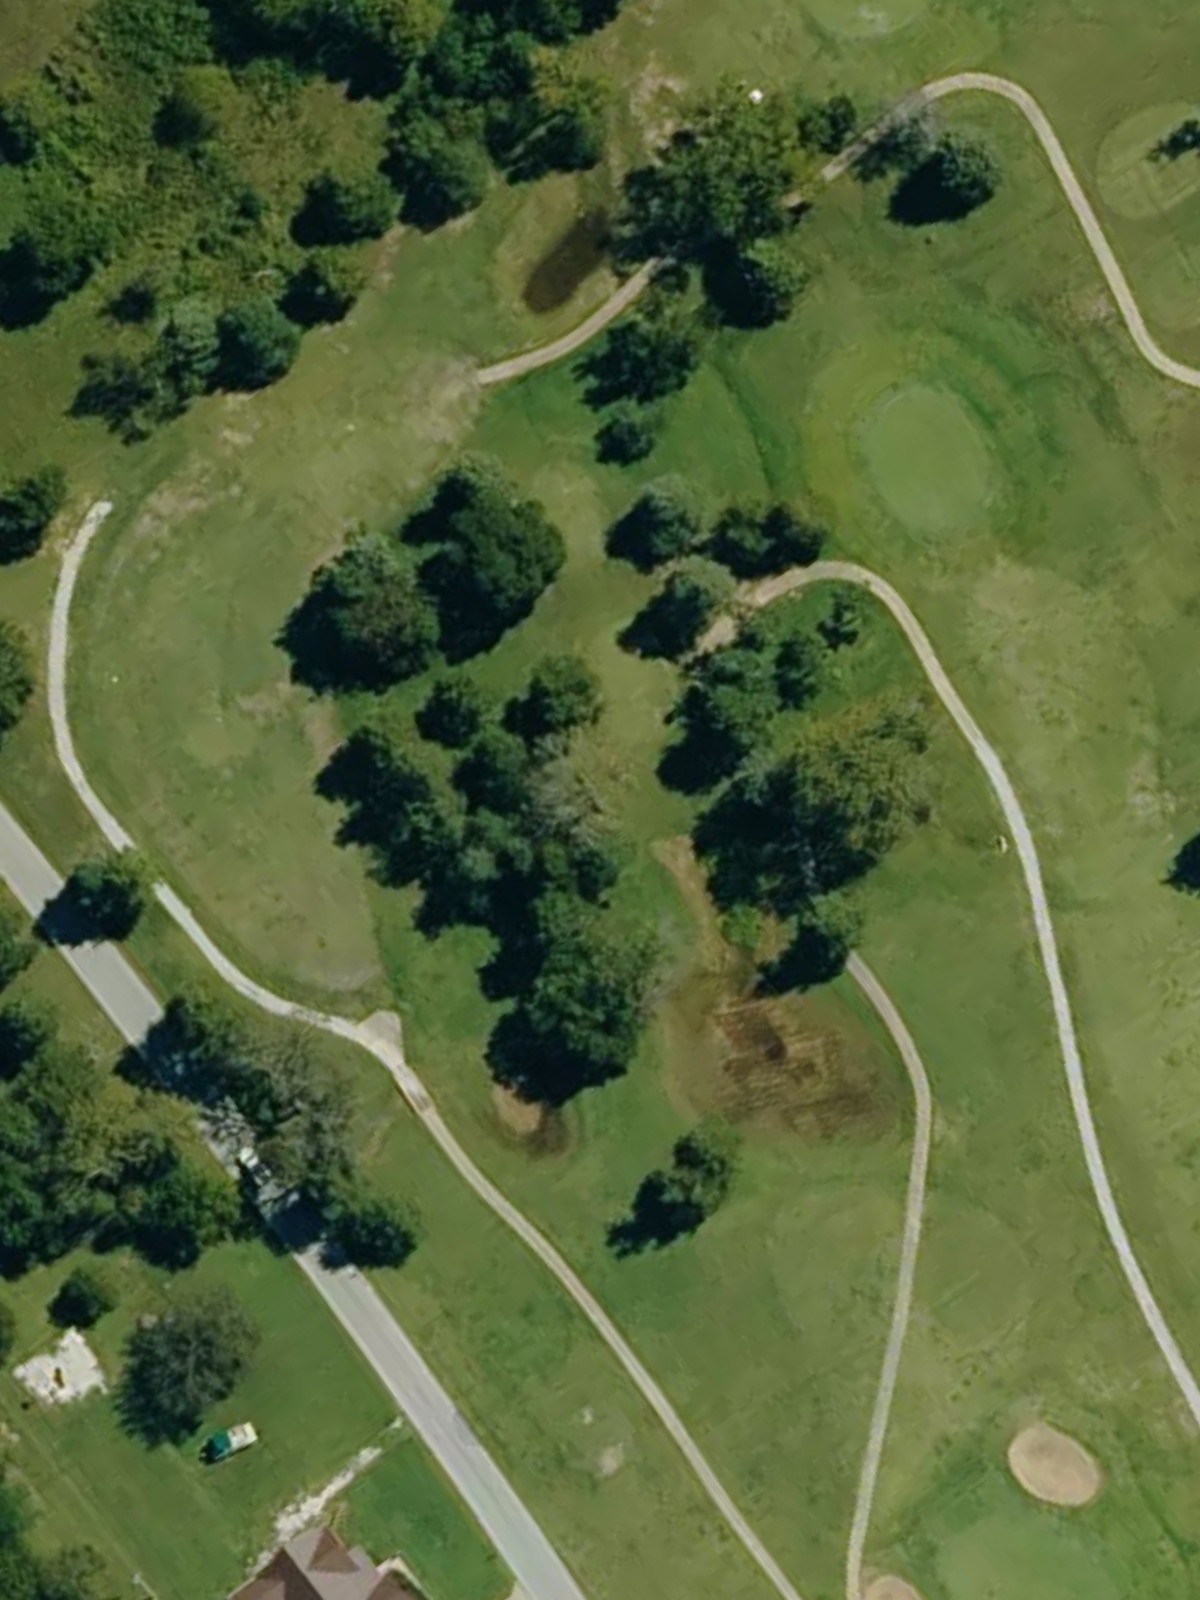
A deceptively difficult par 4 that plays shorter than its handicap suggests, with a narrow fairway that demands accuracy off the tee. Water hazards and bunkers tighten around the green, penalizing wayward approaches.
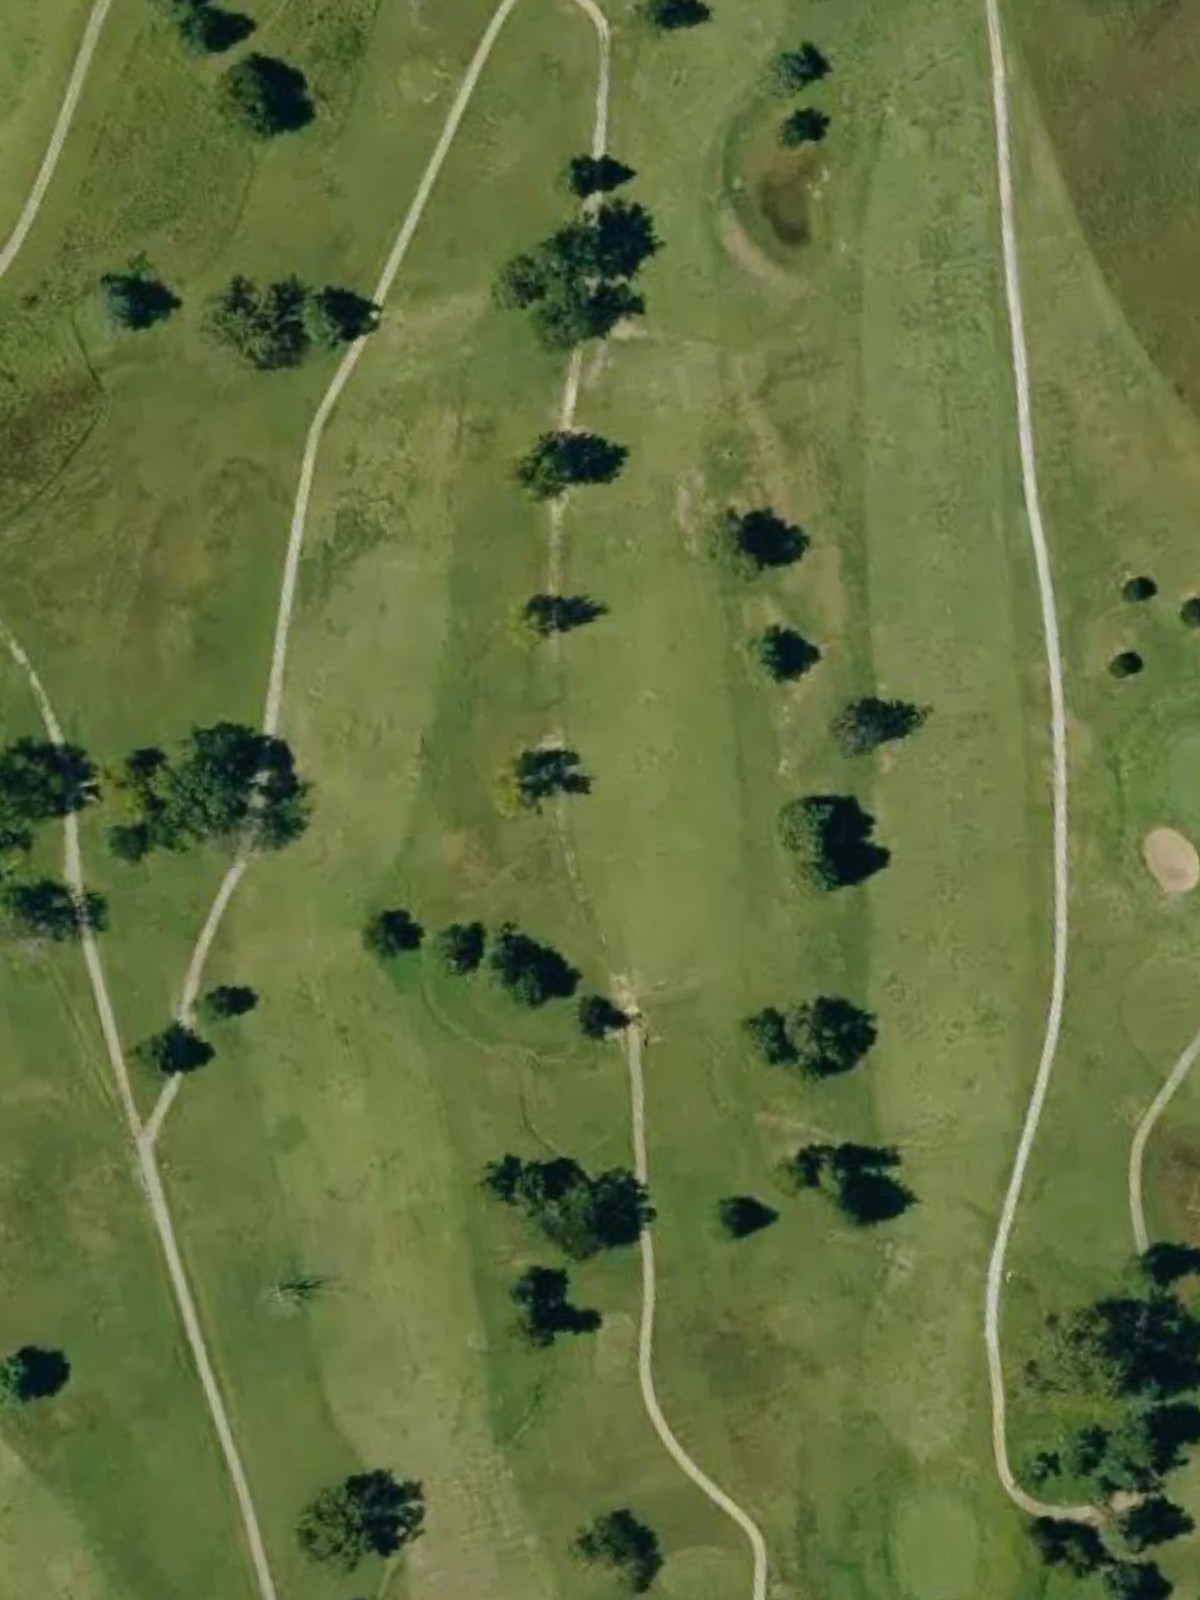
A mid-length par 4 with a fairway that widens in the driving zone before tightening considerably near the green. Strategic bunkering left and right of the green creates a challenging approach from most angles.
The stroke index 1 hole, this par 4 is Diamond Hills' most demanding test with a narrow, well-bunkered fairway and significant hazards guarding the green. Length combined with precision requirements make this a true scorecard killer.
A short par 4 that tempts aggressive play off the tee on this relatively open hole. The green sits in an elevated position with bunkers guarding its front, offering a good scoring opportunity for those who navigate the tight landing area.
A dramatic uphill par 4 that plays longer than its yardage due to elevation gain, with a narrow fairway that tightens considerably near the green. Bunkers frame the green on both sides, making accuracy critical on the approach shot.

A short par 3 played downhill to a small, well-protected green surrounded by bunkers. The compact nature of this hole requires precise distance control and placement to avoid the sand.
A reachable par 5 with a relatively open fairway and bunkers positioned at the inside of any dogleg. The green complex is well-defended, challenging players attempting to go for it in two or those laying up on their second shot.
A strong par 4 with a fairway that narrows significantly in the driving zone and bends slightly, testing both length and accuracy off the tee. Bunkers and water hazards guard the green, demanding a precise approach.
A mid-length par 3 with a relatively straightforward approach to a moderately-sized green. Bunkers on both sides of the green and strategic positioning make club selection and accuracy key to a good score.
A long par 5 with a fairway that offers reasonable width but bunkers that narrow the landing area, particularly on the second shot. Water and sand hazards protect the green, rewarding strategic layup play.
A compact par 4 with a fairway that bends slightly and narrows as it approaches the green. Bunkers frame the green on both sides, making this a hole where positioning off the tee is as important as the approach shot.
Diamond Hills' shortest hole, this par 3 plays to a small green surrounded by hazards on a relatively open, level stretch. Despite its brevity, accurate distance control and placement are crucial to avoid greenside trouble.
A mid-length par 4 with a fairway that opens up in the driving zone before tightening near the green. Bunkers and potential water hazards guard the approach, making club selection and placement important for scoring opportunities.
A long, imposing par 5 that will demand two solid shots to reach the green in regulation, with significant length and strategic bunkering throughout. The green sits well-guarded, rewarding those who position themselves carefully.
A strong finishing par 4 with a fairway that narrows toward the landing area and bends slightly, demanding both power and accuracy off the tee. Bunkers and hazards protect the green, making this a stout closing challenge.
The stroke index 2 hole, this par 4 finale features a tight fairway and a well-bunkered green that will test competitors on the closing shot. Length, narrow positioning, and bunker placement combine to make this a demanding final hole.
Scorecard
| Hole | 1 | 2 | 3 | 4 | 5 | 6 | 7 | 8 | 9 | Out | 10 | 11 | 12 | 13 | 14 | 15 | 16 | 17 | 18 | In | Tot |
|---|---|---|---|---|---|---|---|---|---|---|---|---|---|---|---|---|---|---|---|---|---|
| Par | 4 | 3 | 4 | 4 | 4 | 4 | 4 | 3 | 5 | 35 | 4 | 3 | 5 | 4 | 3 | 4 | 5 | 4 | 4 | 36 | 71 |
| HCP | 7 | 15 | 5 | 11 | 1 | 13 | 3 | 17 | 9 | 6 | 16 | 14 | 12 | 18 | 10 | 4 | 8 | 2 | |||
| blue | 394 | 169 | 342 | 400 | 439 | 307 | 430 | 154 | 496 | 3131 | 434 | 177 | 467 | 395 | 123 | 397 | 508 | 417 | 420 | 3338 | 6469 |
| white | 382 | 150 | 321 | 382 | 412 | 295 | 413 | 139 | 485 | 2979 | 406 | 160 | 451 | 375 | 108 | 381 | 498 | 403 | 412 | 3194 | 6173 |
| gold | 361 | 142 | 275 | 315 | 371 | 289 | 393 | 130 | 376 | 2652 | 381 | 150 | 437 | 346 | 101 | 373 | 415 | 396 | 410 | 3009 | 5661 |
| red | 359 | 139 | 272 | 313 | 369 | 283 | 372 | 121 | 367 | 2595 | 368 | 140 | 426 | 346 | 94 | 370 | 398 | 393 | 393 | 2928 | 5523 |