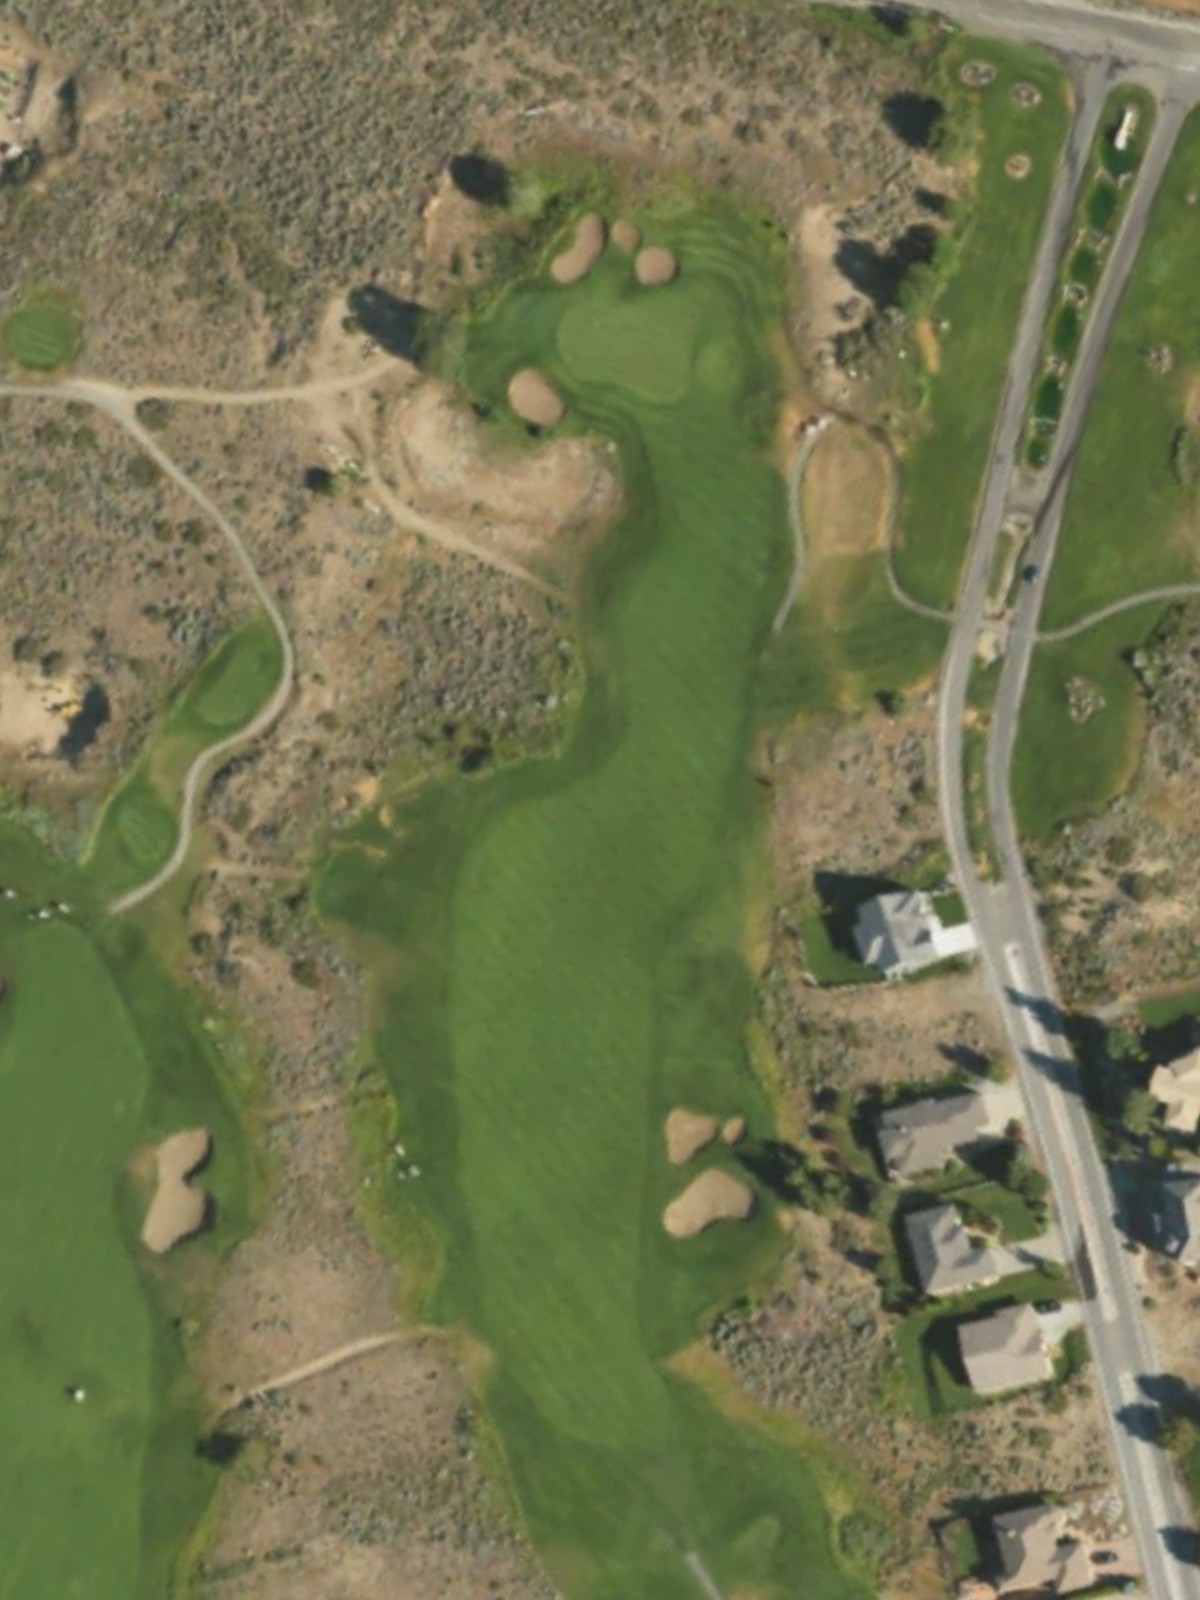
Desert Canyon Golf Resort is an 18-hole golf course in Orondo, WA with a par of 72. It offers 7 tee sets: black (7,285 yards, slope 144, rating 76.3), blue (6,766 yards, slope 139, rating 73.3), blue/white comb. (6,418 yards, slope 132, rating 71.7), white (6,144 yards, slope 127, rating 70.7), white/silver comb. (5,741 yards, slope 125, rating 68.8), silver (5,327 yards, slope 119, rating 66.4), gold (5,051 yards, slope 115, rating 65). The hardest hole is #7, a par 5 playing 535 yards from the first tee.
Desert Canyon Golf Resort
Orondo, WA
Get PDF Yardage Book
We'll email you the PDF link. No spam, ever.
Create Your Game Plan
Pick your tees, enter your bag, and get a personalized shot-by-shot strategy for every hole.
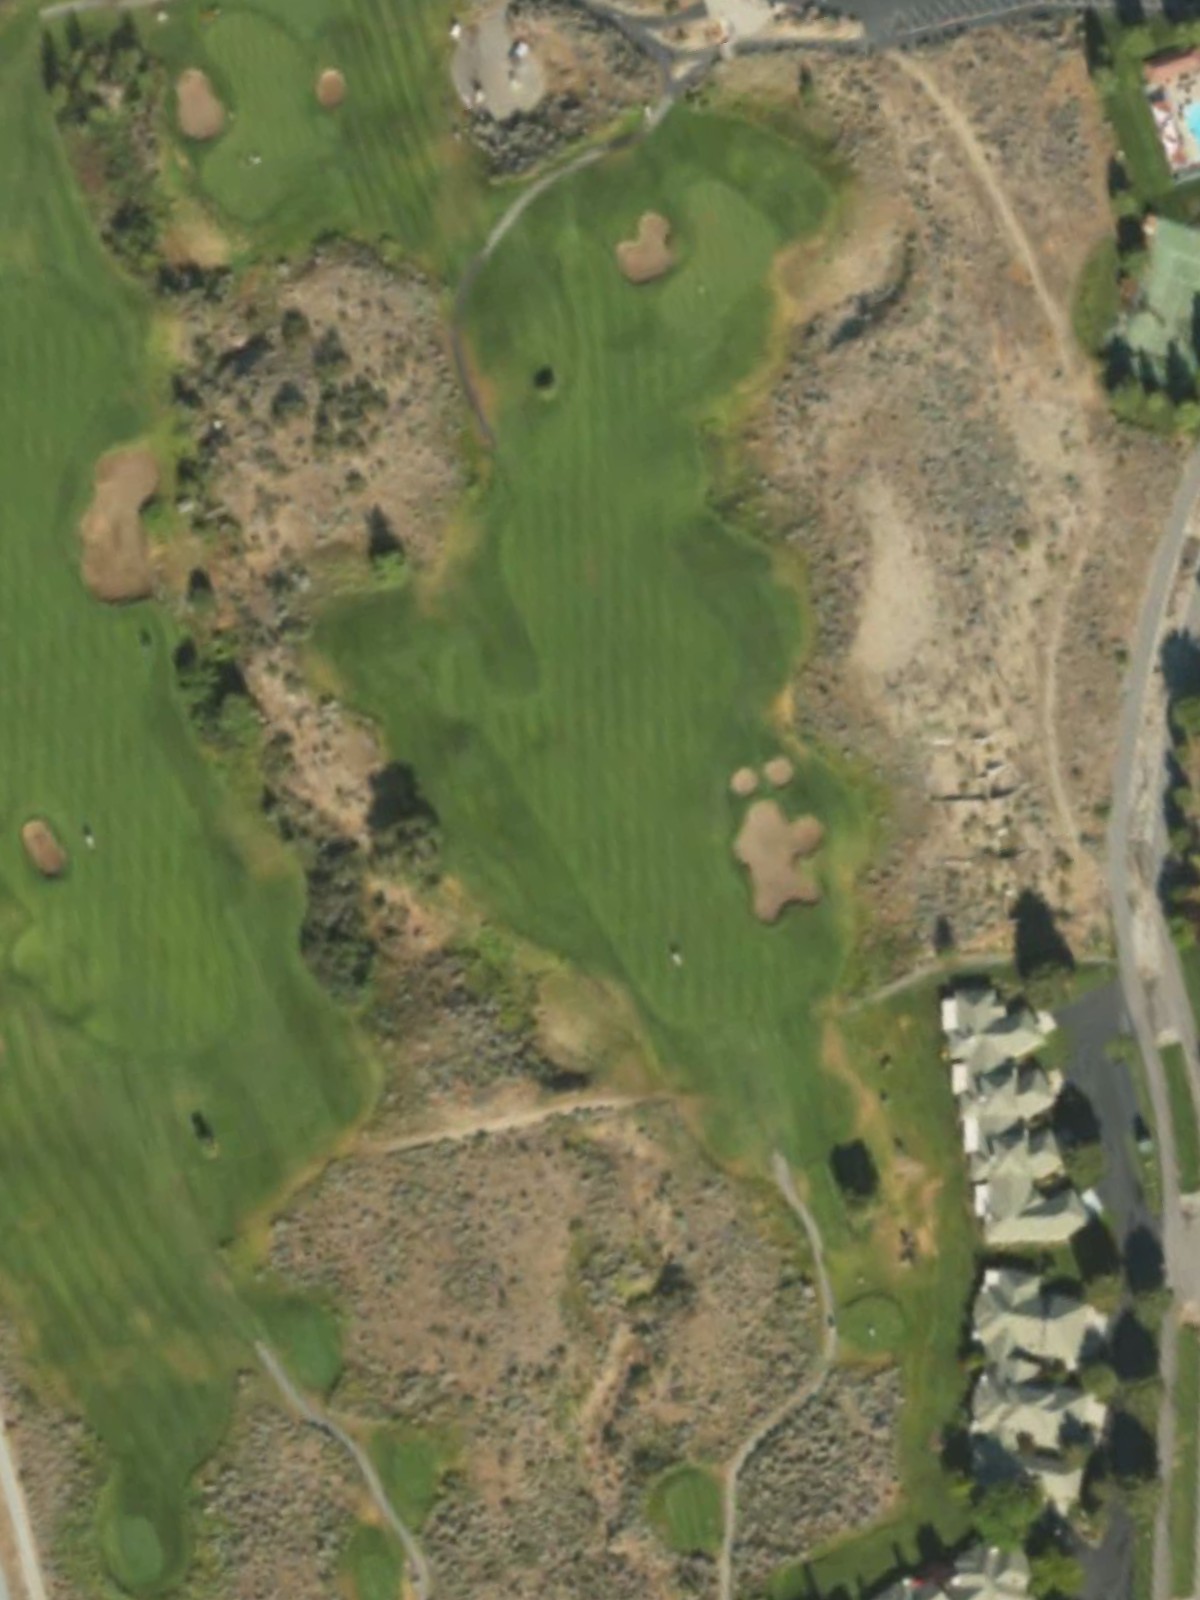
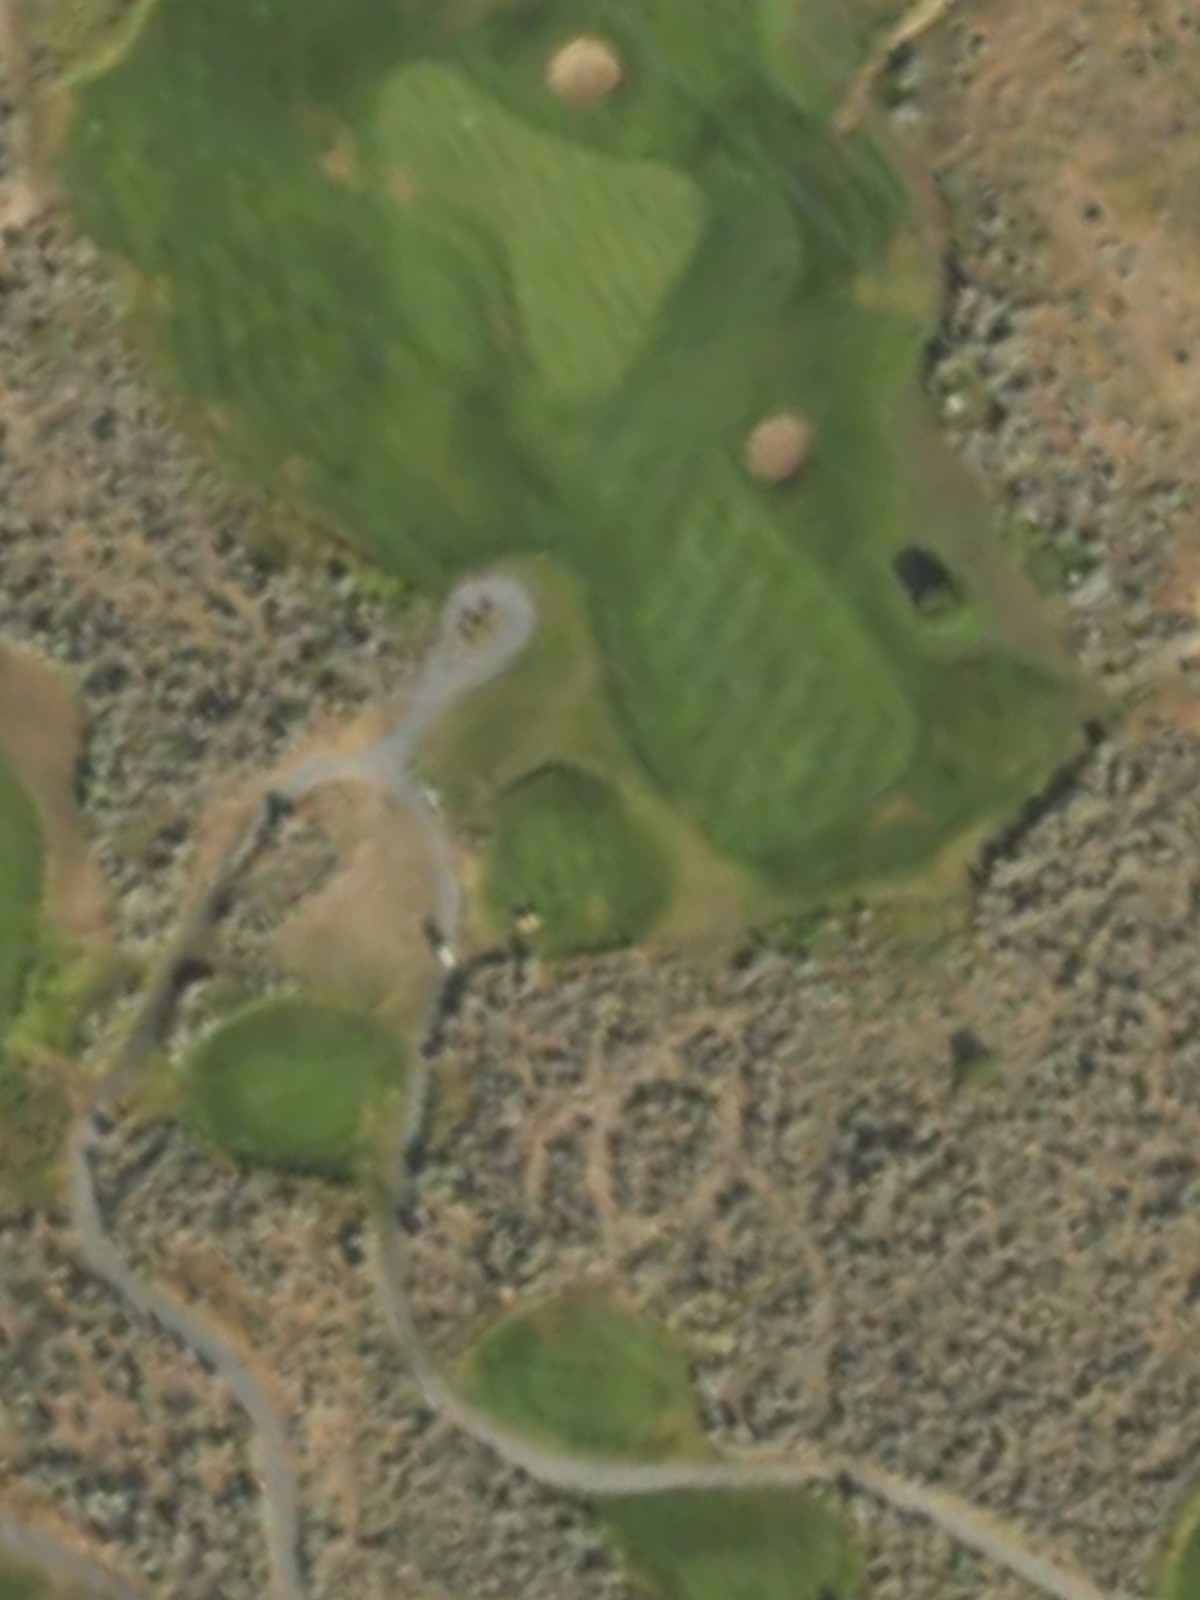
A straightforward par 4 with a welcoming fairway that gradually narrows as it approaches the green. Bunkers guard the right side of the putting surface, rewarding accurate approach shots.
A challenging par 4 that plays as one of the course's toughest holes, with length and precision required off the tee. The narrow fairway and strategic bunkering around the green demand accurate ball striking.
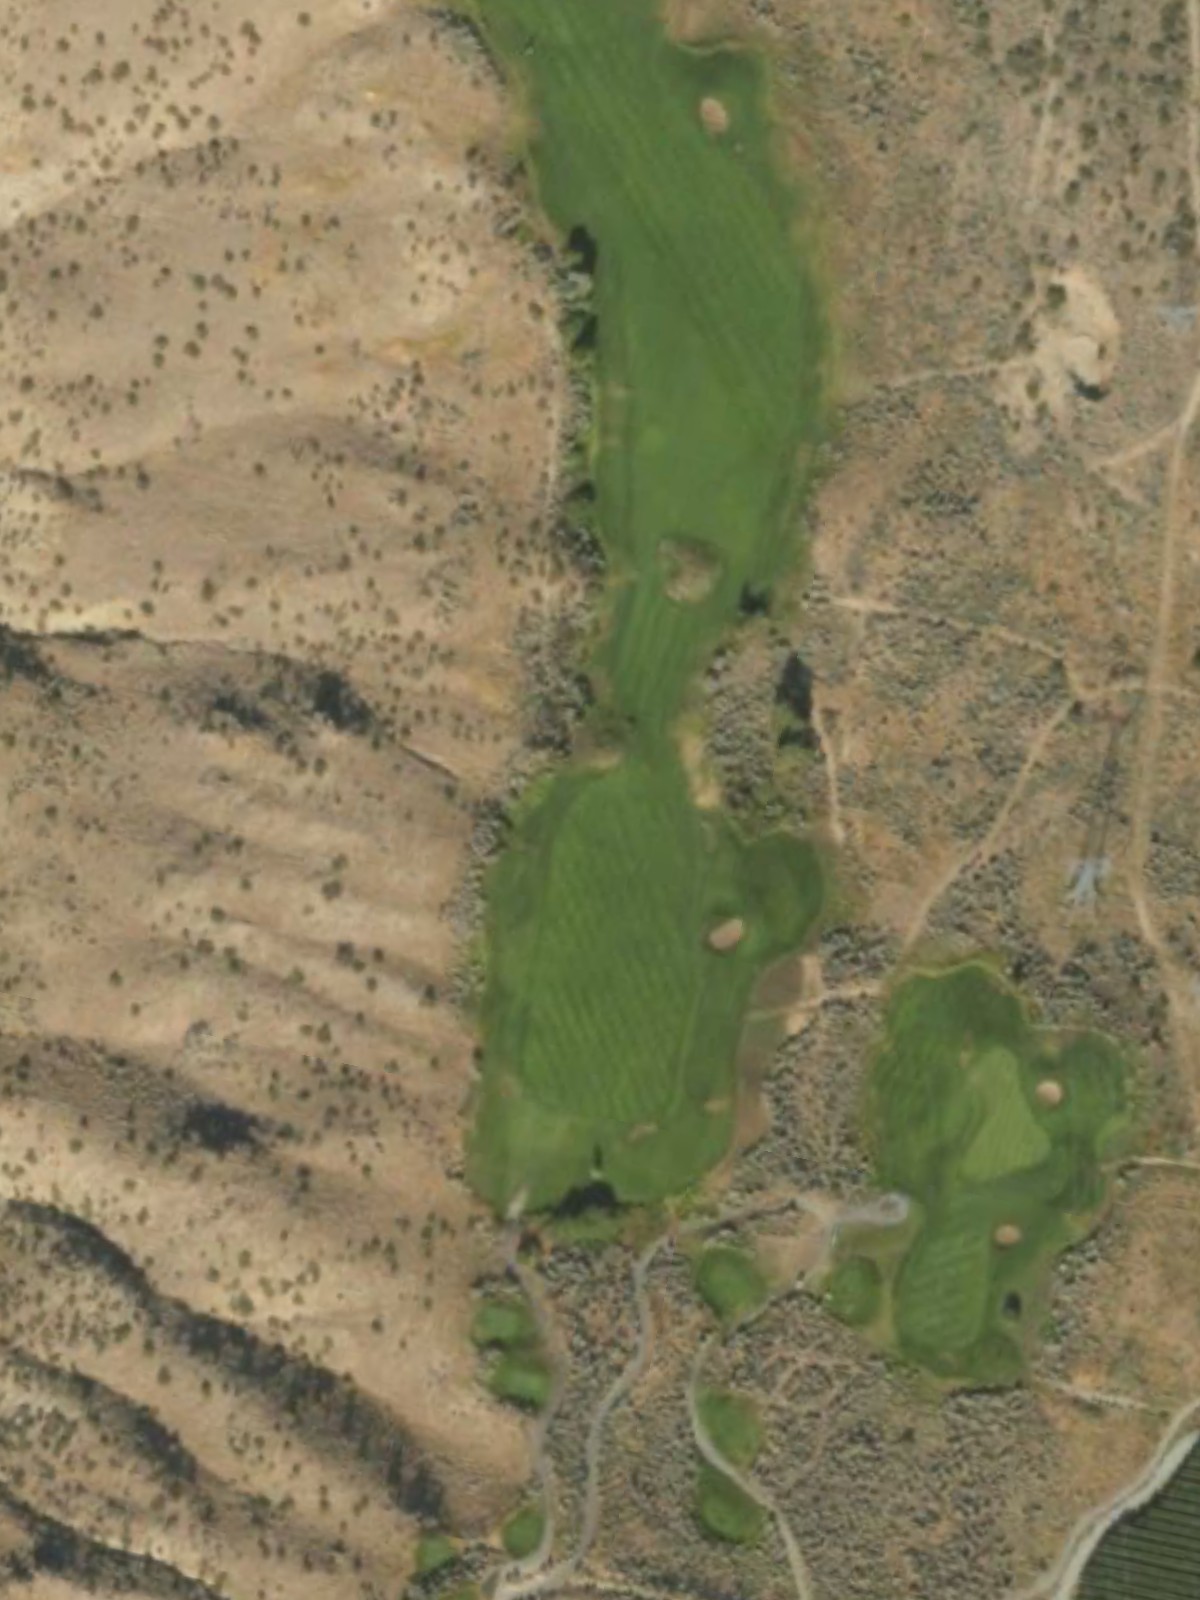
A reachable par 5 with a fairway that opens up for aggressive players willing to take on distance. Water or hazards may come into play on the second shot, offering risk-reward opportunities for reaching in two.
A short par 3 that plays downhill to a well-bunkered green. Despite its modest length, the elevated tee shot and greenside bunkers create an interesting short hole challenge.
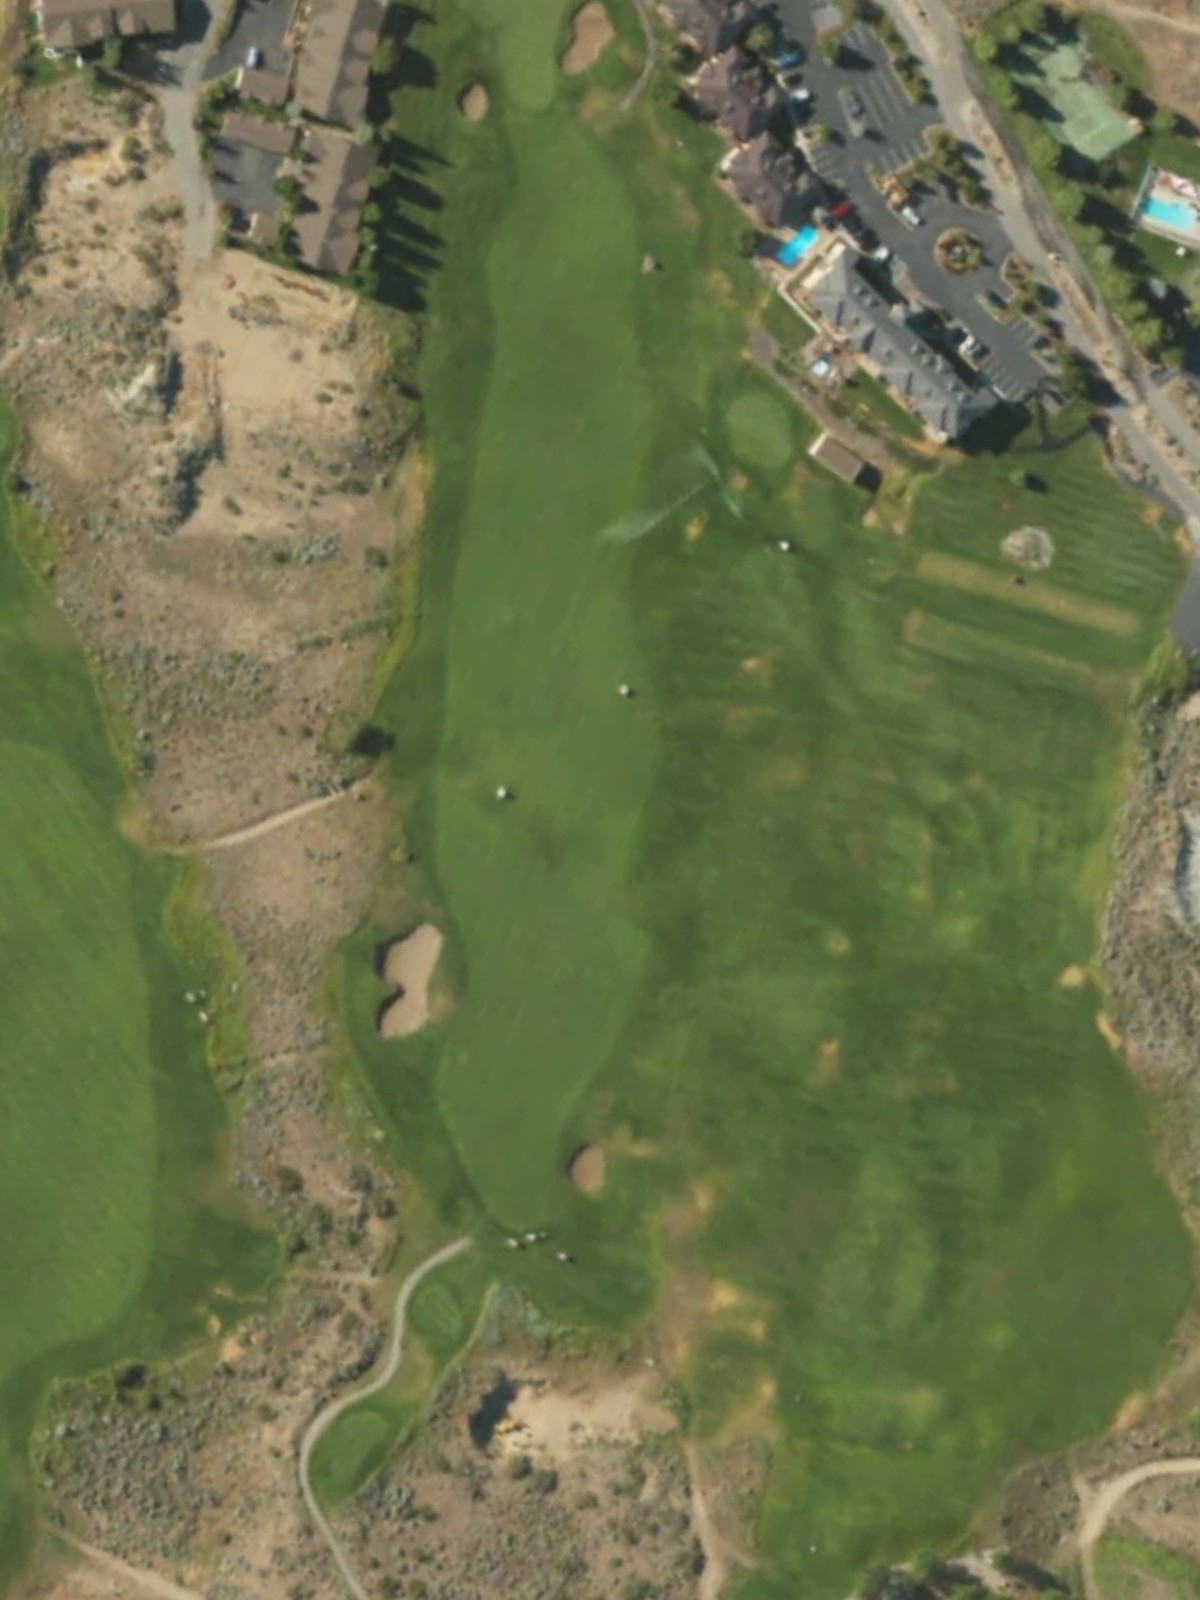
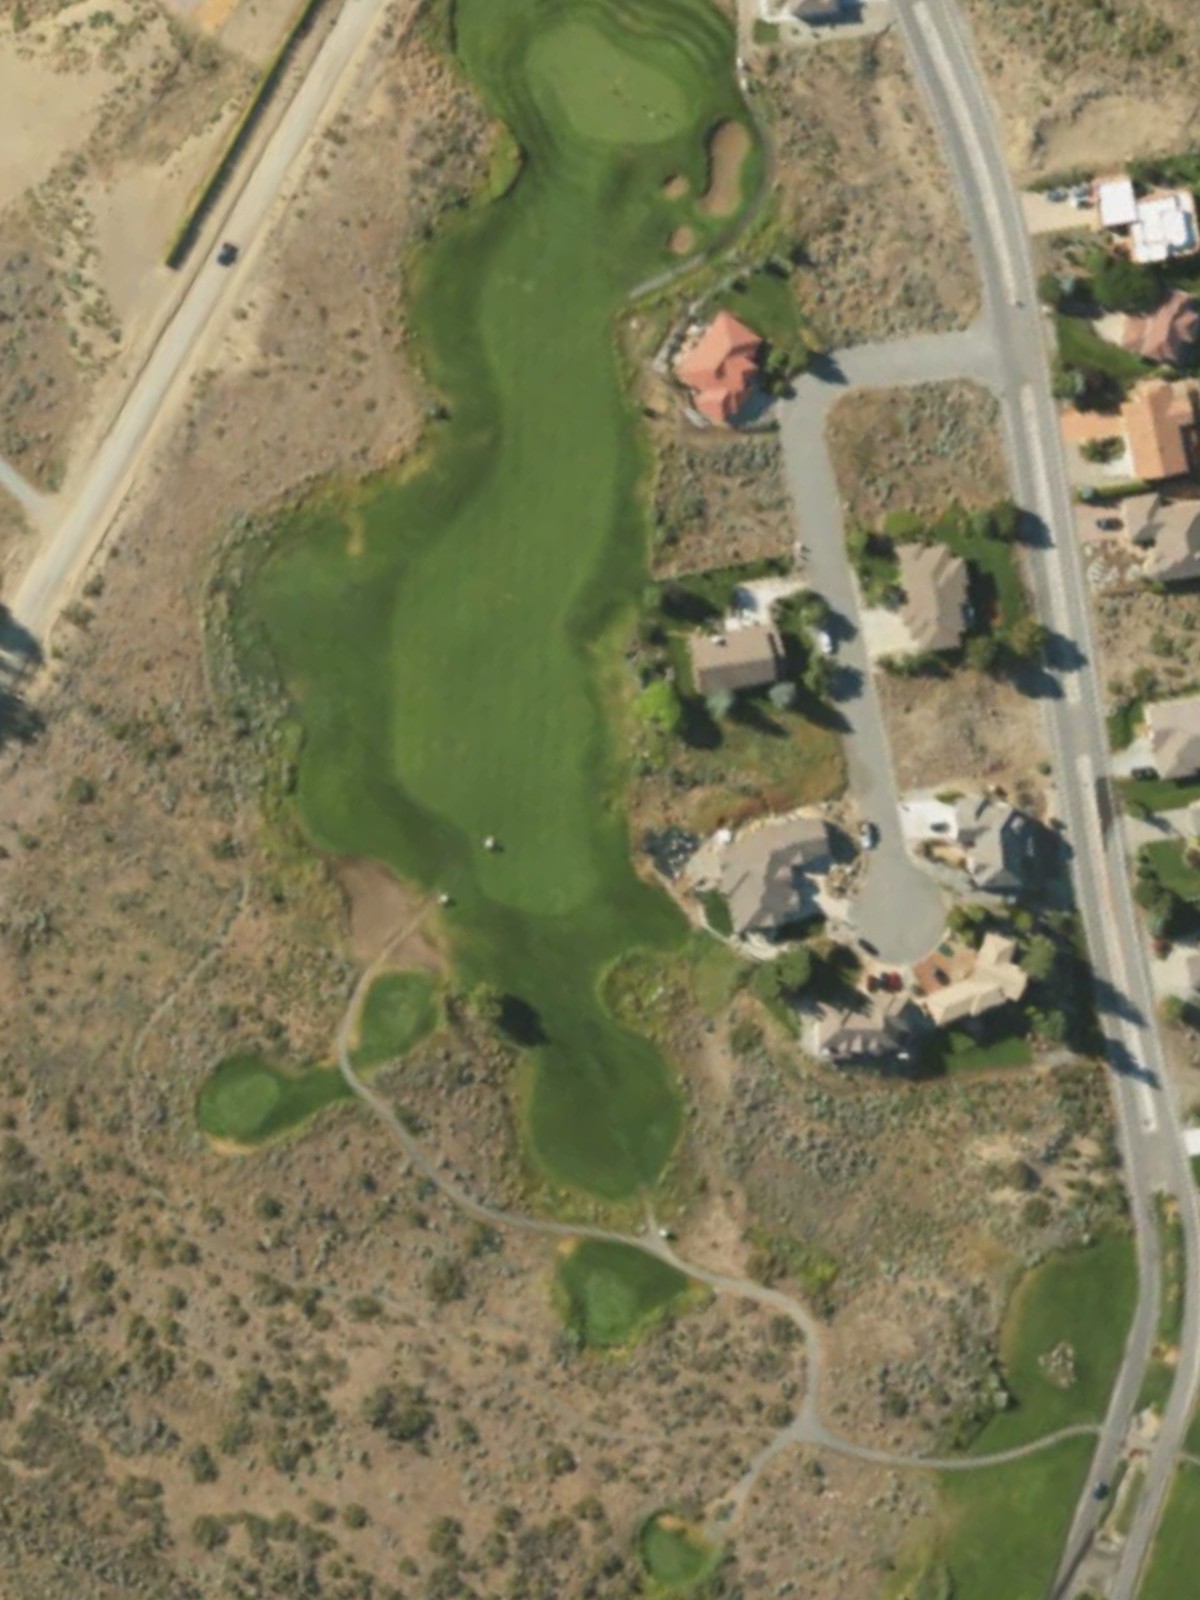
The course's most demanding par 4, playing long and requiring two solid strikes to reach the green in regulation. Length off the tee is essential, with hazards likely penalizing wayward shots.
A mid-length par 4 that offers a good scoring opportunity with intelligent shot placement. The hole's character rewards accuracy more than distance, with bunkers positioned to catch poor approaches.
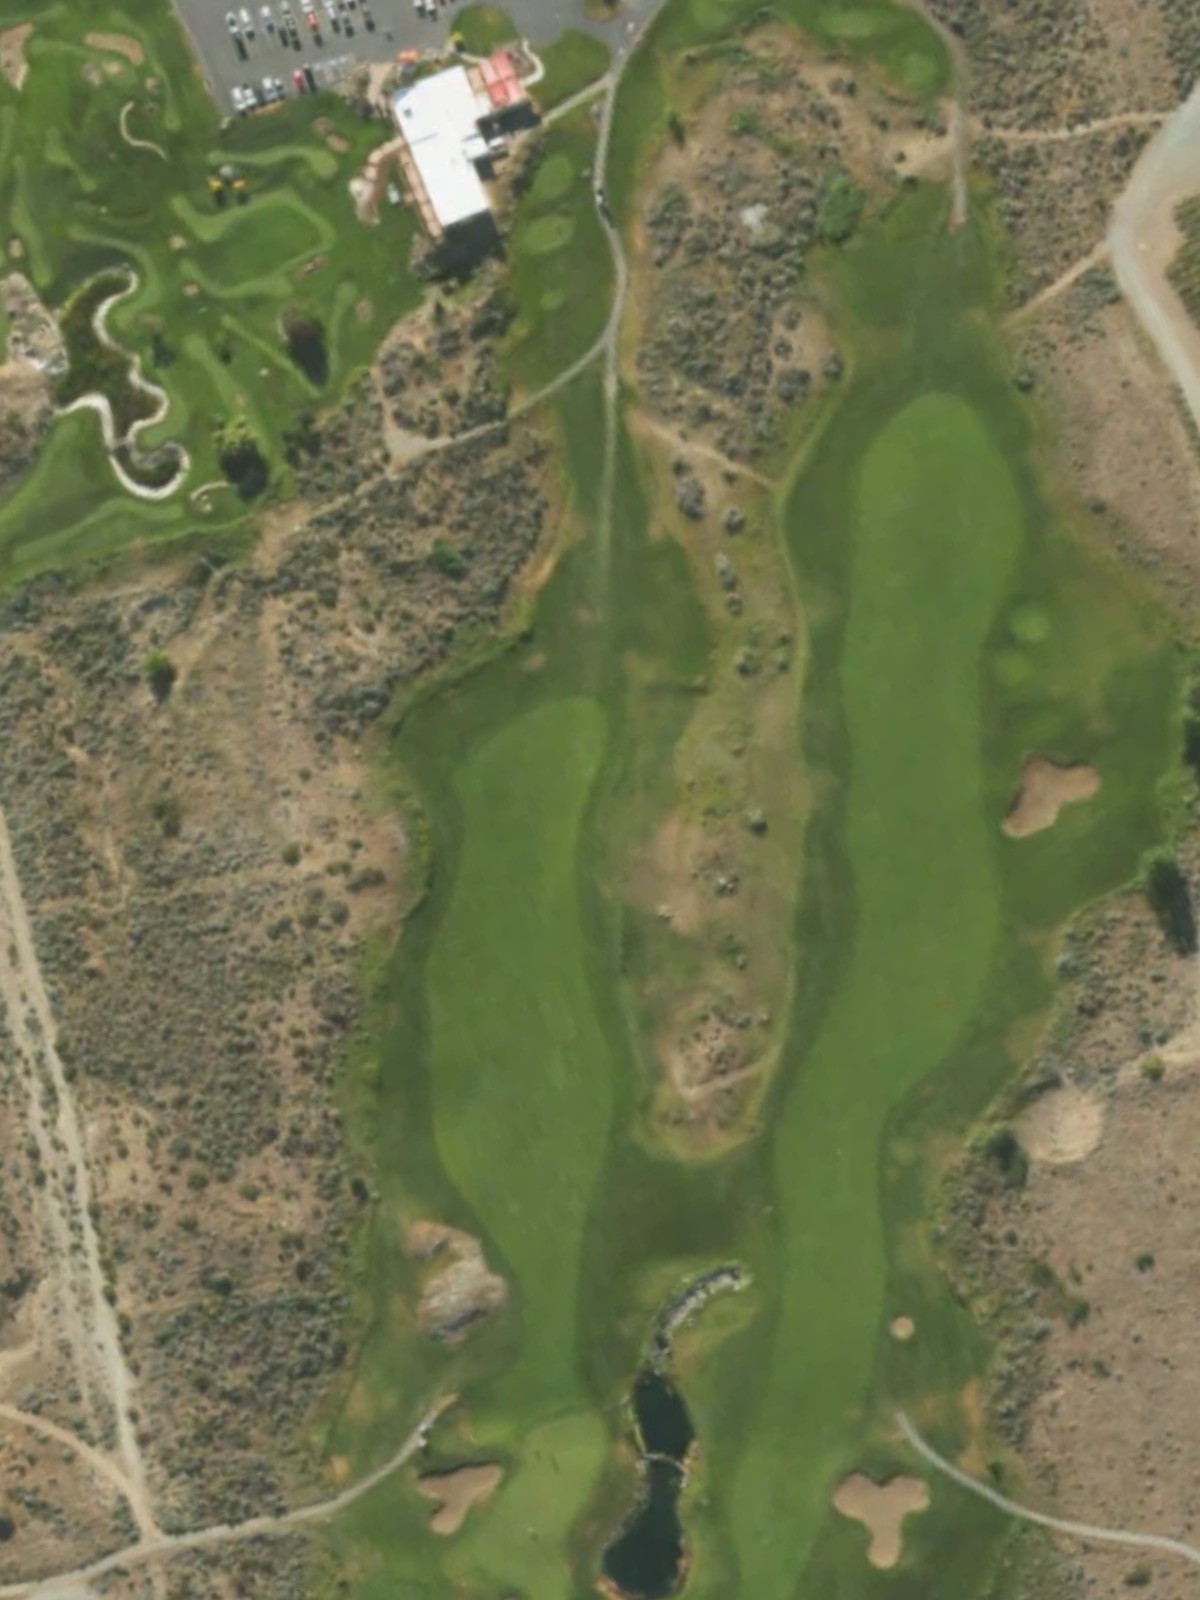
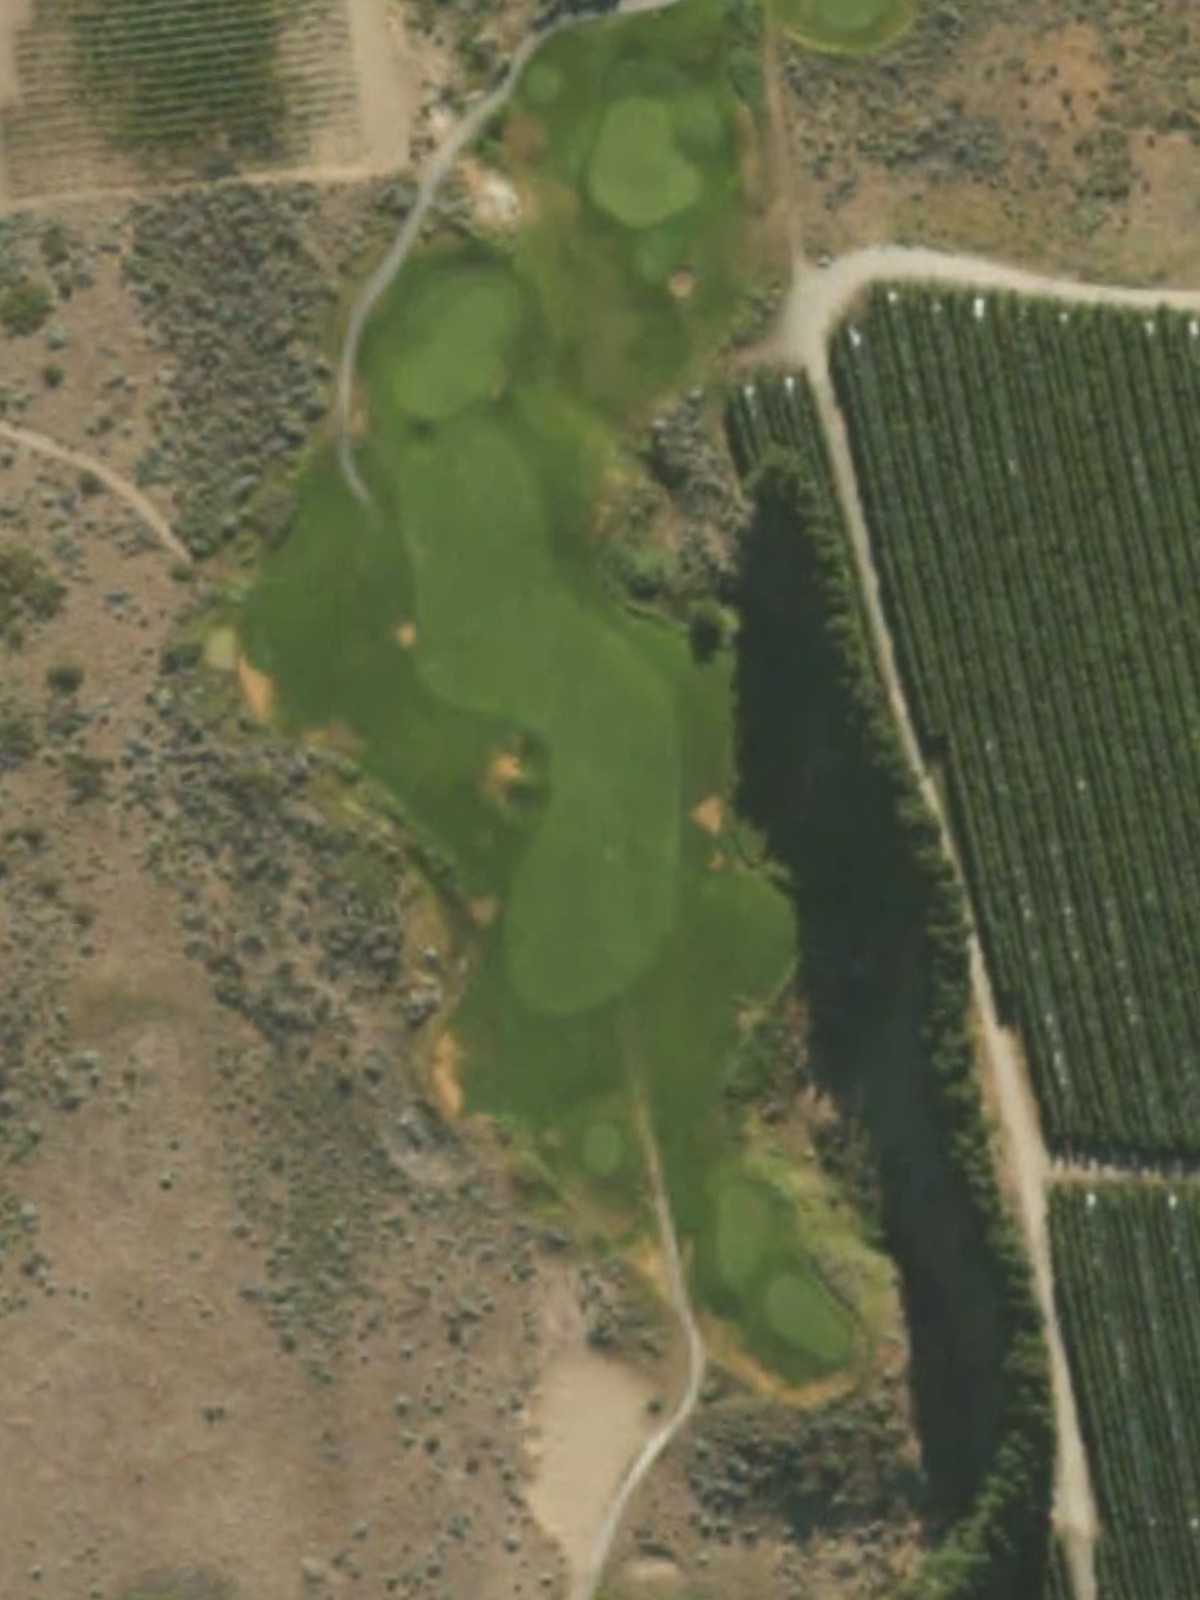
The signature hole and longest challenge on the course, this par 5 demands three well-executed shots to reach the green safely. The hole's length and layout create a memorable and strategic finishing test for the front nine or back nine.
A mid-range par 3 with an elevated green protected by strategic bunkering. The tee shot is the focus here, with hazards positioned to challenge both conservative and aggressive approaches.
A solid par 4 with a moderately wide fairway that tightens near the green. Bunkers and hazards frame the approach, making the second shot the key to a successful hole.

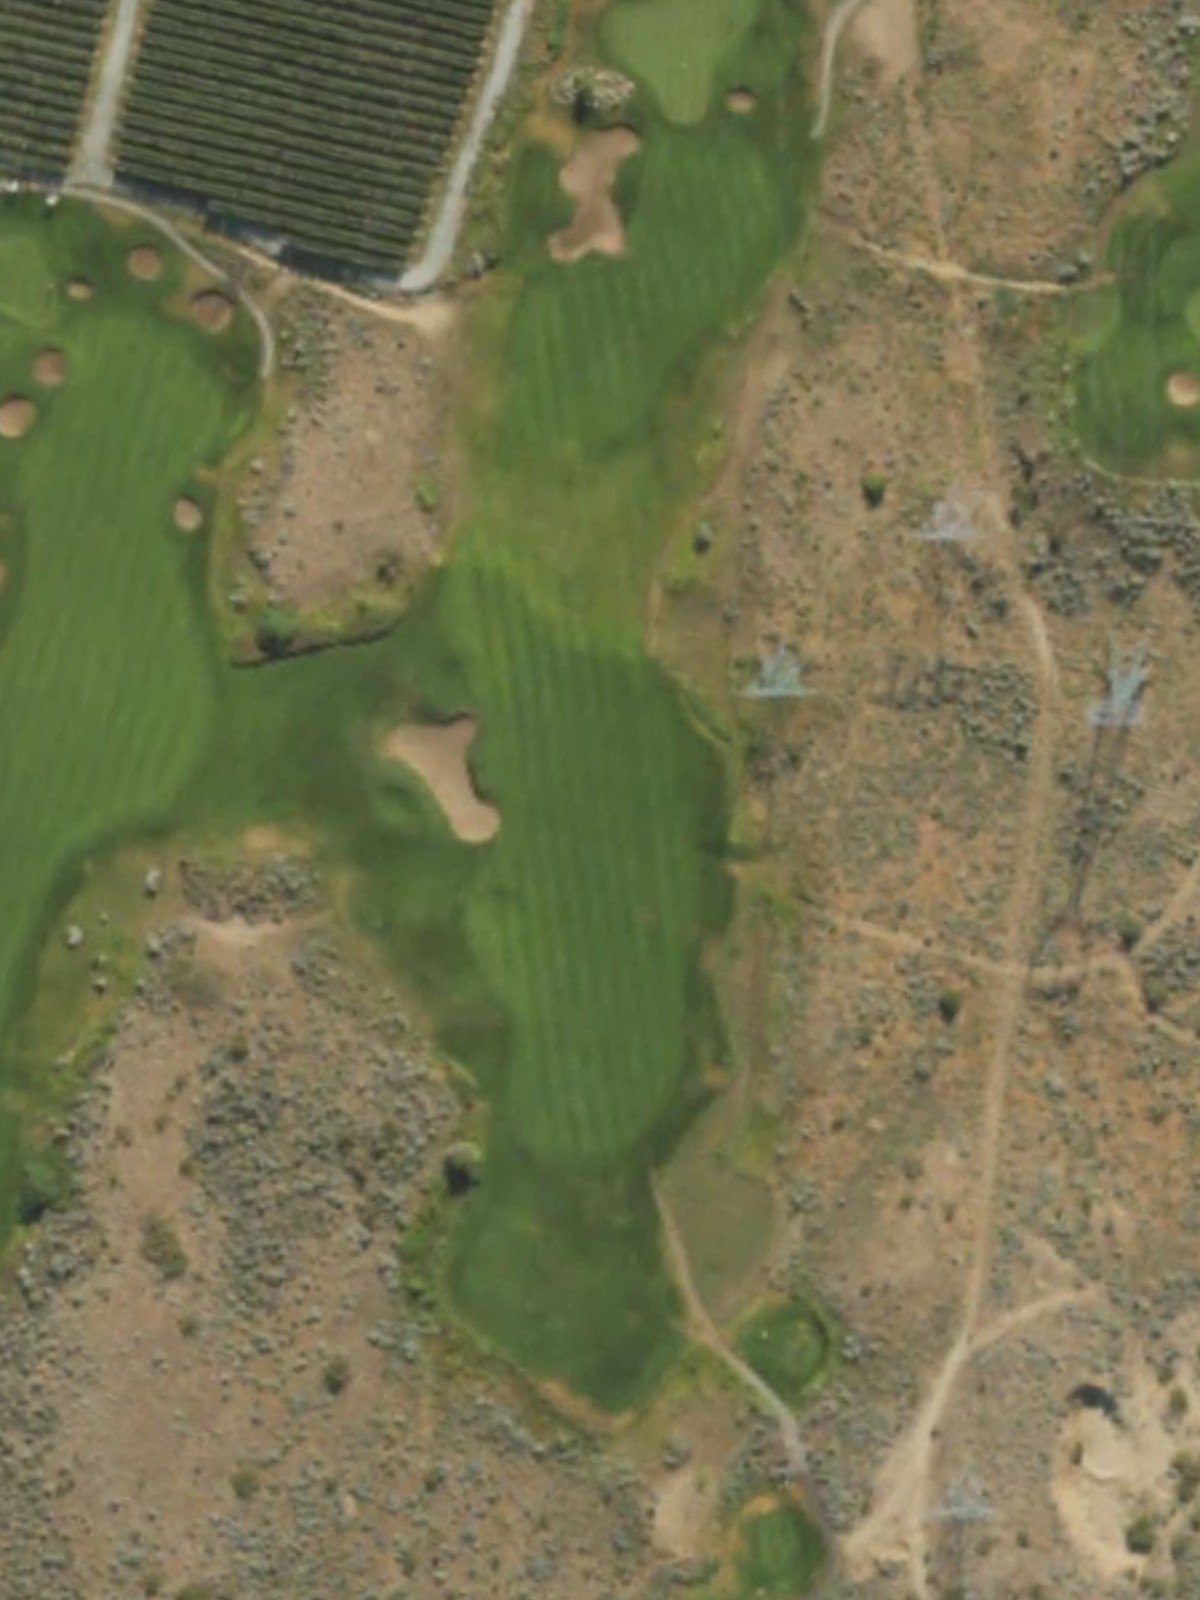
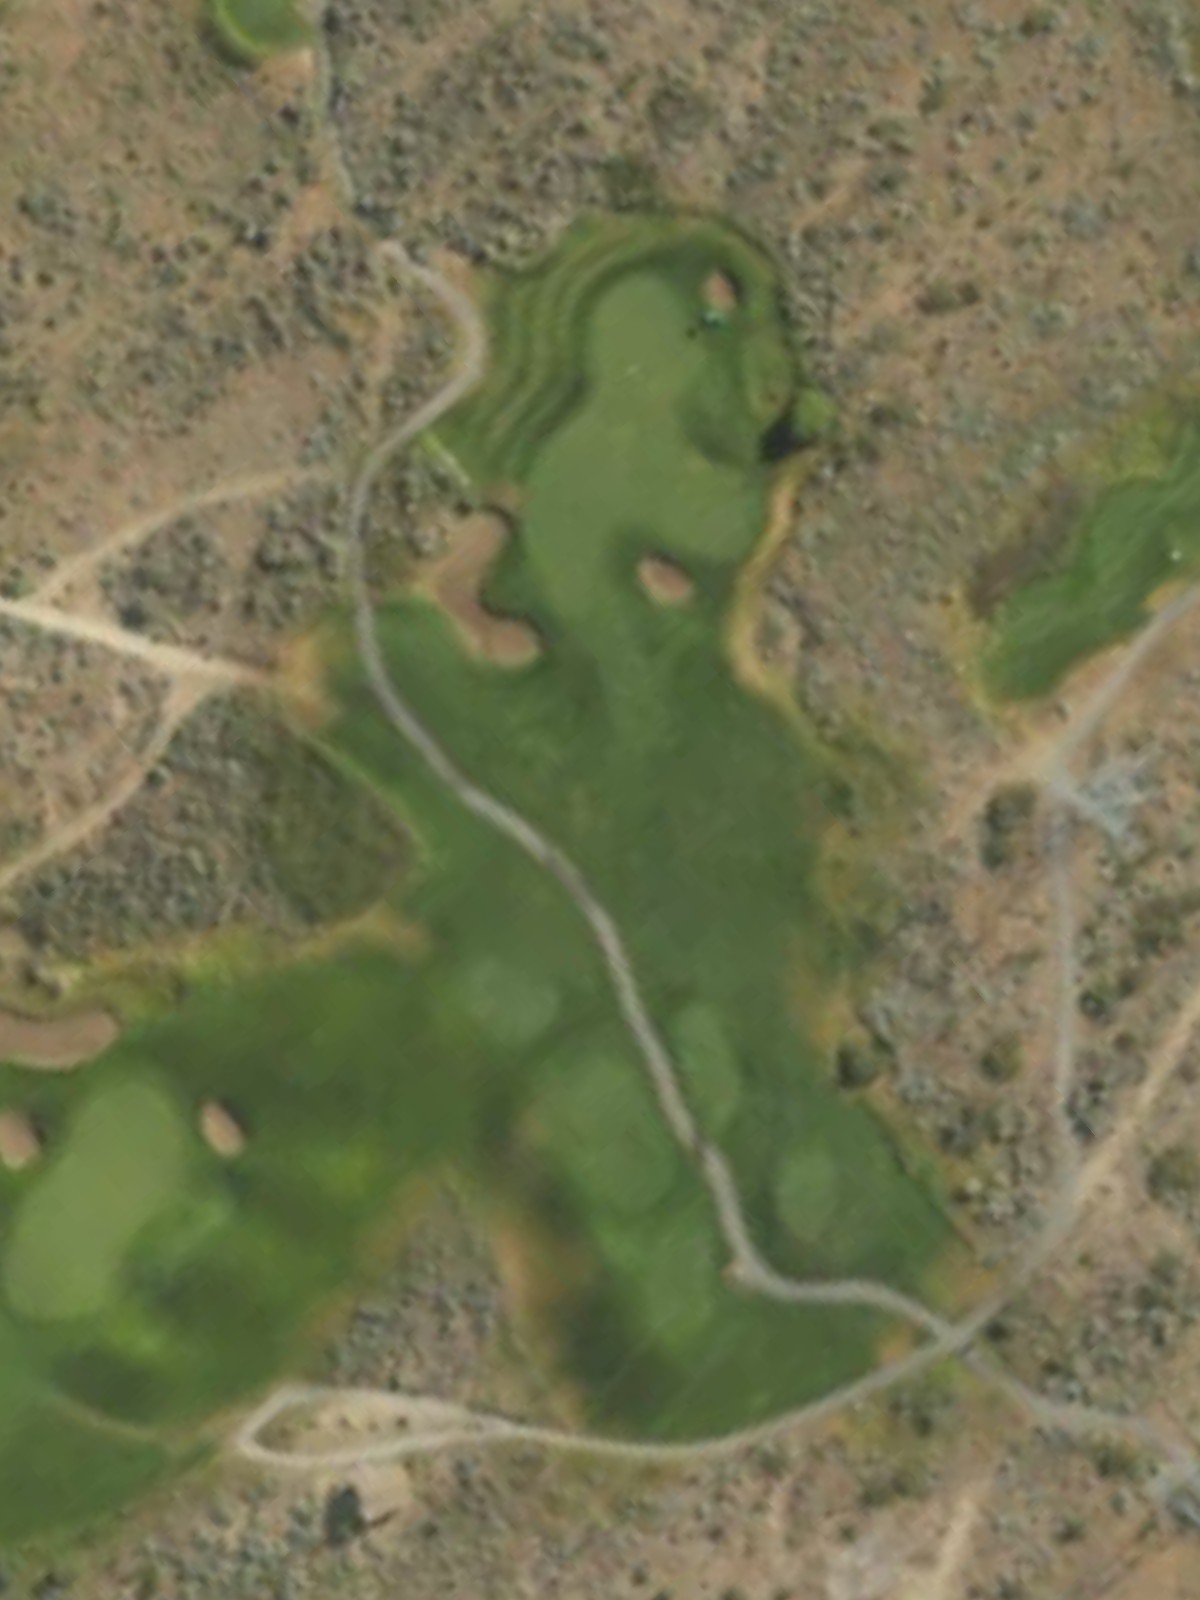
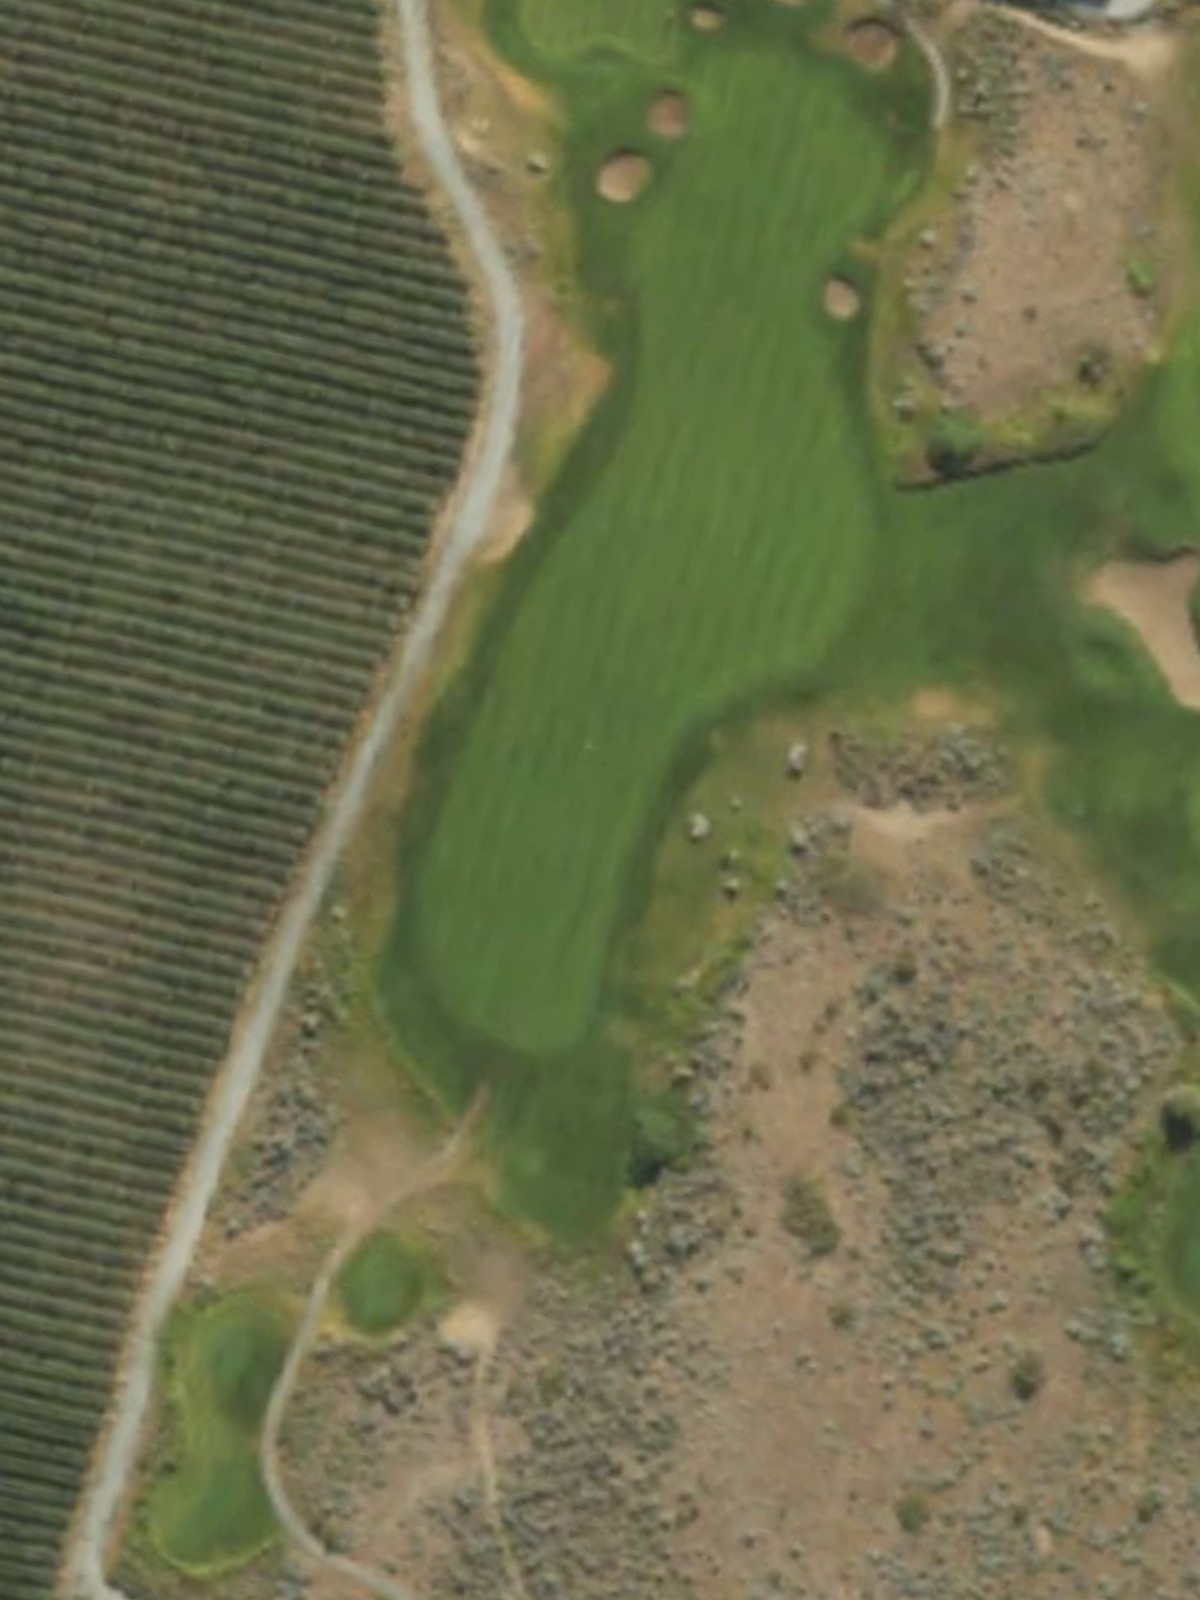
A lengthy par 5 that offers scoring opportunities for players who execute strong tee and fairway shots. The green's depth and bunkering reward precision on the approach regardless of lay-up or birdie attempts.
A short par 4 that emphasizes placement over distance, offering a birdie opportunity for accurate players. The compact length makes this a good risk-reward hole where positioning is paramount.
A challenging par 4 that ranks among the course's toughest, requiring both length and accuracy off the tee and in. Strategic hazards and bunkering demand precise execution on both strokes.
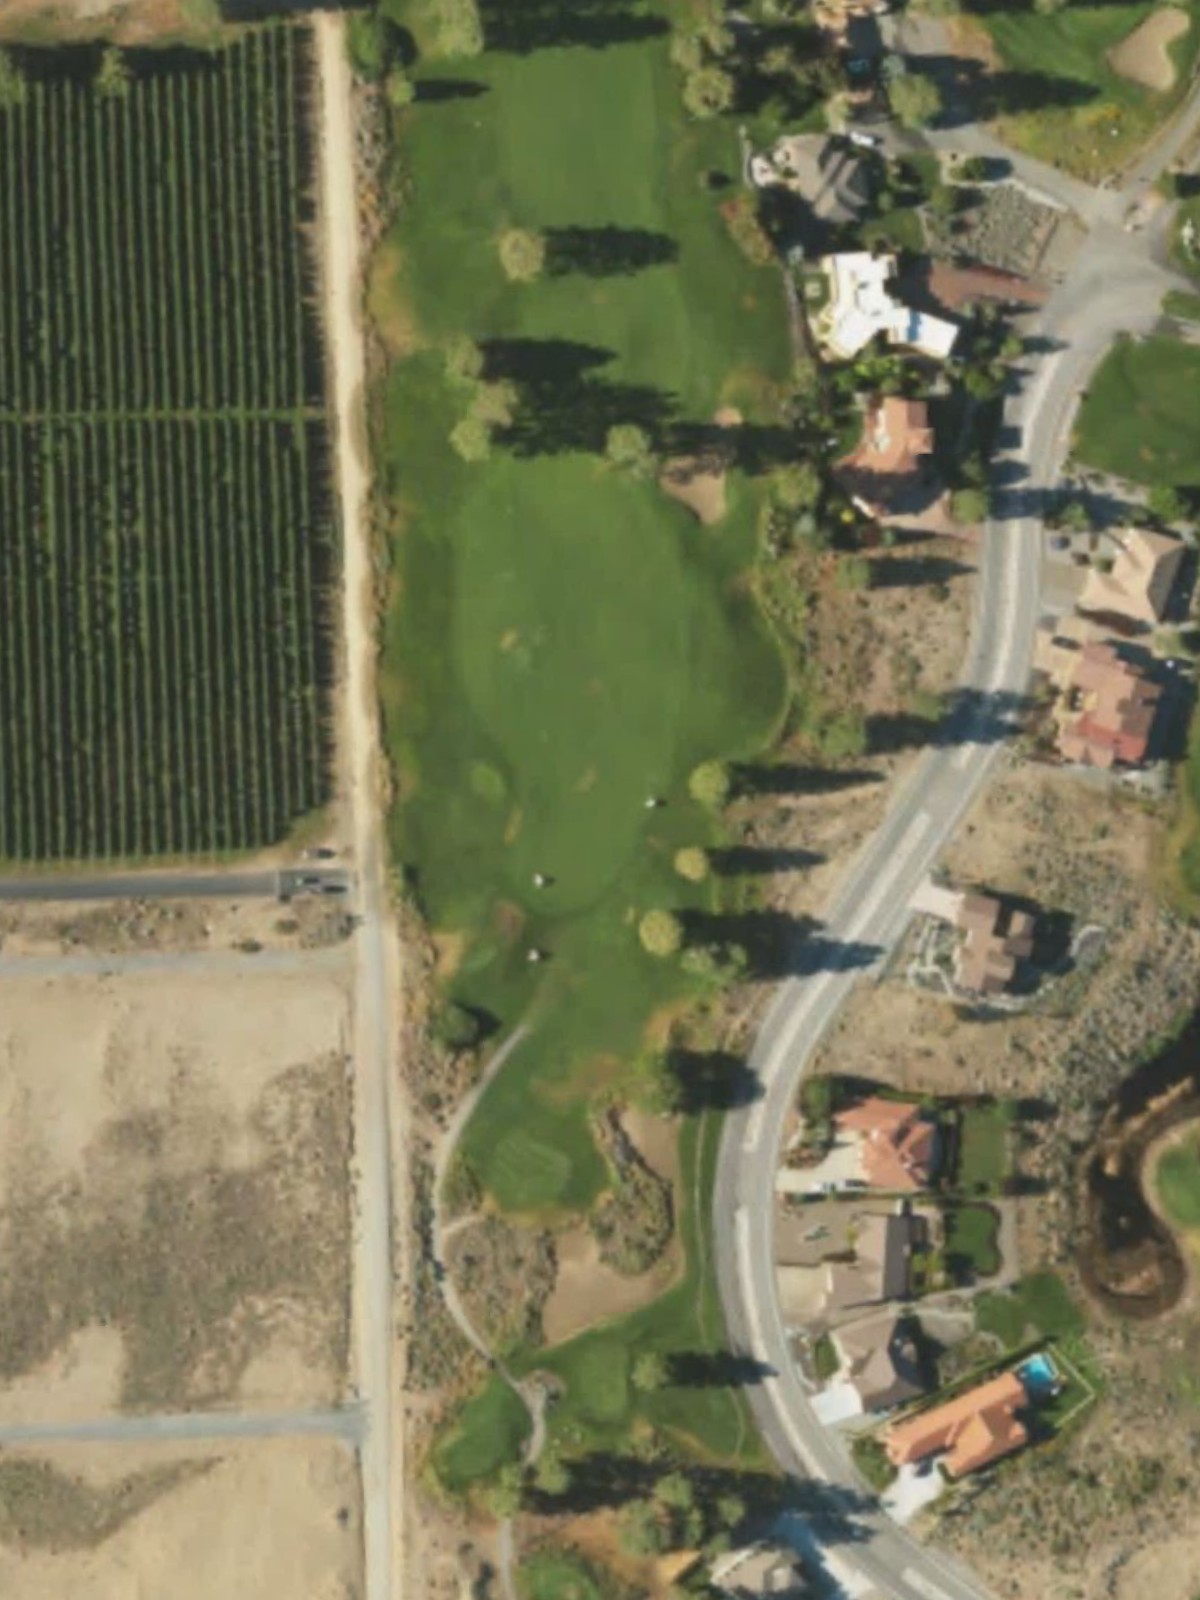
A well-designed par 4 with steady length and moderate difficulty, playing as a fair test of ball striking. Bunkers positioned strategically around the fairway and green add definition to the hole's character.
A mid-length par 3 that demands an accurate tee shot to a well-protected green. Bunkering and hazards around the green make this a serious one-shot hole despite its moderate yardage.
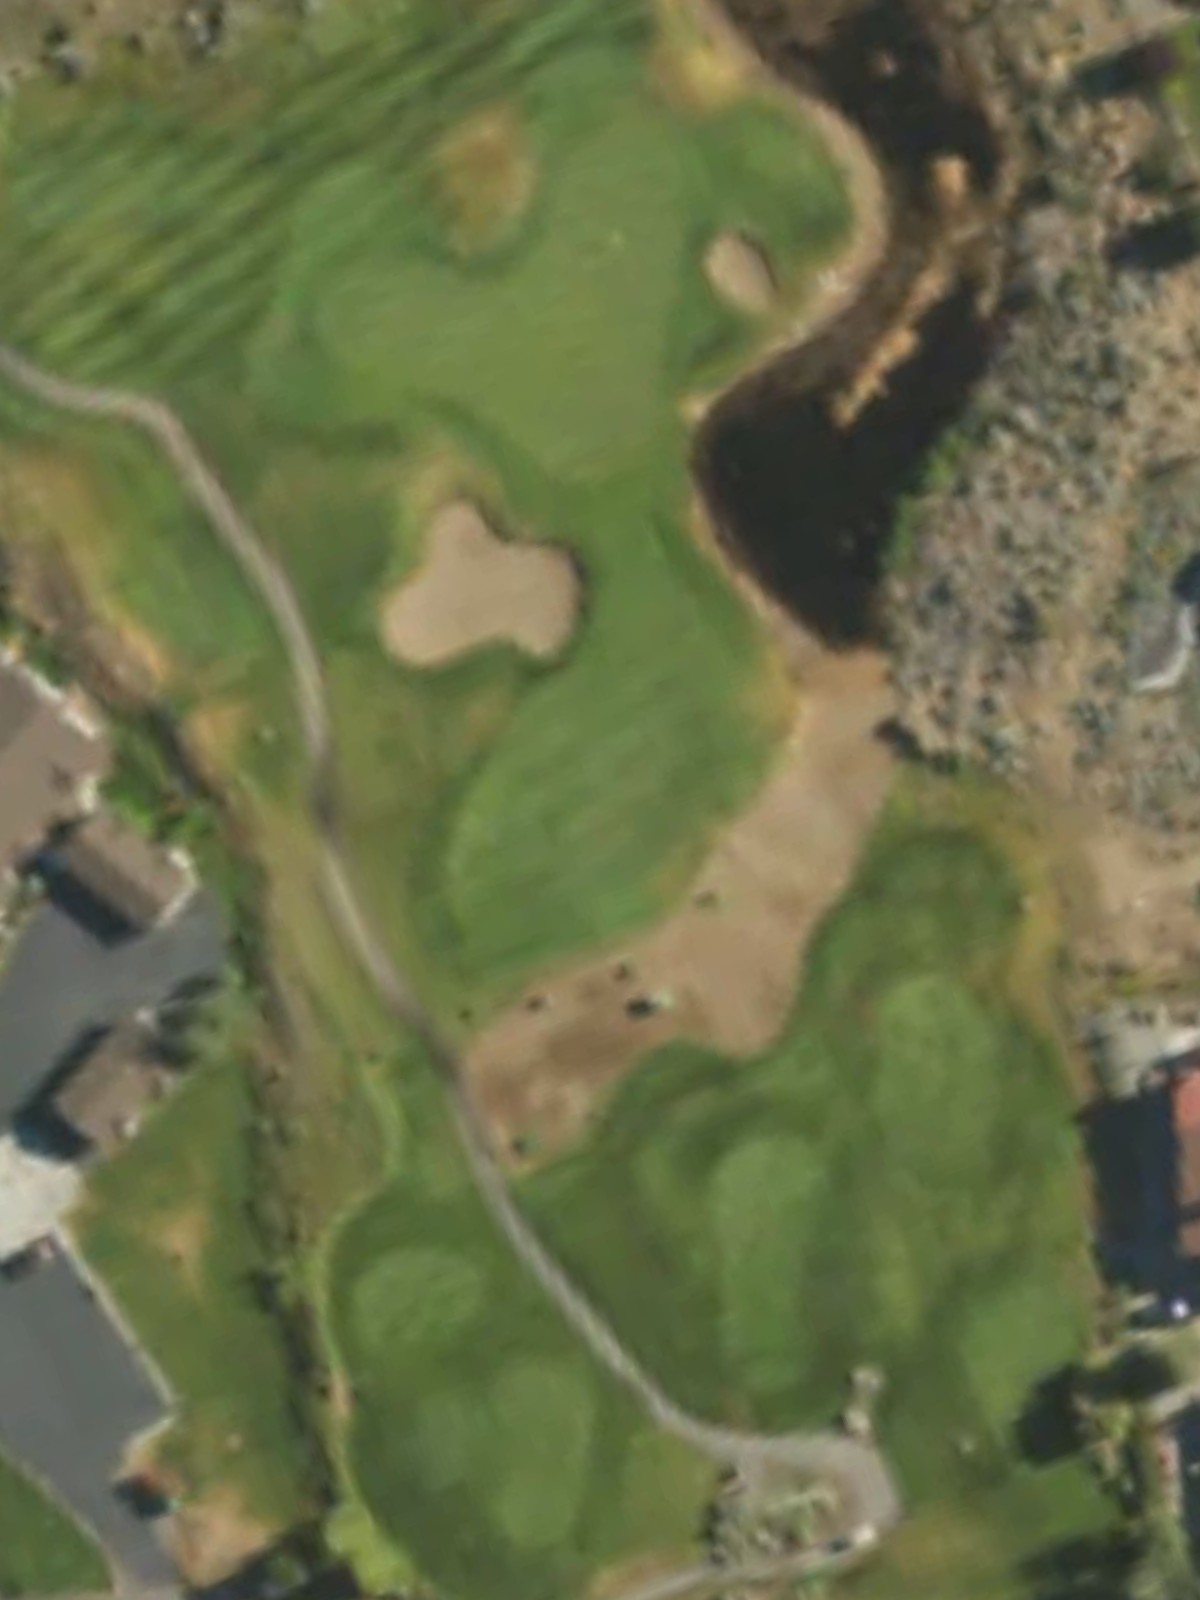
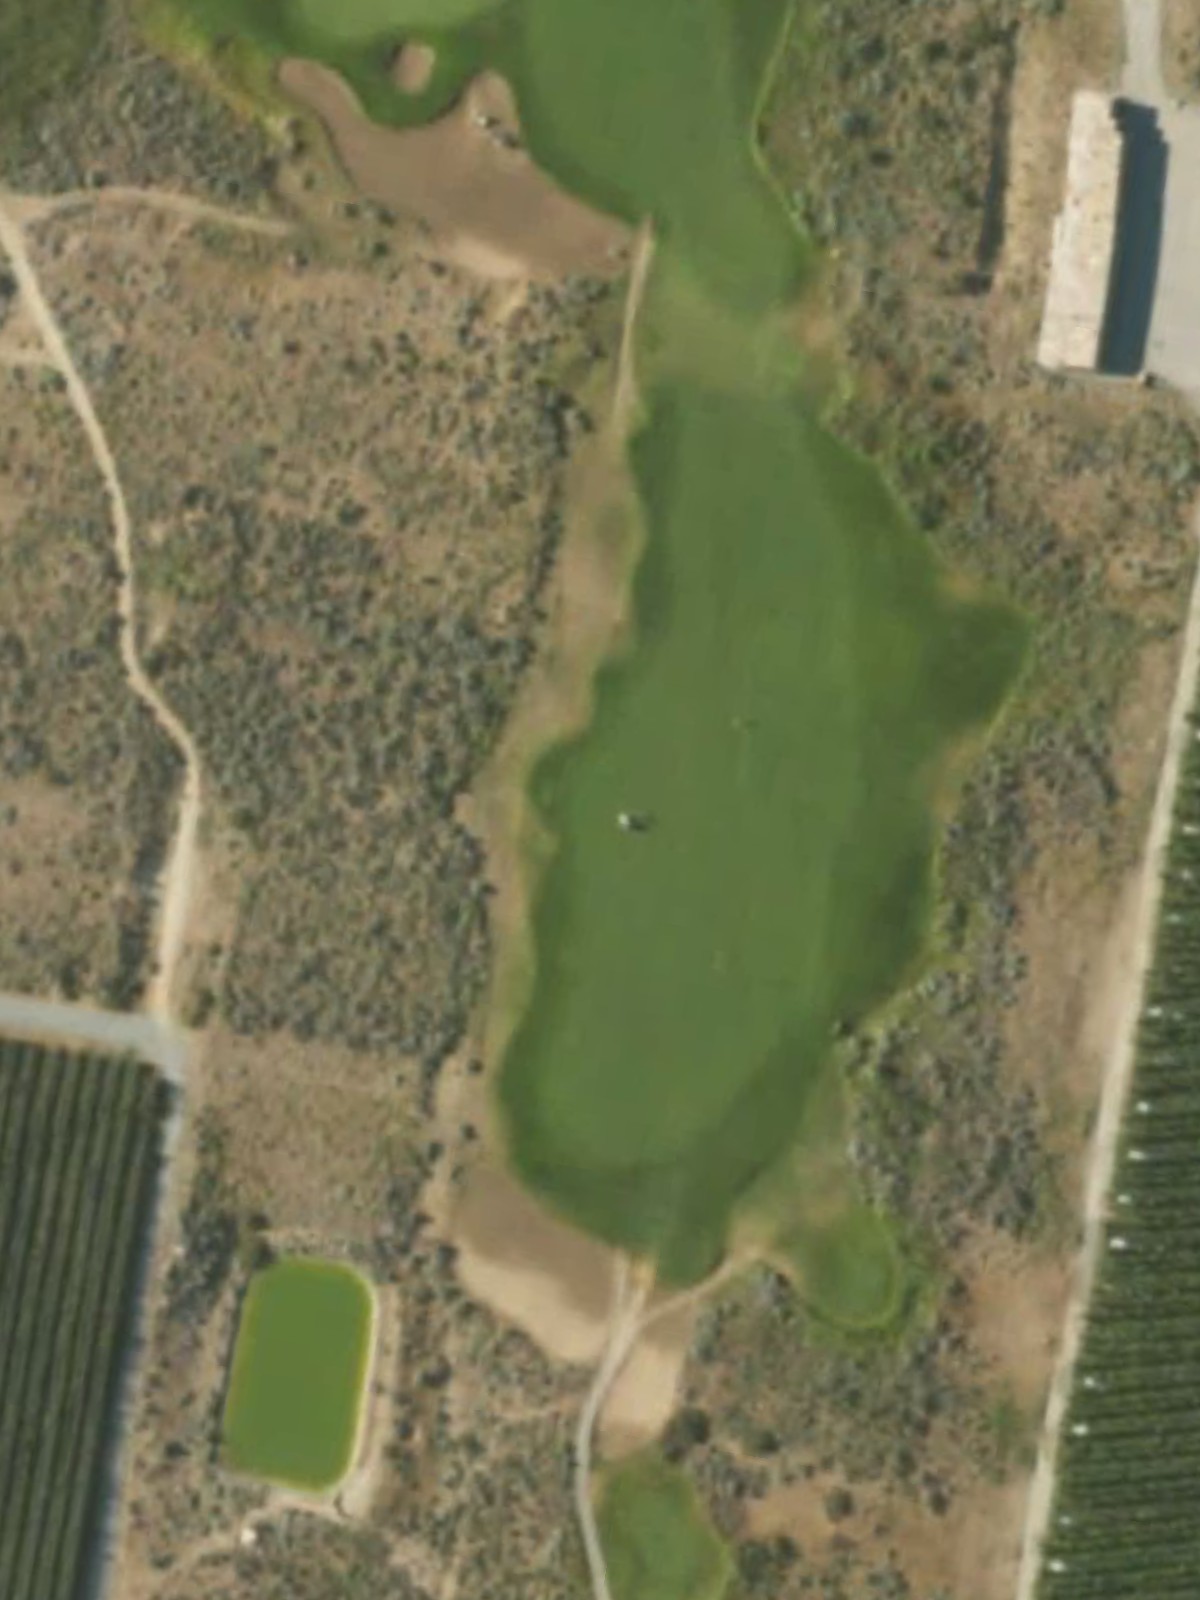
The longest hole on the course and a true par 5 test, this dramatic hole requires three strong shots to reach the green safely. Length and hazard placement create a memorable capstone hole with significant birdie and bogey possibilities.
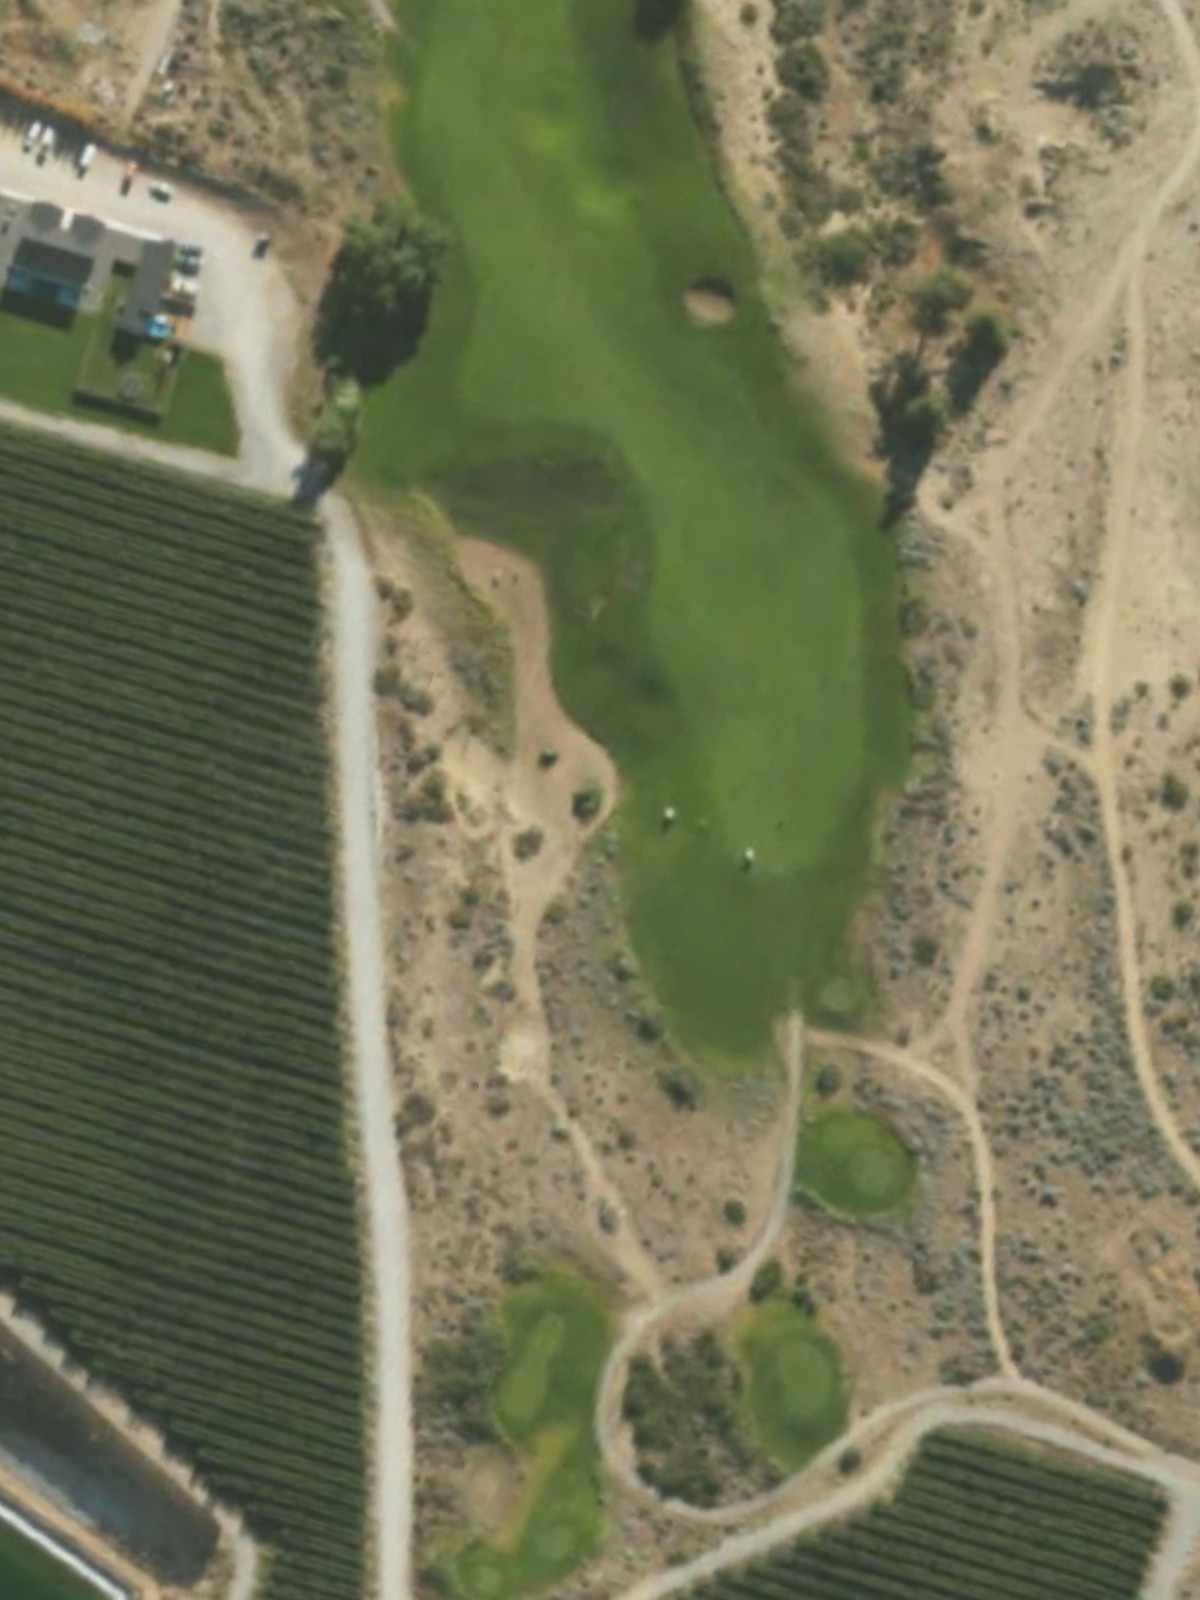
The shortest hole on the course, playing as a risk-reward par 3 with minimal margin for error. Bunkers and water or out-of-bounds closely guard this deceptively tricky one-shotter.
A manageable par 4 with a balanced layout that provides a solid scoring opportunity. Fairway definition and greenside bunkering create a straightforward but fair hole design.

A strong finishing par 4 that closes the round with length and character, requiring two quality shots to secure par. The green's bunkering and overall design provide a fitting conclusion to the course.
Scorecard
| Hole | 1 | 2 | 3 | 4 | 5 | 6 | 7 | 8 | 9 | Out | 10 | 11 | 12 | 13 | 14 | 15 | 16 | 17 | 18 | In | Tot |
|---|---|---|---|---|---|---|---|---|---|---|---|---|---|---|---|---|---|---|---|---|---|
| Par | 4 | 4 | 5 | 3 | 4 | 4 | 5 | 3 | 4 | 36 | 5 | 4 | 4 | 4 | 3 | 5 | 3 | 4 | 4 | 36 | 72 |
| HCP | 13 | 5 | 9 | 15 | 3 | 7 | 1 | 17 | 11 | 12 | 10 | 4 | 8 | 16 | 2 | 18 | 14 | 6 | |||
| black | 385 | 411 | 526 | 159 | 482 | 425 | 575 | 224 | 410 | 3597 | 536 | 347 | 453 | 436 | 217 | 690 | 140 | 382 | 487 | 3688 | 7285 |
| blue | 379 | 397 | 489 | 133 | 471 | 352 | 535 | 171 | 394 | 3321 | 515 | 327 | 422 | 417 | 189 | 668 | 126 | 352 | 429 | 3445 | 6766 |
| blue/white comb. | 379 | 368 | 434 | 133 | 410 | 352 | 519 | 171 | 334 | 3100 | 515 | 327 | 373 | 402 | 189 | 632 | 126 | 352 | 402 | 3318 | 6418 |
| white | 368 | 368 | 434 | 108 | 410 | 308 | 519 | 133 | 334 | 2982 | 491 | 255 | 373 | 402 | 170 | 632 | 115 | 322 | 402 | 3162 | 6144 |
| white/silver comb. | 368 | 353 | 391 | 108 | 392 | 308 | 365 | 133 | 334 | 2752 | 491 | 255 | 320 | 374 | 170 | 580 | 115 | 322 | 362 | 2989 | 5741 |
| silver | 347 | 353 | 391 | 101 | 392 | 274 | 286 | 111 | 272 | 2527 | 476 | 196 | 312 | 374 | 108 | 580 | 96 | 296 | 362 | 2800 | 5327 |
| gold | 339 | 311 | 386 | 93 | 350 | 267 | 286 | 105 | 261 | 2398 | 463 | 191 | 312 | 332 | 79 | 561 | 90 | 270 | 355 | 2653 | 5051 |