Desert Aire Golf Course is an 18-hole golf course in Mattawa, WA with a par of 72. It offers 5 tee sets: blue (6,492 yards, slope 124, rating 71.2), white (6,134 yards, slope 122, rating 69.9), gold (5,563 yards, slope 114, rating 66.8), red (5,240 yards, slope 110, rating 65.5), silver (4,549 yards, slope 104, rating 62.5). The hardest hole is #8, a par 4 playing 281 yards from the first tee.
Desert Aire Golf Course
Mattawa, WA
Get PDF Yardage Book
We'll email you the PDF link. No spam, ever.
Create Your Game Plan
Pick your tees, enter your bag, and get a personalized shot-by-shot strategy for every hole.
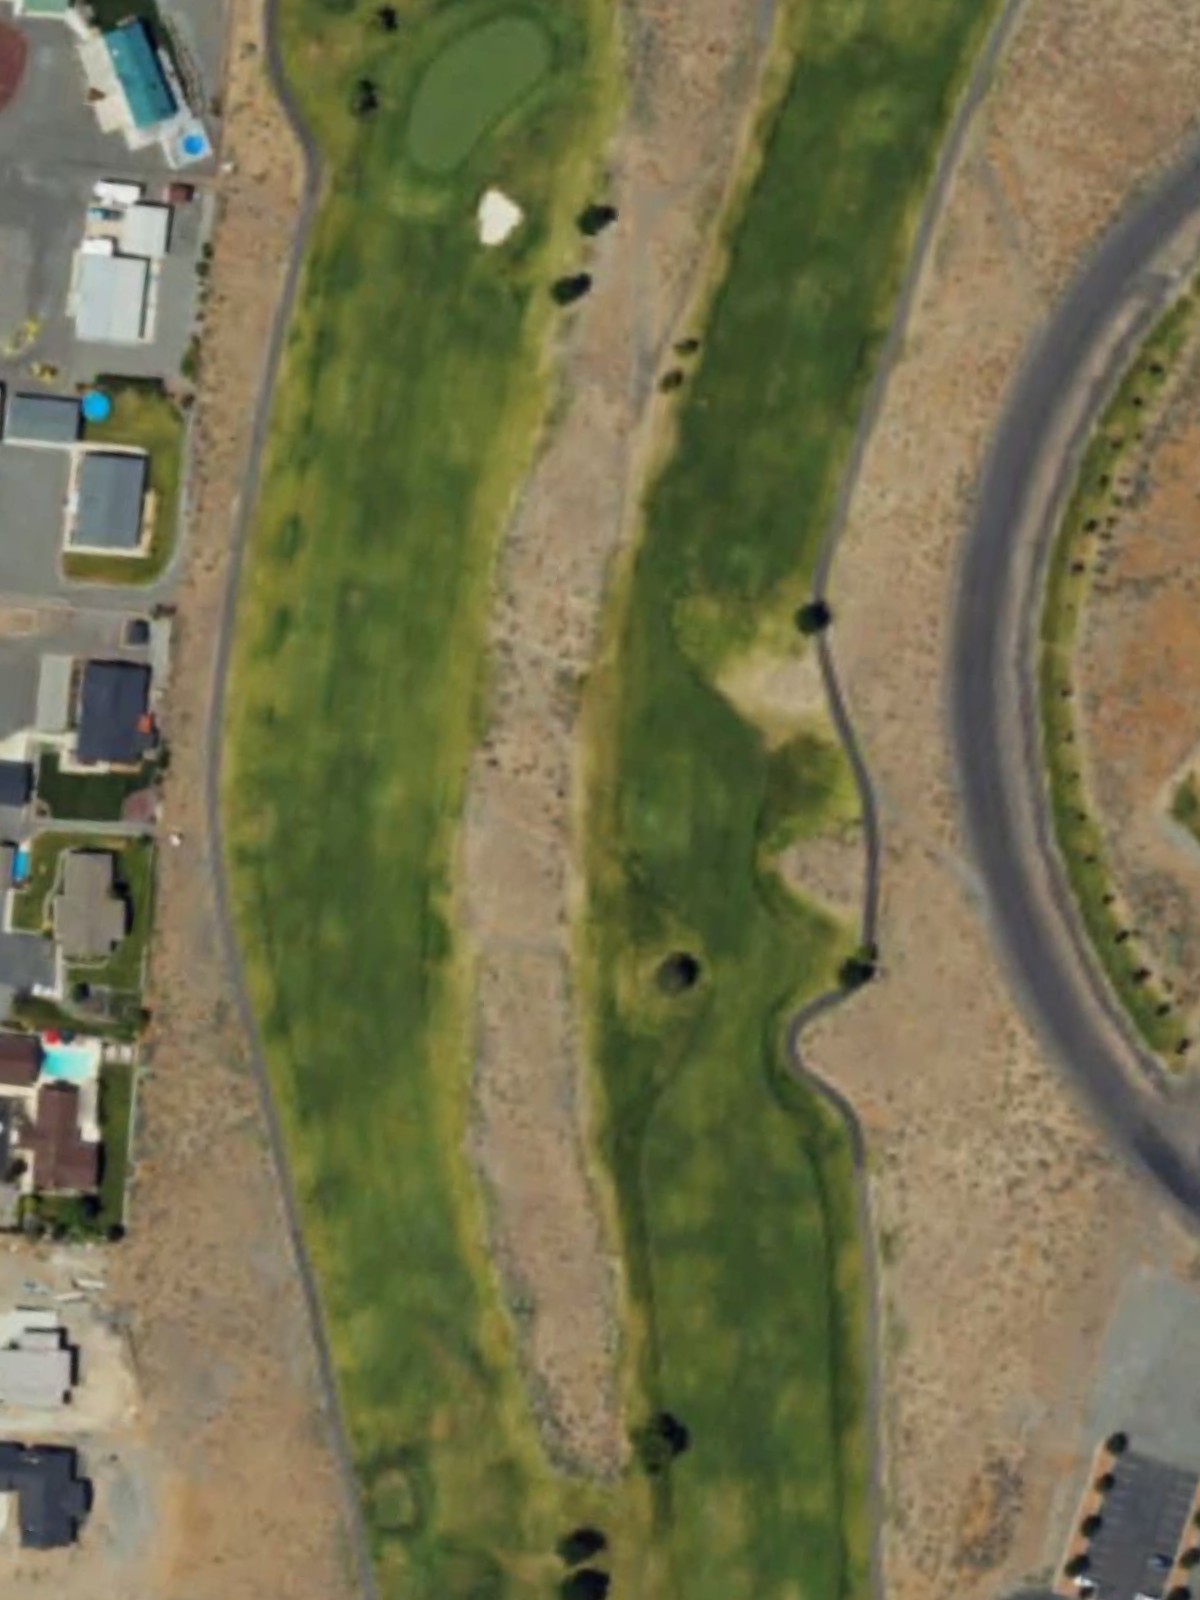
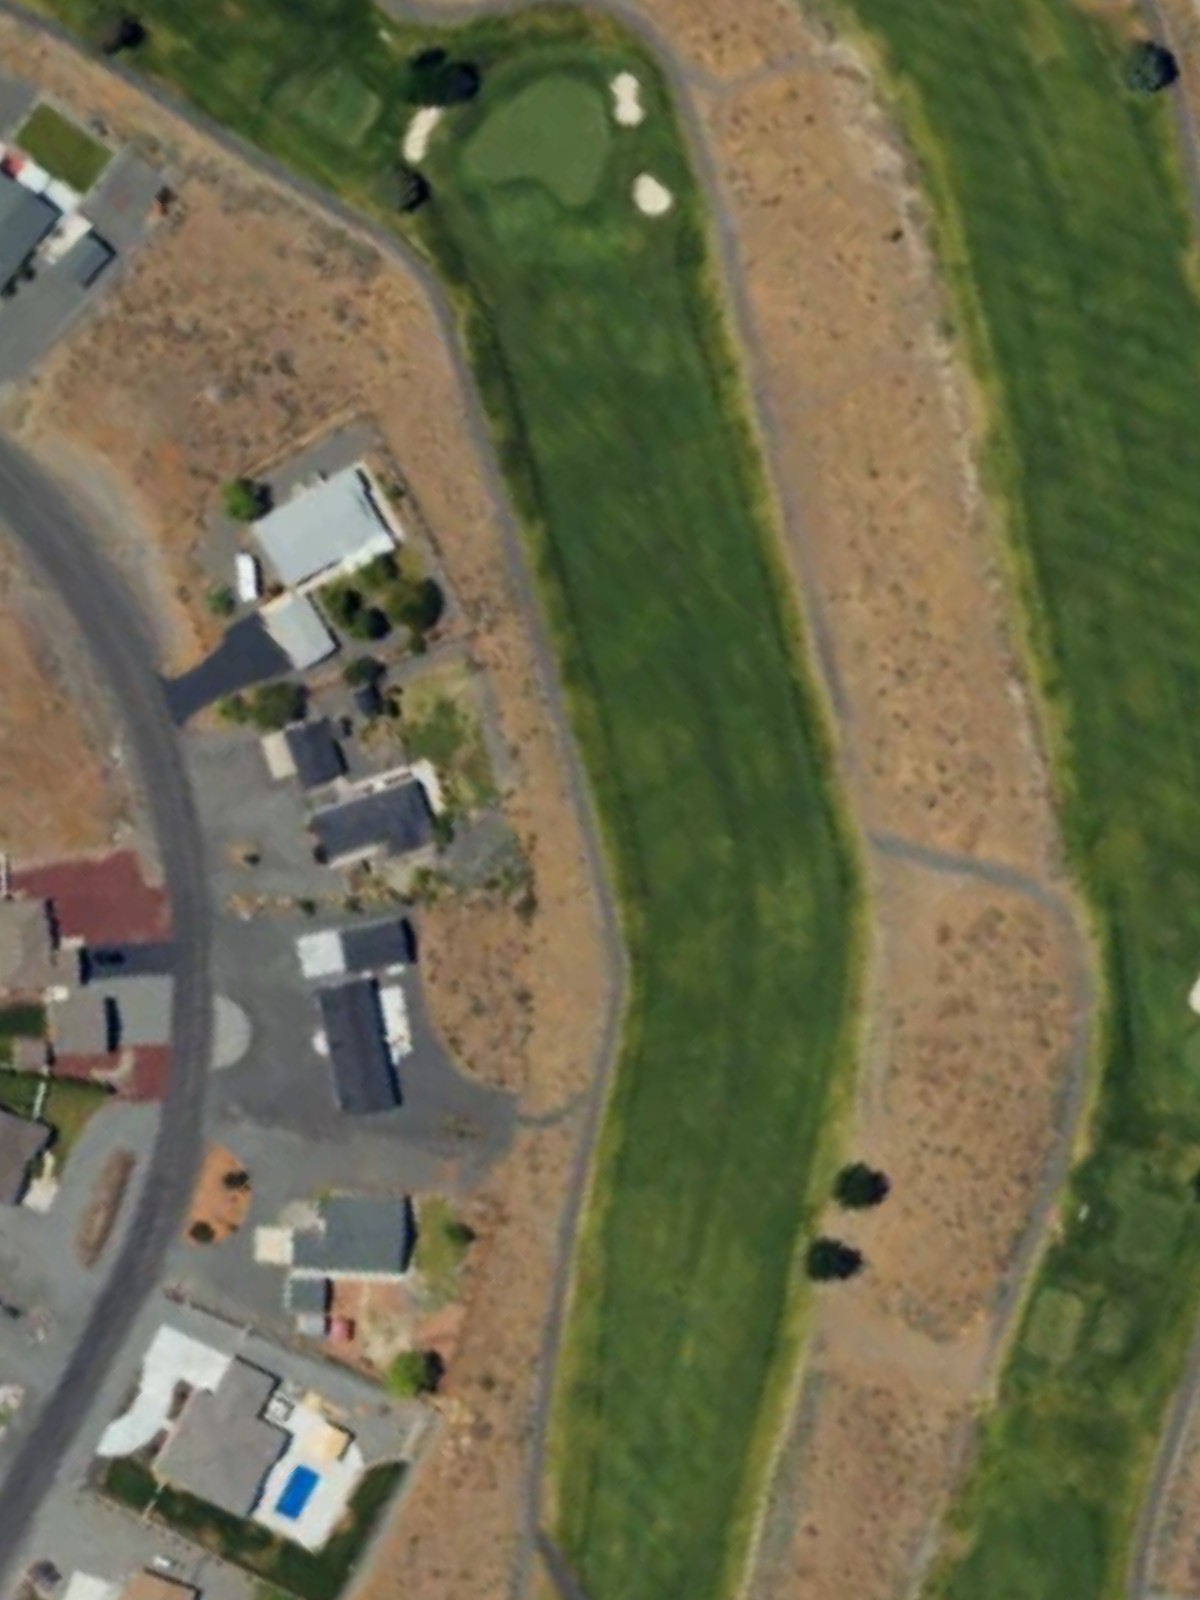
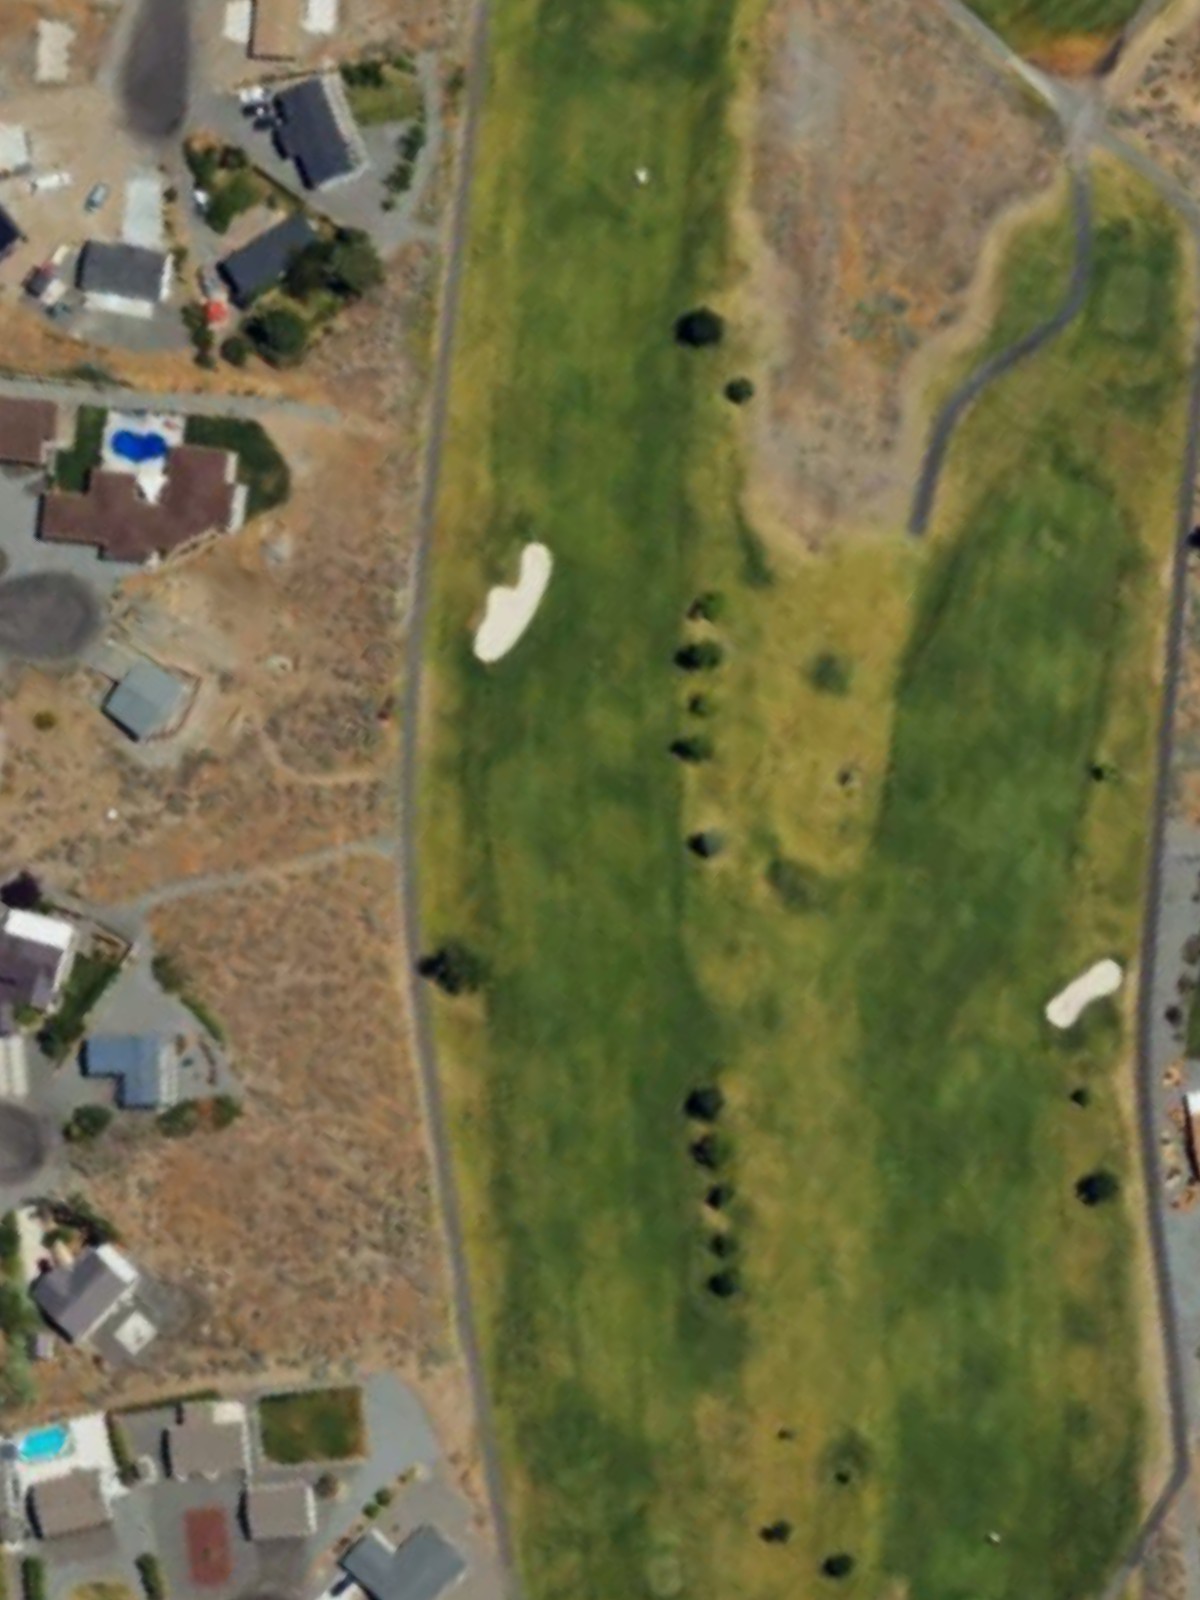
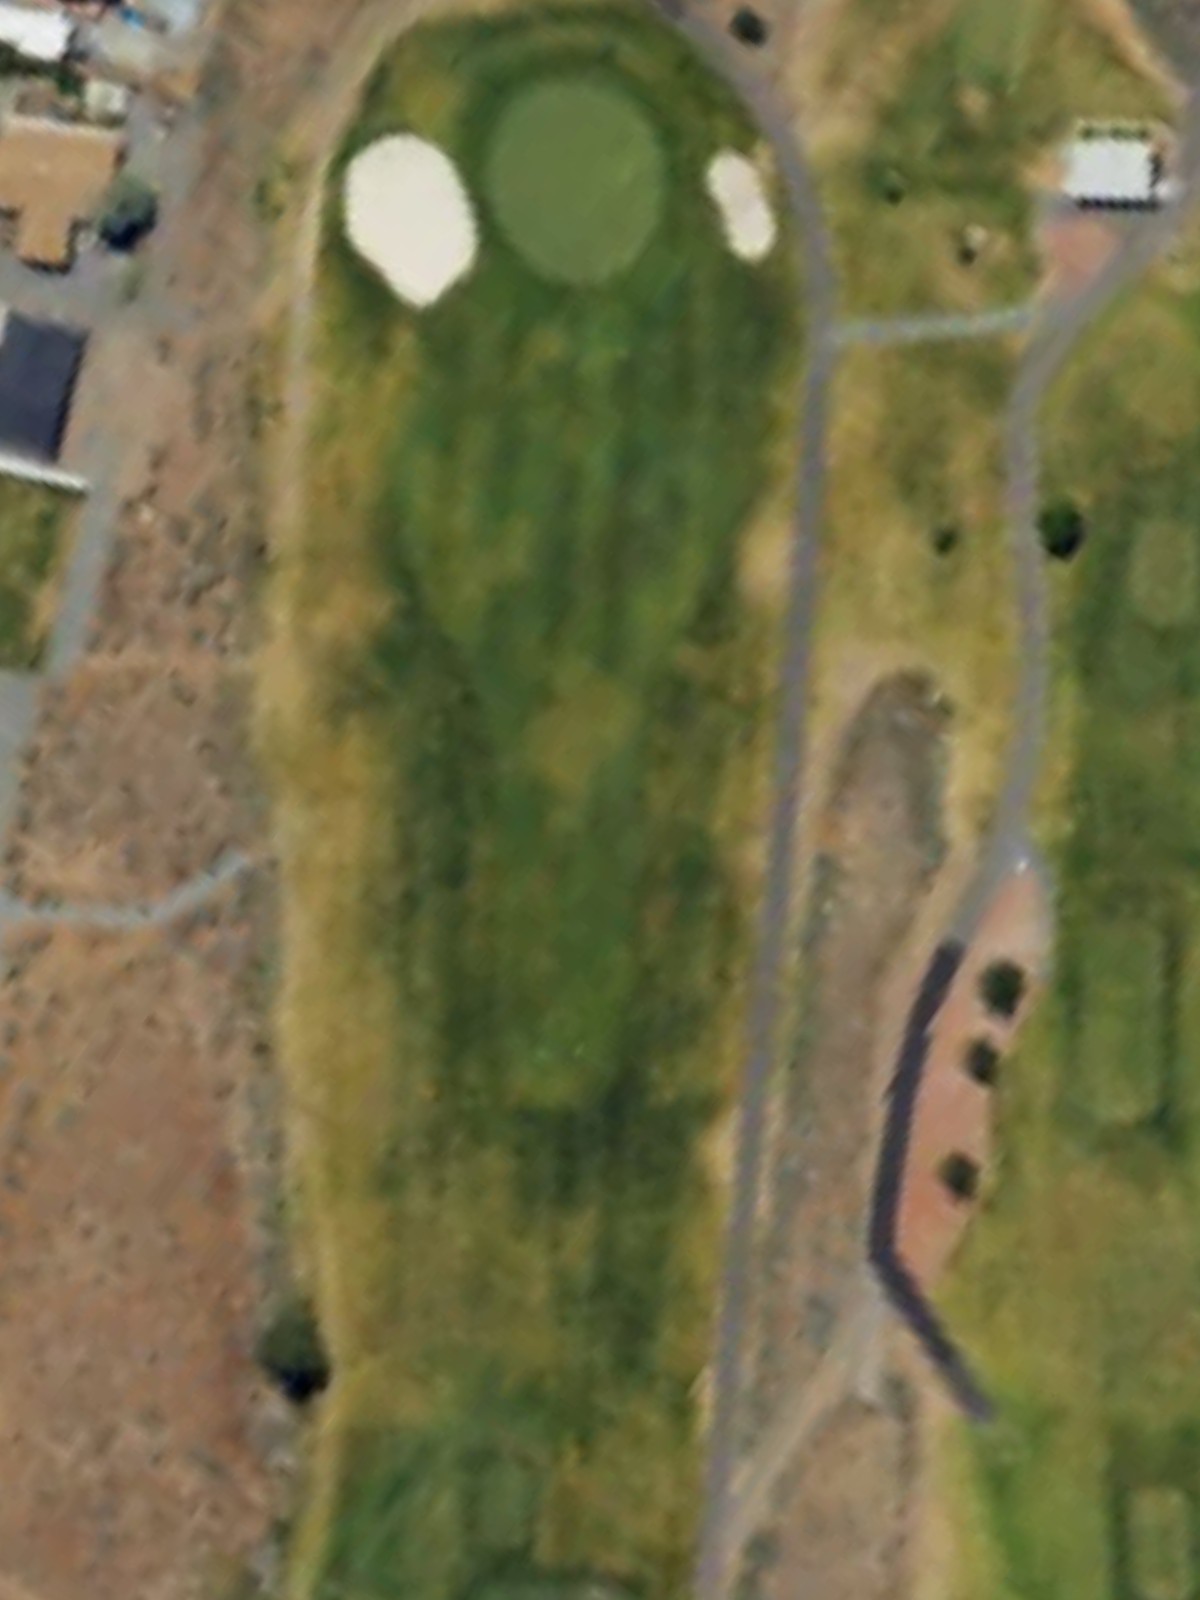
A long par 5 that plays straightaway with a wide fairway that gradually narrows as it approaches the green. The hole's length and need for accuracy on the approach shot make it a challenging opener despite its relatively easy handicap ranking.

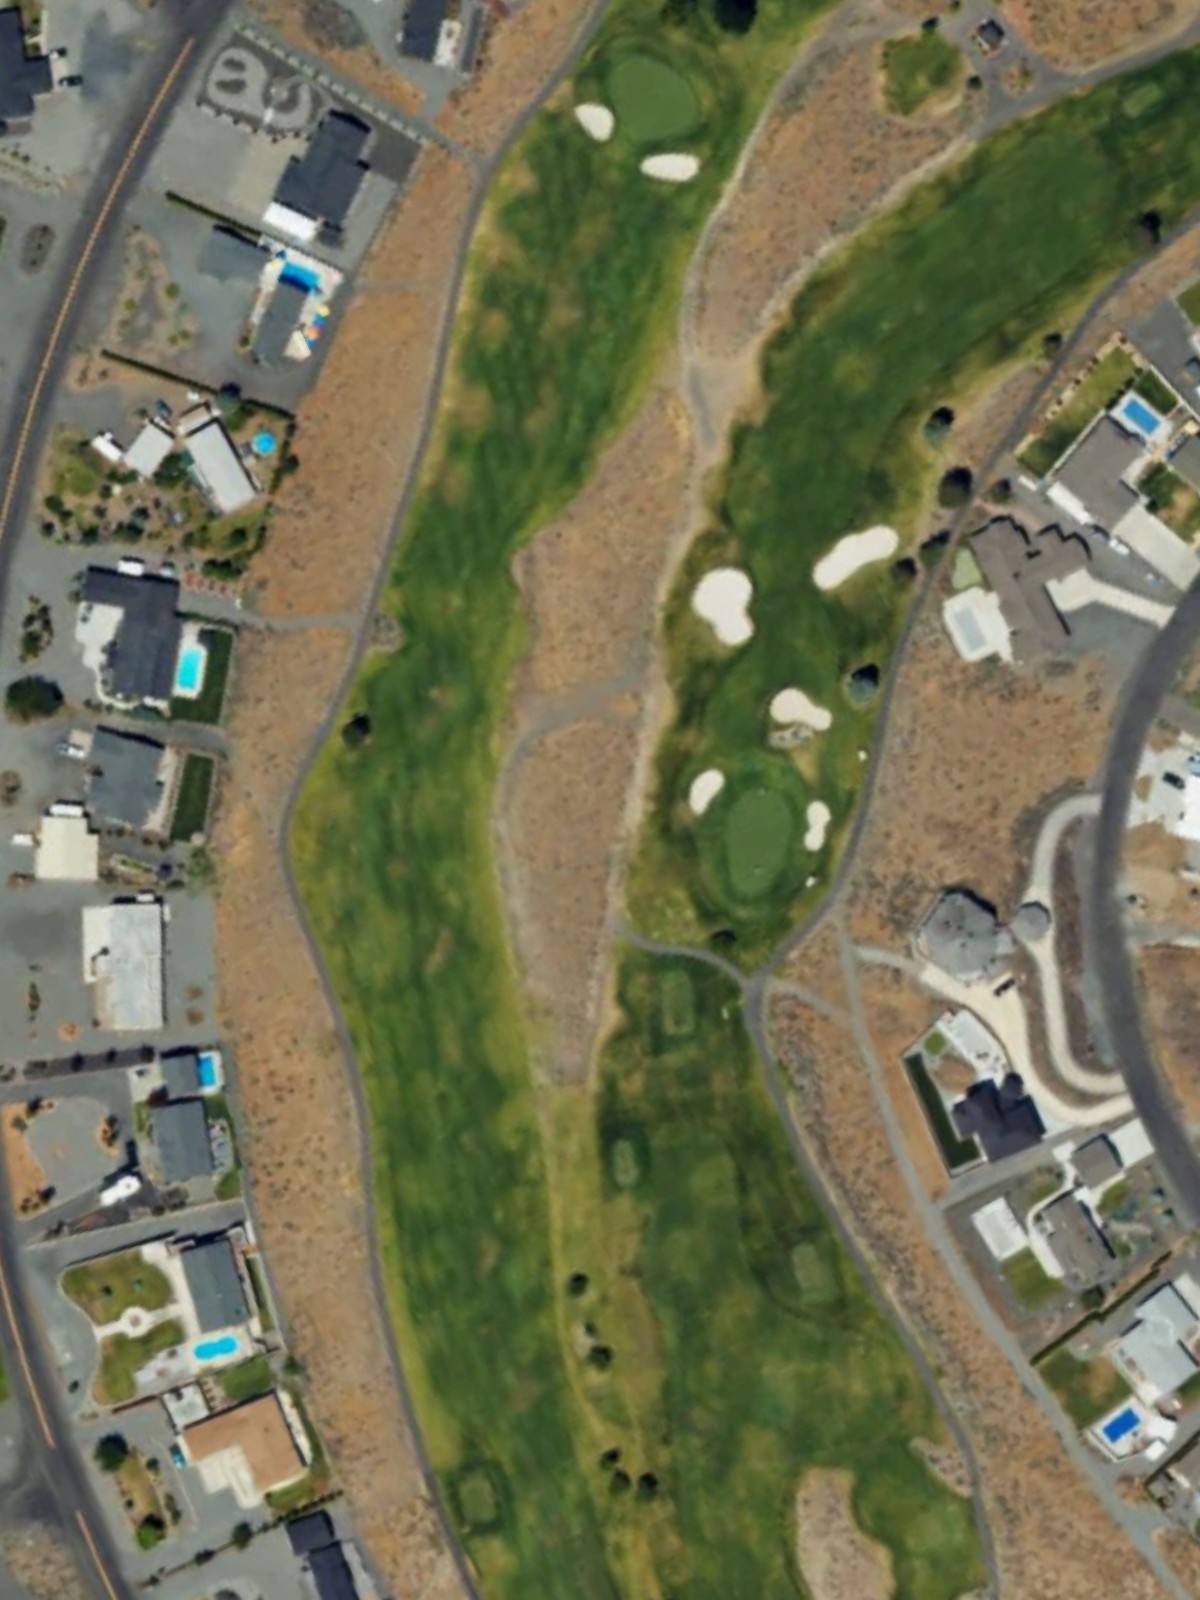
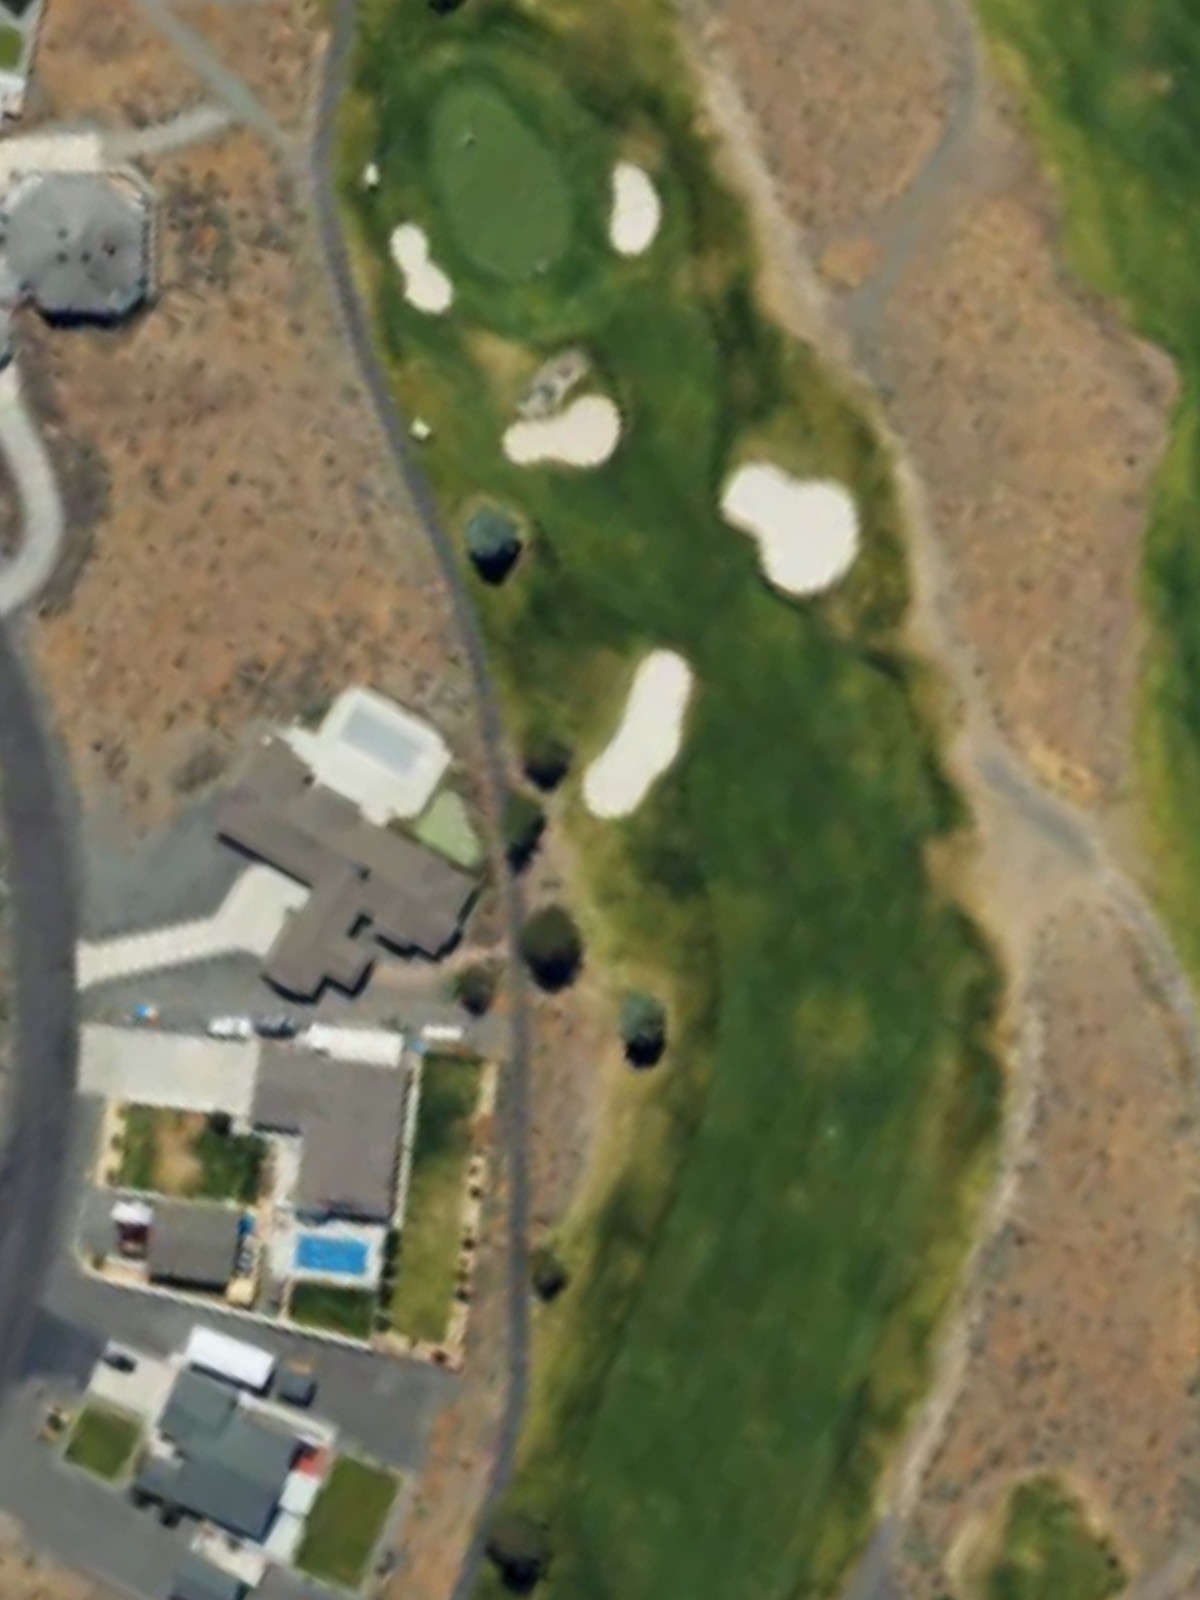
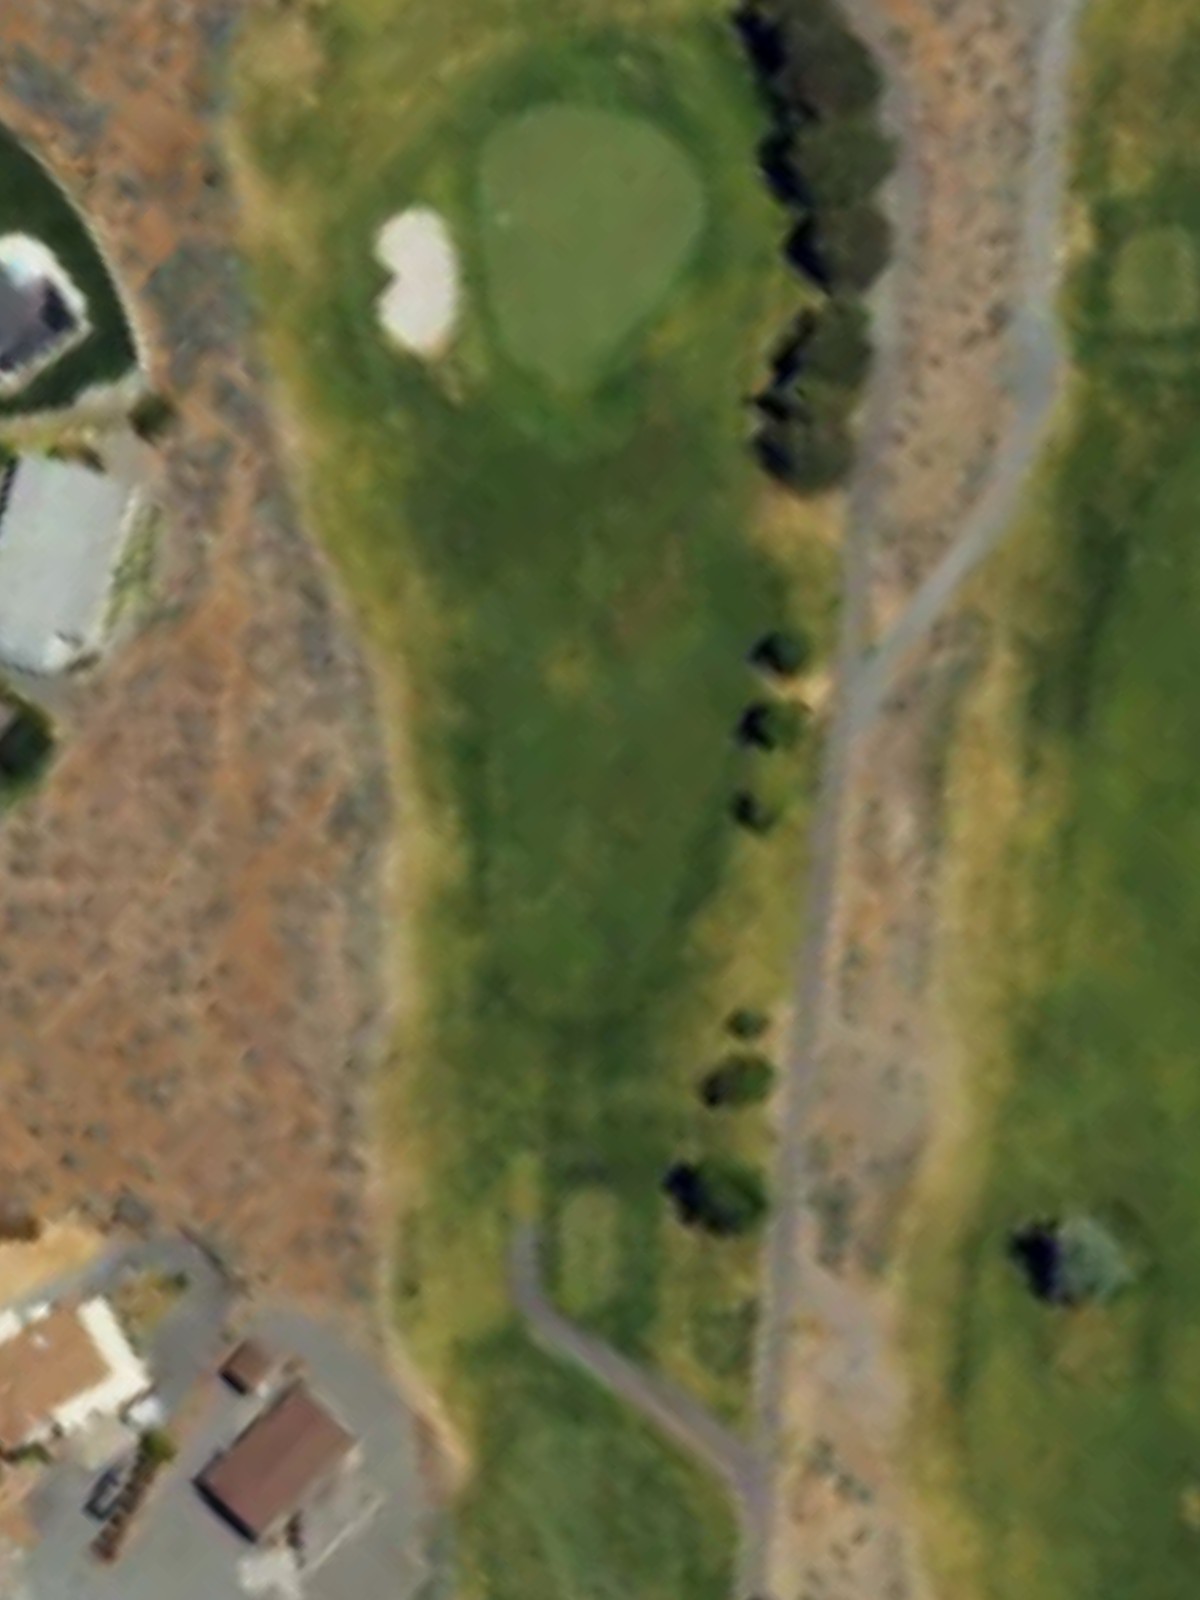
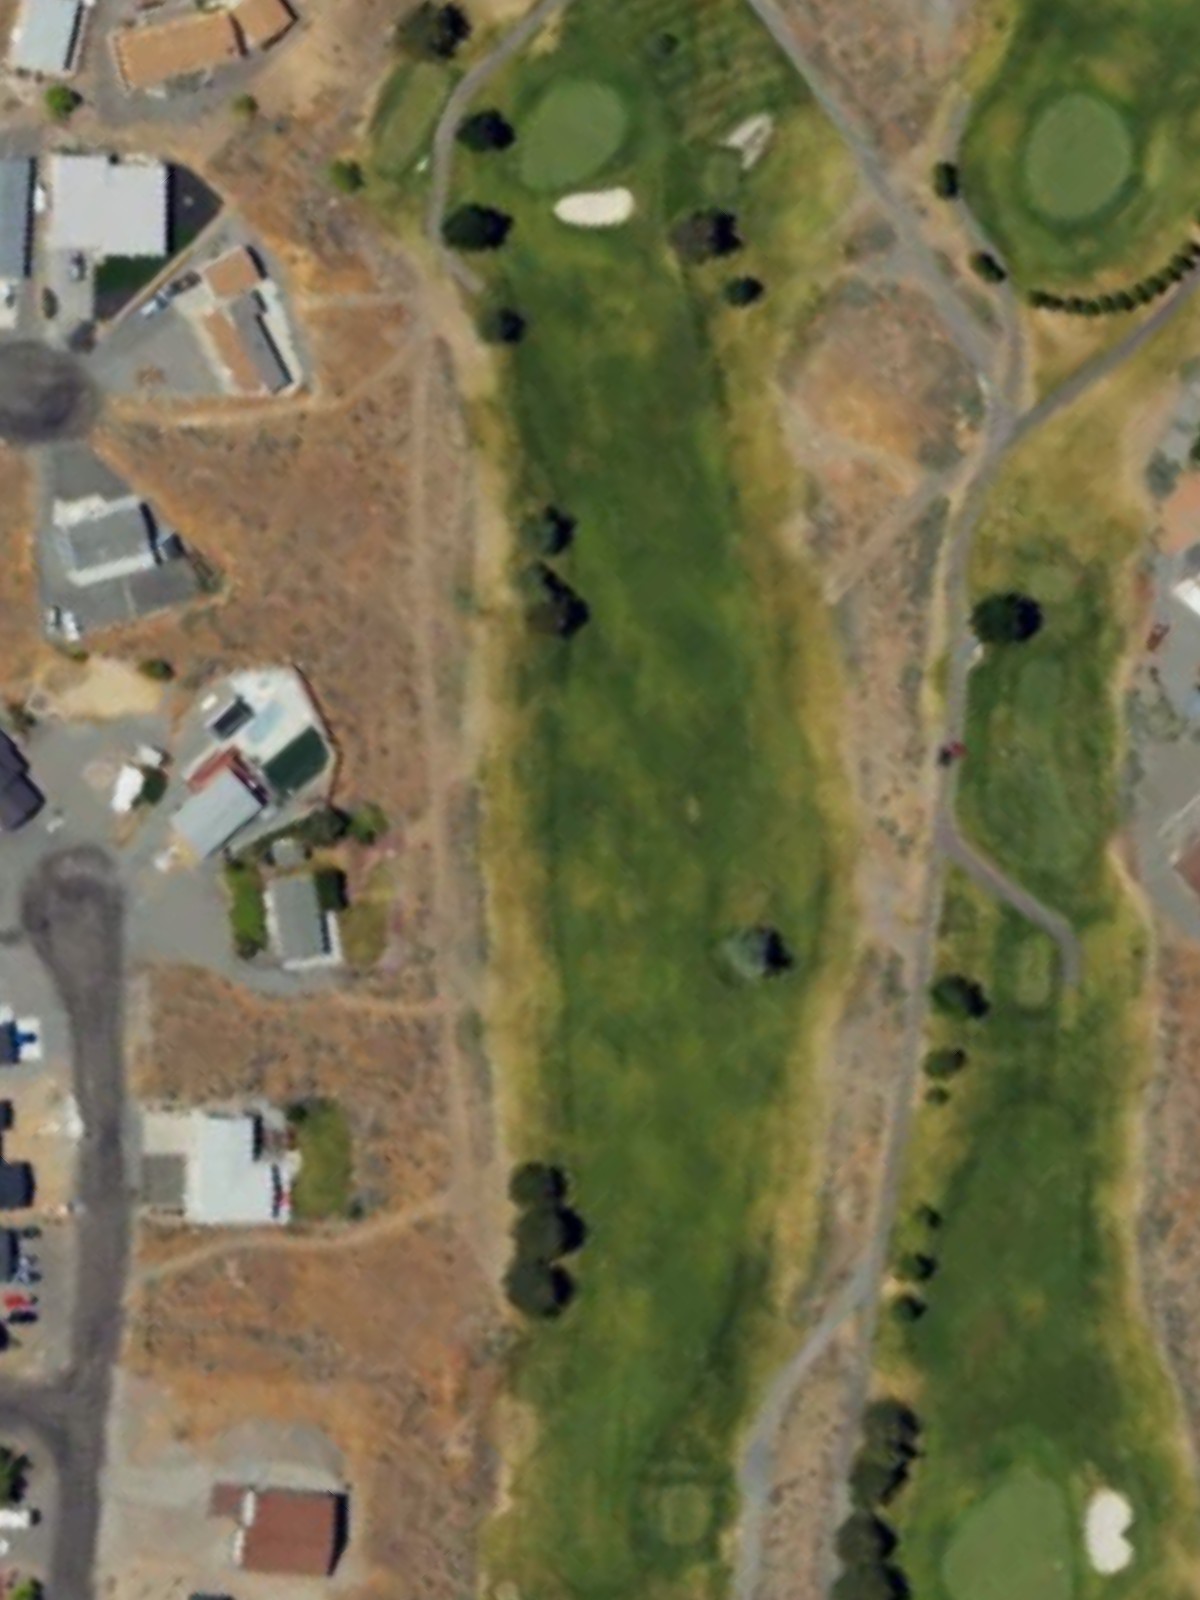
Desert Aire's second-hardest hole, this par 4 demands precision from tee to green with a tight, defined corridor. Hazards frame both sides of the fairway, and the approach to a well-bunkered green requires accuracy and control.
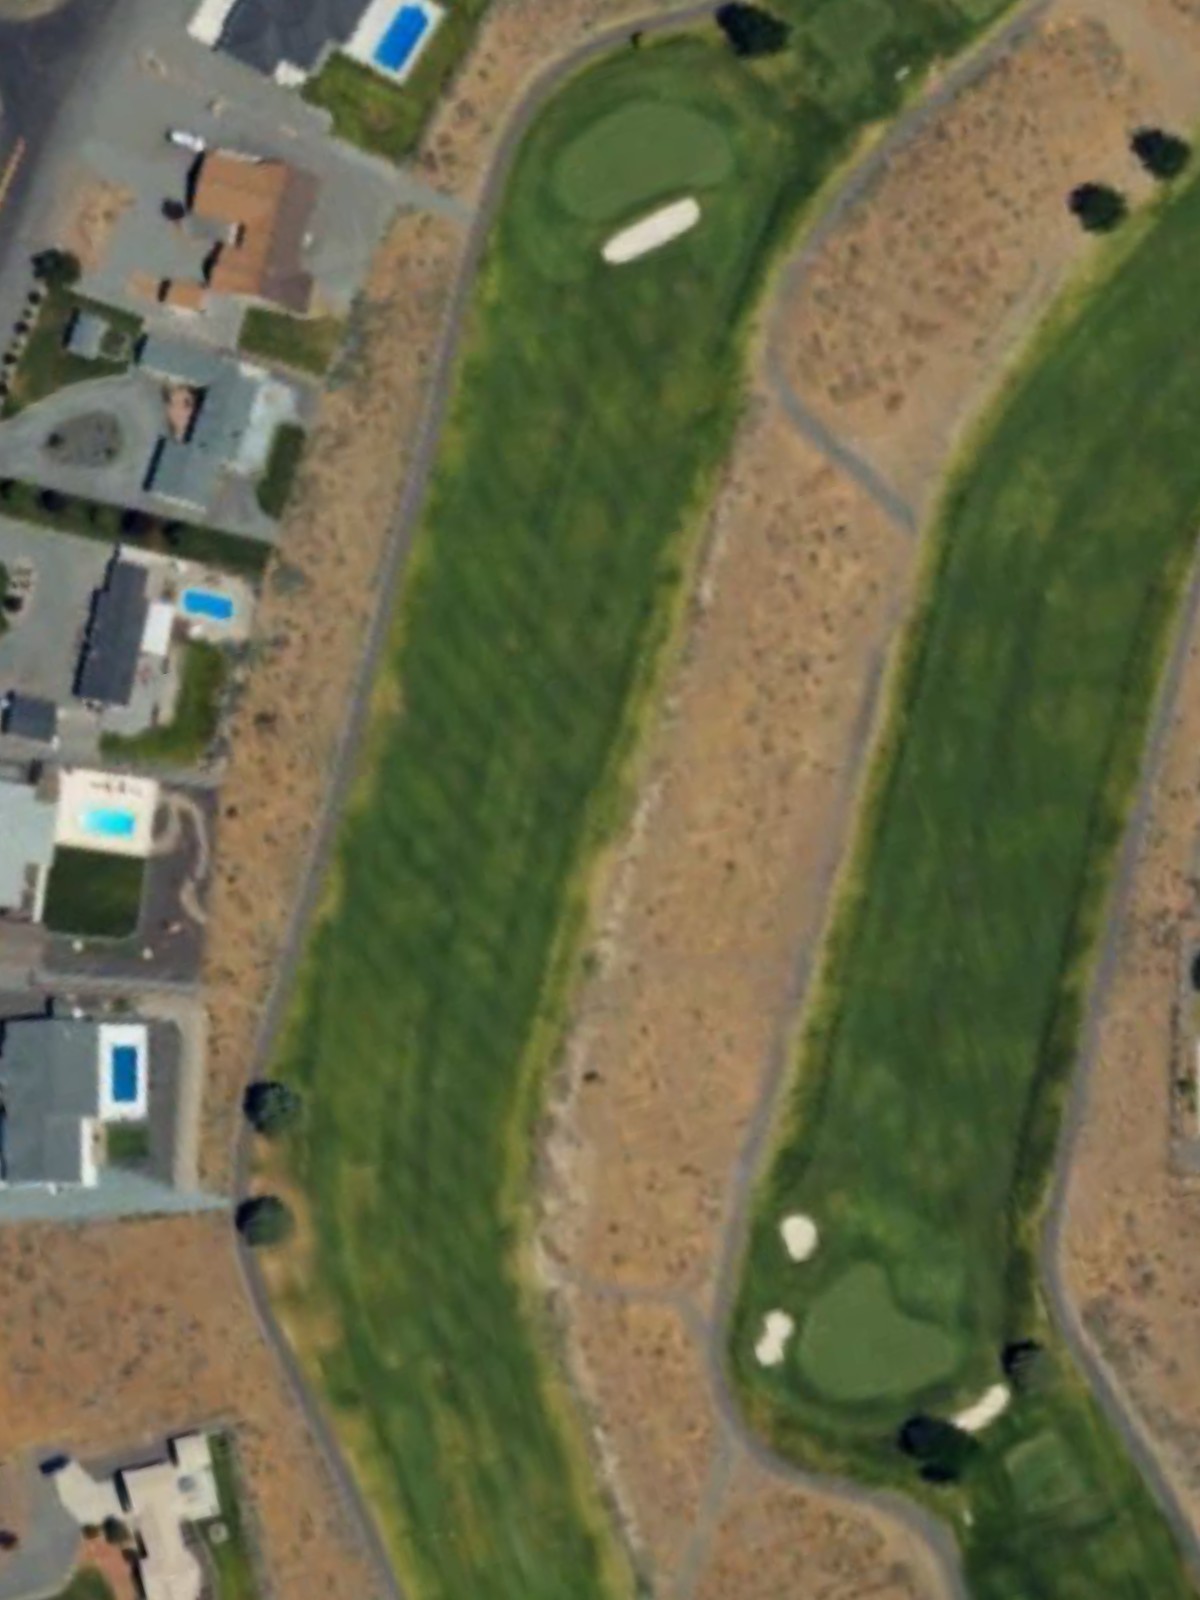
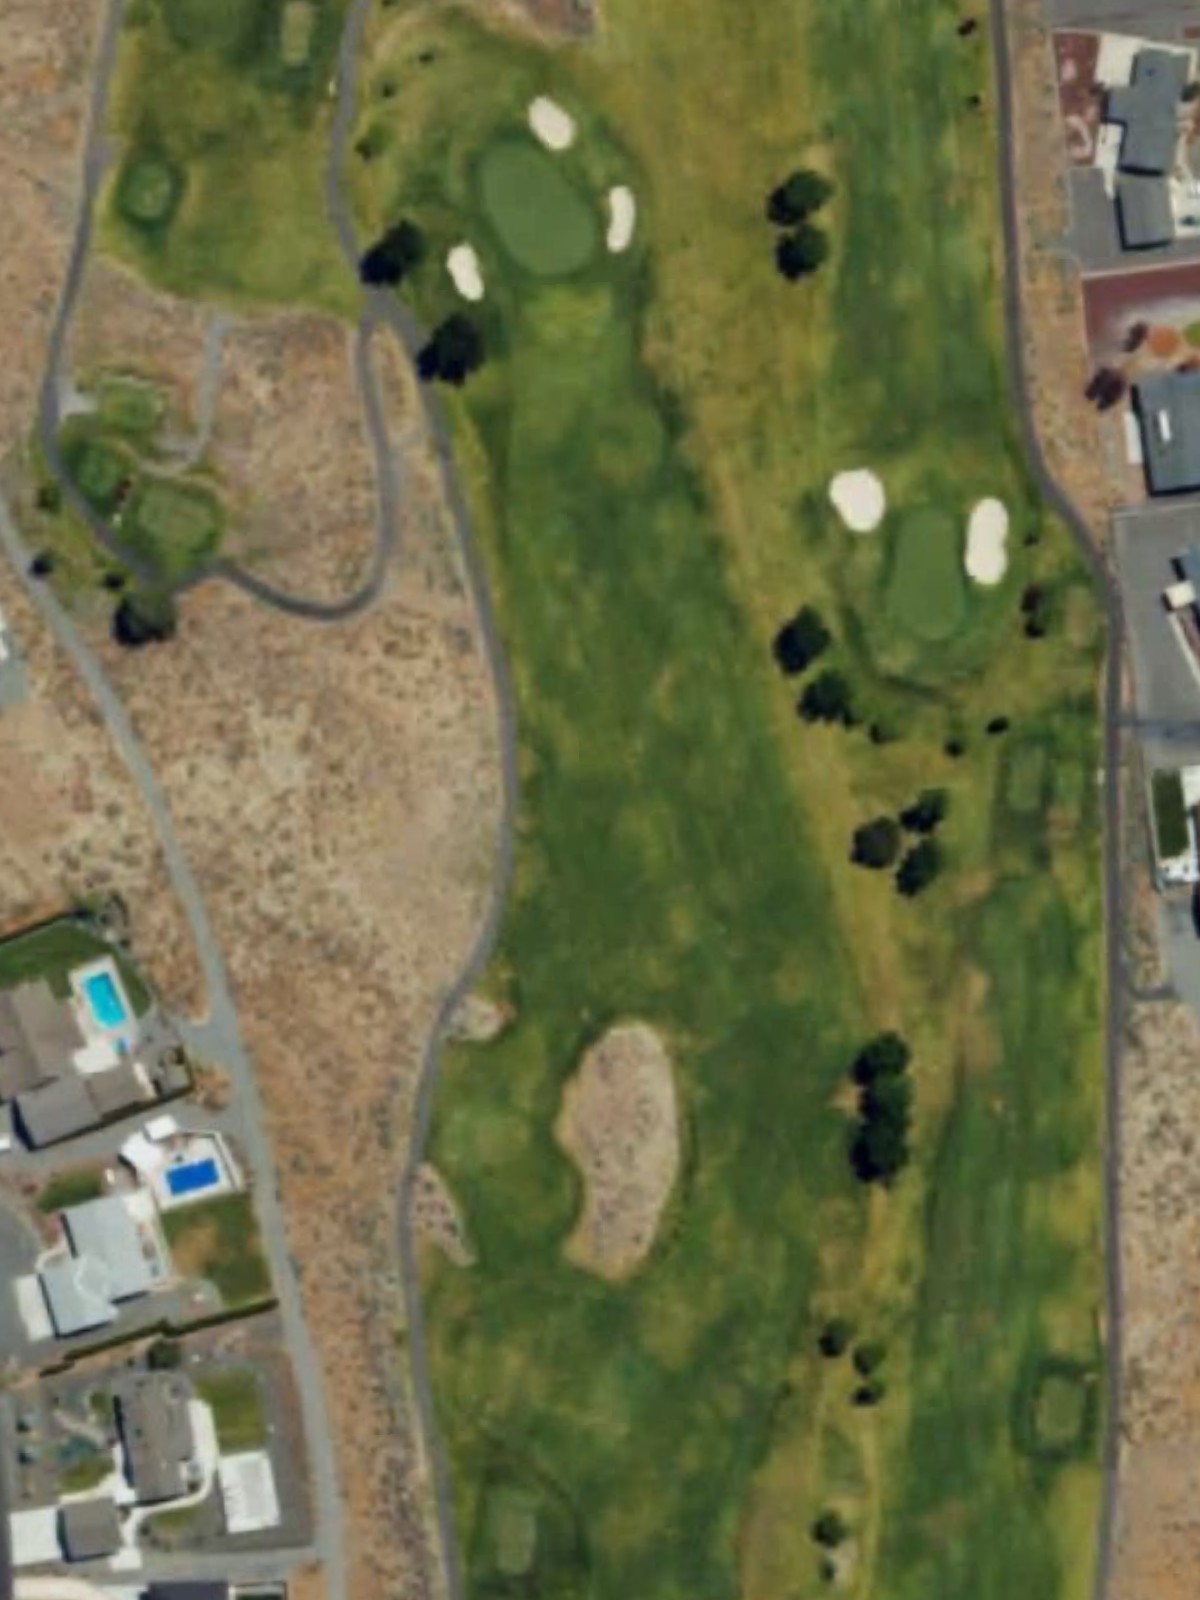
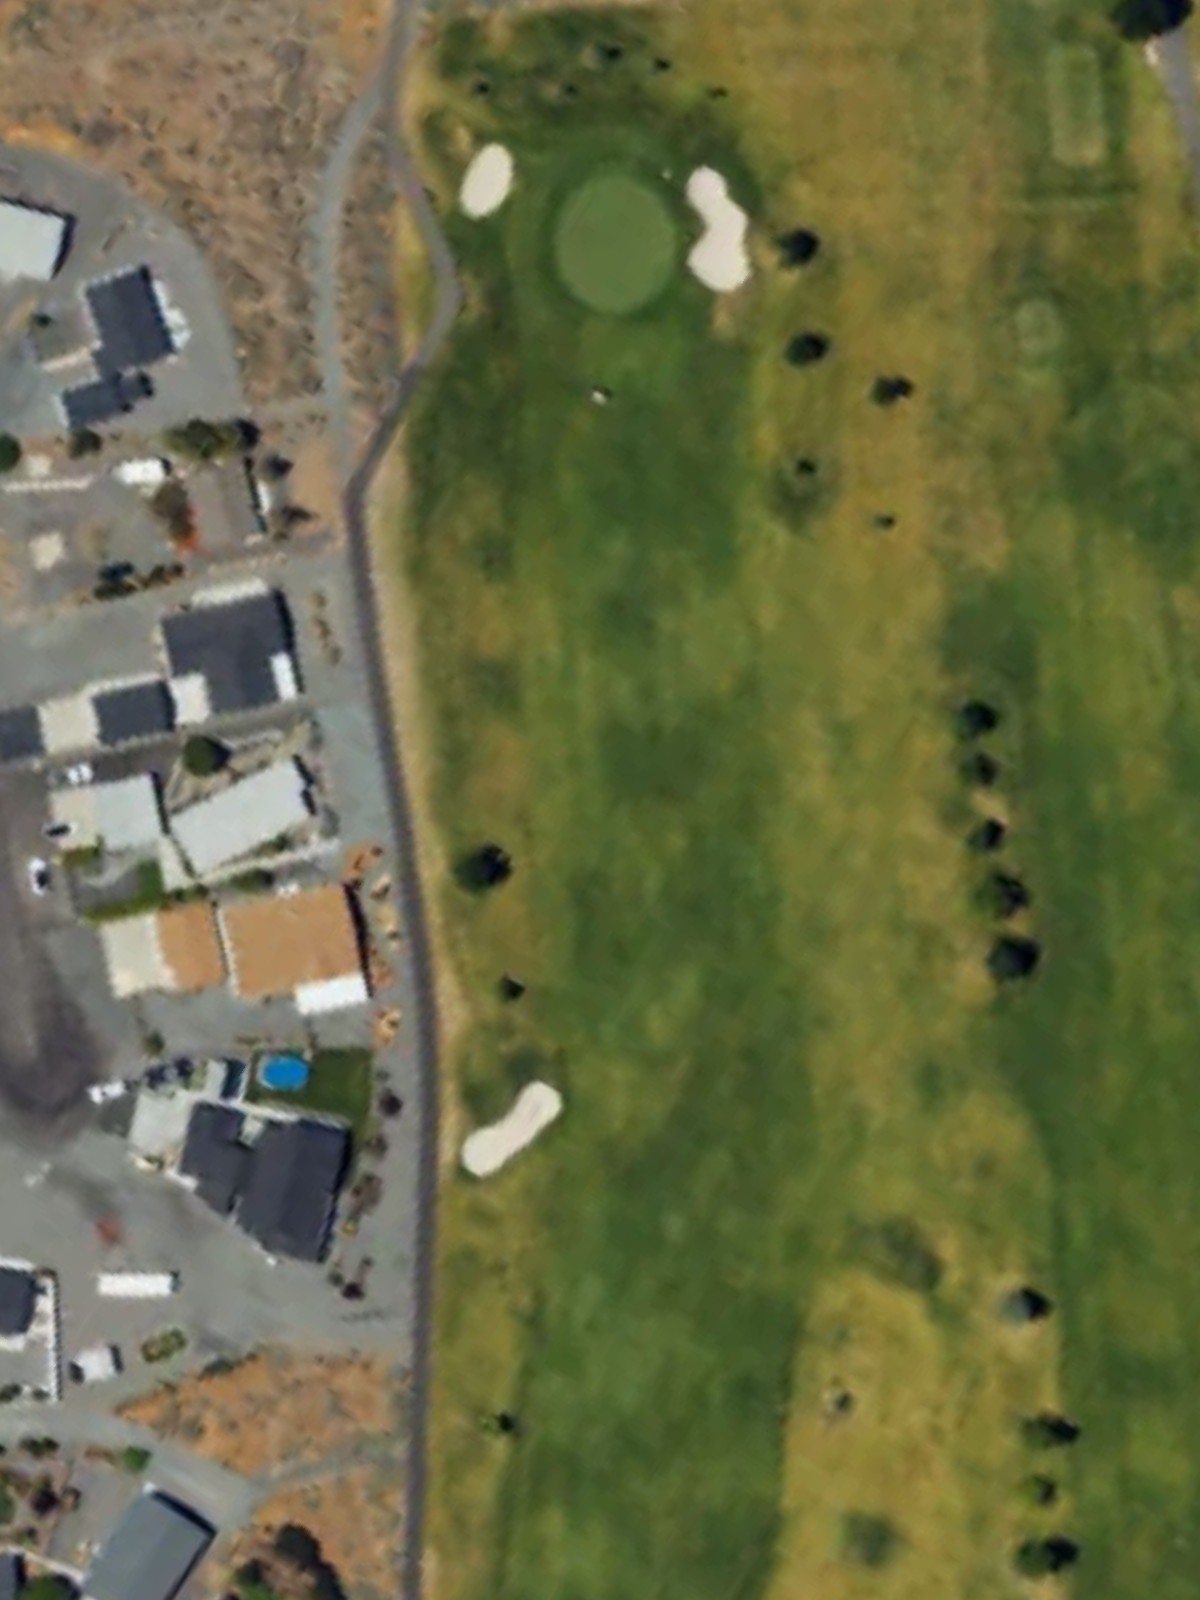
A short par 3 with significant yardage variation across the tees, featuring a green that requires a clean strike over hazards. The hole's brevity can be deceiving, as wind and green complexity add challenge to this one-shot hole.
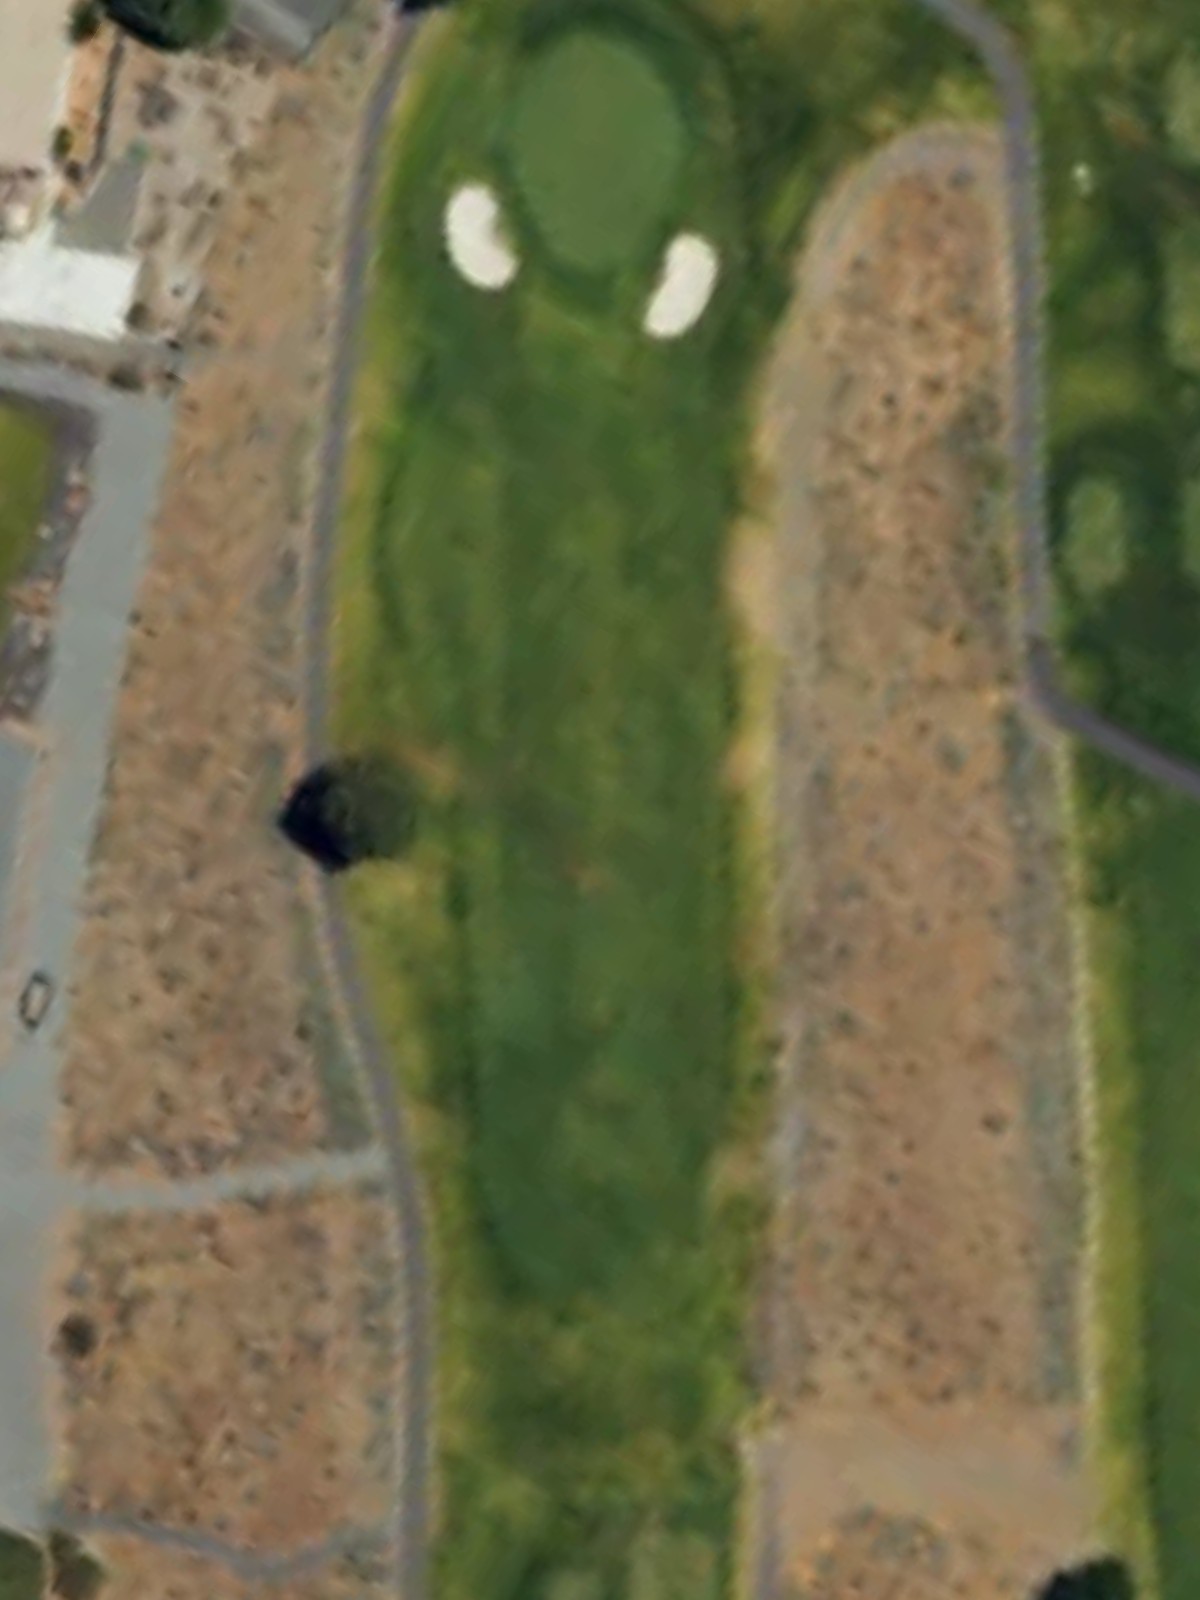
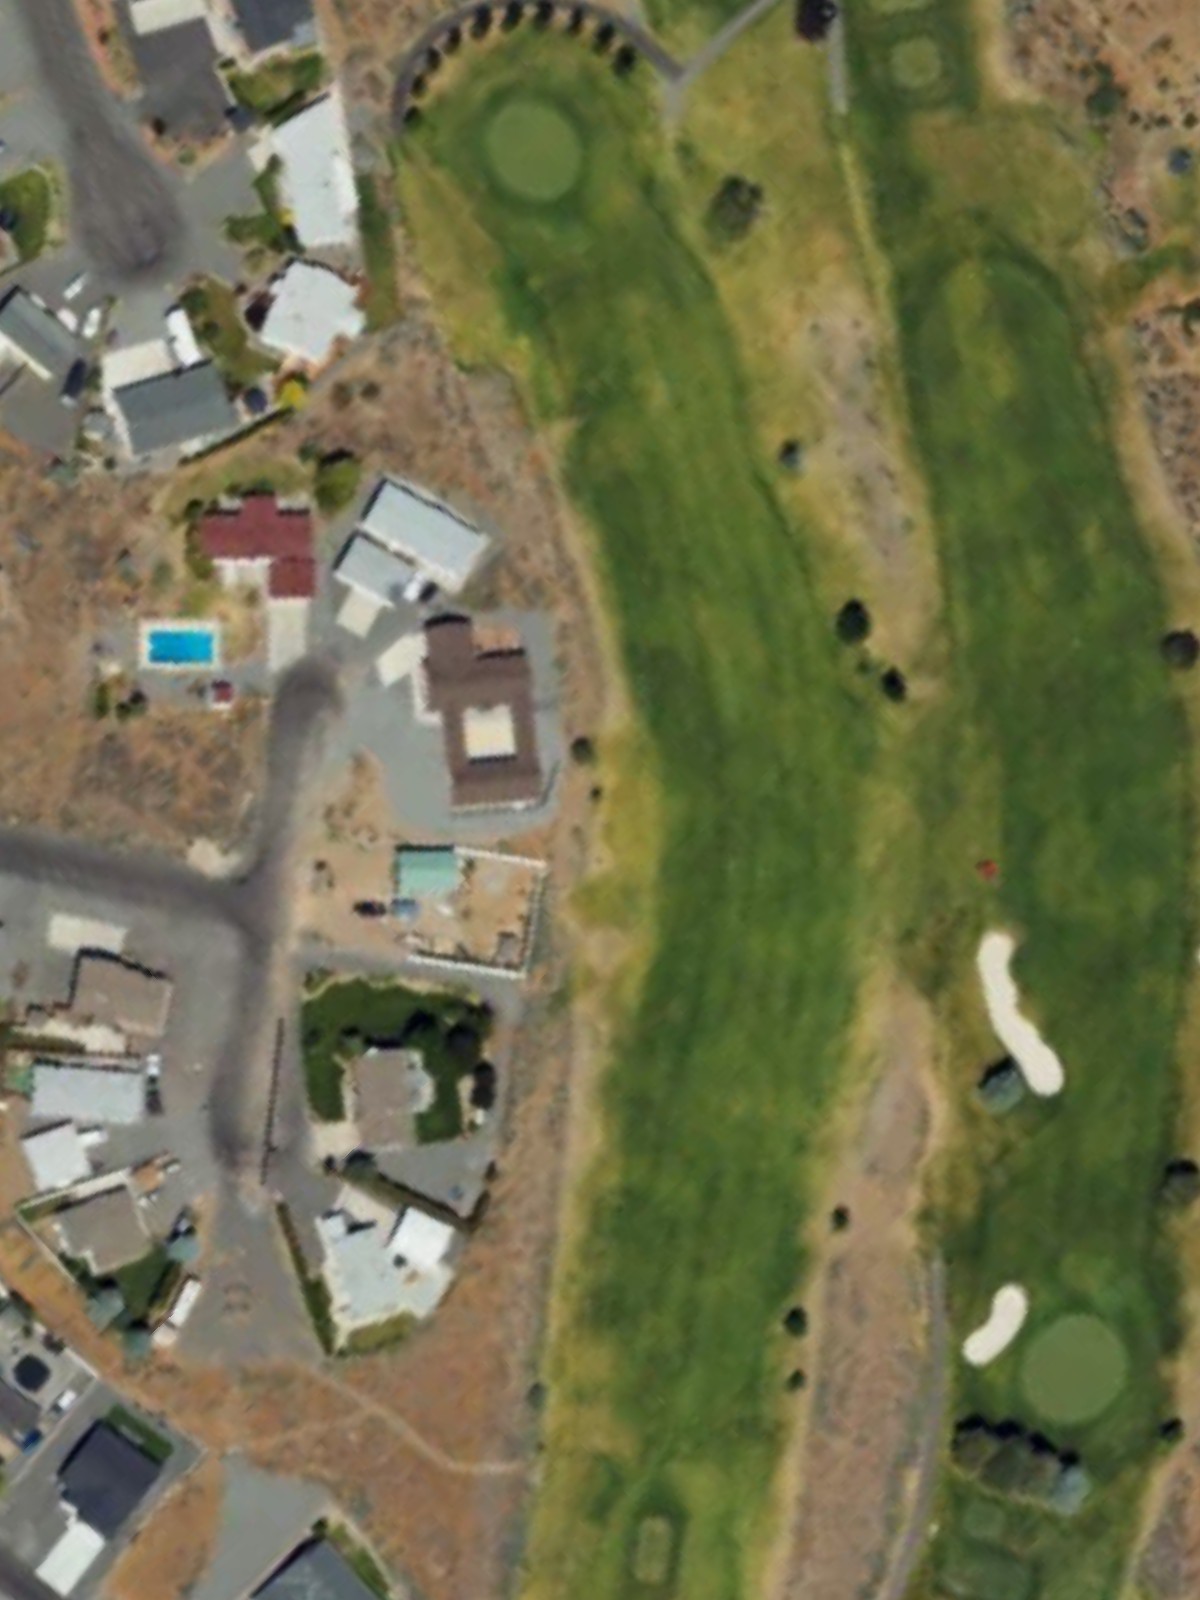
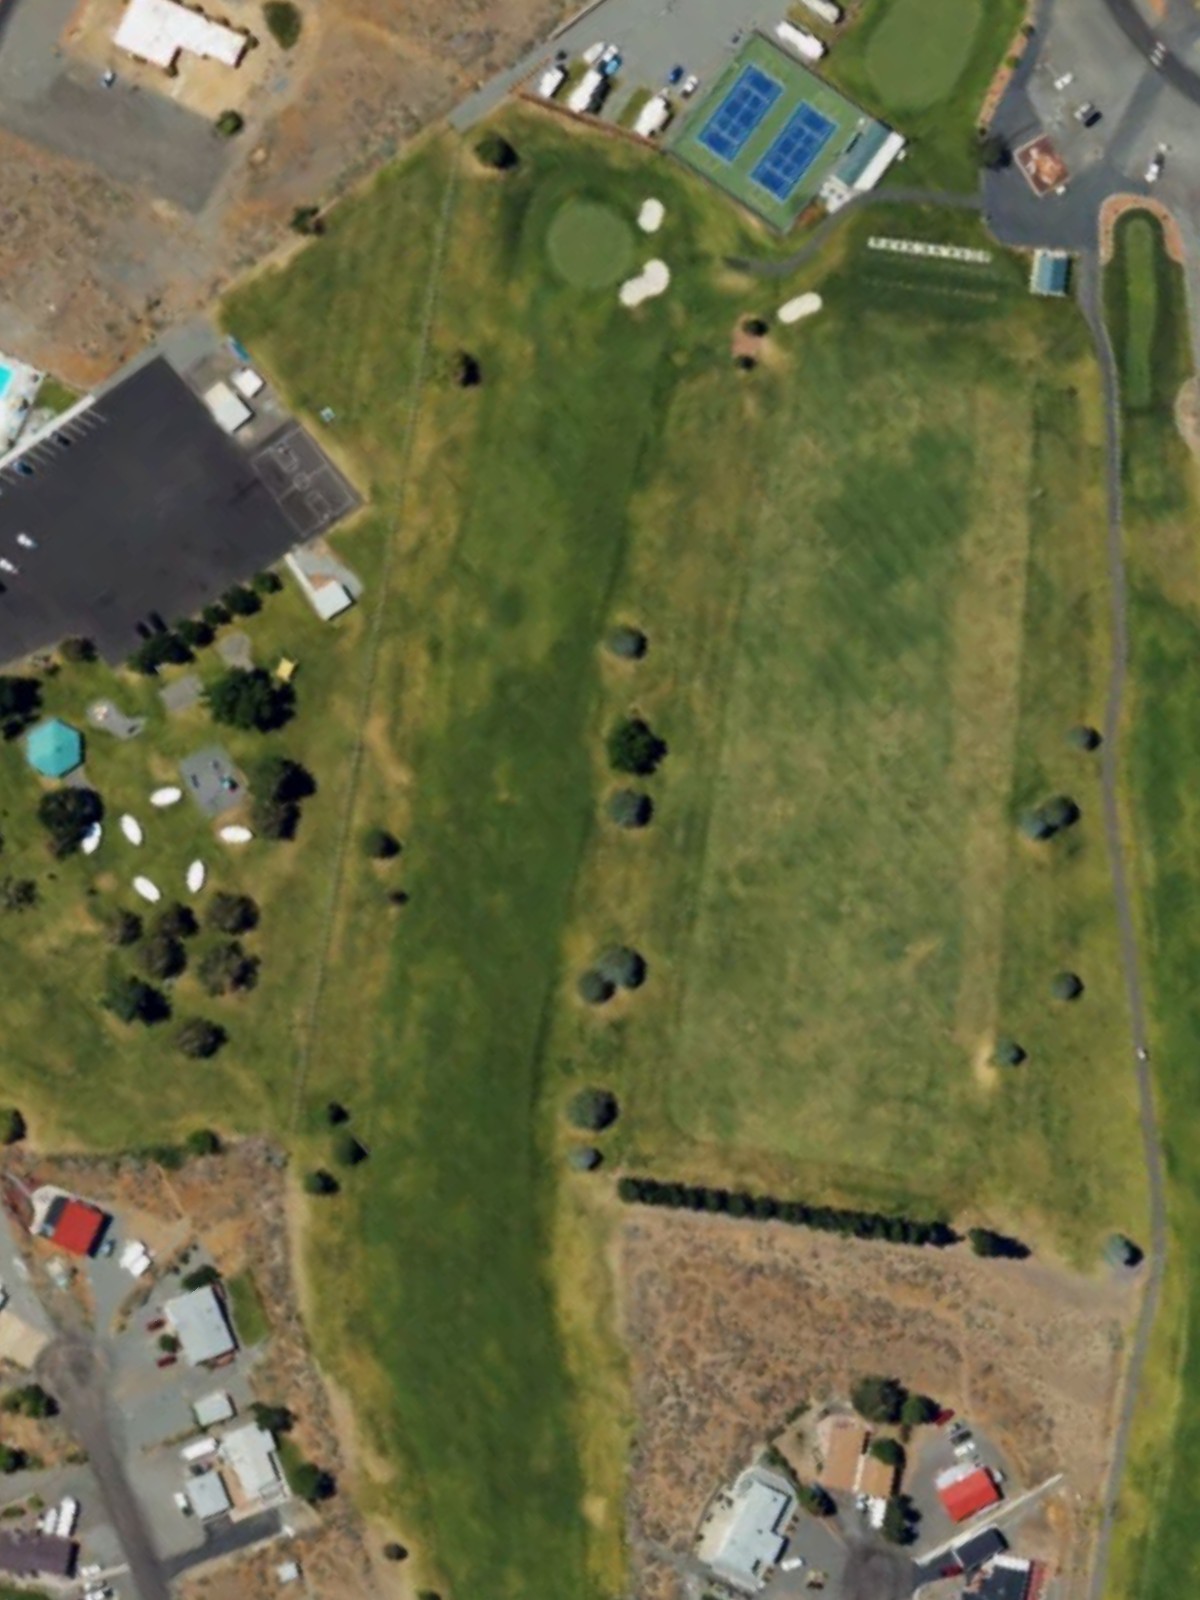
A strategic par 4 with a fairway that tightens approaching the green, where bunkers and hazards await errant shots. The hole's medium length is offset by the precision required on the approach.
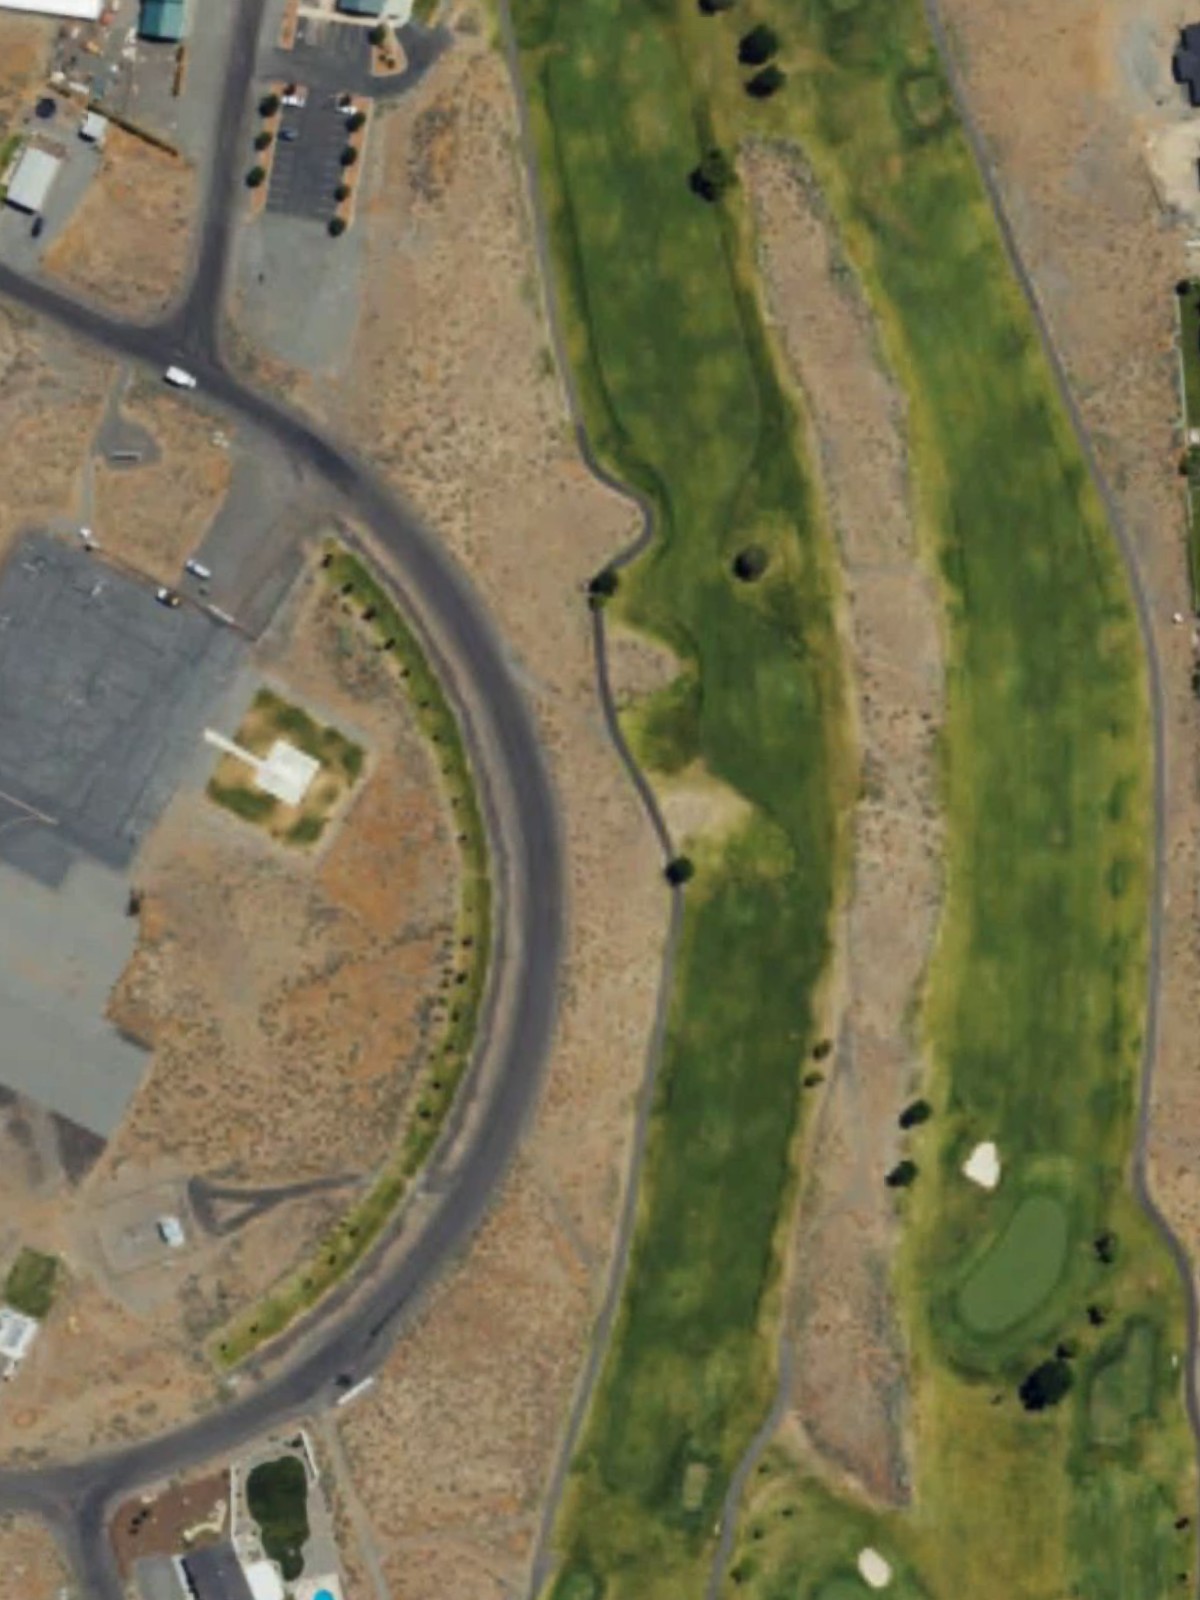
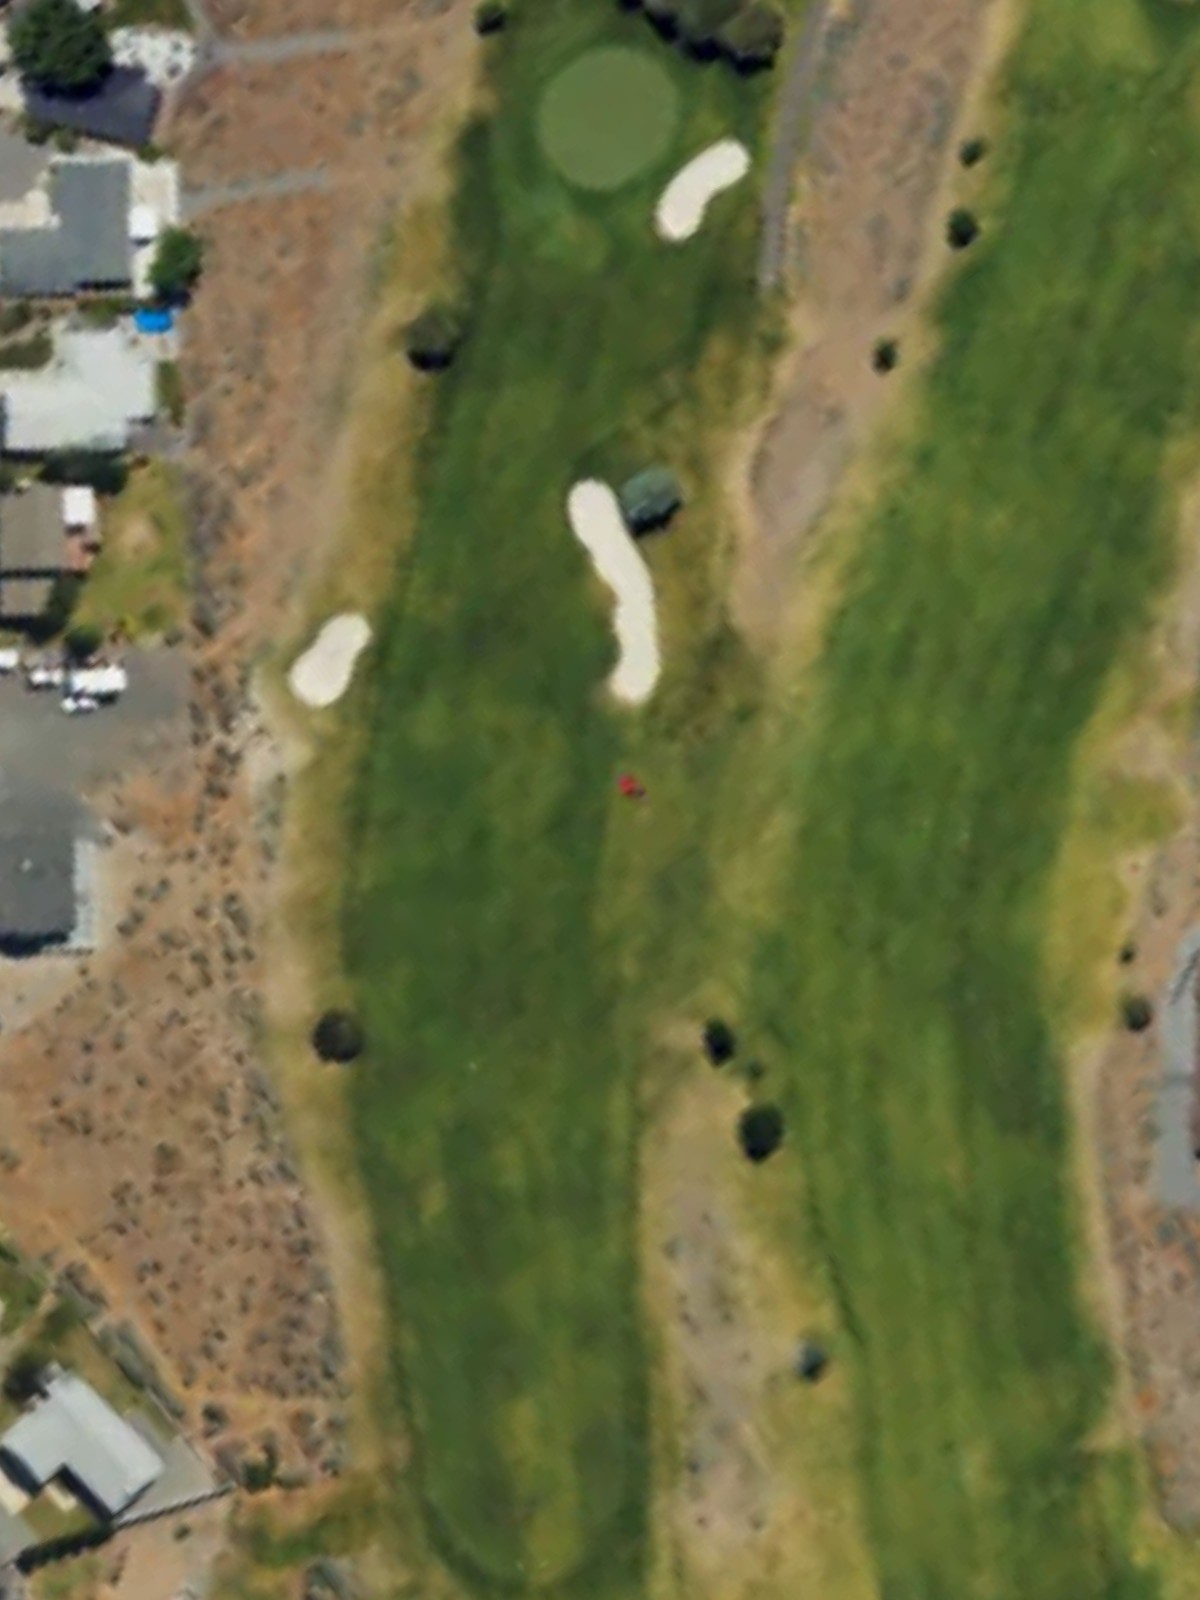
A relatively short par 4 that offers scoring opportunity but demands careful placement off the tee to avoid fairway hazards. The green's surroundings penalize approach shots that lack accuracy, making course management essential.
A mid-length par 3 with a well-defined target green surrounded by strategic hazards and bunker placement. The hole plays consistently challenging across all tees despite its moderate length.
The fifth-hardest hole at Desert Aire, this par 4 features a fairway that narrows considerably at the landing area and approach zone. Hazards positioned left and right create a demanding corridor to the green.
The signature hole and number-one handicap, this par 4 presents the course's most formidable challenge with tight fairway corridors and strategic hazard placement throughout. Both the drive and approach shot demand precision and nerve.
A long par 5 that plays relatively straightforward but requires two solid shots to position for the approach. Hazards along the hole's length and around the green make accuracy crucial throughout.

A mid-length par 4 with a fairway that narrows at the approach, where bunkers and hazards frame the green complex. Strategic positioning off the tee is essential to set up a manageable approach shot.
A short par 3 with modest yardage but notable challenge from its elevated green and surrounding hazards. The hole's deceptive difficulty is reflected in its higher handicap ranking.
A strong par 5 that offers multiple strategic routes and requires positioning for the approach rather than an all-out assault. Hazards right and left throughout the fairway corridor demand controlled aggression.
The second-hardest hole on the course, this par 4 is a relentless test with a narrow fairway and well-guarded green. Every shot must be struck with precision to avoid the hazards that frame this demanding hole.
A mid-length par 3 with a moderately sized green protected by strategic bunker placement and hazards. The hole's straightforward nature belies the accuracy required to find the green.
The fourth-hardest hole, this par 4 features a fairway that tightens significantly as it approaches a bunkered green complex. The demanding approach shot makes this a pivotal hole in the round.
The easiest hole on the course, this short par 4 offers a genuine scoring opportunity with a relatively open fairway and green. Its low handicap ranking reflects its role as a potential birdie hole on the card.
A medium-length par 4 with a fairway that narrows toward the green, where hazards and bunkers guard the final approach. Strategic positioning off the tee is key to managing this mid-round challenge.
A substantial par 5 finishing hole with a fairway that requires two well-placed shots to position for the approach to a strategically bunkered green. The length and hazard placement make this a fitting finale to the round.
Scorecard
| Hole | 1 | 2 | 3 | 4 | 5 | 6 | 7 | 8 | 9 | Out | 10 | 11 | 12 | 13 | 14 | 15 | 16 | 17 | 18 | In | Tot |
|---|---|---|---|---|---|---|---|---|---|---|---|---|---|---|---|---|---|---|---|---|---|
| Par | 5 | 4 | 3 | 4 | 4 | 3 | 4 | 4 | 5 | 36 | 4 | 3 | 5 | 4 | 3 | 4 | 4 | 4 | 5 | 36 | 72 |
| HCP | 15 | 3 | 11 | 7 | 17 | 9 | 5 | 1 | 13 | 6 | 16 | 8 | 2 | 10 | 4 | 18 | 12 | 14 | |||
| blue | 500 | 392 | 190 | 405 | 306 | 173 | 377 | 382 | 526 | 3251 | 374 | 156 | 562 | 399 | 193 | 387 | 265 | 356 | 549 | 3241 | 6492 |
| white | 491 | 370 | 155 | 356 | 296 | 162 | 343 | 374 | 499 | 3046 | 361 | 147 | 532 | 367 | 183 | 368 | 261 | 348 | 521 | 3088 | 6134 |
| gold | 463 | 364 | 139 | 327 | 296 | 162 | 270 | 281 | 486 | 2788 | 328 | 147 | 405 | 333 | 167 | 342 | 261 | 316 | 476 | 2775 | 5563 |
| red | 436 | 337 | 114 | 299 | 279 | 148 | 270 | 281 | 446 | 2610 | 327 | 136 | 405 | 301 | 159 | 342 | 243 | 275 | 442 | 2630 | 5240 |
| silver | 391 | 304 | 75 | 265 | 235 | 98 | 238 | 237 | 376 | 2219 | 294 | 115 | 355 | 267 | 124 | 303 | 215 | 247 | 410 | 2330 | 4549 |