Deer Park Golf Club is an 18-hole golf course in Deer Park, WA with a par of 72. It offers 3 tee sets: blue (6,690 yards, slope 123, rating 71.1), white (6,243 yards, slope 117, rating 69.2), gold (5,453 yards, slope 108, rating 65.3). The hardest hole is #9, a par 4 playing 450 yards from the first tee.
Deer Park Golf Club
Deer Park, WA
Get PDF Yardage Book
We'll email you the PDF link. No spam, ever.
Create Your Game Plan
Pick your tees, enter your bag, and get a personalized shot-by-shot strategy for every hole.
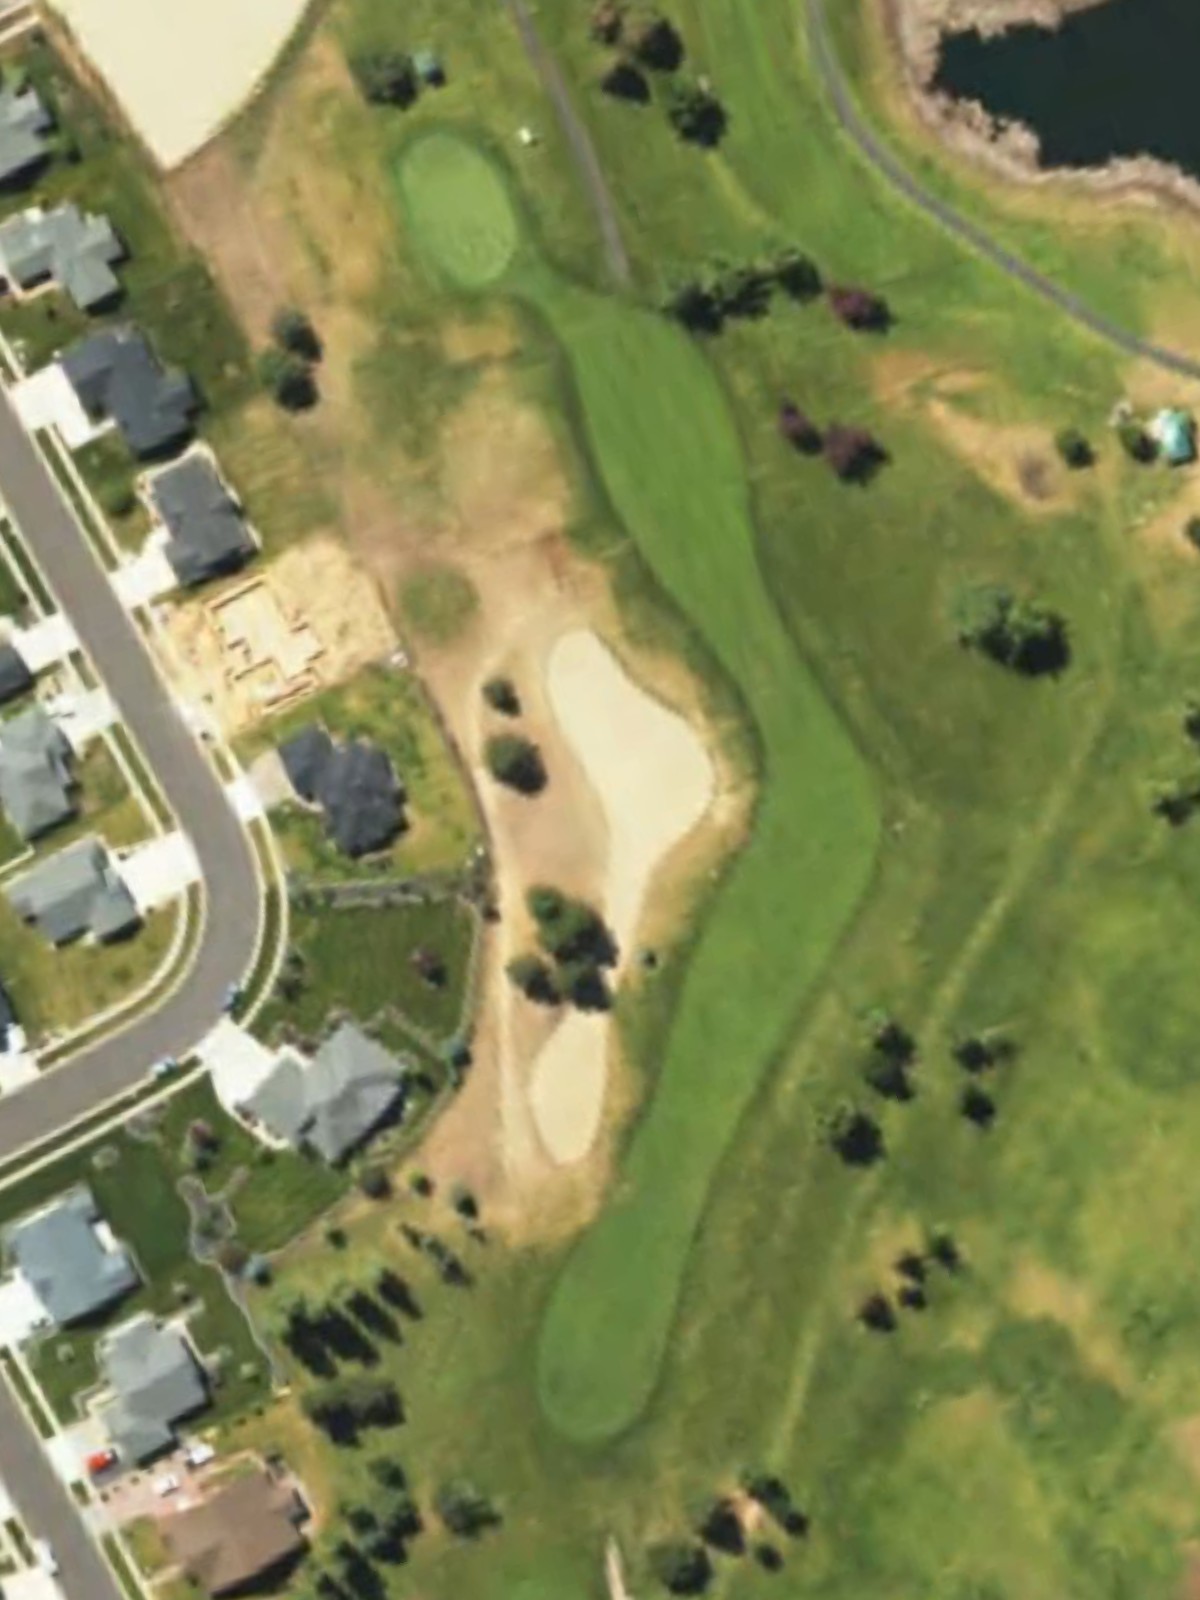
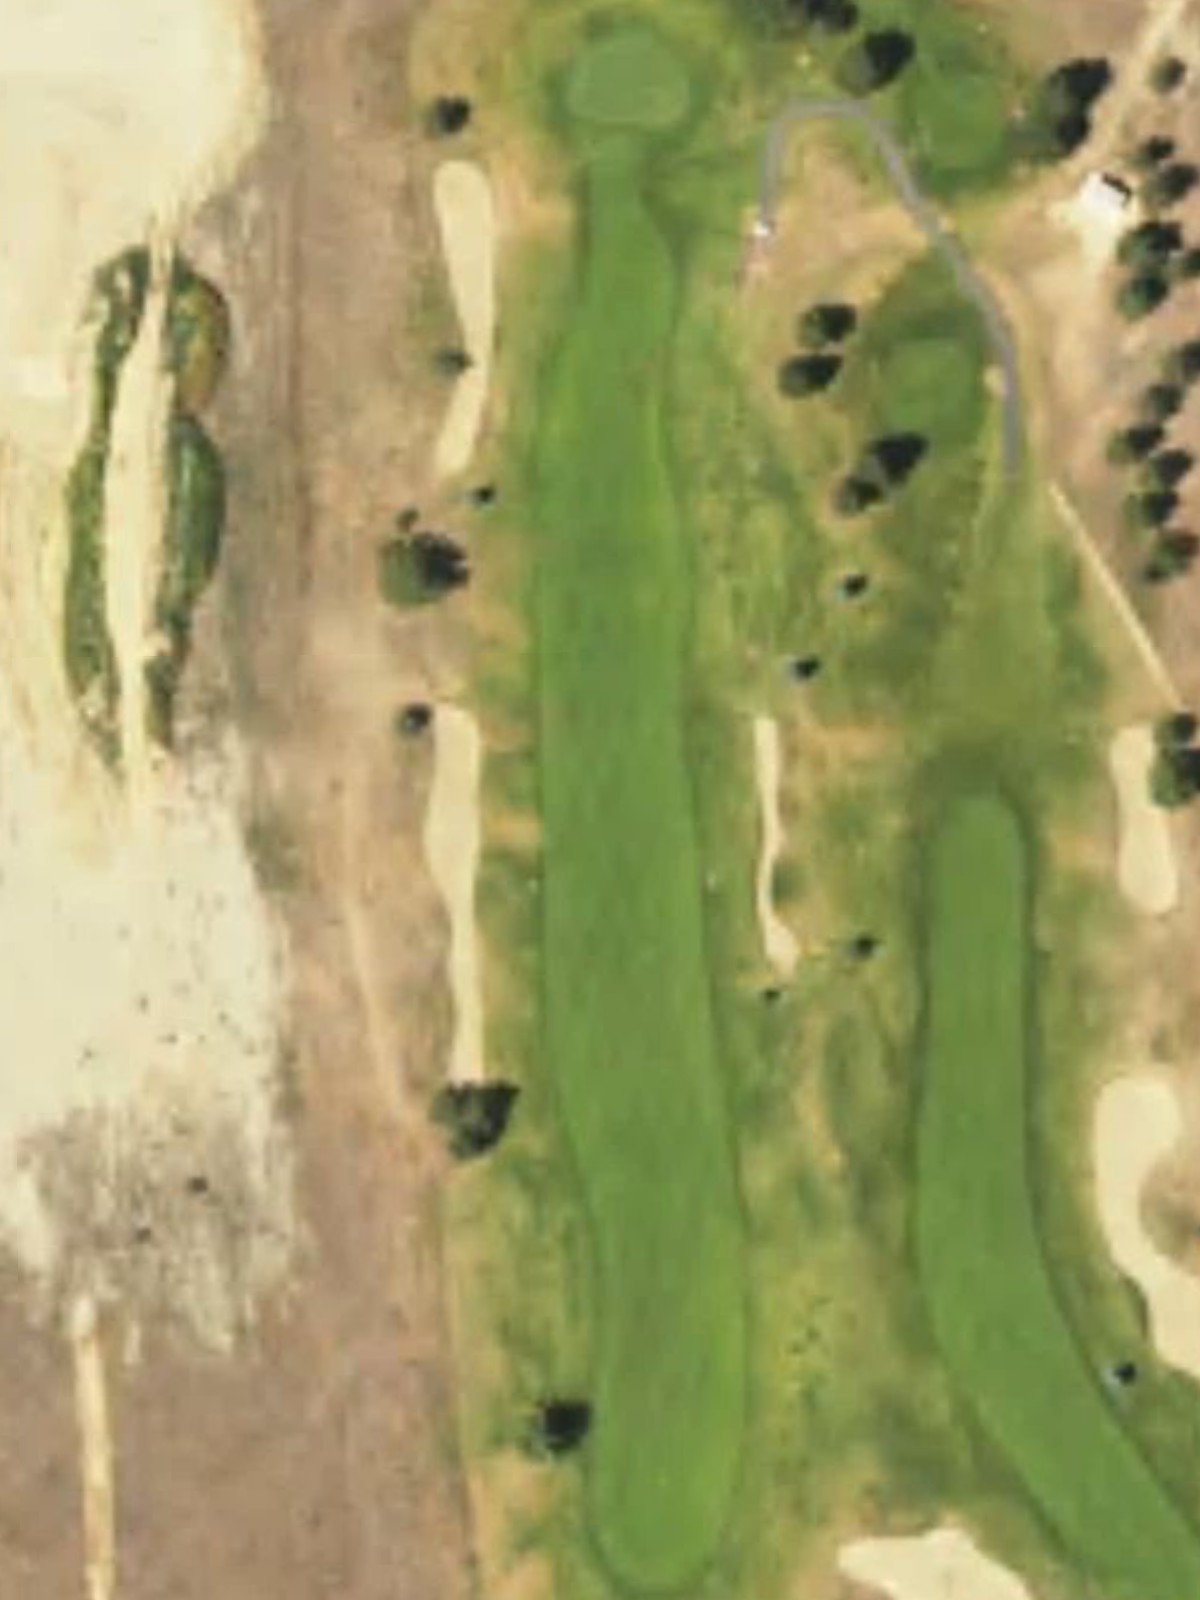
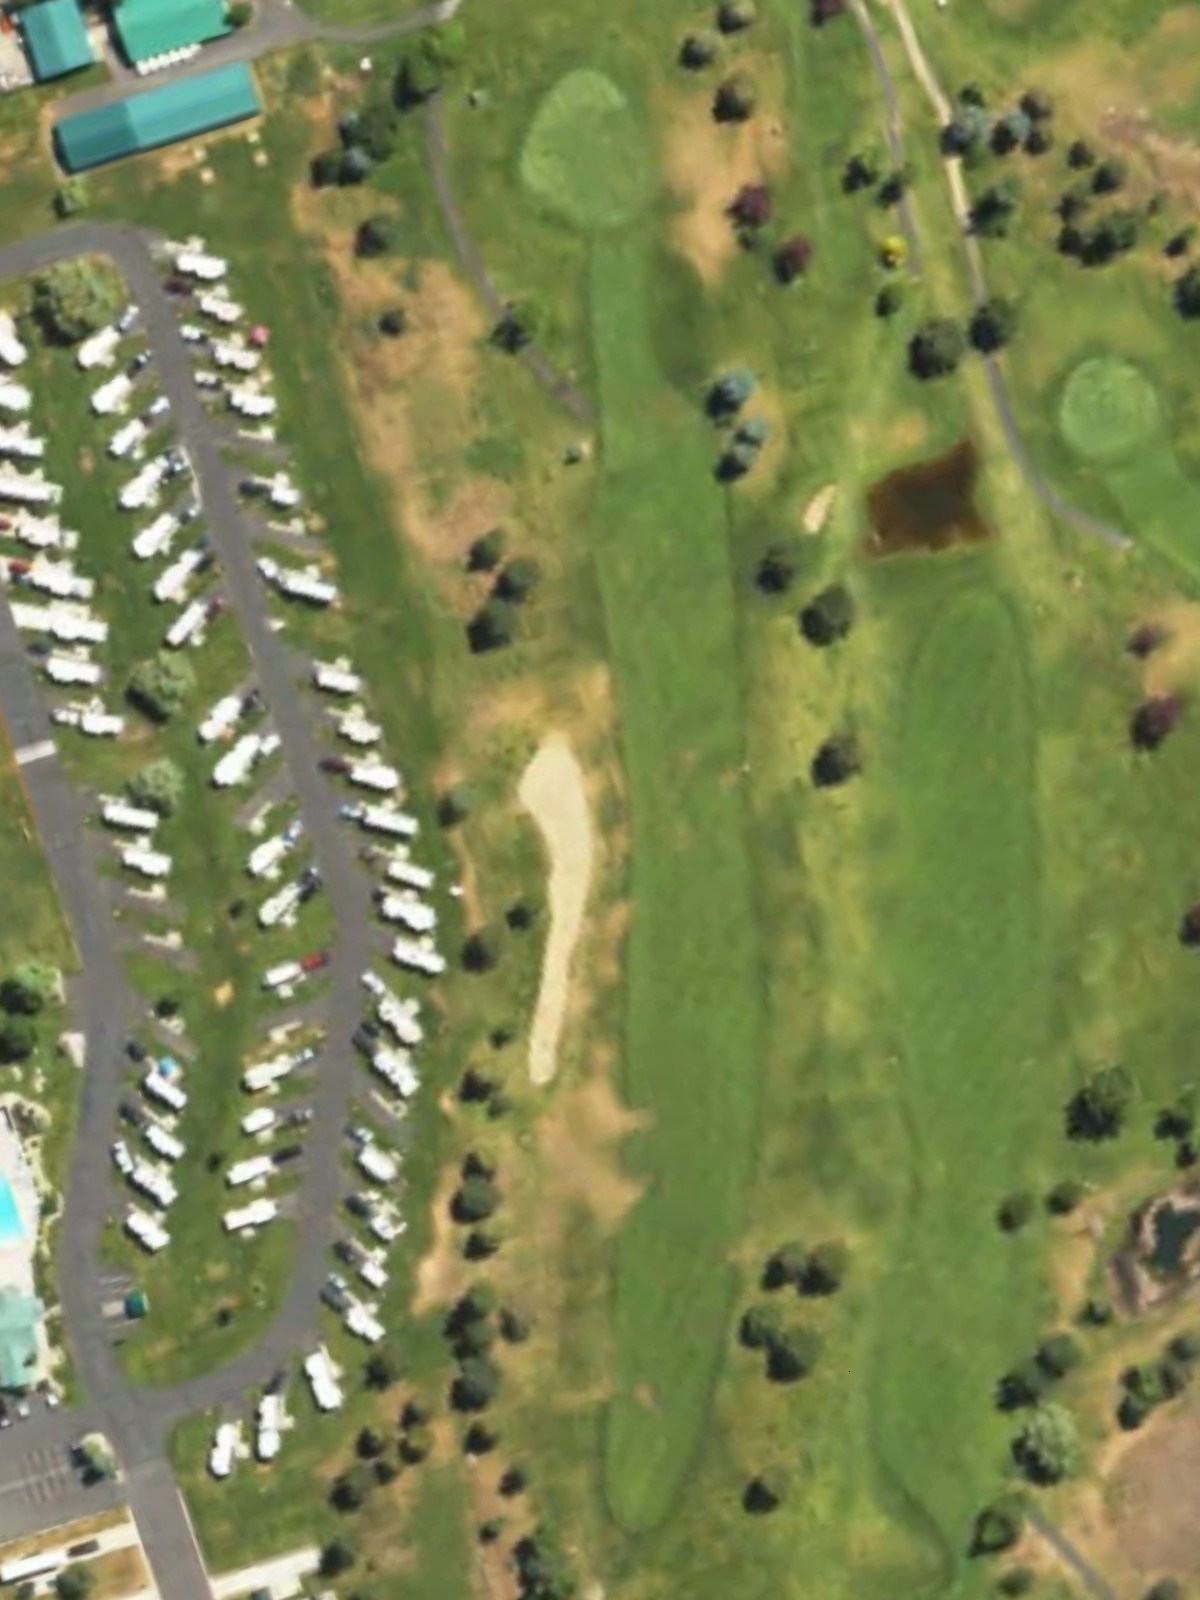
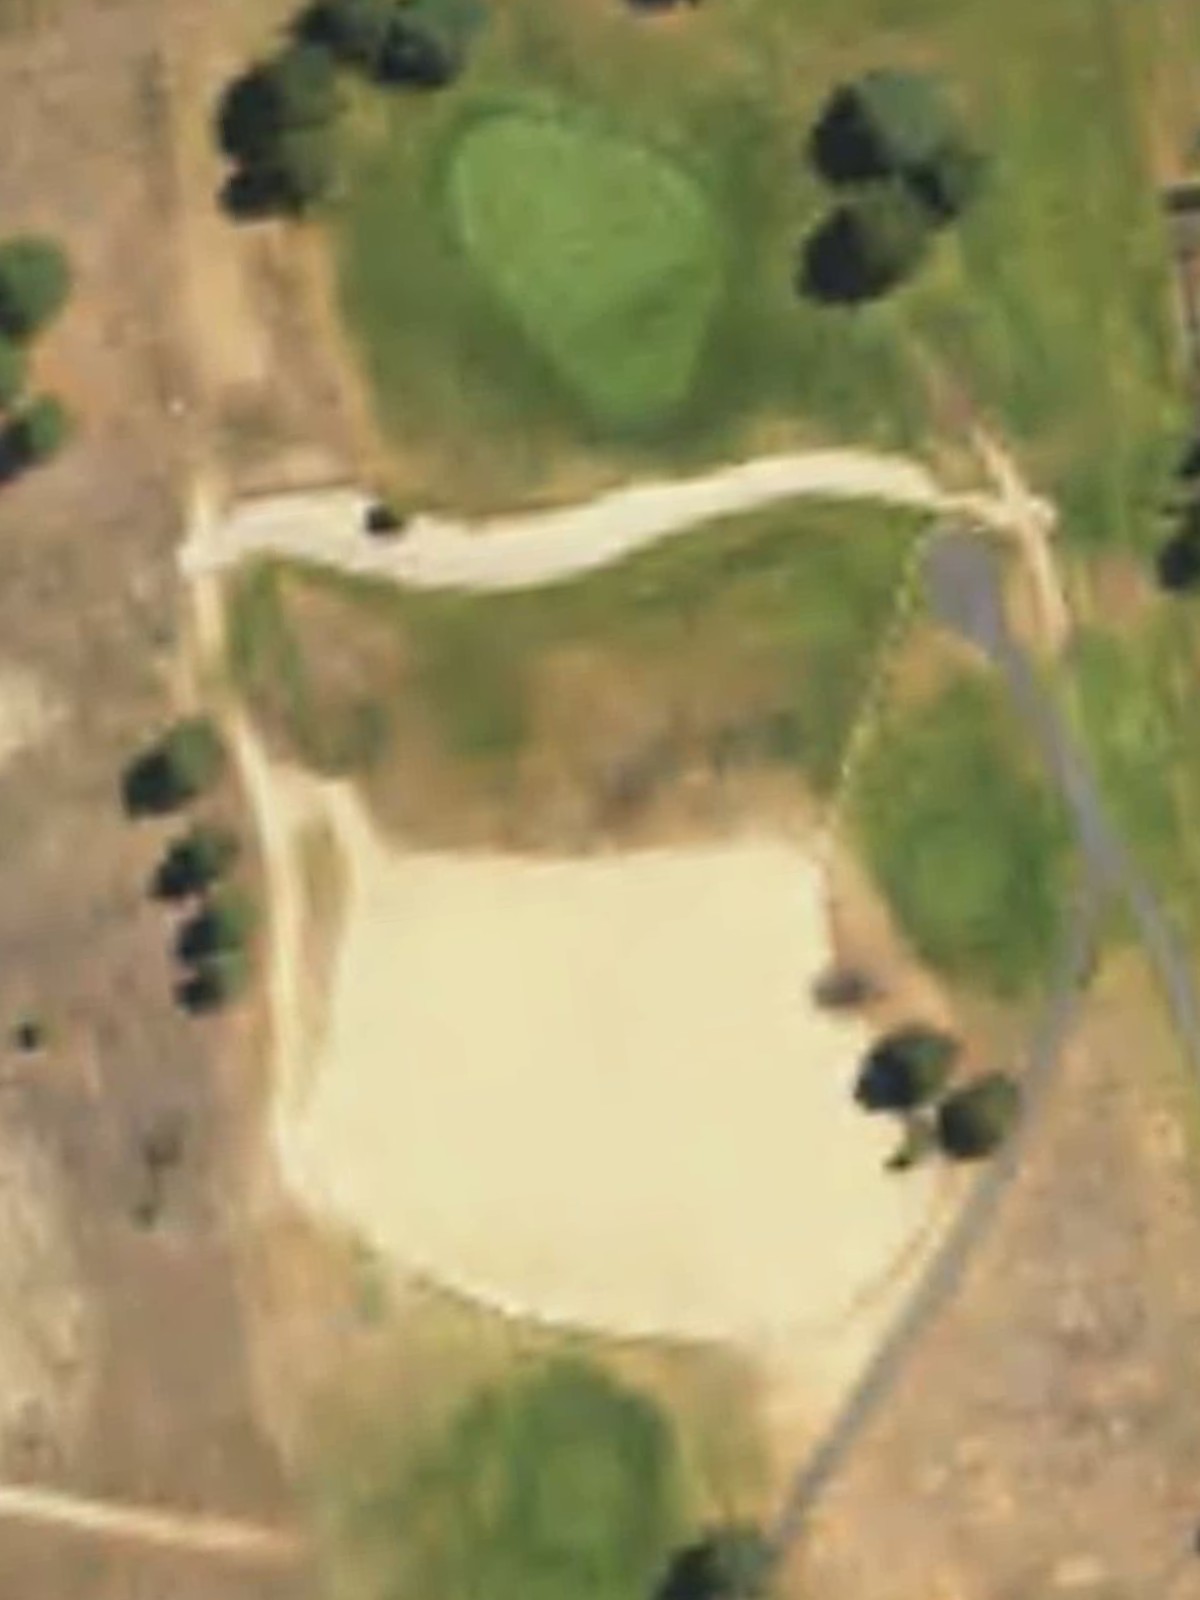
A straightforward par 4 opening hole with a fairway that gradually narrows as it approaches the green. Bunkers guard both sides of the green, requiring accuracy on the approach shot to avoid trouble.
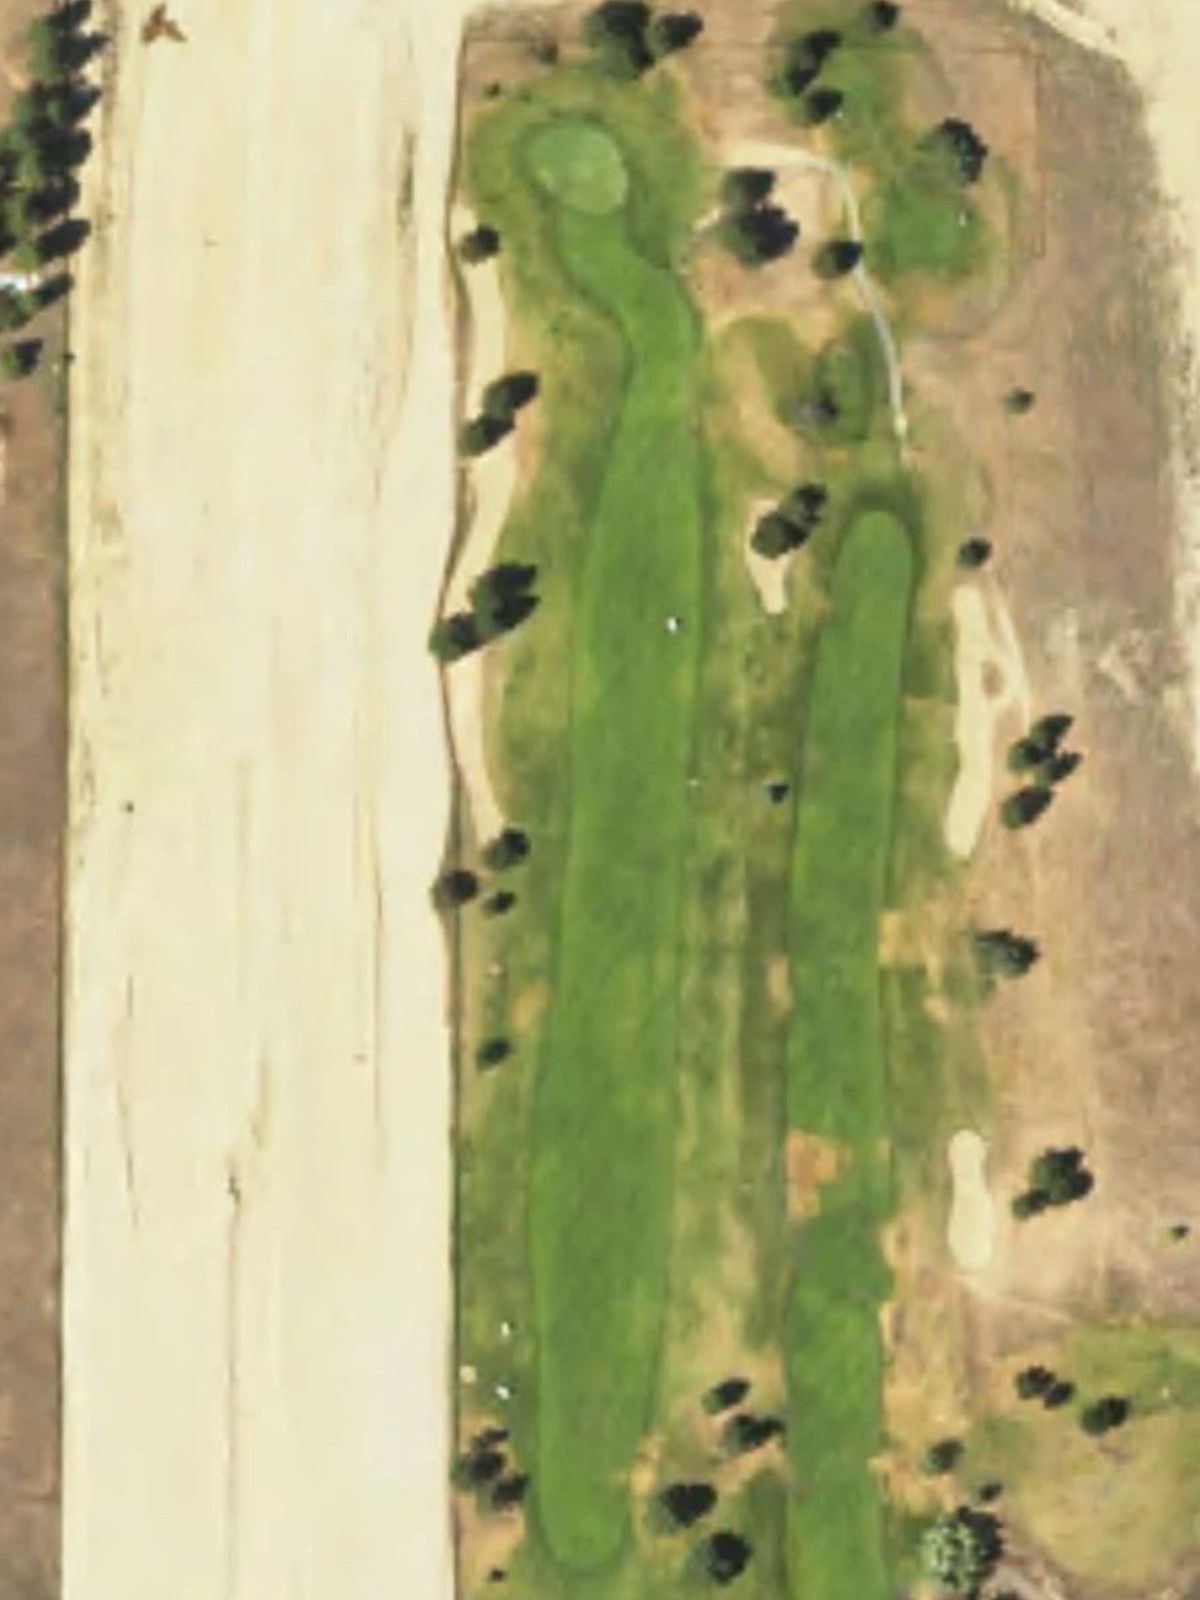
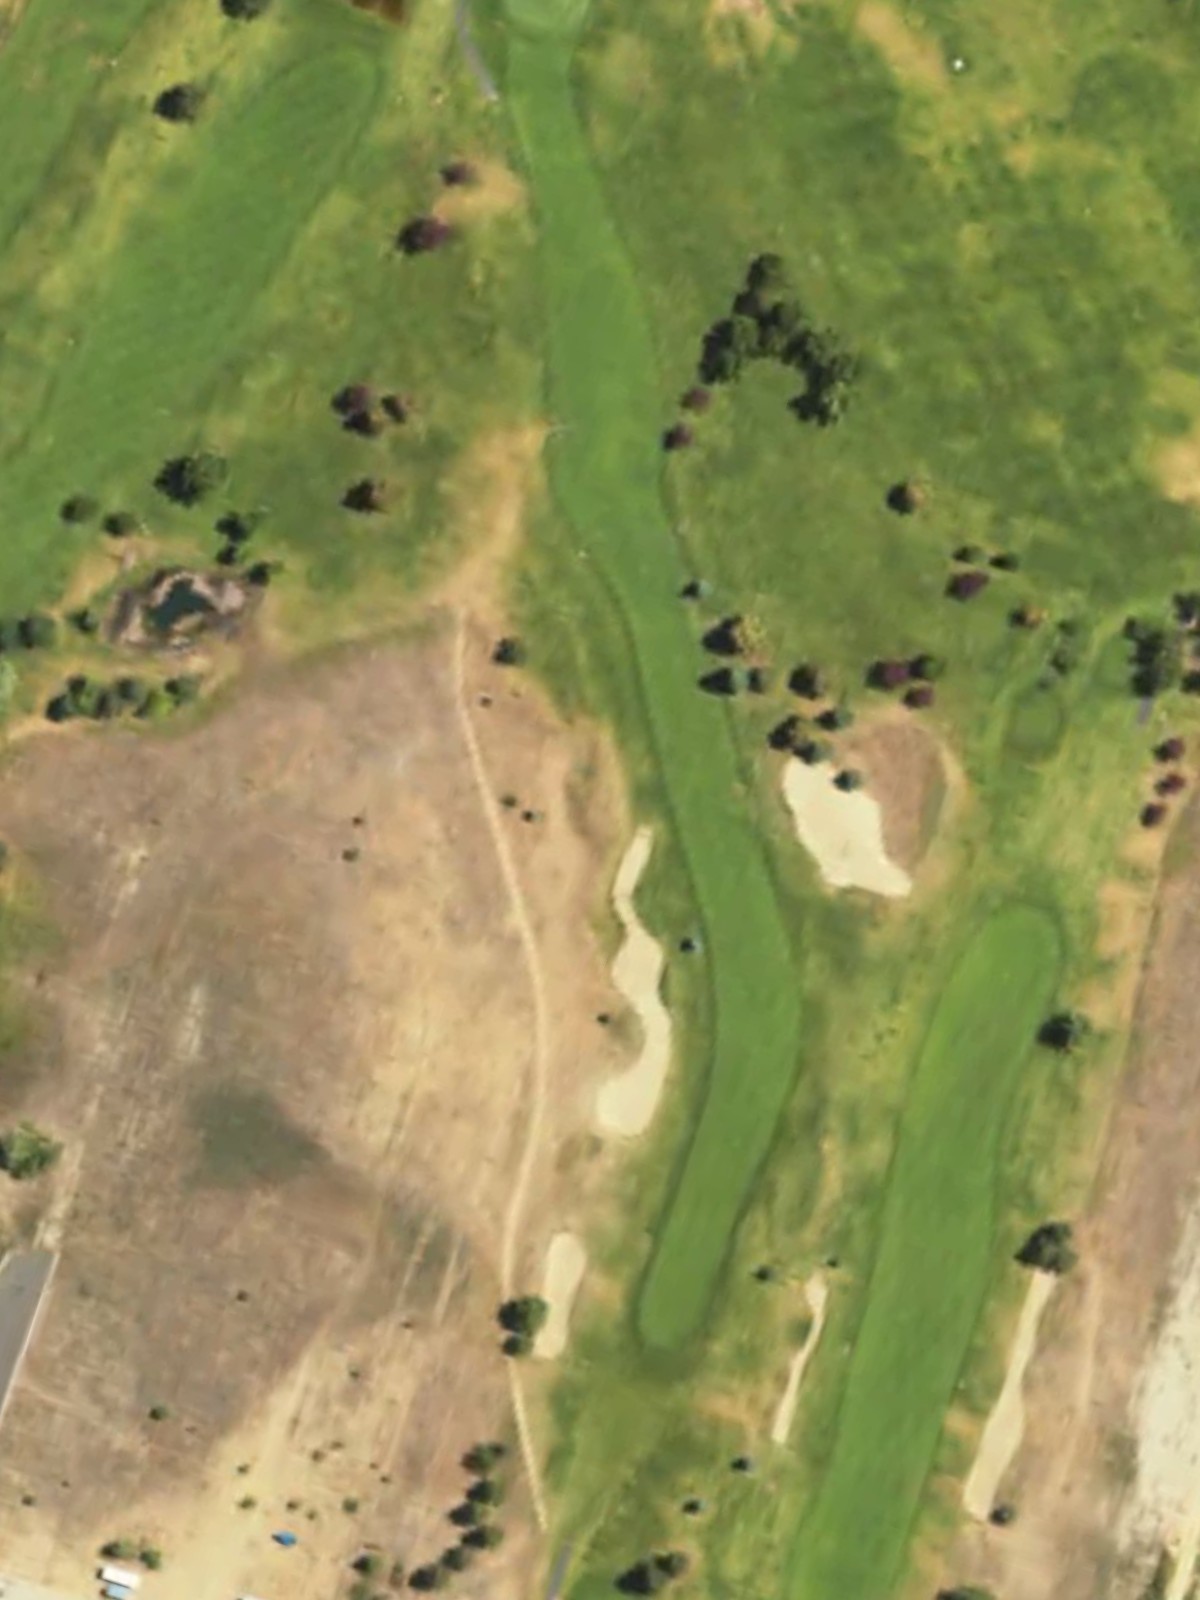
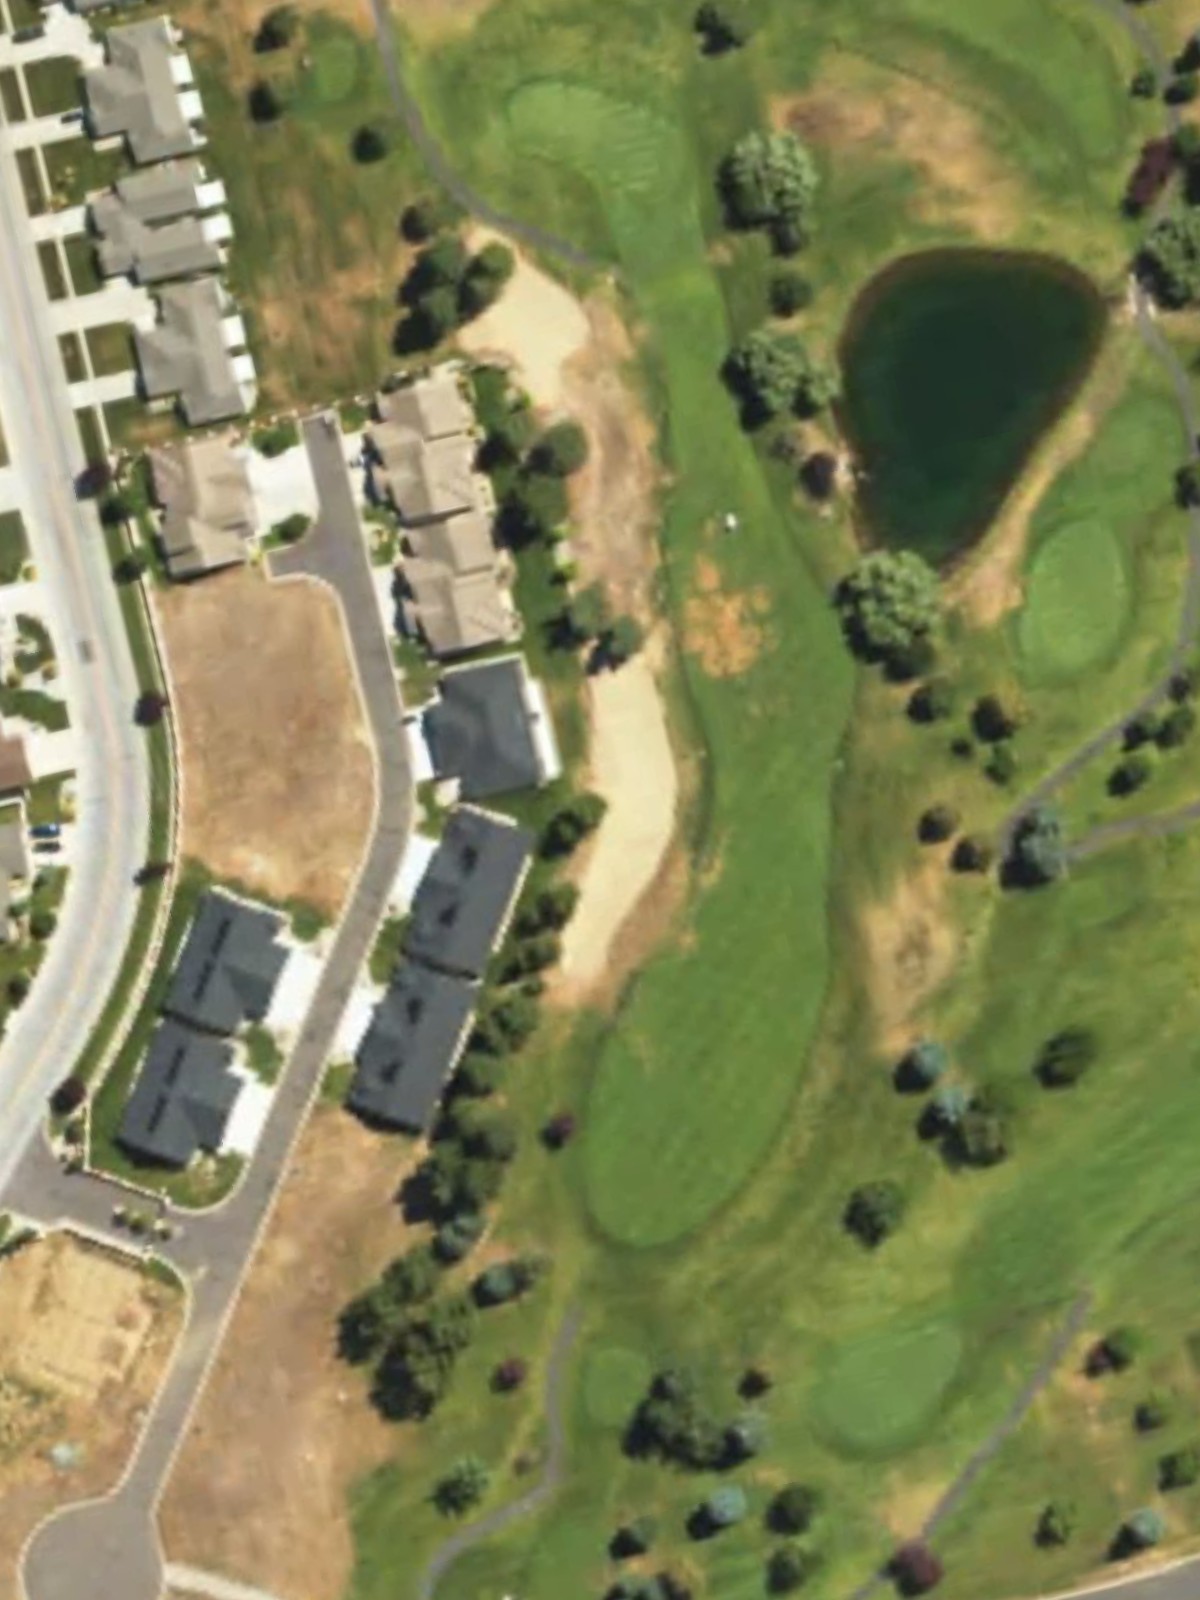
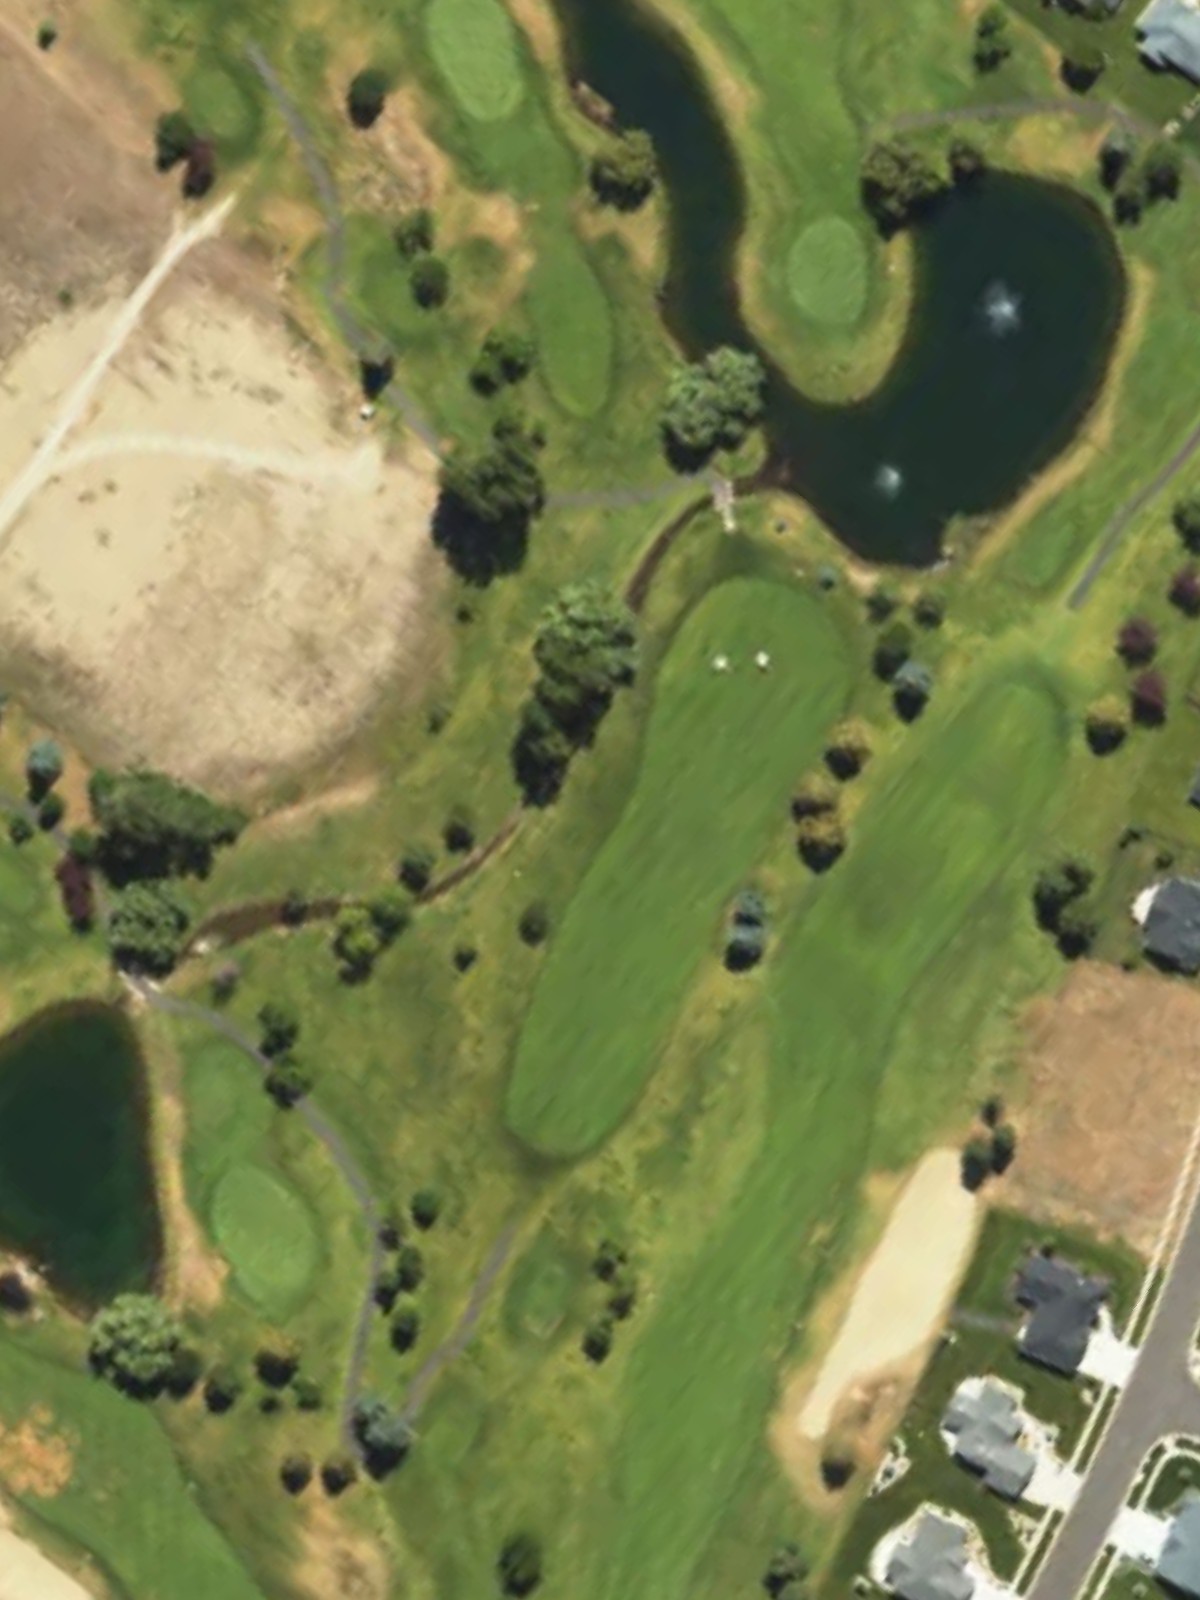
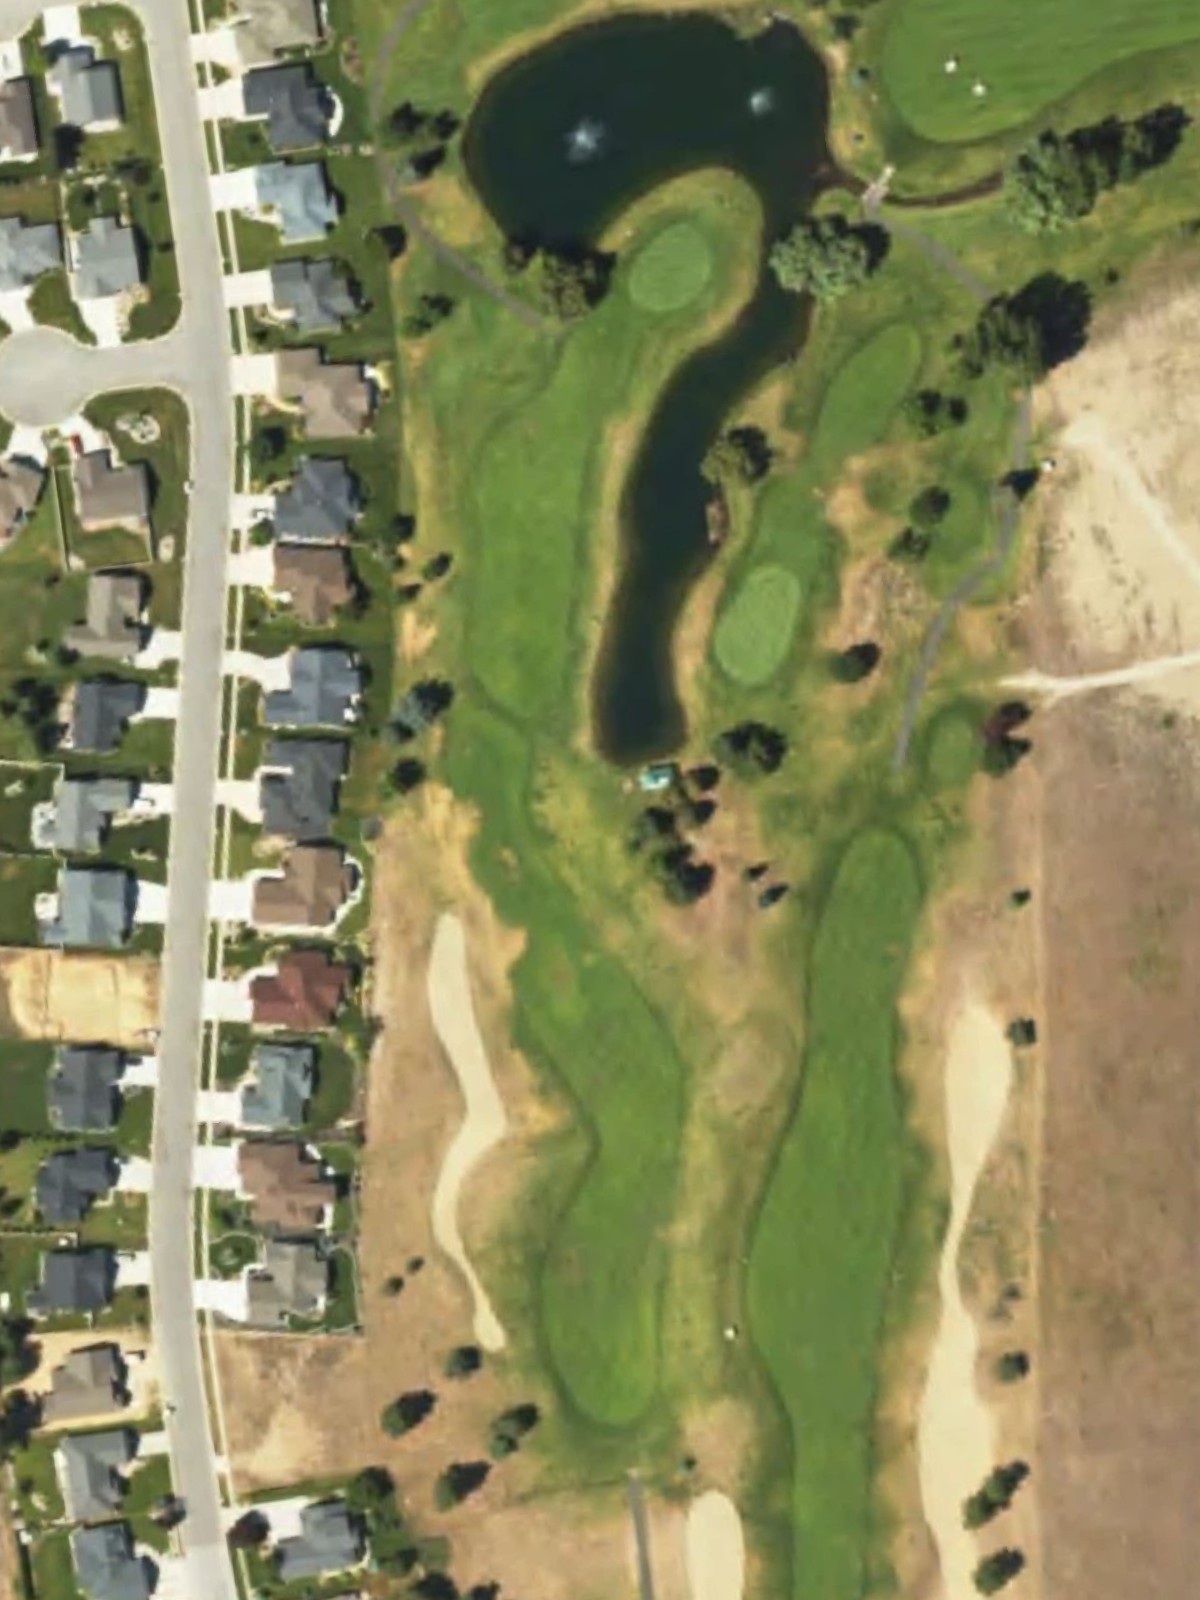
A long par 5 that demands placement off the tee to set up the best angle for the second shot. Water hazards line the left side throughout, making position and distance control critical for reaching the green in regulation.
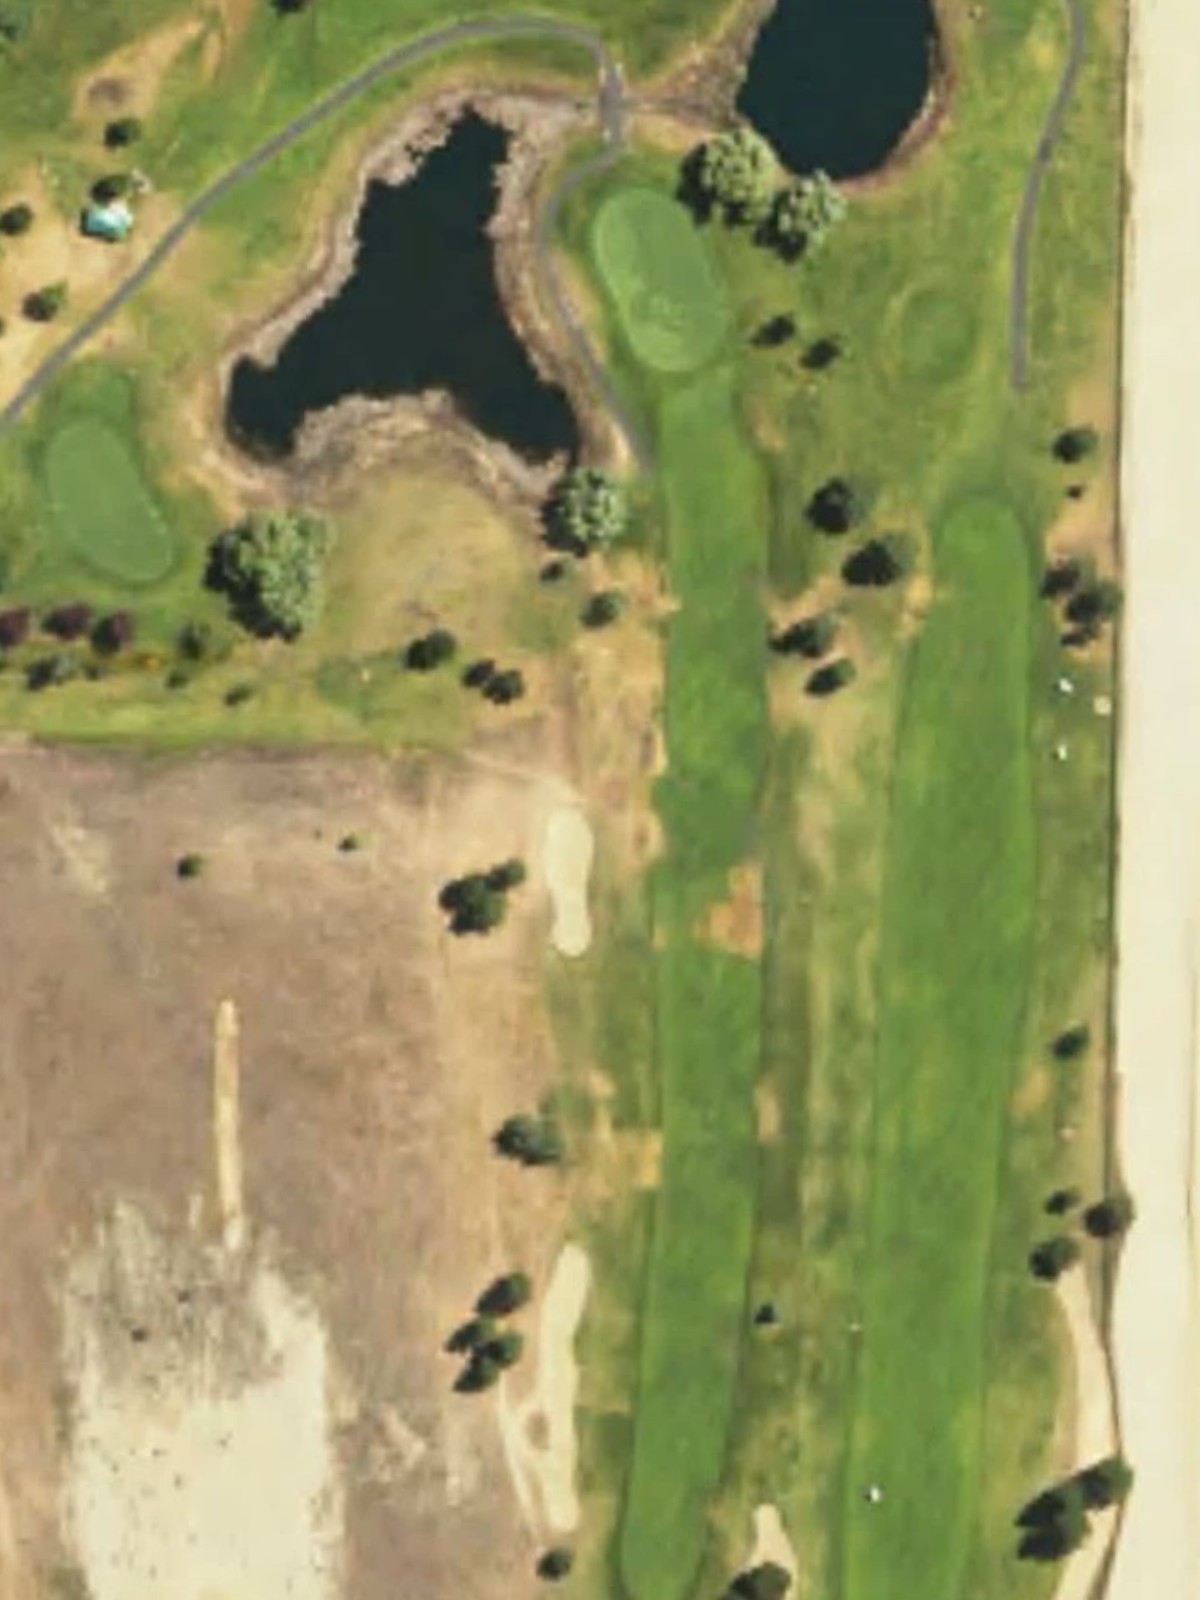
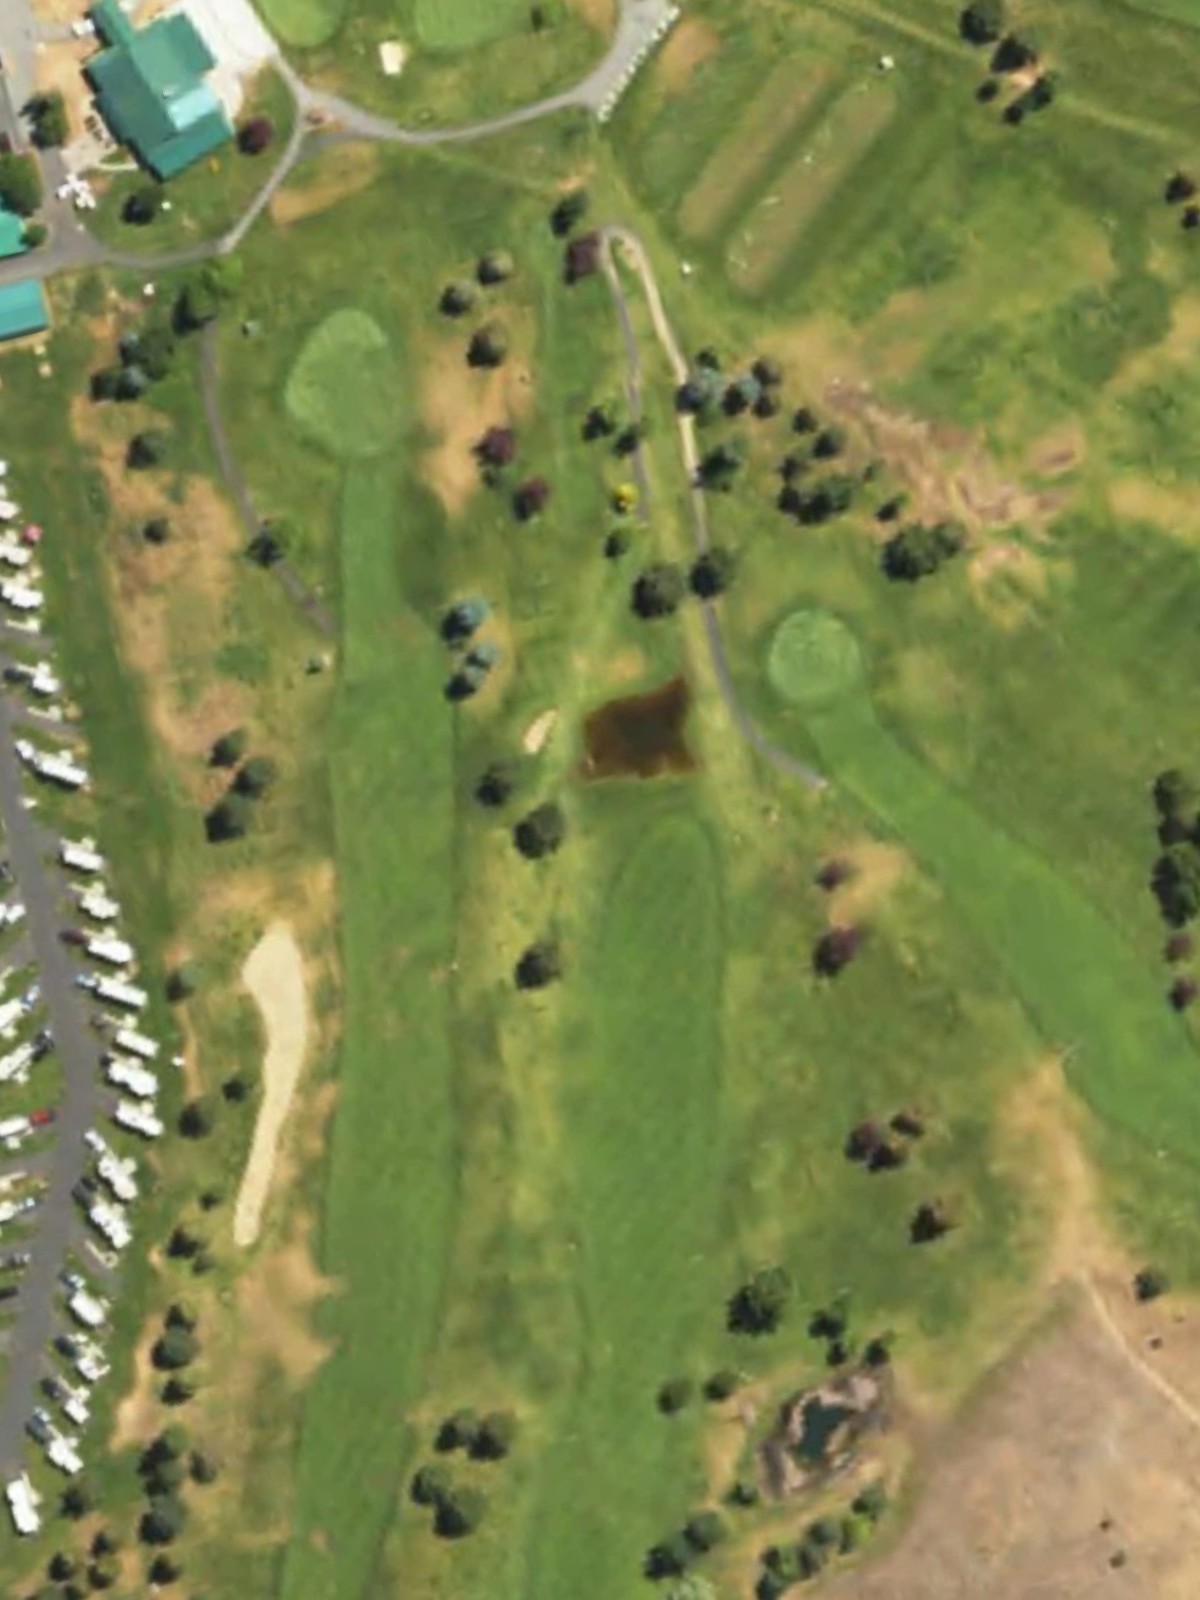
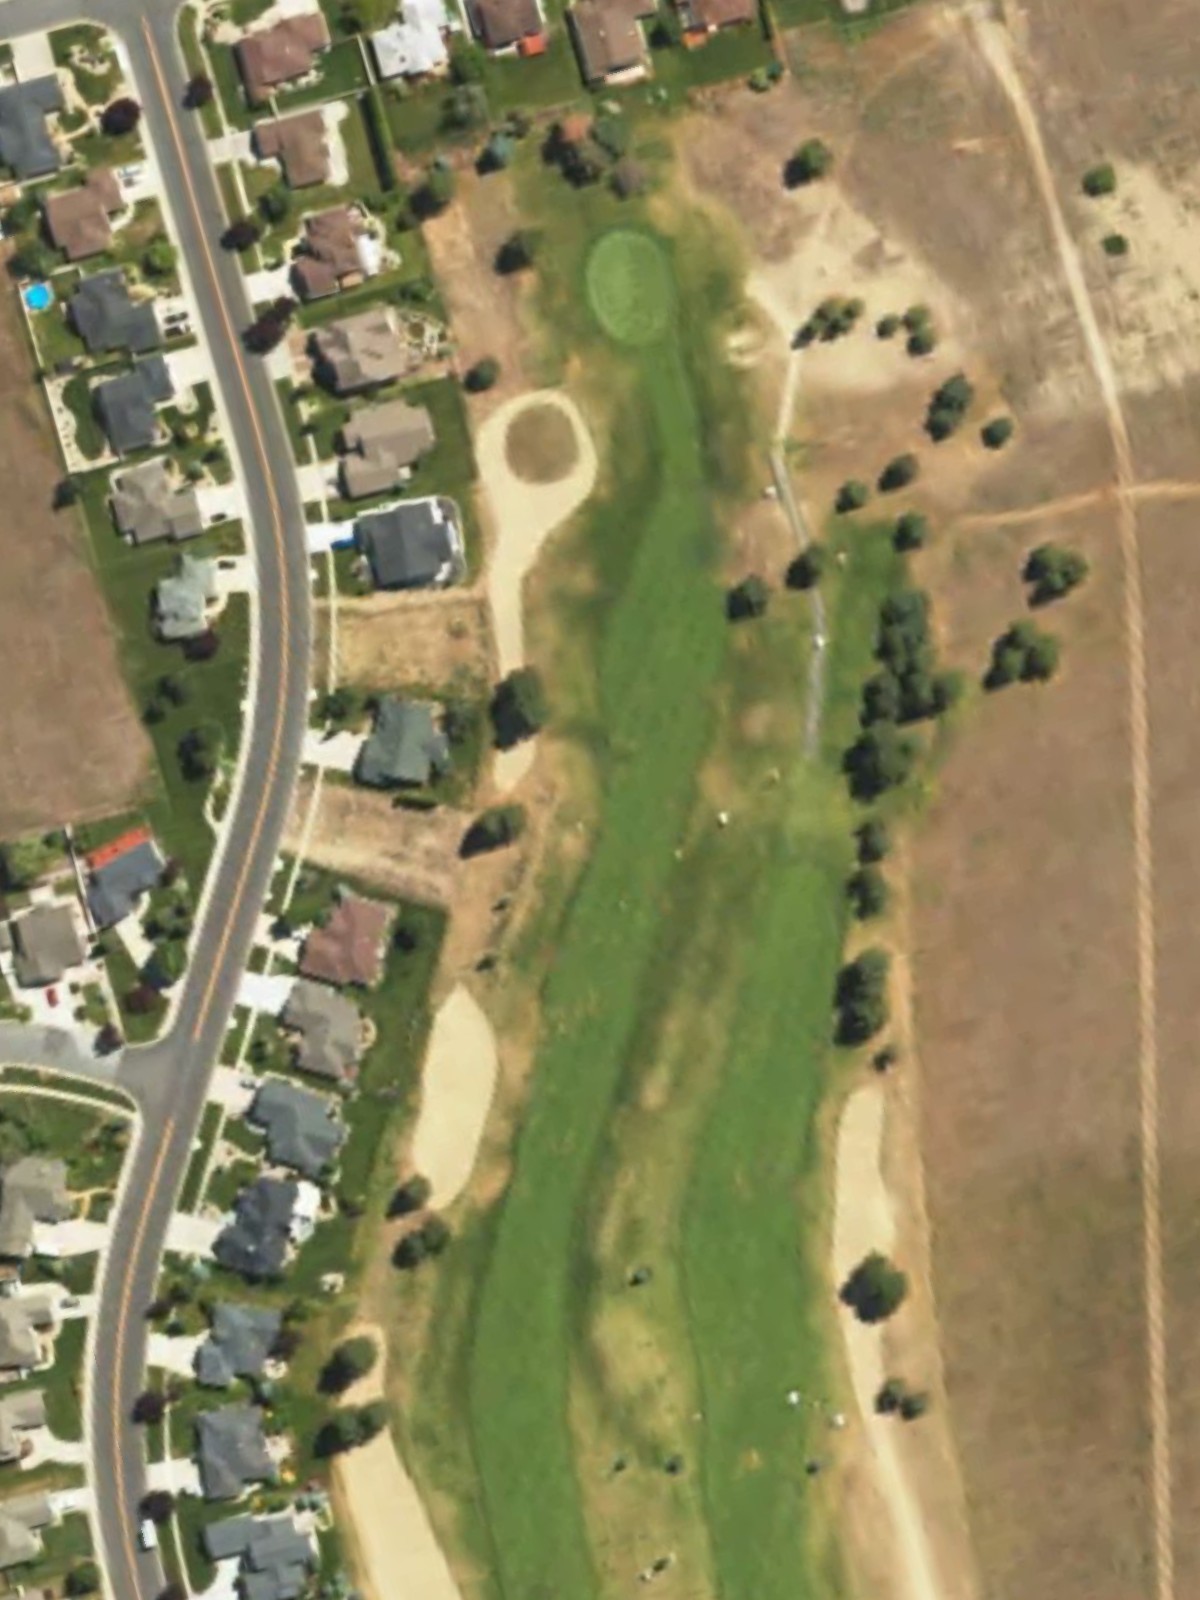
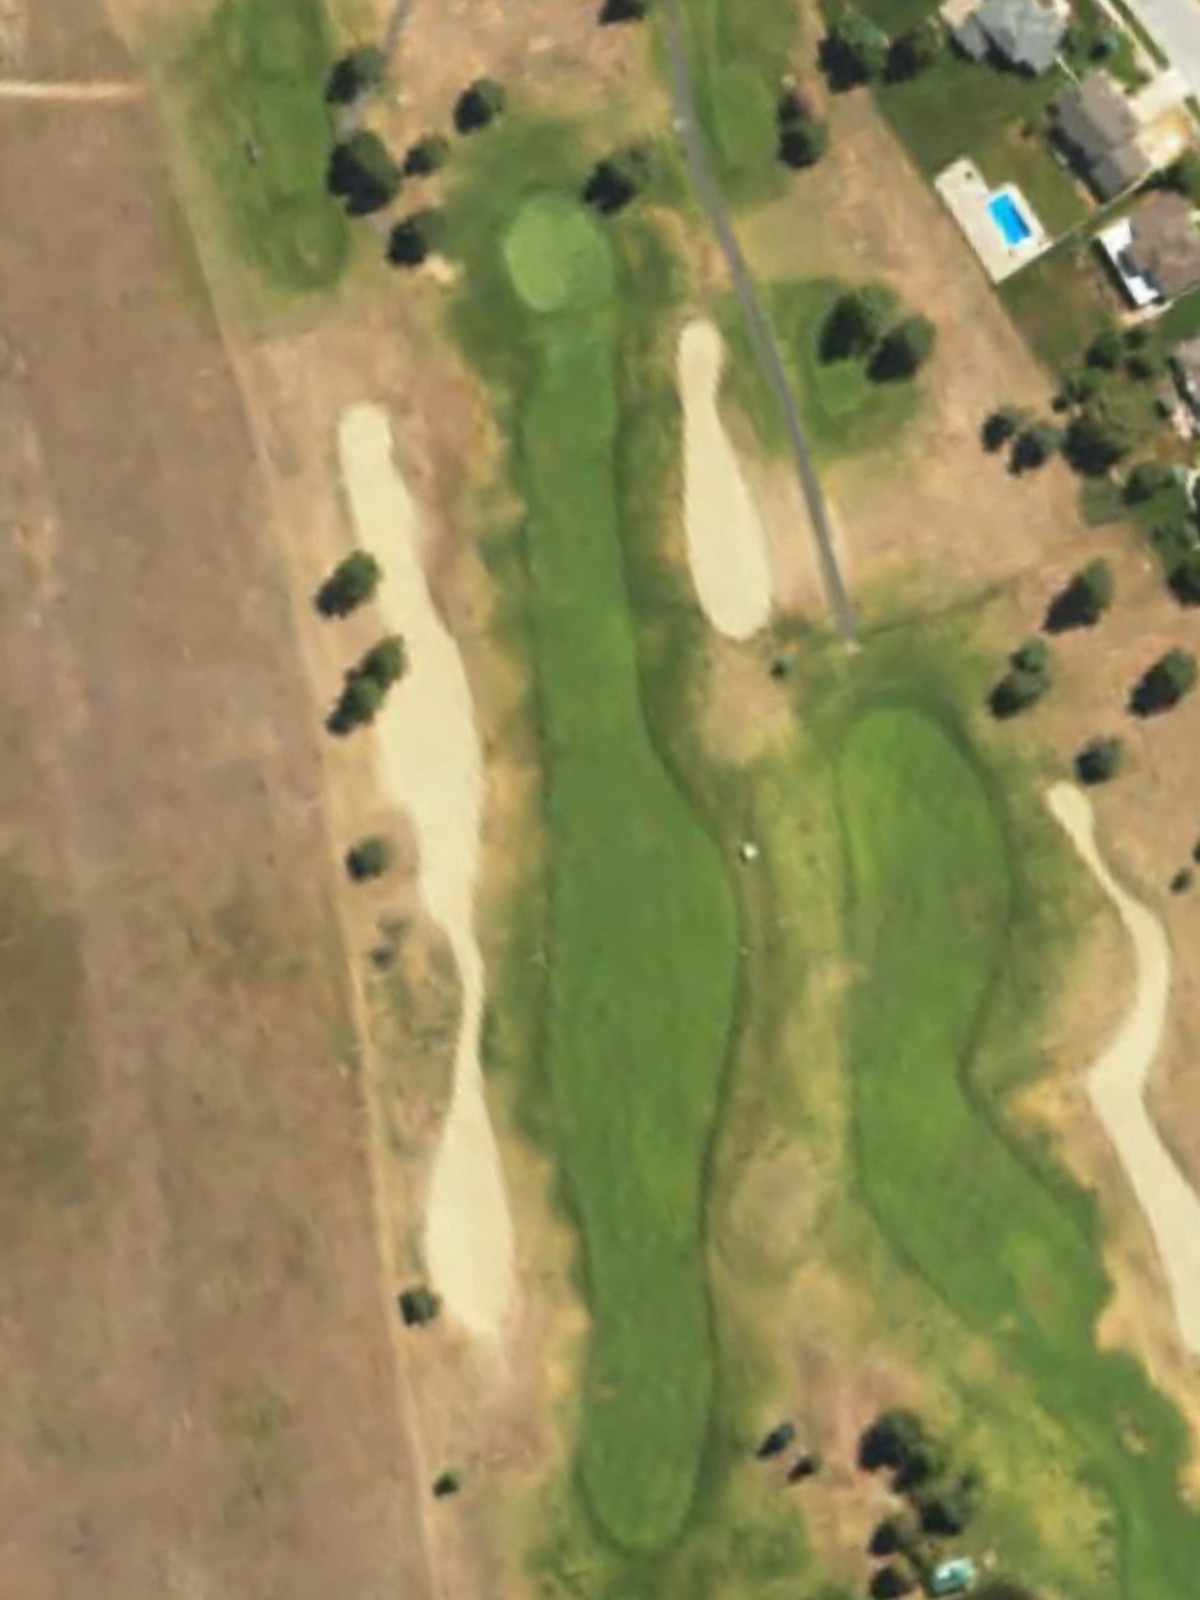
A formidable par 4 ranked among the course's most challenging holes, with a narrow fairway that tightens considerably near the green. Strategic bunkering on both sides of the approach area punishes wayward shots and demands precision.
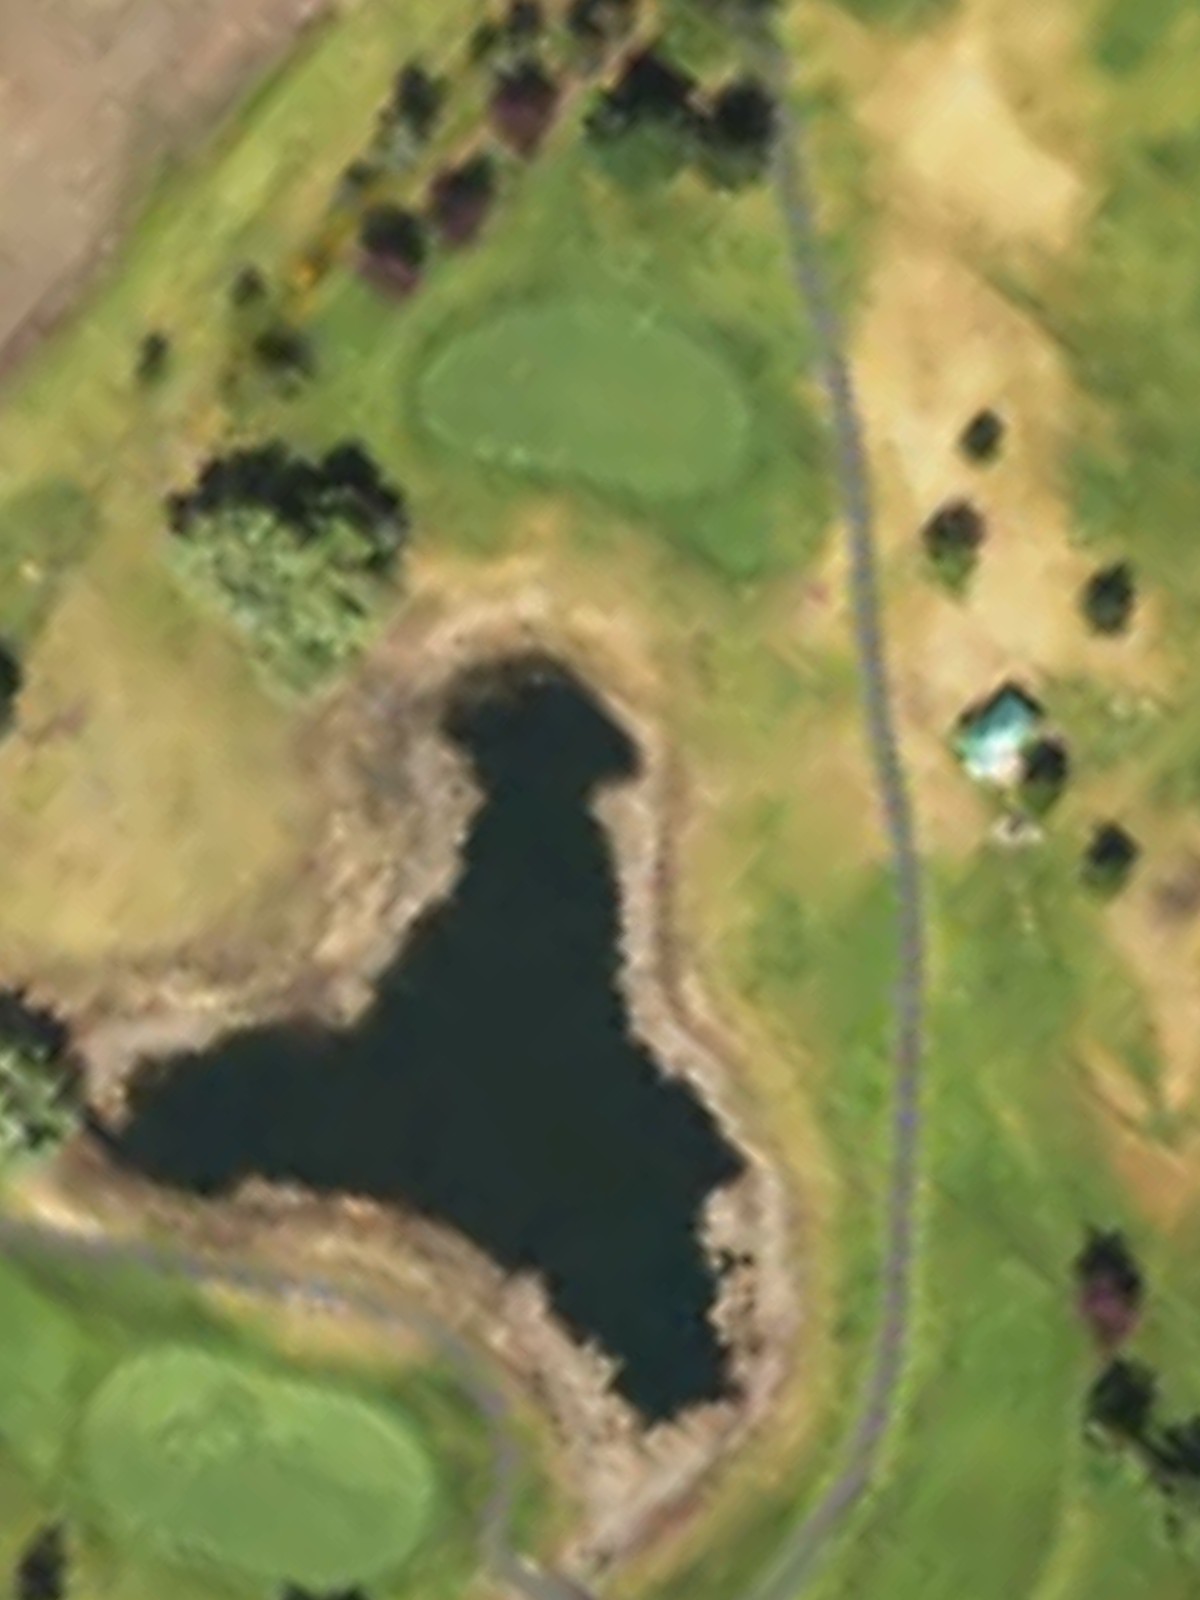
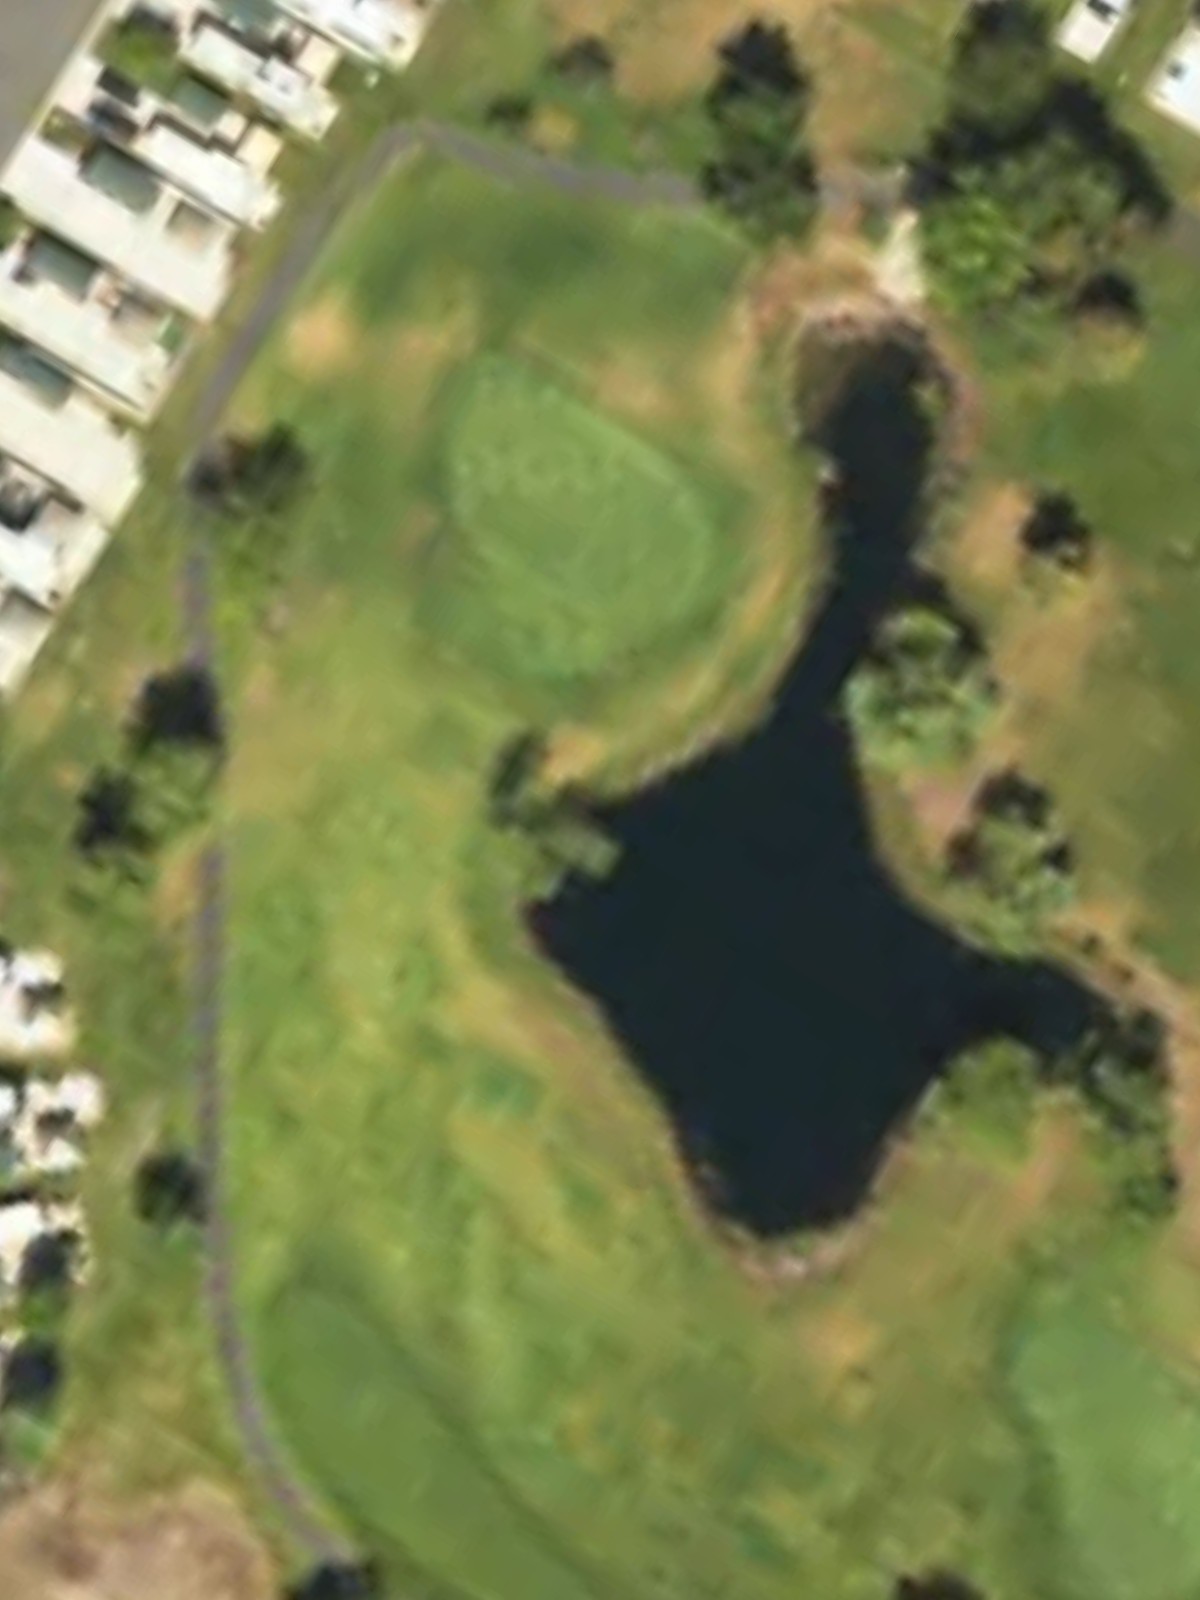
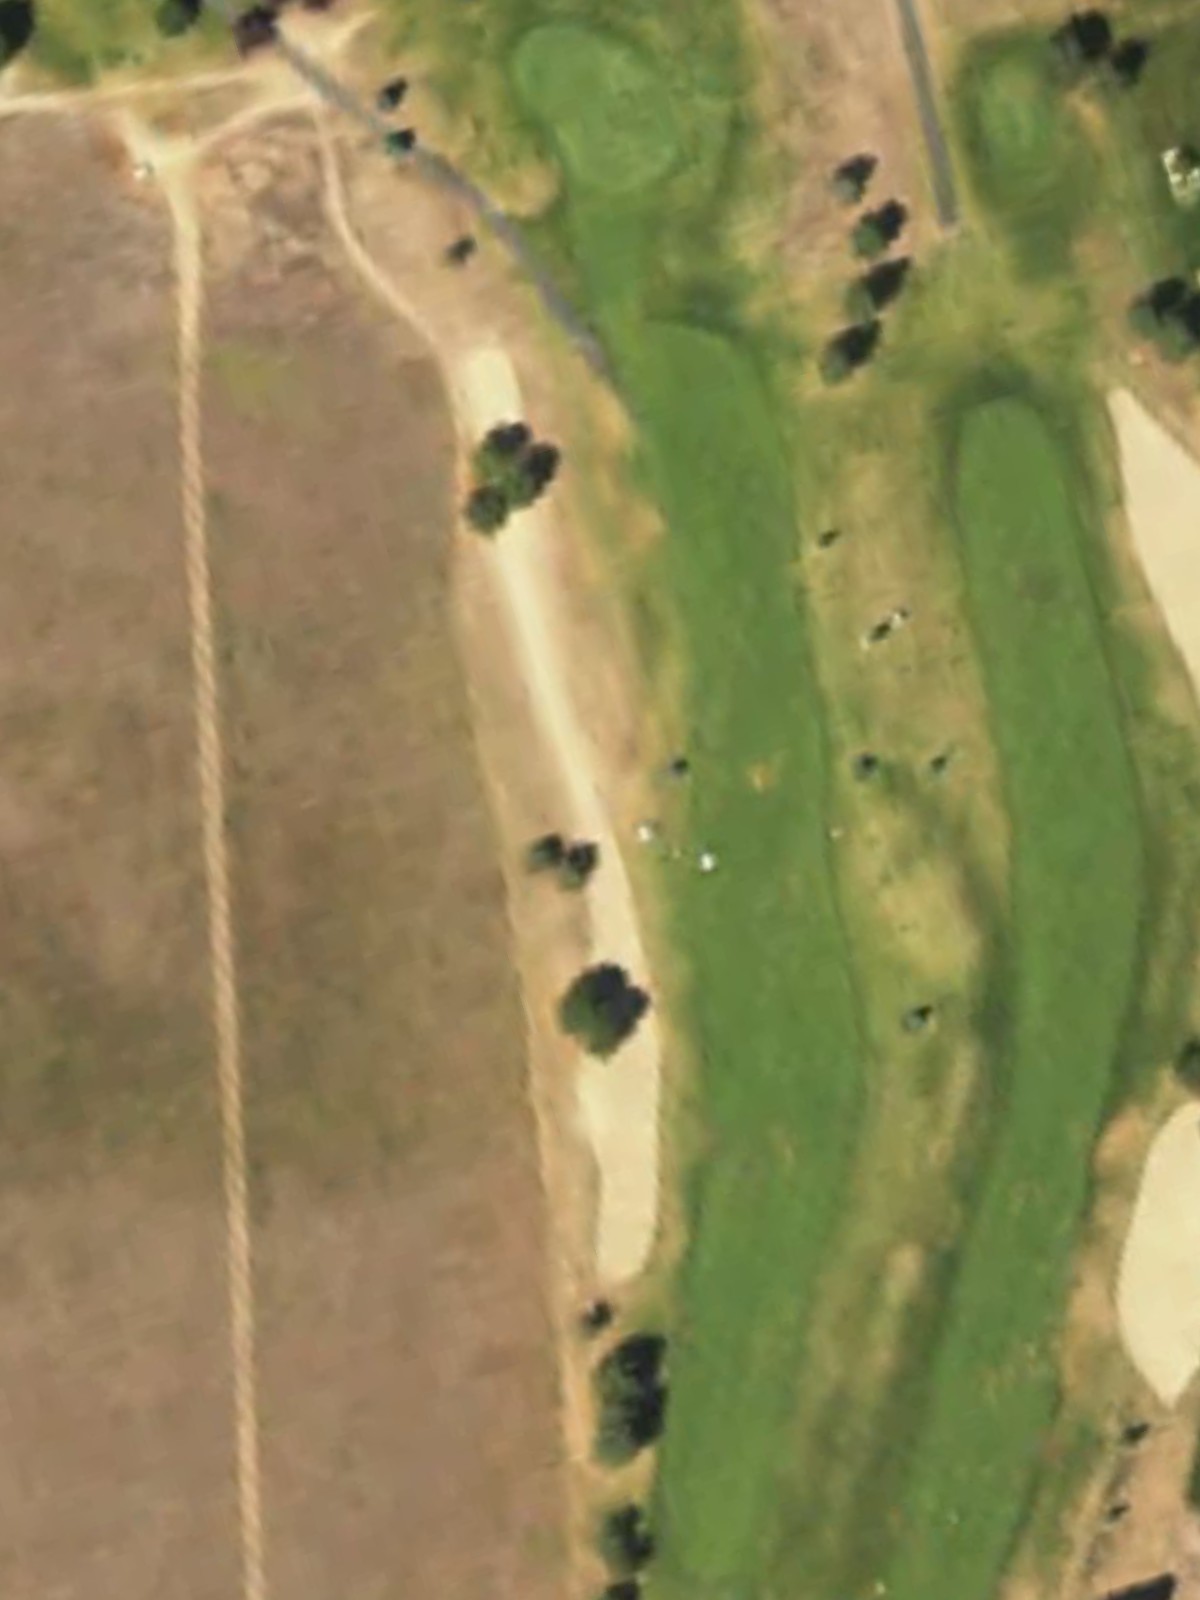
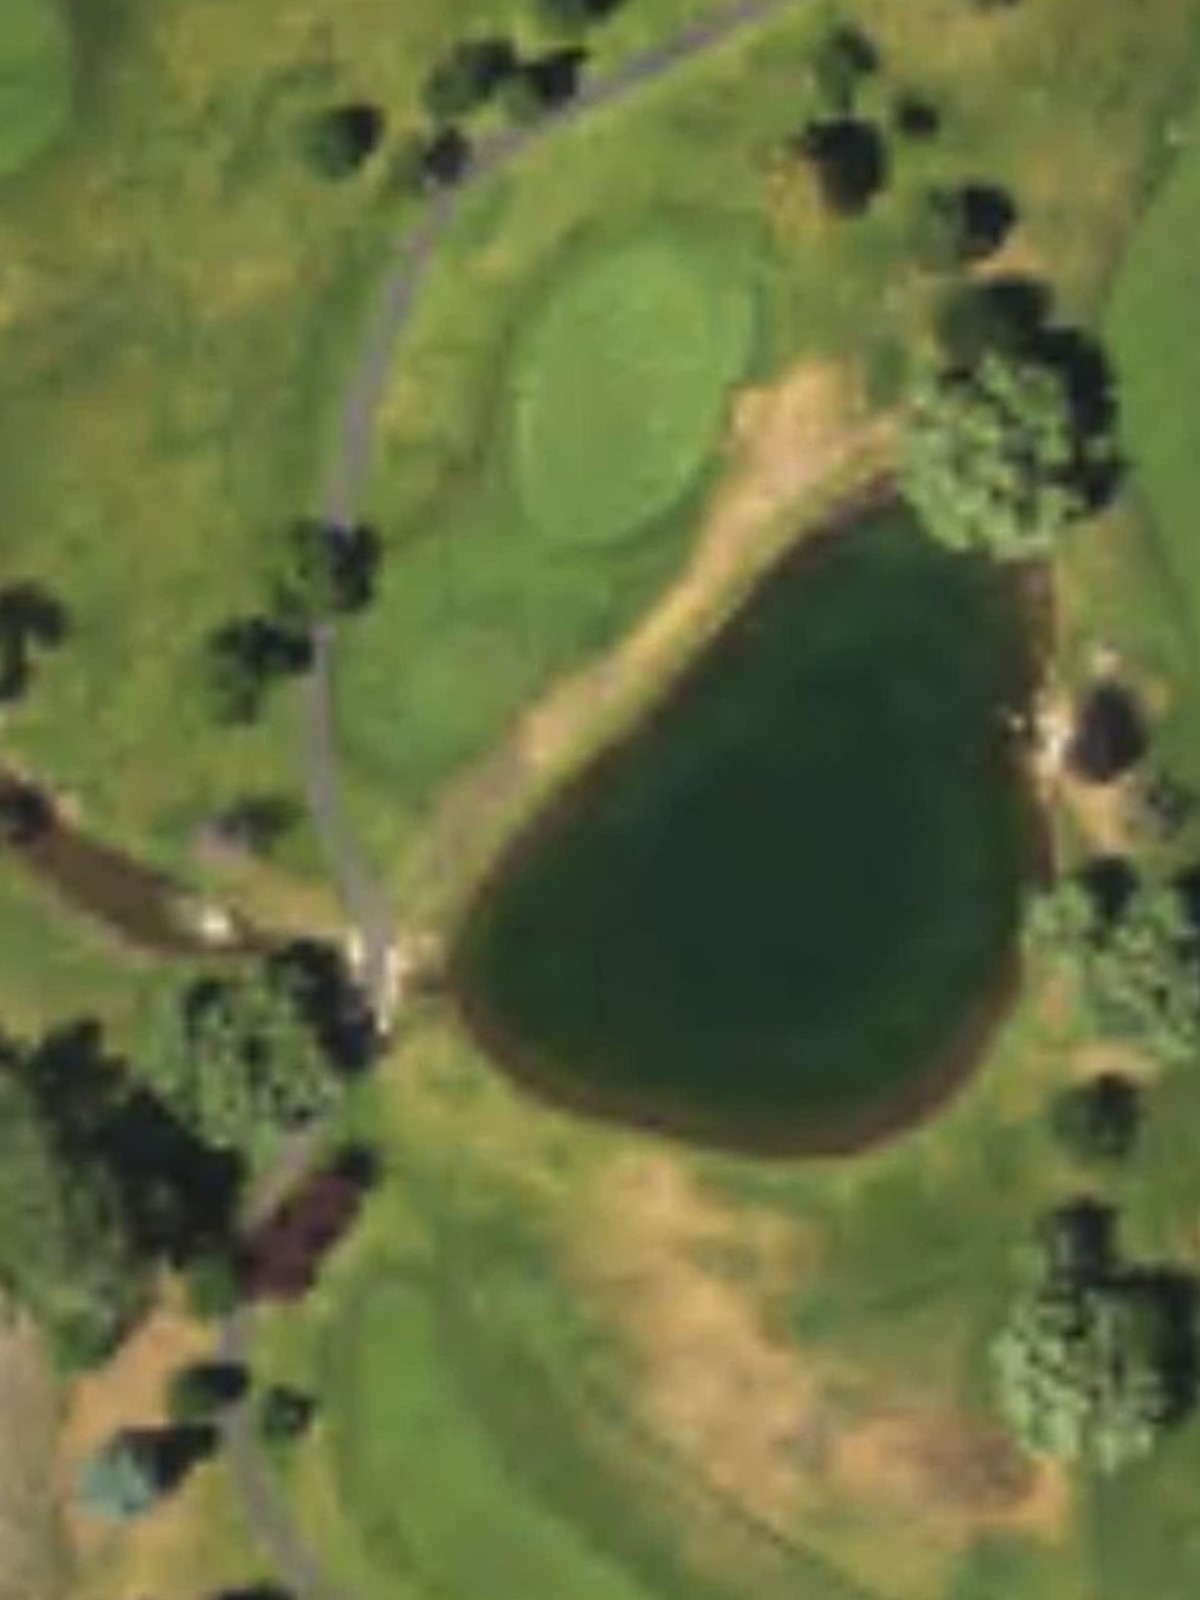
A short par 3 with a relatively modest length but deceptive difficulty. The green is well-bunkered and slopes away from the player, making it difficult to hold approach shots even from the center of the fairway.
A generous par 4 that offers one of the more forgiving scoring opportunities on the front nine. The fairway is open and receptive, though hazards lurk around the green to catch errant approaches.
The course's signature par 5 and one of its most challenging holes, requiring two solid shots to position for the approach. Length combined with strategic hazard placement throughout makes this a test of both power and precision.
A well-bunkered par 4 with strategic rough and sand placements that reward thoughtful course management. The fairway shape and green approach require careful positioning to avoid the hazards surrounding the putting surface.
A short par 3 that plays deceptively difficult despite its modest yardage. The small green and surrounding bunkers demand an accurate short iron to secure par.
The back nine's opening hole and the course's most difficult overall, featuring length and strategic hazards that challenge even accomplished players. A demanding approach shot into a well-protected green defines this par 4's character.
A solid par 4 that plays slightly shorter than other mid-course four-par holes, offering a brief respite before more demanding stretches. The fairway is reasonably open but the green complex requires careful approach work.
A long, testing par 5 ranked among the course's elite holes for difficulty, with hazards strategically placed to challenge both aggressive and conservative lines. Length and positioning demands require thoughtful execution on all three shots.
The most forgiving par 4 on the card, with an open fairway and receptive green complex that invites scoring opportunities. The straightforward design makes this an ideal birdie hole for those who execute well off the tee.
A short par 3 with a well-defined green complex surrounded by bunkers and rough. The tight landing area demands precision from tee to green despite the modest distance.
A second-ranked difficult par 4 featuring significant length and a challenging green approach protected by strategic hazards. The hole's design punishes poor positioning and demands consistent execution under pressure.
A mid-length par 4 that features a moderately narrow fairway with hazards requiring smart positioning for the approach shot. The green slopes and bunker placement around the putting surface reward accuracy.
A mid-length par 3 with elevated green complexity and surrounding sand hazards that demand an accurate tee shot. The varying yardage between tees makes club selection and commitment critical to success.
A lengthy par 5 requiring two powerful shots to set up scoring opportunities, with hazards positioned to penalize both aggressive and tentative plays. Strategic bunkering around the green makes the final approach a critical test.
A strong closing par 4 ranked among the course's most challenging holes, featuring length and a well-protected green that demands precision on the approach. The finishing hole's difficulty provides a memorable conclusion to the round.
Scorecard
| Hole | 1 | 2 | 3 | 4 | 5 | 6 | 7 | 8 | 9 | Out | 10 | 11 | 12 | 13 | 14 | 15 | 16 | 17 | 18 | In | Tot |
|---|---|---|---|---|---|---|---|---|---|---|---|---|---|---|---|---|---|---|---|---|---|
| Par | 4 | 5 | 4 | 3 | 4 | 5 | 4 | 3 | 4 | 36 | 4 | 5 | 4 | 3 | 4 | 4 | 3 | 5 | 4 | 36 | 72 |
| HCP | 13 | 11 | 5 | 9 | 17 | 3 | 7 | 15 | 1 | 14 | 6 | 18 | 16 | 2 | 12 | 8 | 10 | 4 | |||
| blue | 389 | 493 | 412 | 173 | 352 | 530 | 406 | 127 | 450 | 3332 | 355 | 526 | 387 | 144 | 412 | 401 | 180 | 504 | 449 | 3358 | 6690 |
| white | 355 | 457 | 377 | 151 | 352 | 504 | 376 | 109 | 408 | 3089 | 341 | 516 | 367 | 134 | 379 | 369 | 159 | 472 | 417 | 3154 | 6243 |
| gold | 322 | 380 | 341 | 122 | 329 | 457 | 342 | 93 | 365 | 2751 | 298 | 453 | 341 | 111 | 337 | 302 | 87 | 414 | 359 | 2702 | 5453 |