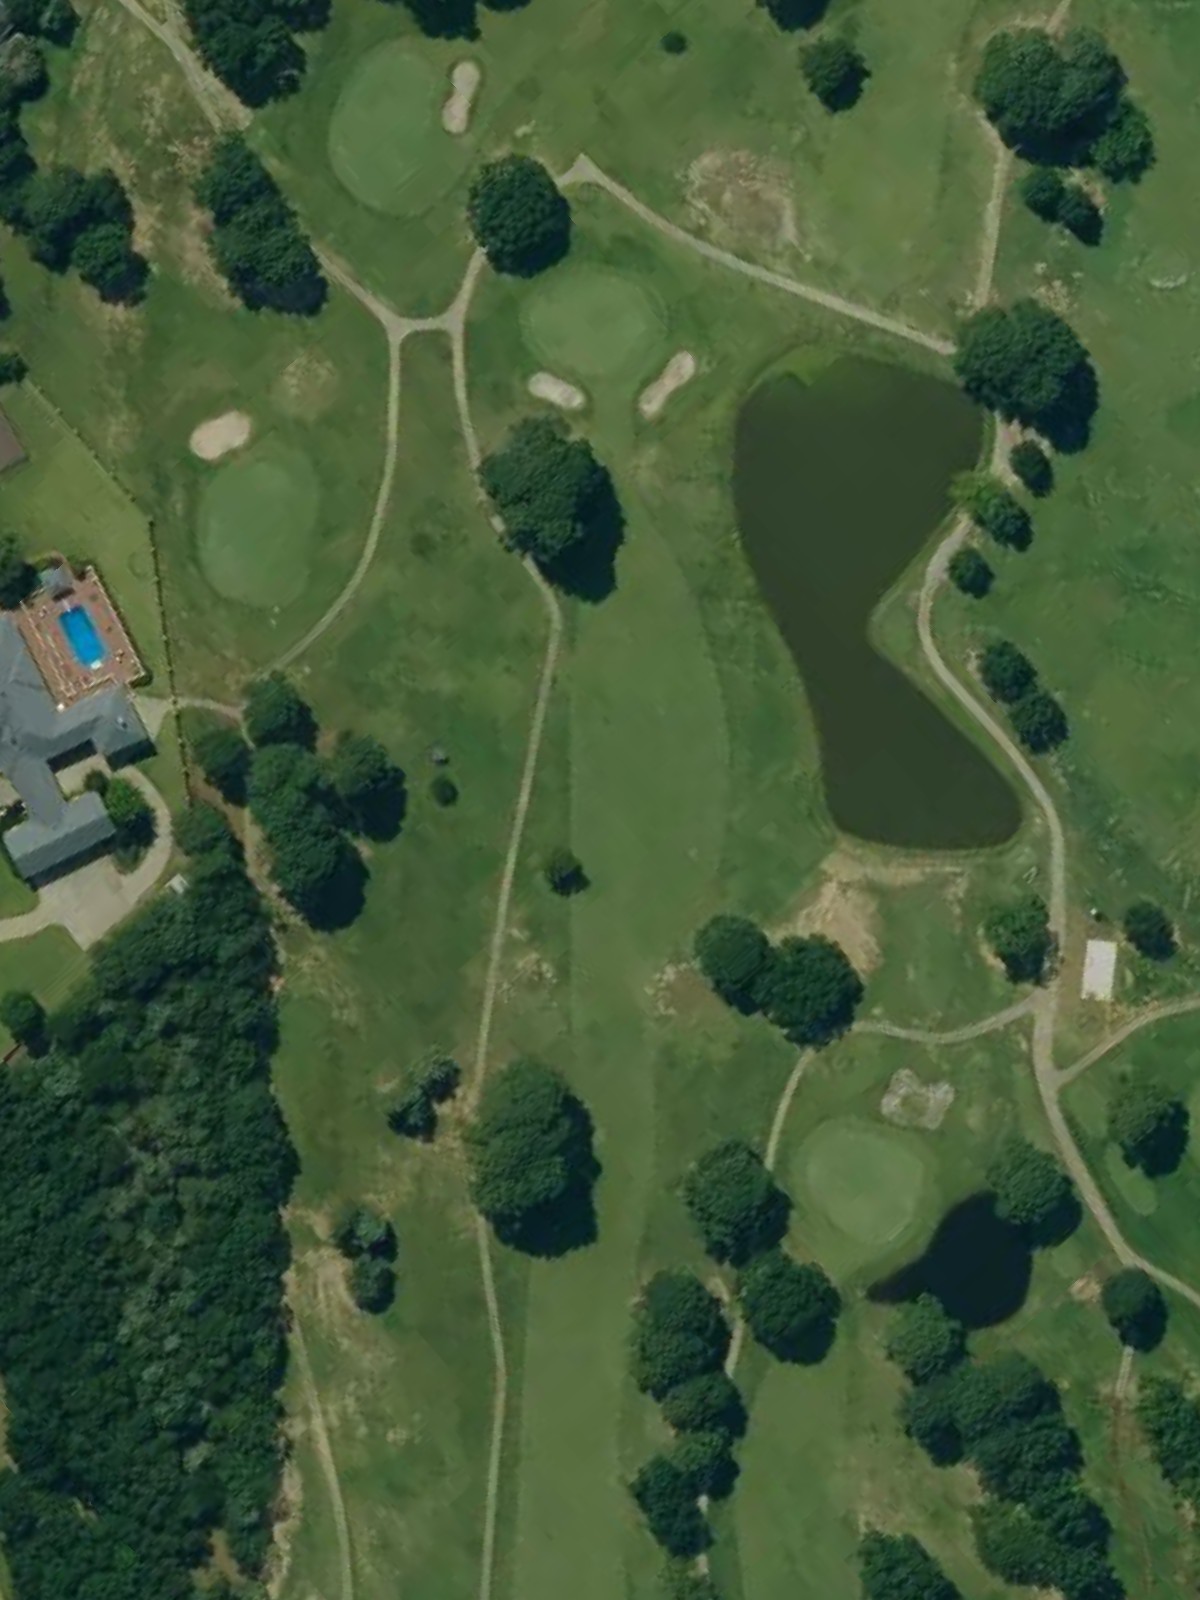
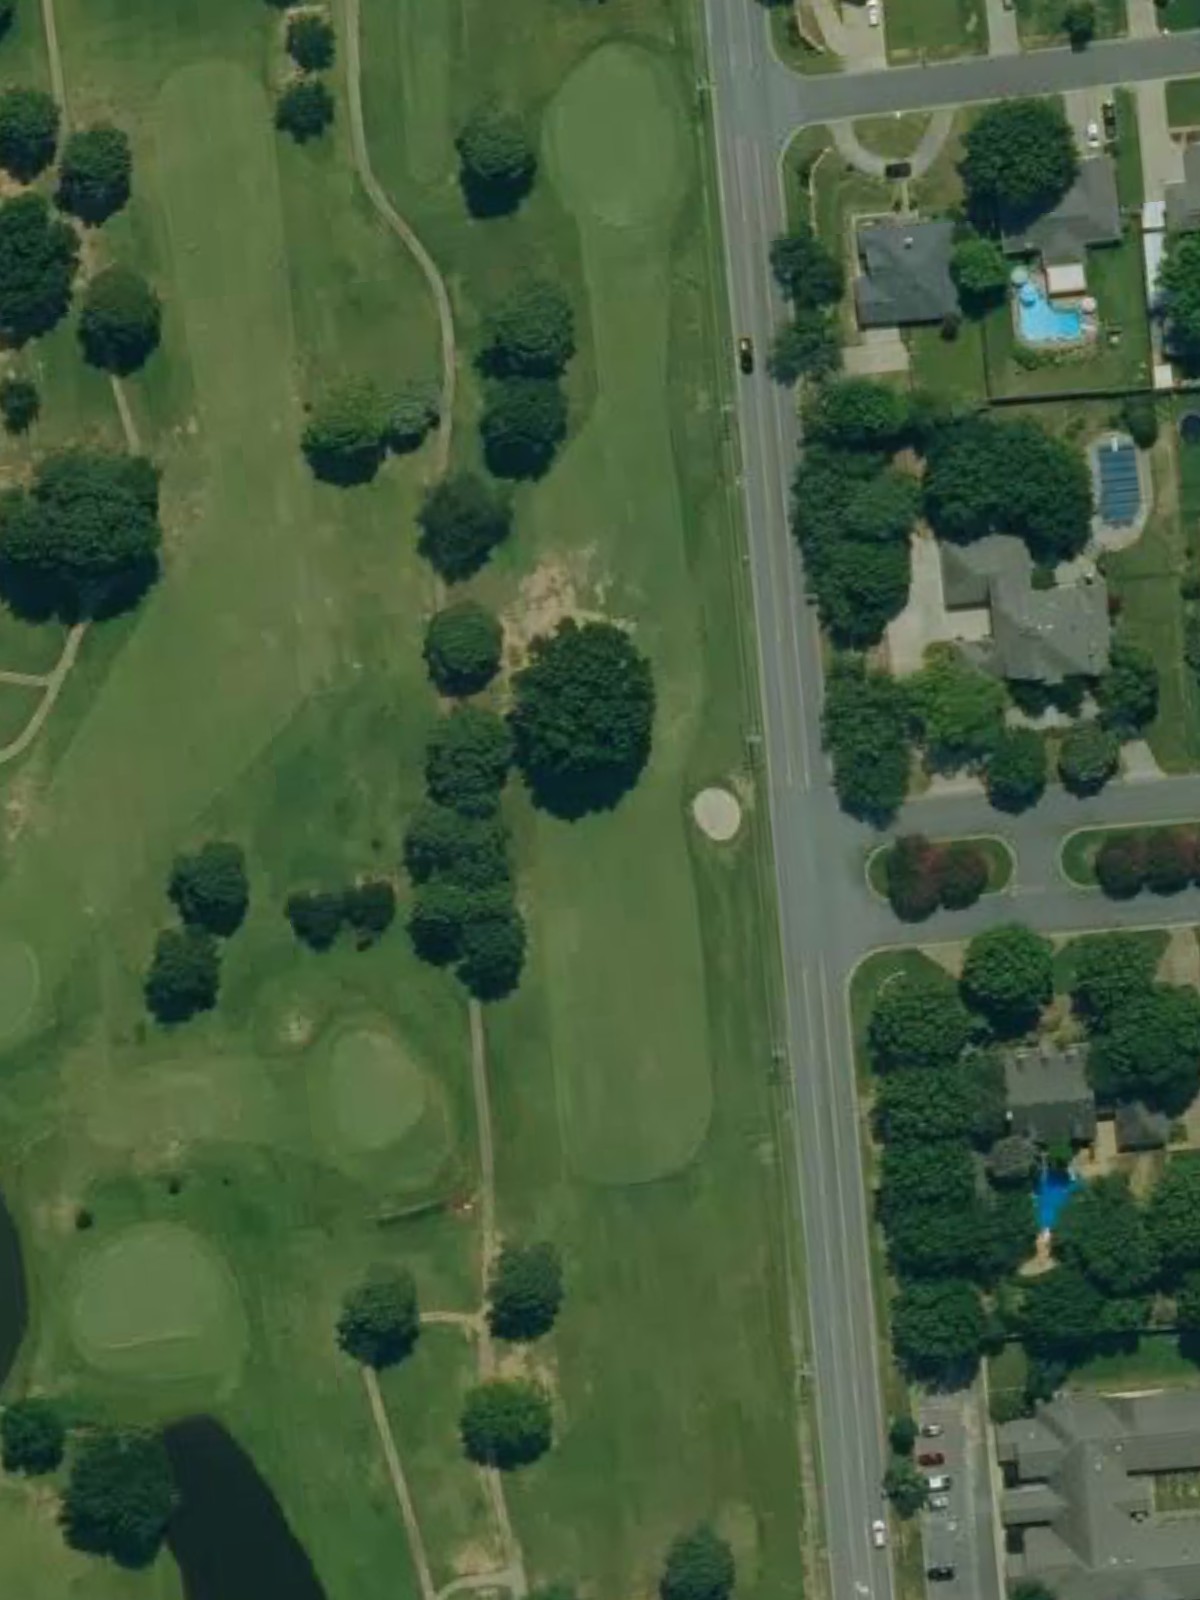
Conway Country Club is an 18-hole golf course in Conway, AR with a par of 70. It offers 4 tee sets: blue (6,148 yards, slope 131, rating 70.9), white (5,725 yards, slope 130, rating 68.2), gold (5,221 yards, slope 117, rating 66.7), red (4,705 yards, slope 109, rating 64.6). The hardest hole is #6, a par 4 playing 330 yards from the first tee.
Conway Country Club
Conway, AR
Get PDF Yardage Book
We'll email you the PDF link. No spam, ever.
Create Your Game Plan
Pick your tees, enter your bag, and get a personalized shot-by-shot strategy for every hole.
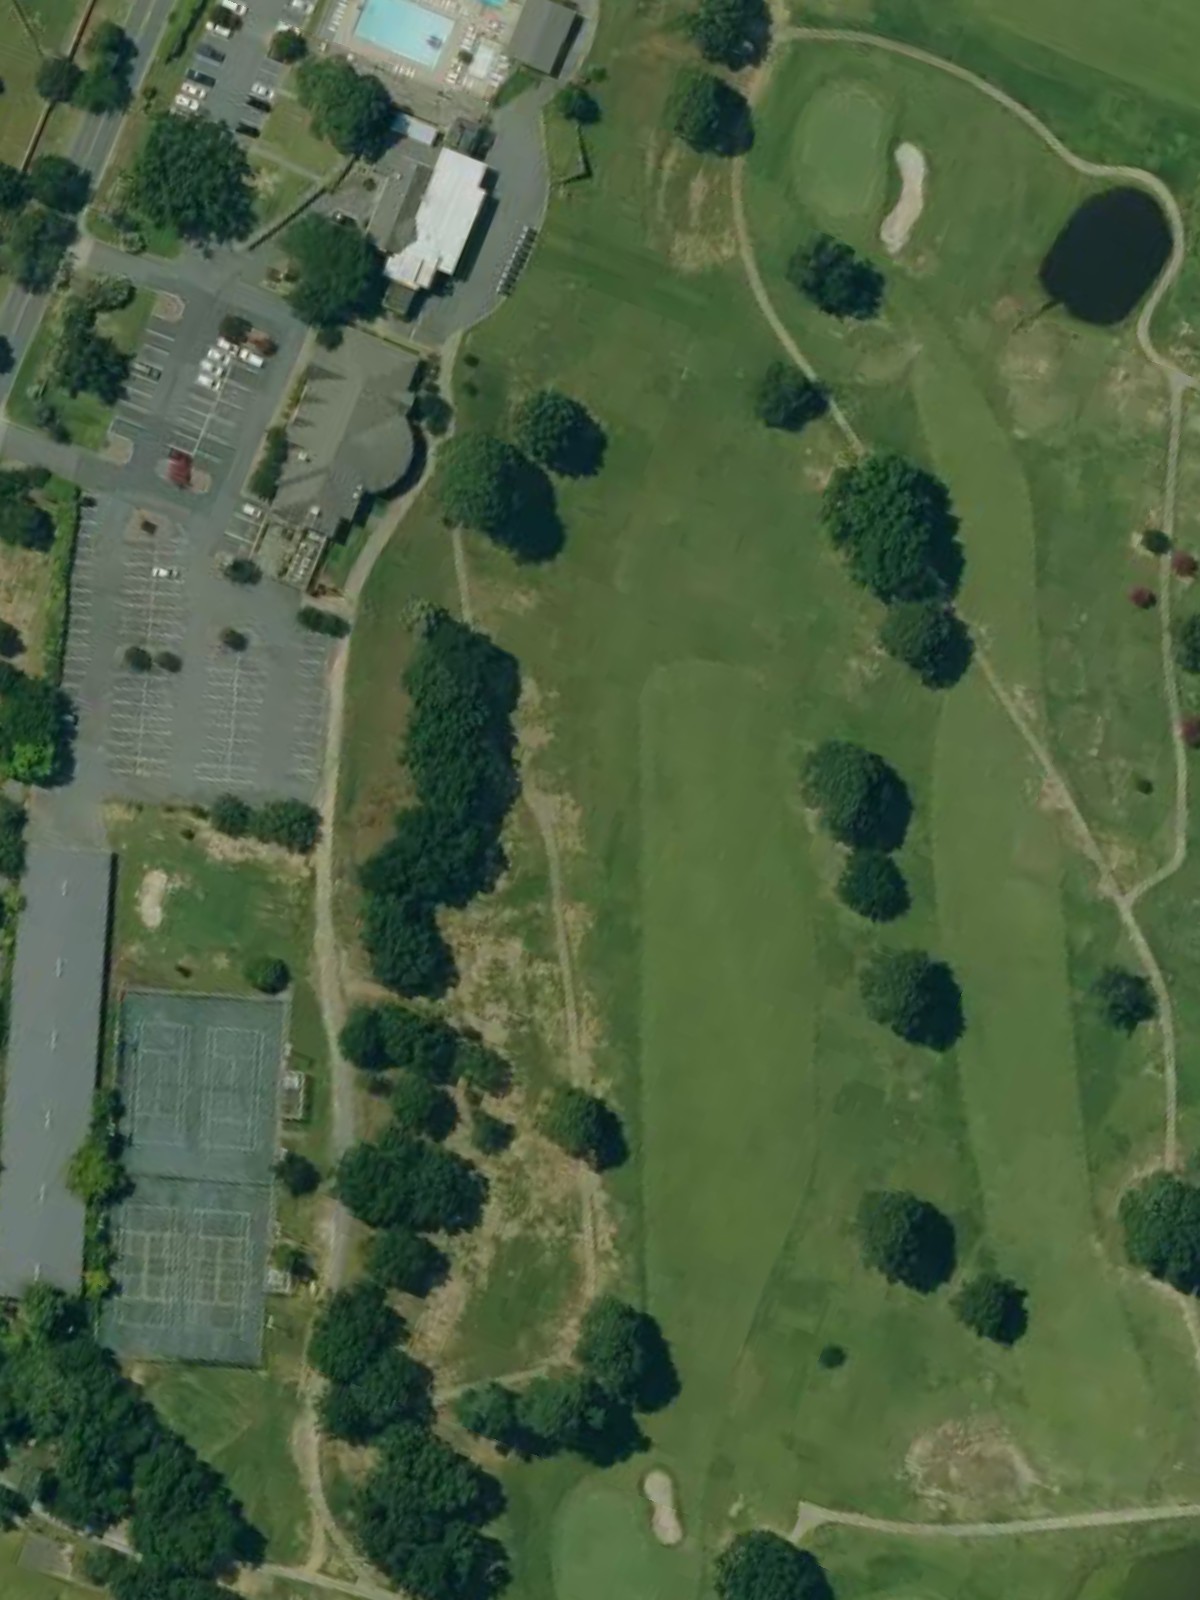
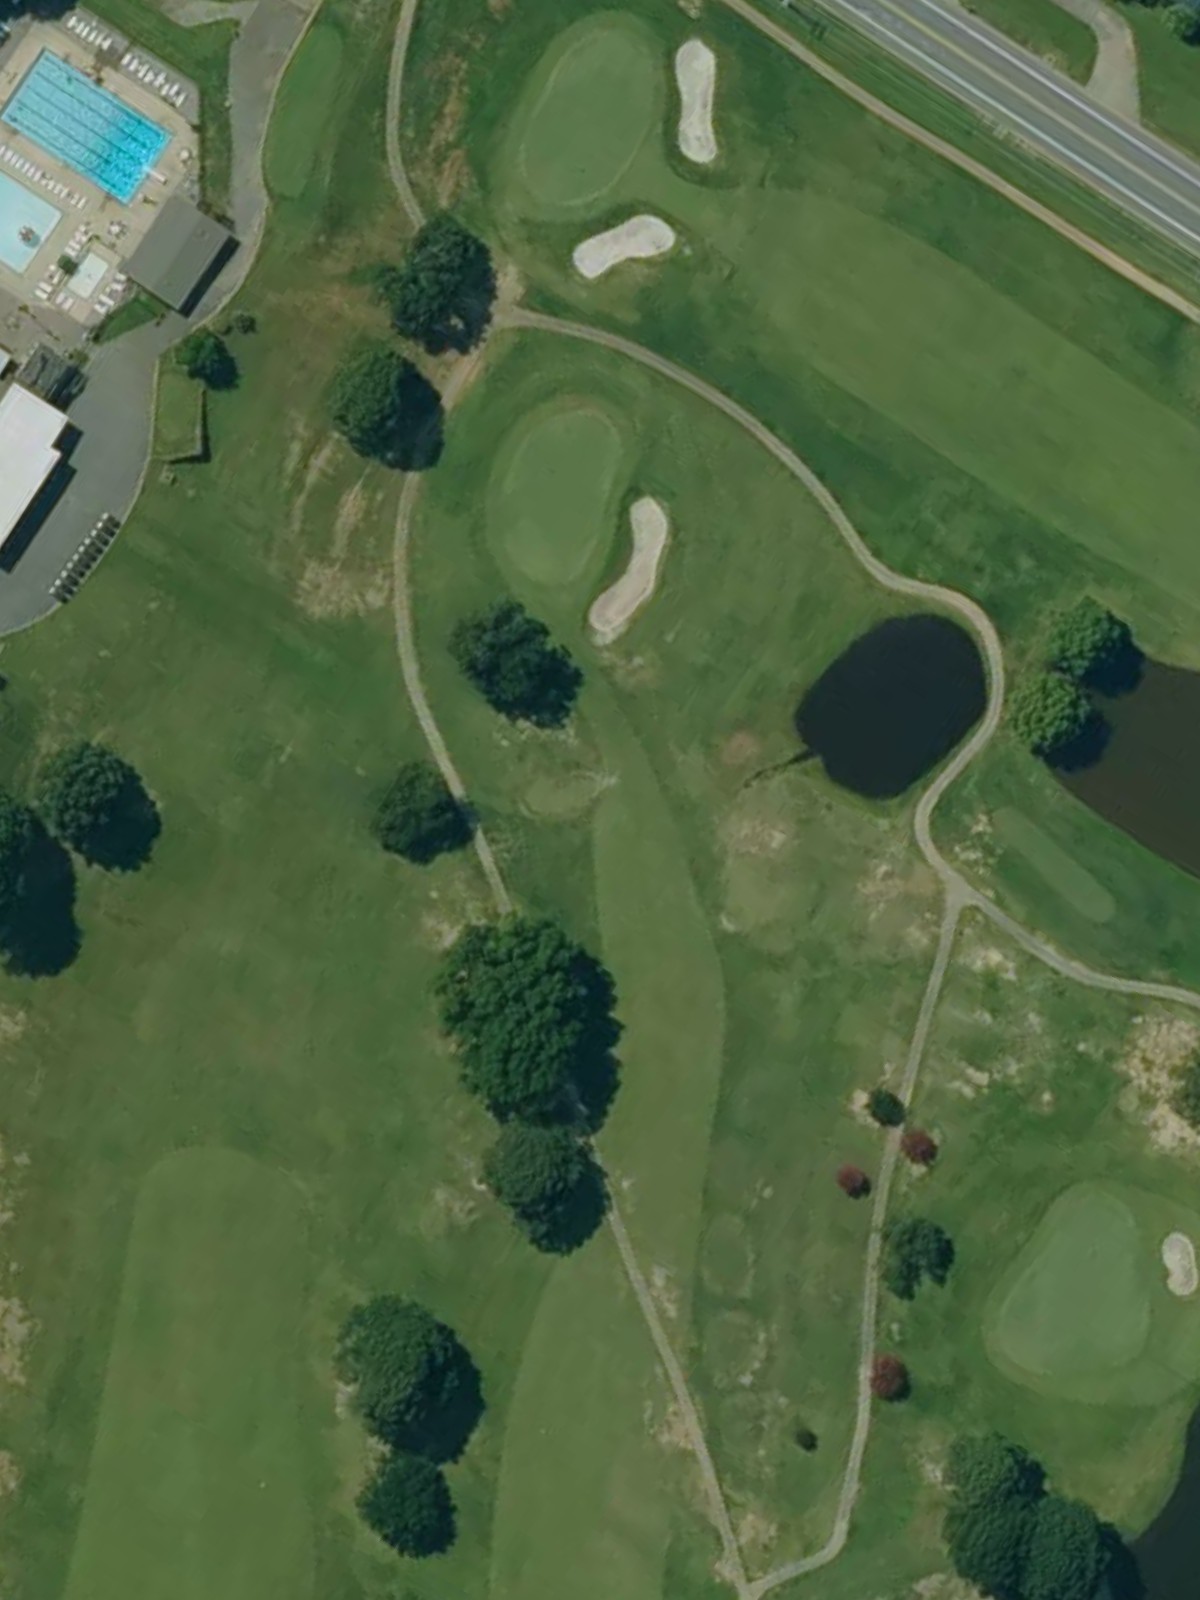
A straightforward par 4 opening hole with a fairly open fairway that gradually narrows as it approaches the green. Bunkers guard the right side of the green, demanding accuracy on the approach shot to a receptive putting surface.
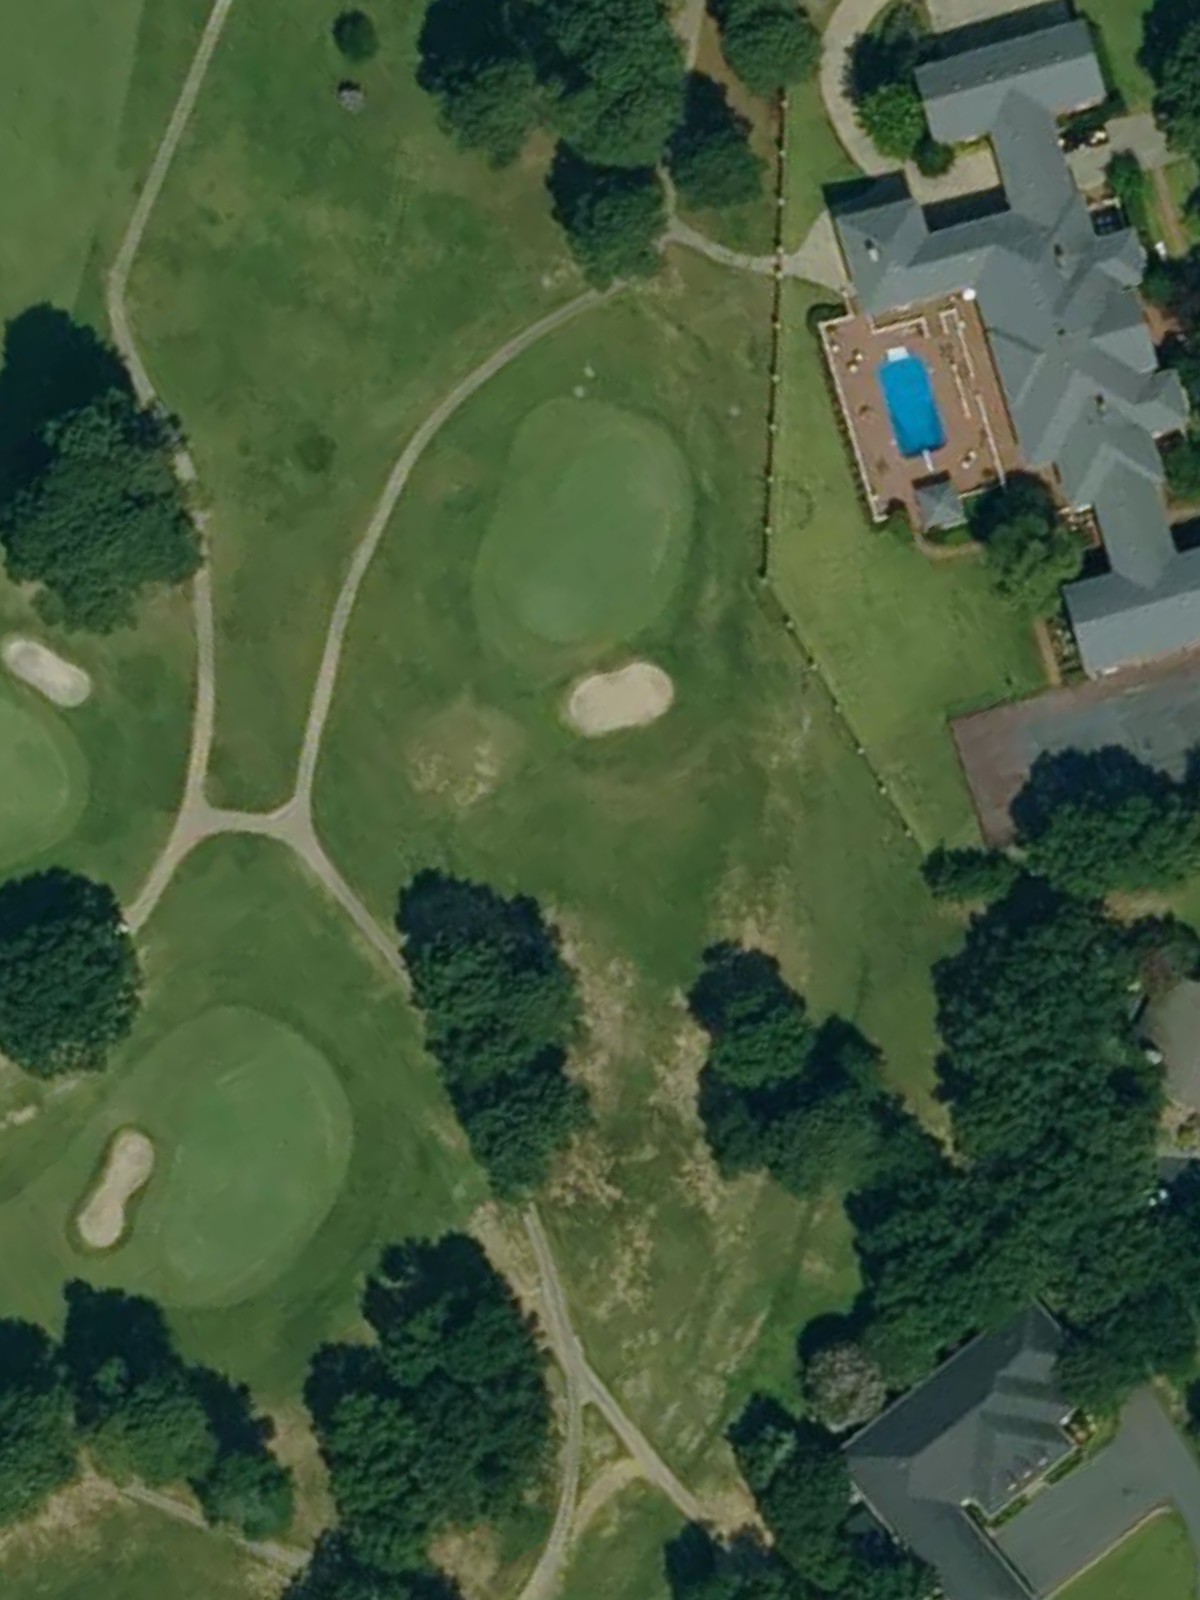
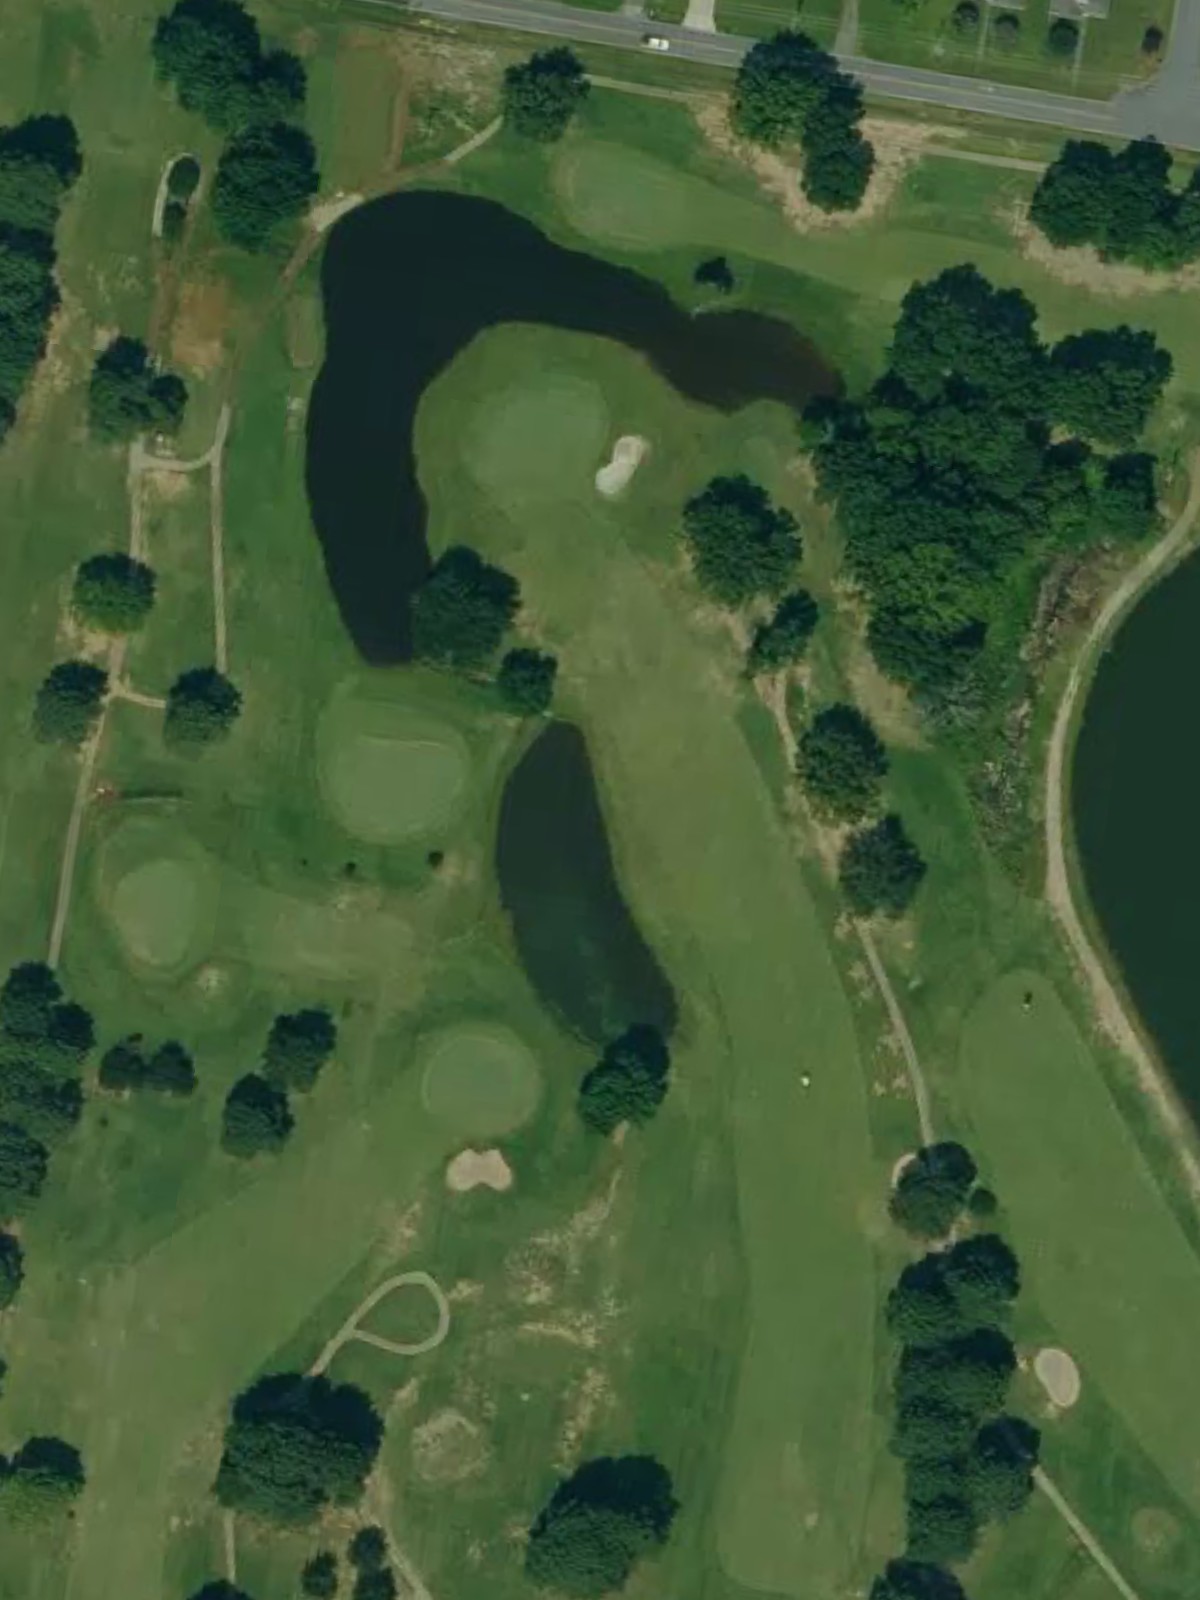
A short par 3 playing to an elevated green with water hazards framing the left side. The narrow green and surrounding trouble make club selection and precision critical on this one-shot hole.
A strategic par 4 that plays shorter than its yardage suggests, with a tight fairway bordered by trees on both sides. Bunkers protect the front of the green, rewarding those who find the fairway with a clear approach.
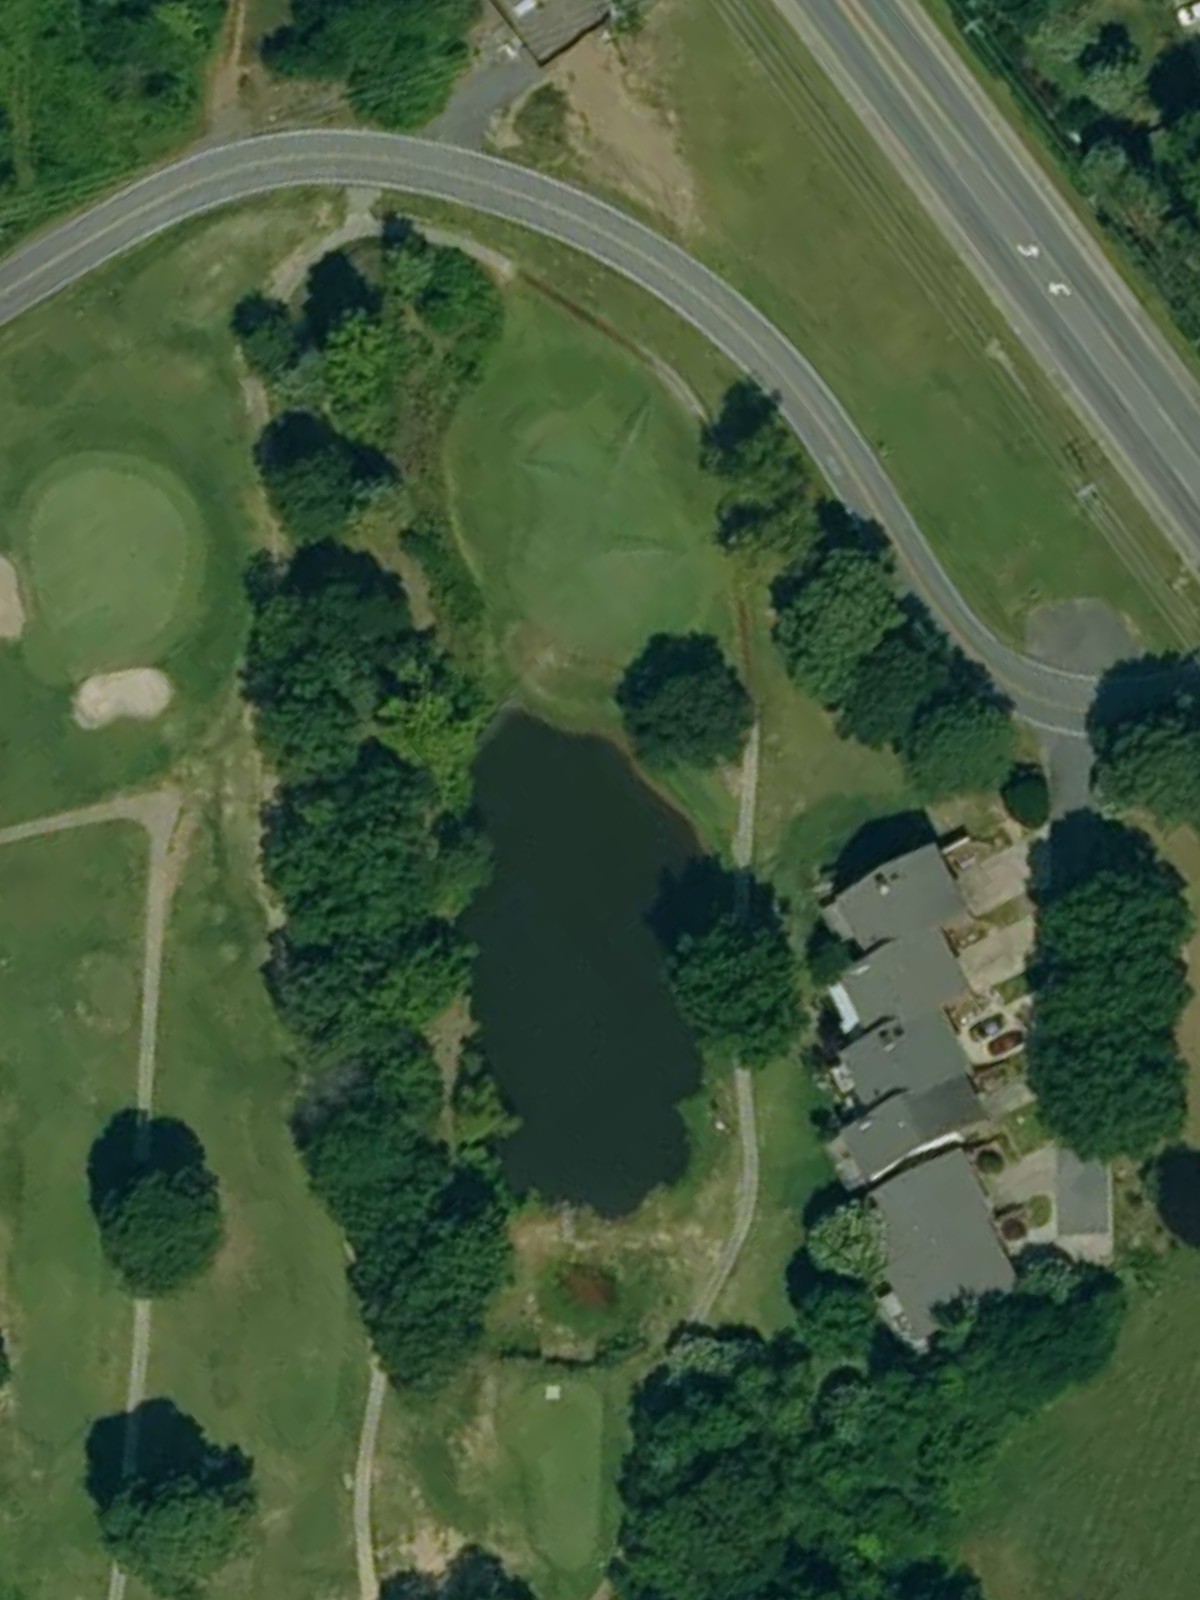
The shortest par 3 on the course, playing over a modest hazard to a compact green. Despite its brevity, the small target area and water hazard create a deceptive test of accuracy.
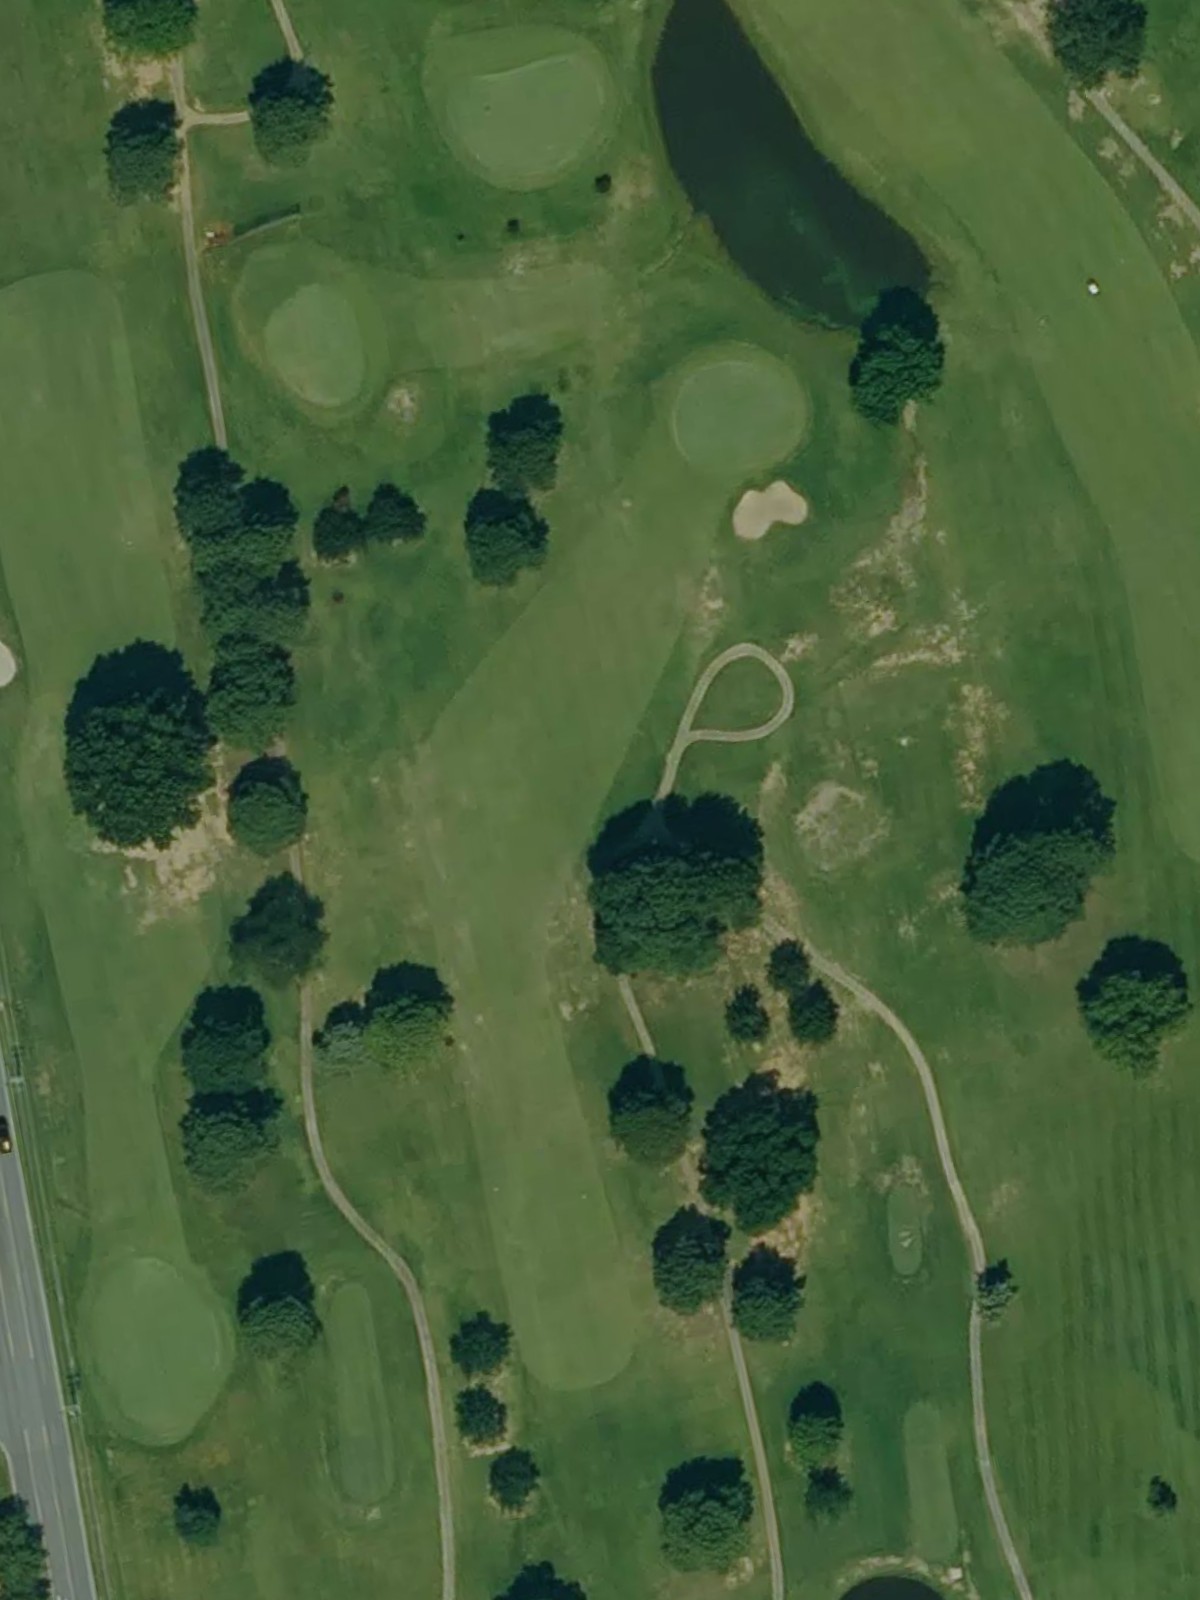
A dominant par 5 with length and a demanding layout that requires two solid shots to reach the green in regulation. Strategic positioning off the tee is essential to avoid trouble on both sides and set up a reasonable third shot.
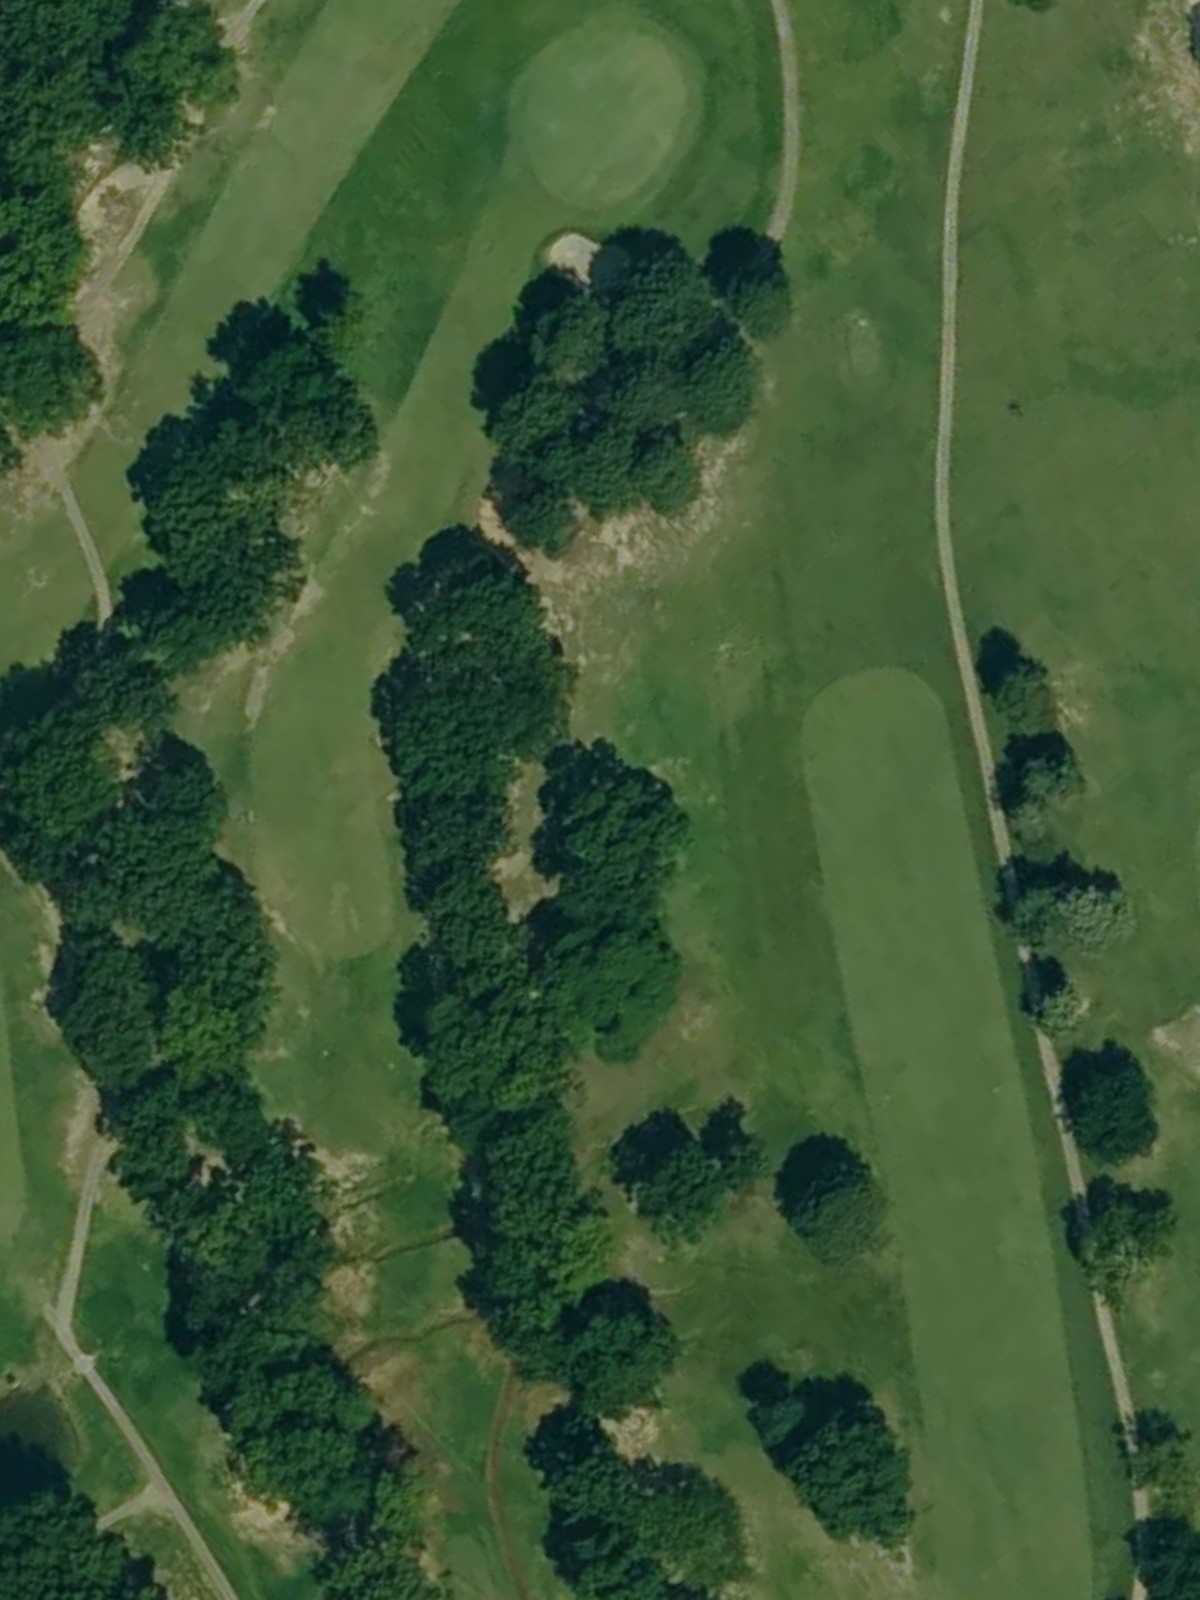
The stroke index 1 hole, this par 4 is the most difficult on the course with its length and tight playing corridor. Bunkers and rough frame the fairway throughout, and the green is well-protected, making this a true test of complete golf.
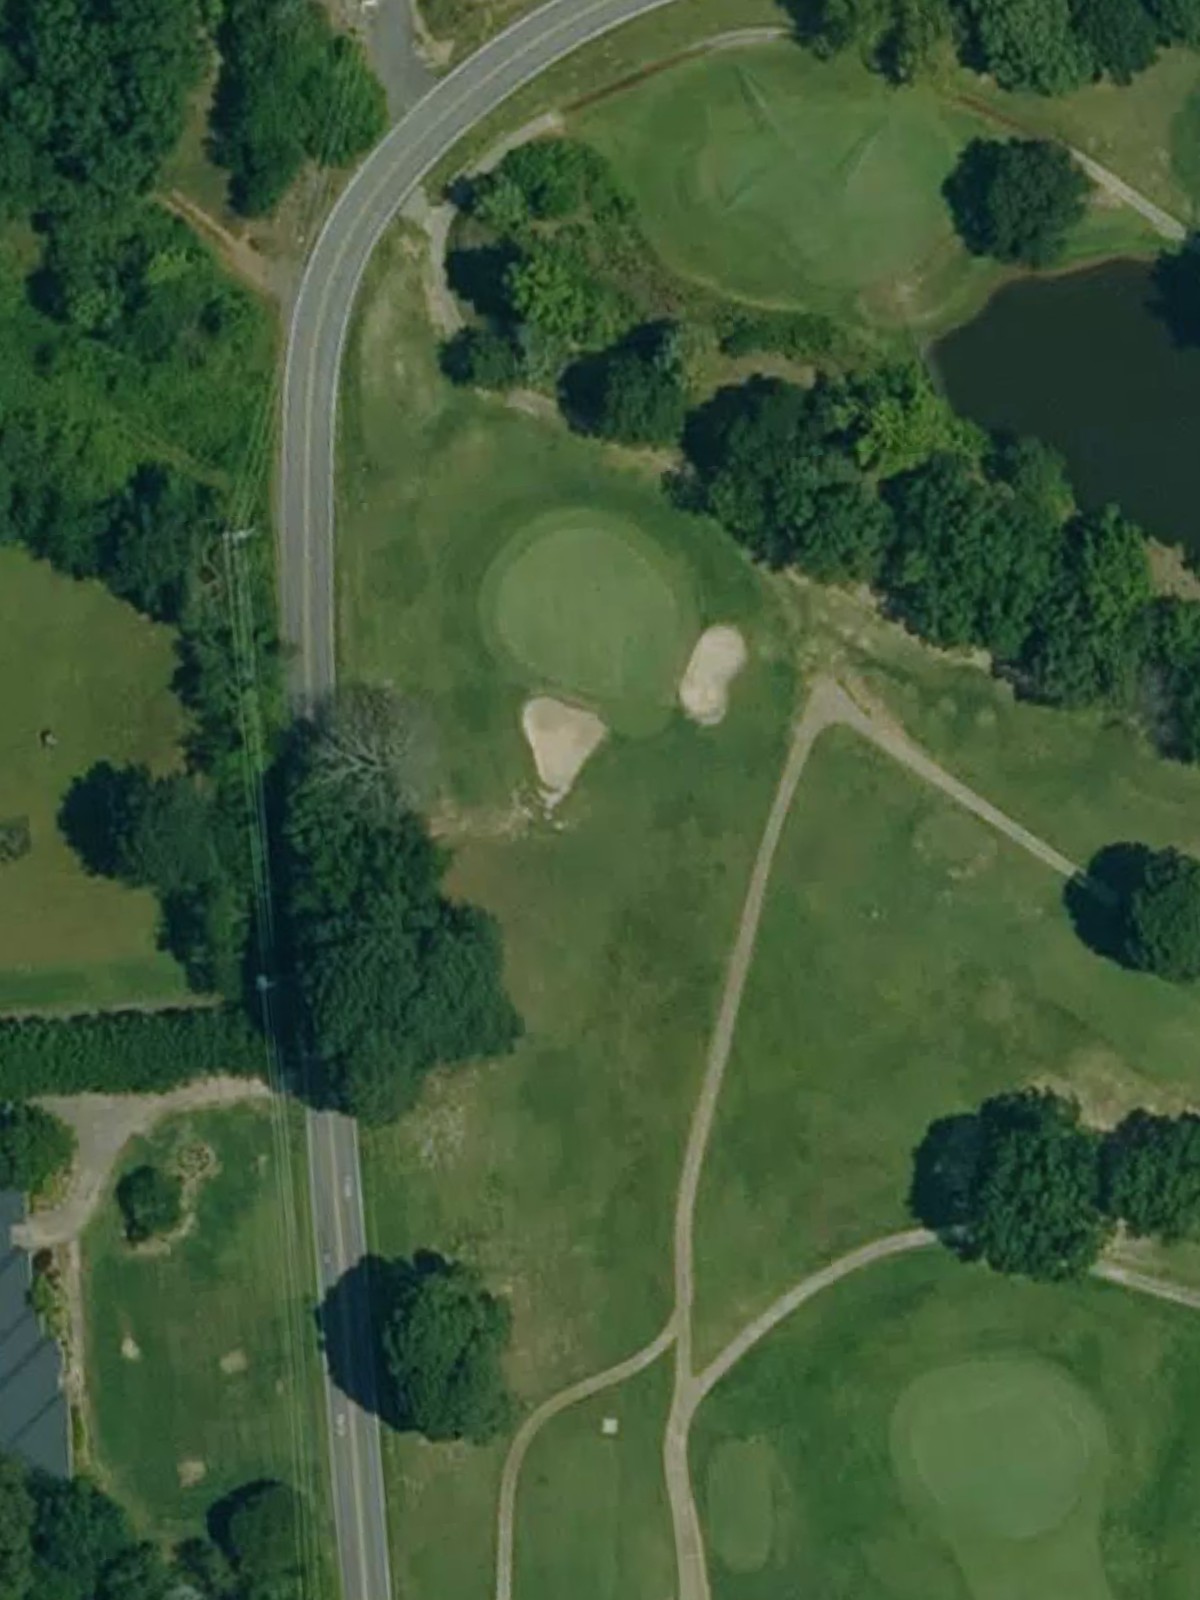
A short par 3 with a straightforward layout and a small, well-bunkered green. The modest yardage belies the precision needed to find this tricky target and avoid the sand.
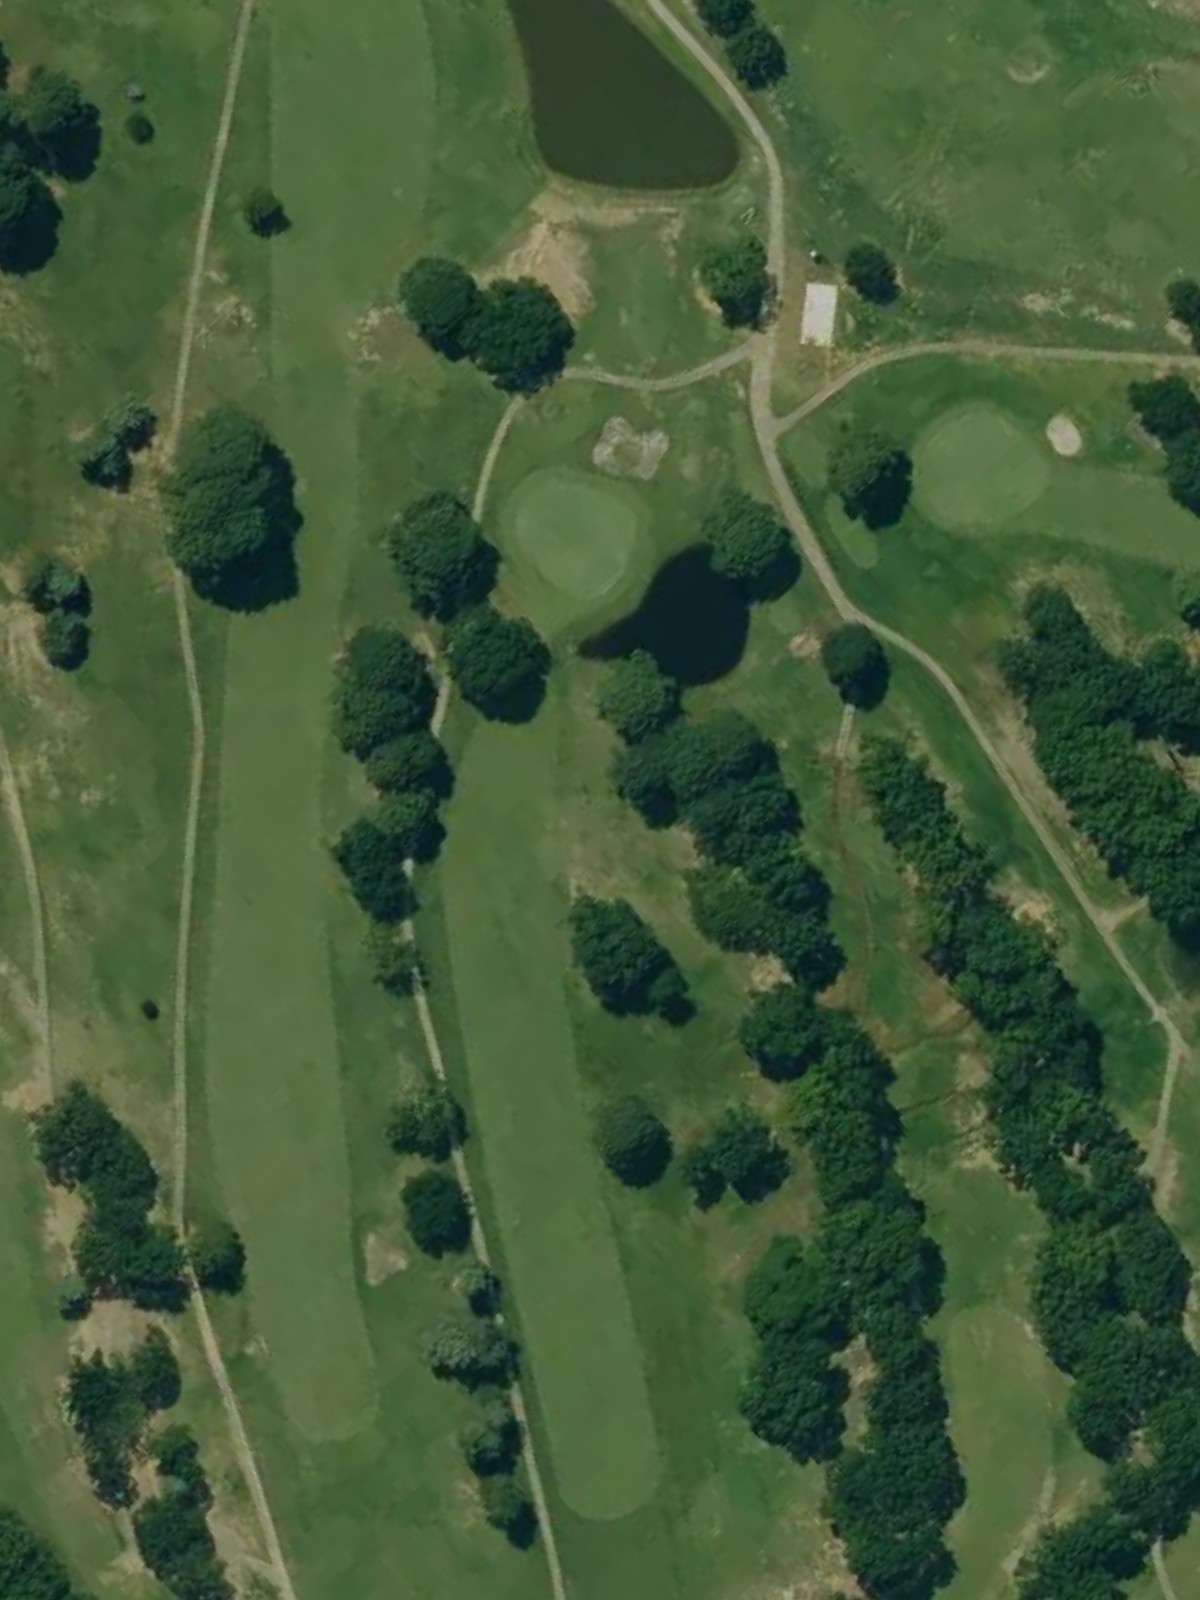
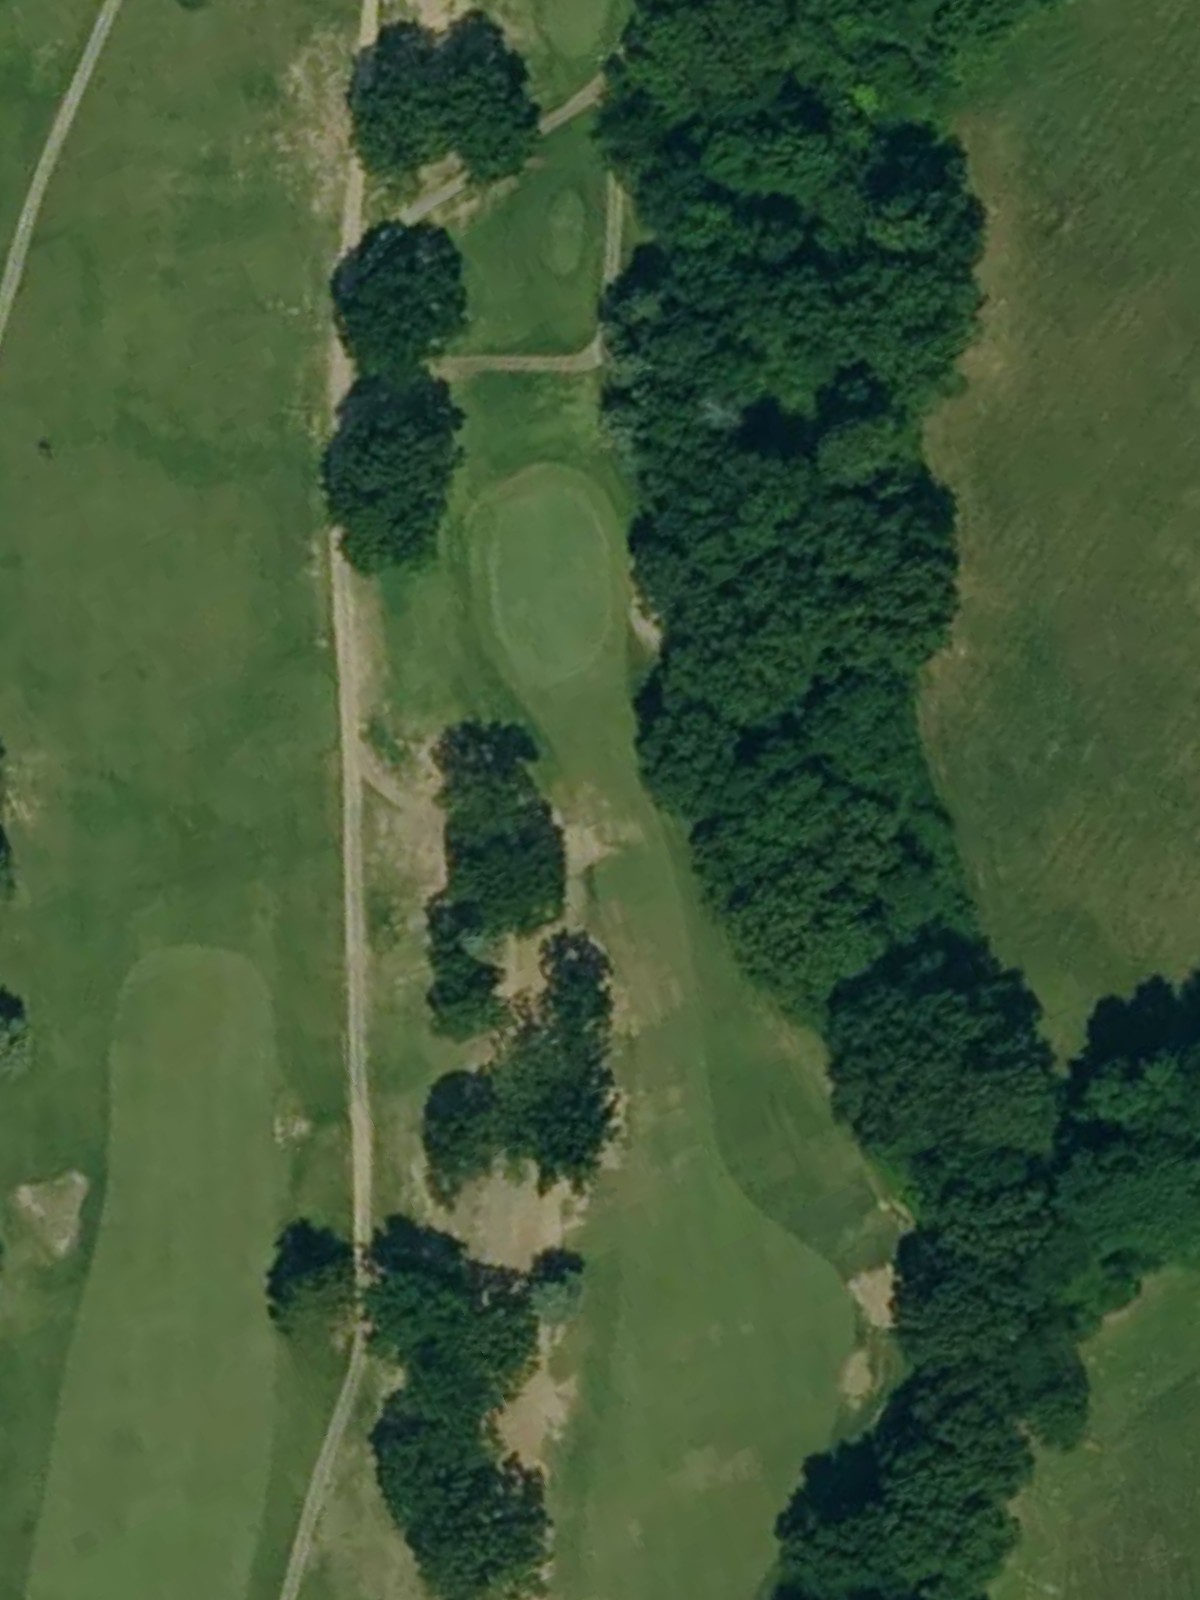
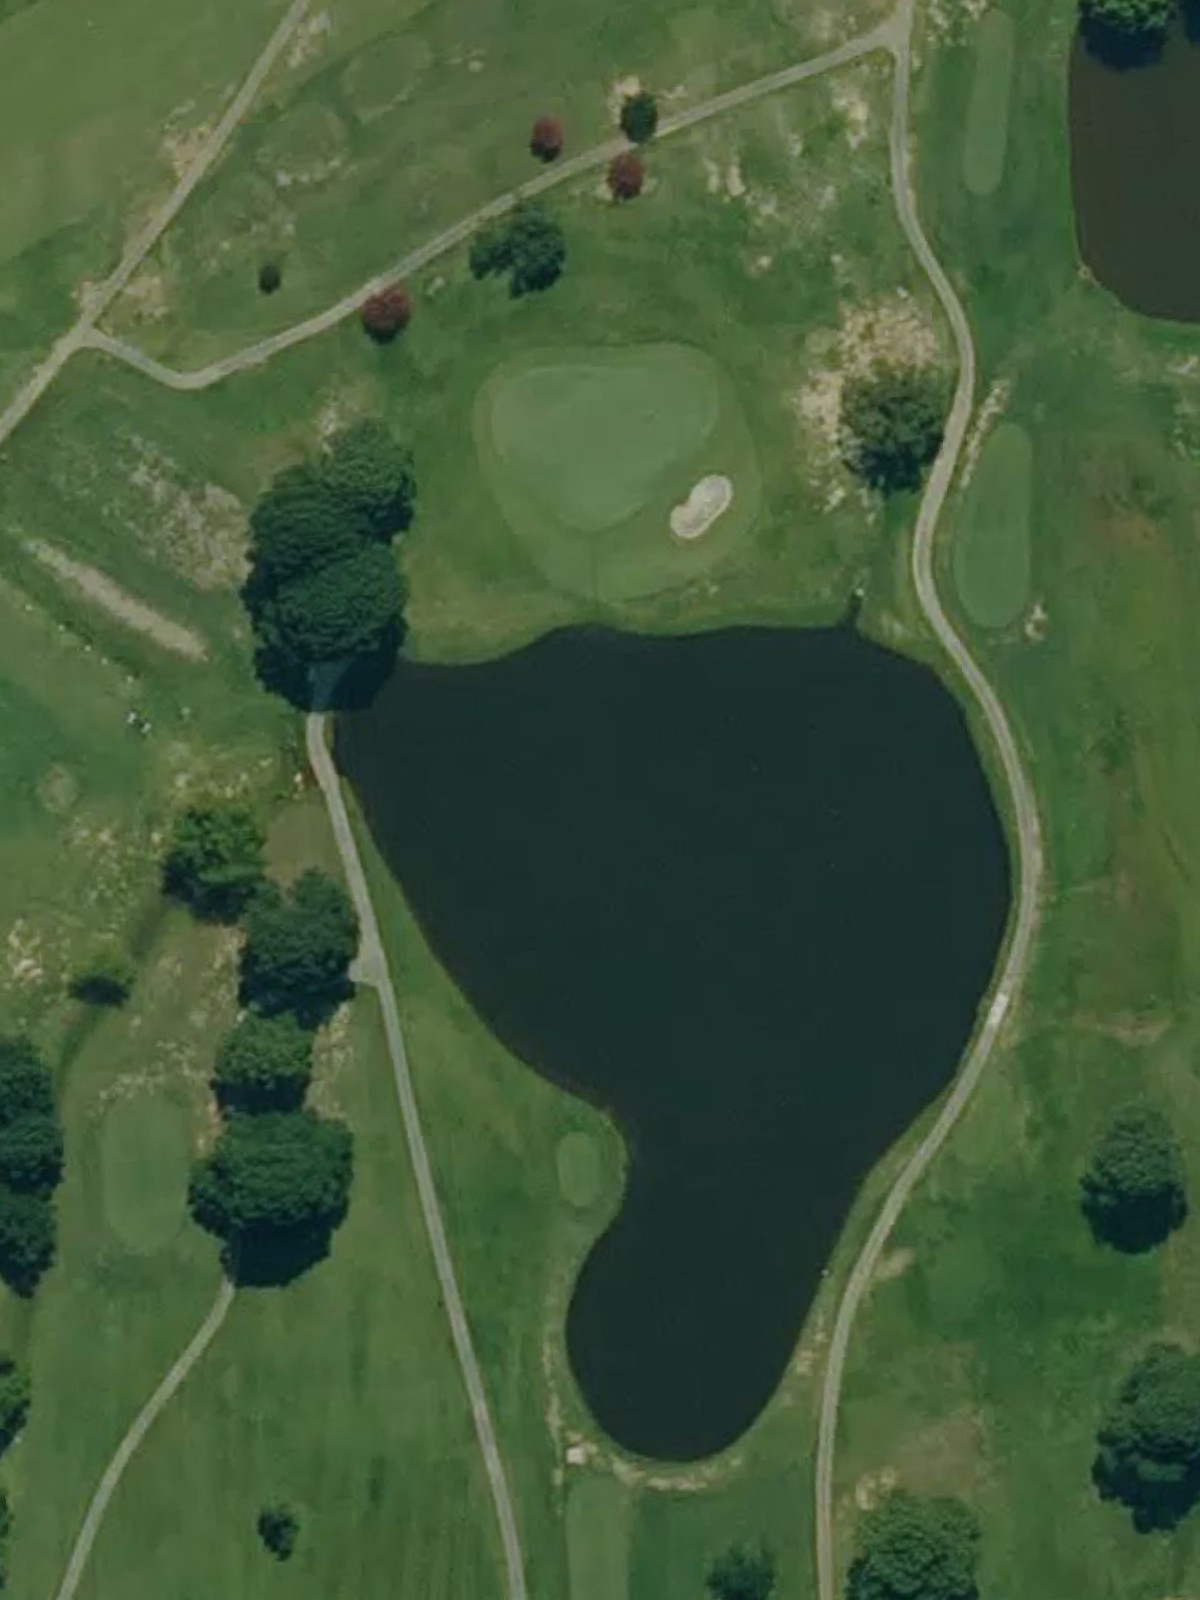
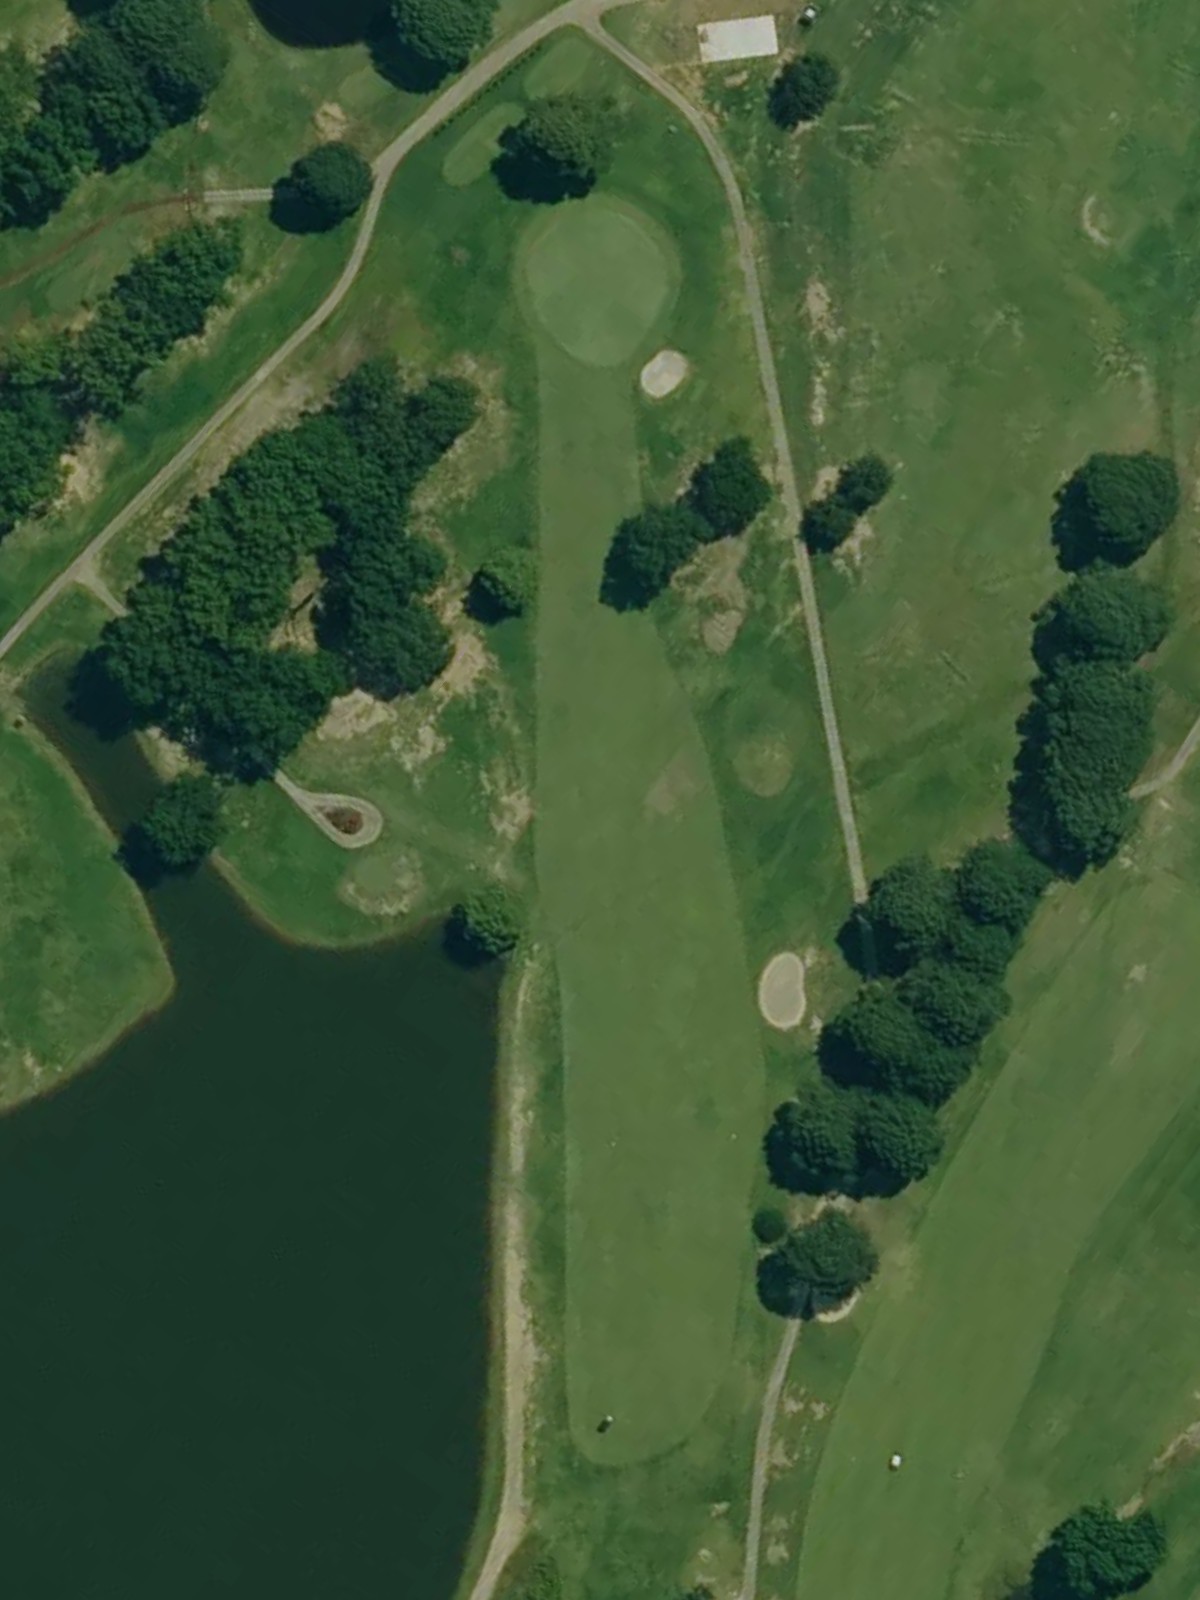
A dramatic par 4 that doglegs right with water hazards along the right side throughout the hole. The fairway tightens considerably near the green, and only a well-placed approach will find the putting surface safely.
A reachable par 5 with a relatively open layout that rewards distance off the tee. The fairway widens through the middle but tightens near the green, where accuracy becomes paramount for a scoring opportunity.
A strategic par 4 that plays downhill toward the green with bunkers guarding both sides of the approach zone. The slope of the land creates interesting run-on opportunities, but errant shots find trouble quickly.
An extremely short par 3 that can play dramatically differently depending on tee selection and wind conditions. The tiny green and surrounding hazards make this a deceptive one-shotter where precision trumps power.
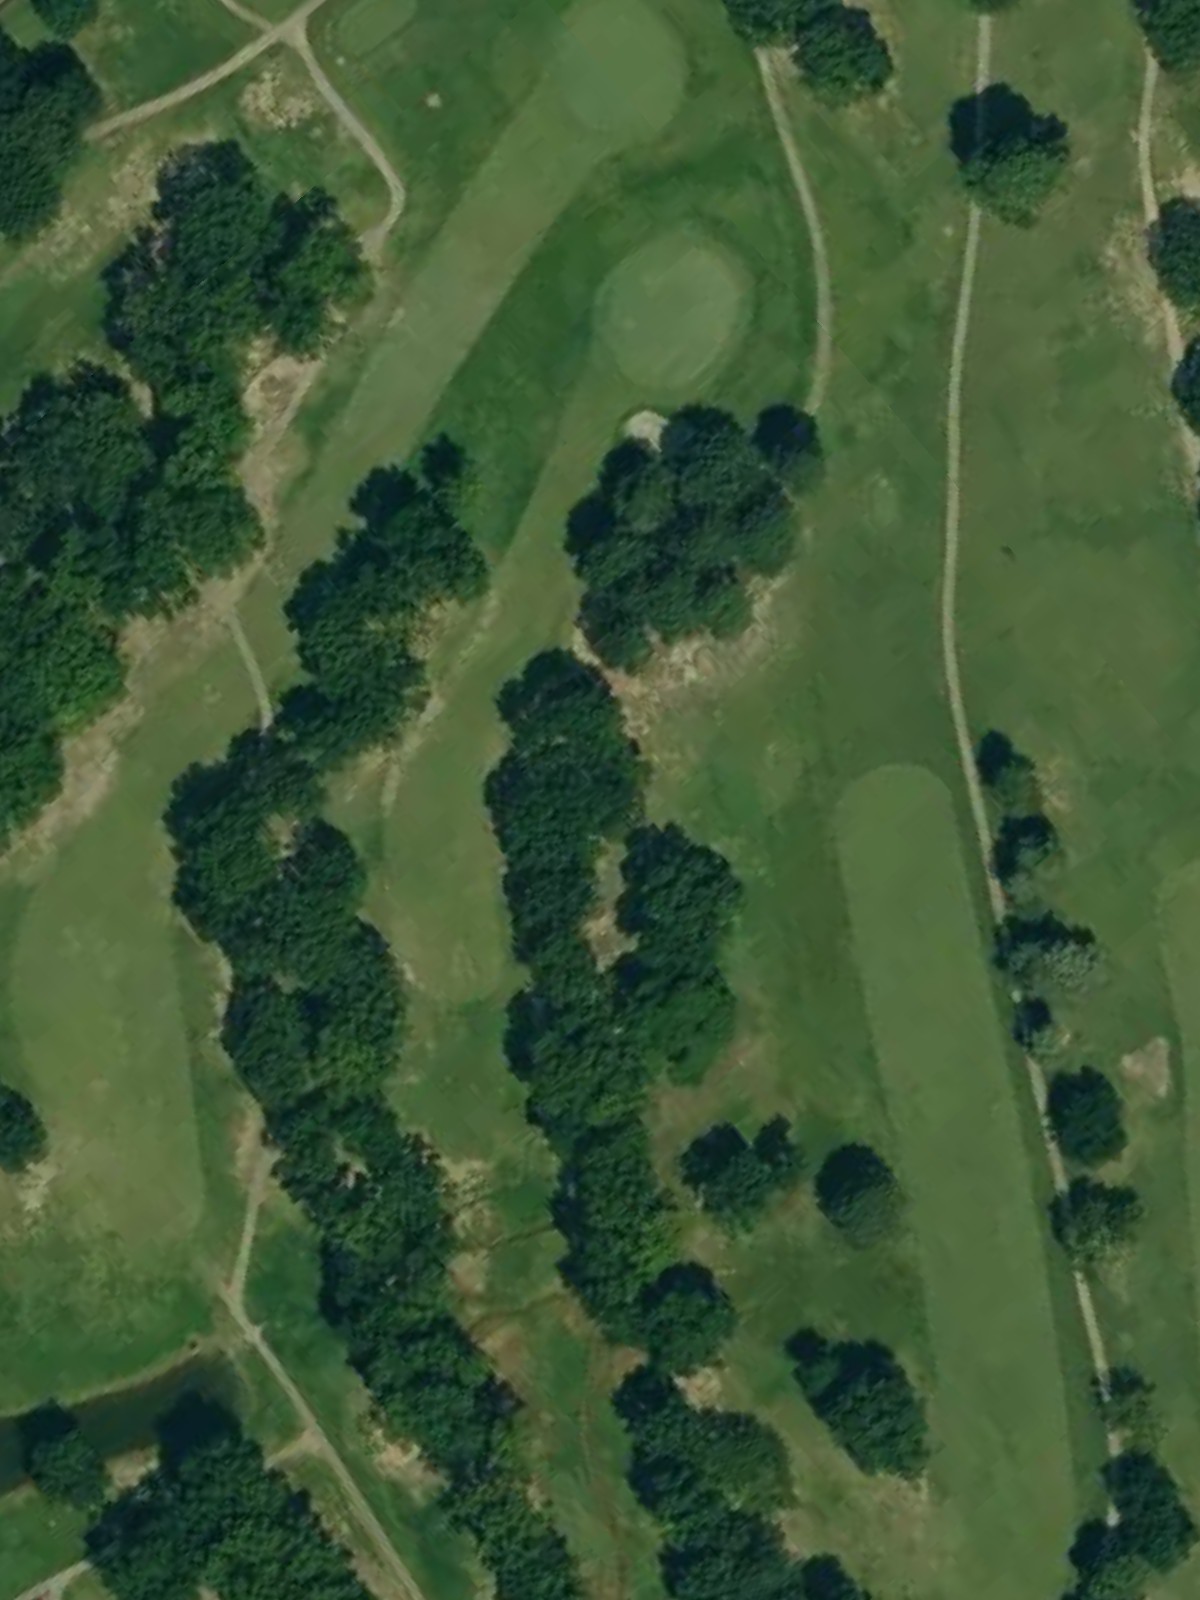
The second-most difficult hole on the course, this par 4 is both long and narrow with tight fairway corridors flanked by trees and hazards. The small, well-bunkered green demands an accurate approach shot to a demanding target.
A moderate par 4 with a fairly open fairway that narrows slightly as it approaches the green. The relatively straightforward design makes this an opportunity to score if the fairway can be found off the tee.
The easiest hole on the course, this short par 4 offers a generous fairway and approachable green. However, the length disparity between tees means the hole plays very differently depending on the tee box selected.
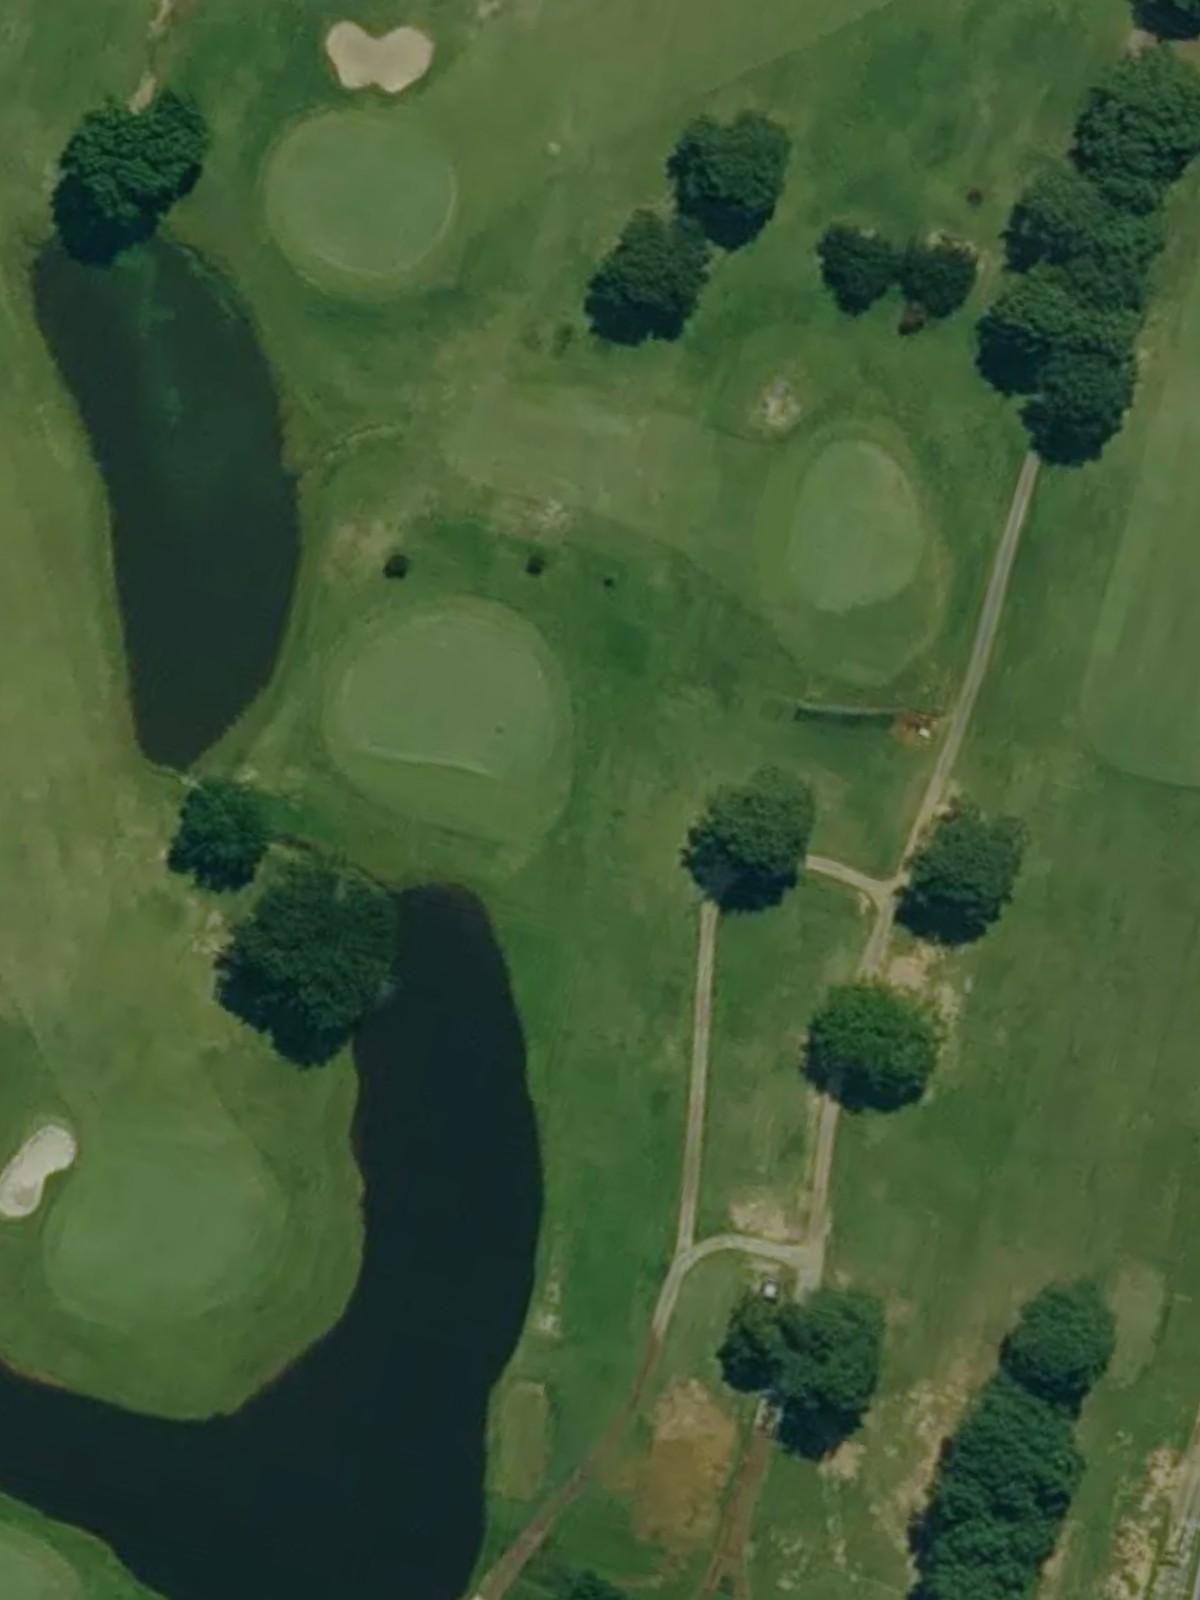
A substantial par 5 with a dogleg-right configuration that features water hazards along the right side throughout much of the hole. Two well-struck shots are needed to position for a short approach to a challenging green.
A very short par 3 with a deceptively difficult green complex protected by bunkers and flanked by hazards. The compact putting surface and multiple trouble zones create a test far exceeding its yardage.
A solid par 4 with a relatively open fairway that plays slightly downhill toward the green. Bunkers frame the approach area, and the green's contours demand careful distance control for an accurate approach.

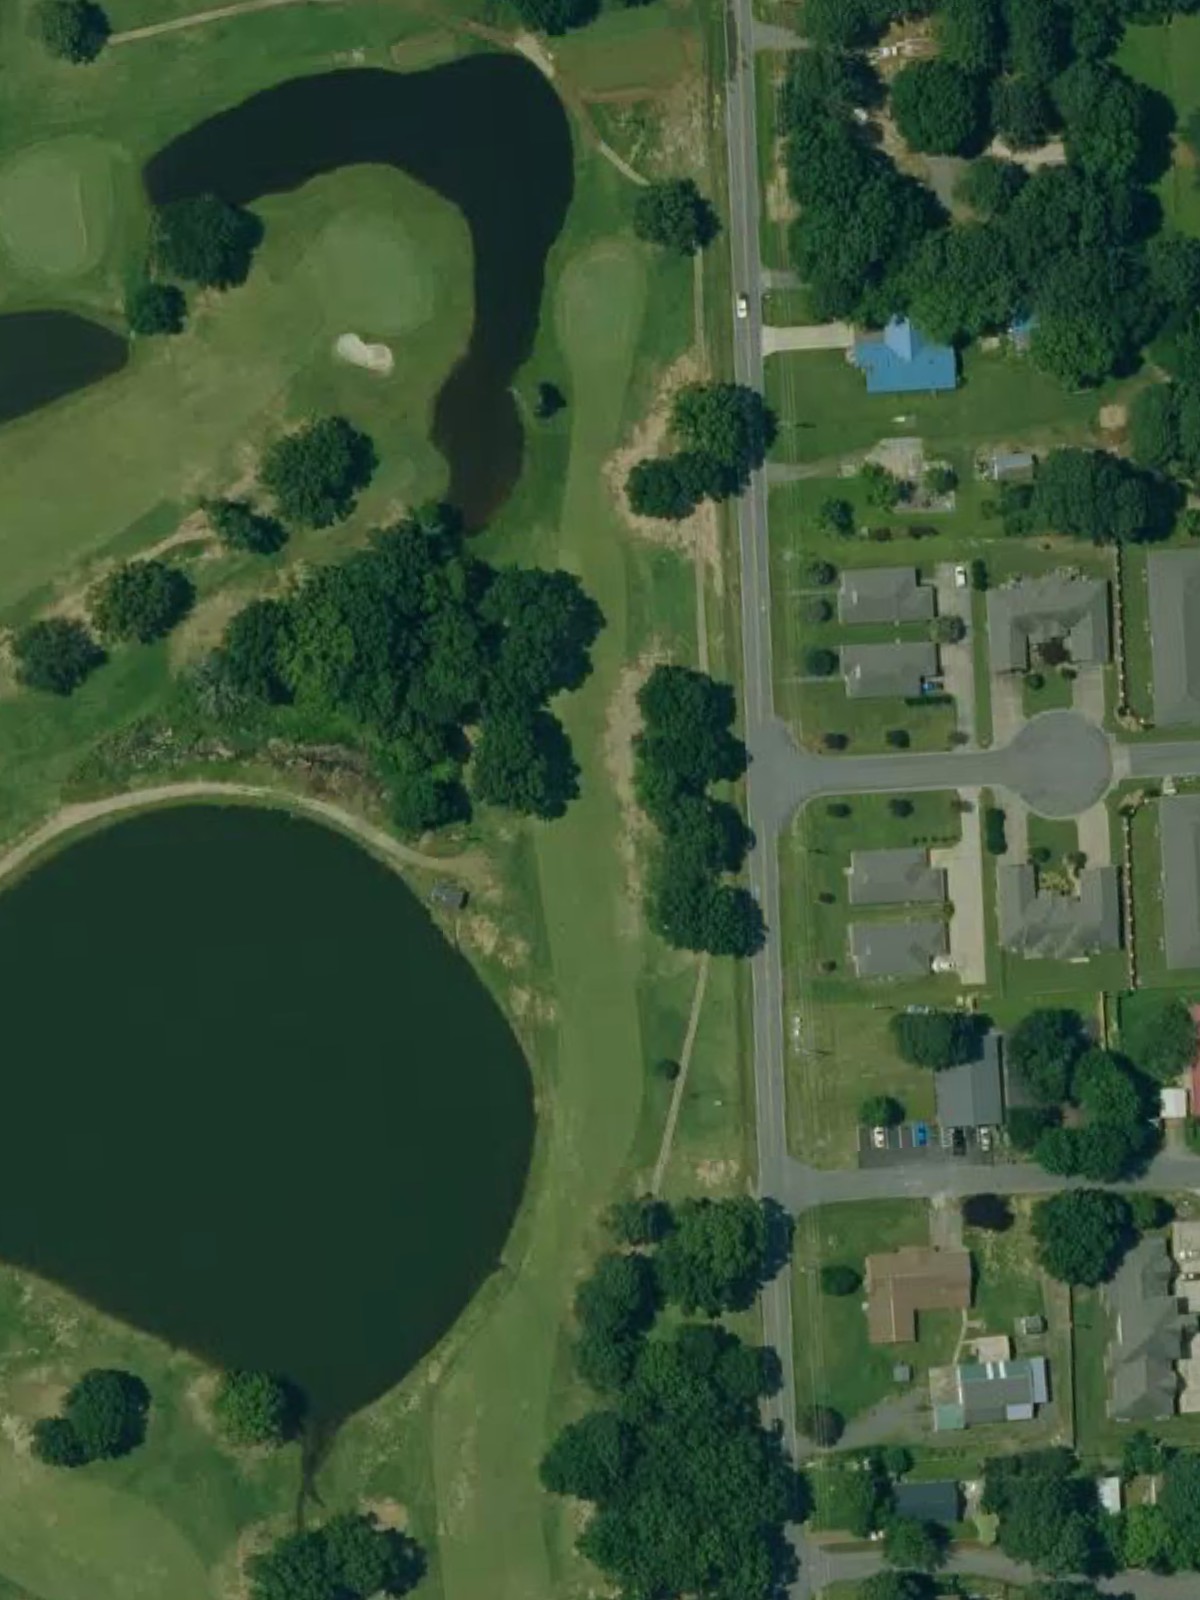
The finishing par 4 is a strong test featuring a narrow fairway with water hazards left and rough right throughout the hole. The demanding approach to a well-protected green makes this a fitting conclusion to the round.
Scorecard
| Hole | 1 | 2 | 3 | 4 | 5 | 6 | 7 | 8 | 9 | Out | 10 | 11 | 12 | 13 | 14 | 15 | 16 | 17 | 18 | In | Tot |
|---|---|---|---|---|---|---|---|---|---|---|---|---|---|---|---|---|---|---|---|---|---|
| Par | 4 | 3 | 4 | 3 | 5 | 4 | 3 | 4 | 5 | 35 | 4 | 3 | 4 | 4 | 4 | 5 | 3 | 4 | 4 | 35 | 70 |
| HCP | 9 | 13 | 7 | 17 | 3 | 1 | 15 | 5 | 11 | 6 | 12 | 2 | 14 | 18 | 8 | 16 | 10 | 4 | |||
| blue | 377 | 173 | 305 | 137 | 578 | 429 | 144 | 380 | 459 | 2982 | 376 | 209 | 433 | 330 | 429 | 487 | 157 | 369 | 376 | 3166 | 6148 |
| white | 363 | 164 | 286 | 127 | 557 | 408 | 130 | 355 | 448 | 2838 | 362 | 151 | 424 | 319 | 303 | 469 | 144 | 358 | 357 | 2887 | 5725 |
| gold | 360 | 158 | 280 | 119 | 428 | 325 | 119 | 345 | 443 | 2577 | 290 | 146 | 307 | 315 | 294 | 461 | 136 | 348 | 347 | 2644 | 5221 |
| red | 317 | 147 | 265 | 118 | 427 | 330 | 111 | 266 | 376 | 2357 | 281 | 100 | 307 | 306 | 239 | 452 | 102 | 274 | 287 | 2348 | 4705 |