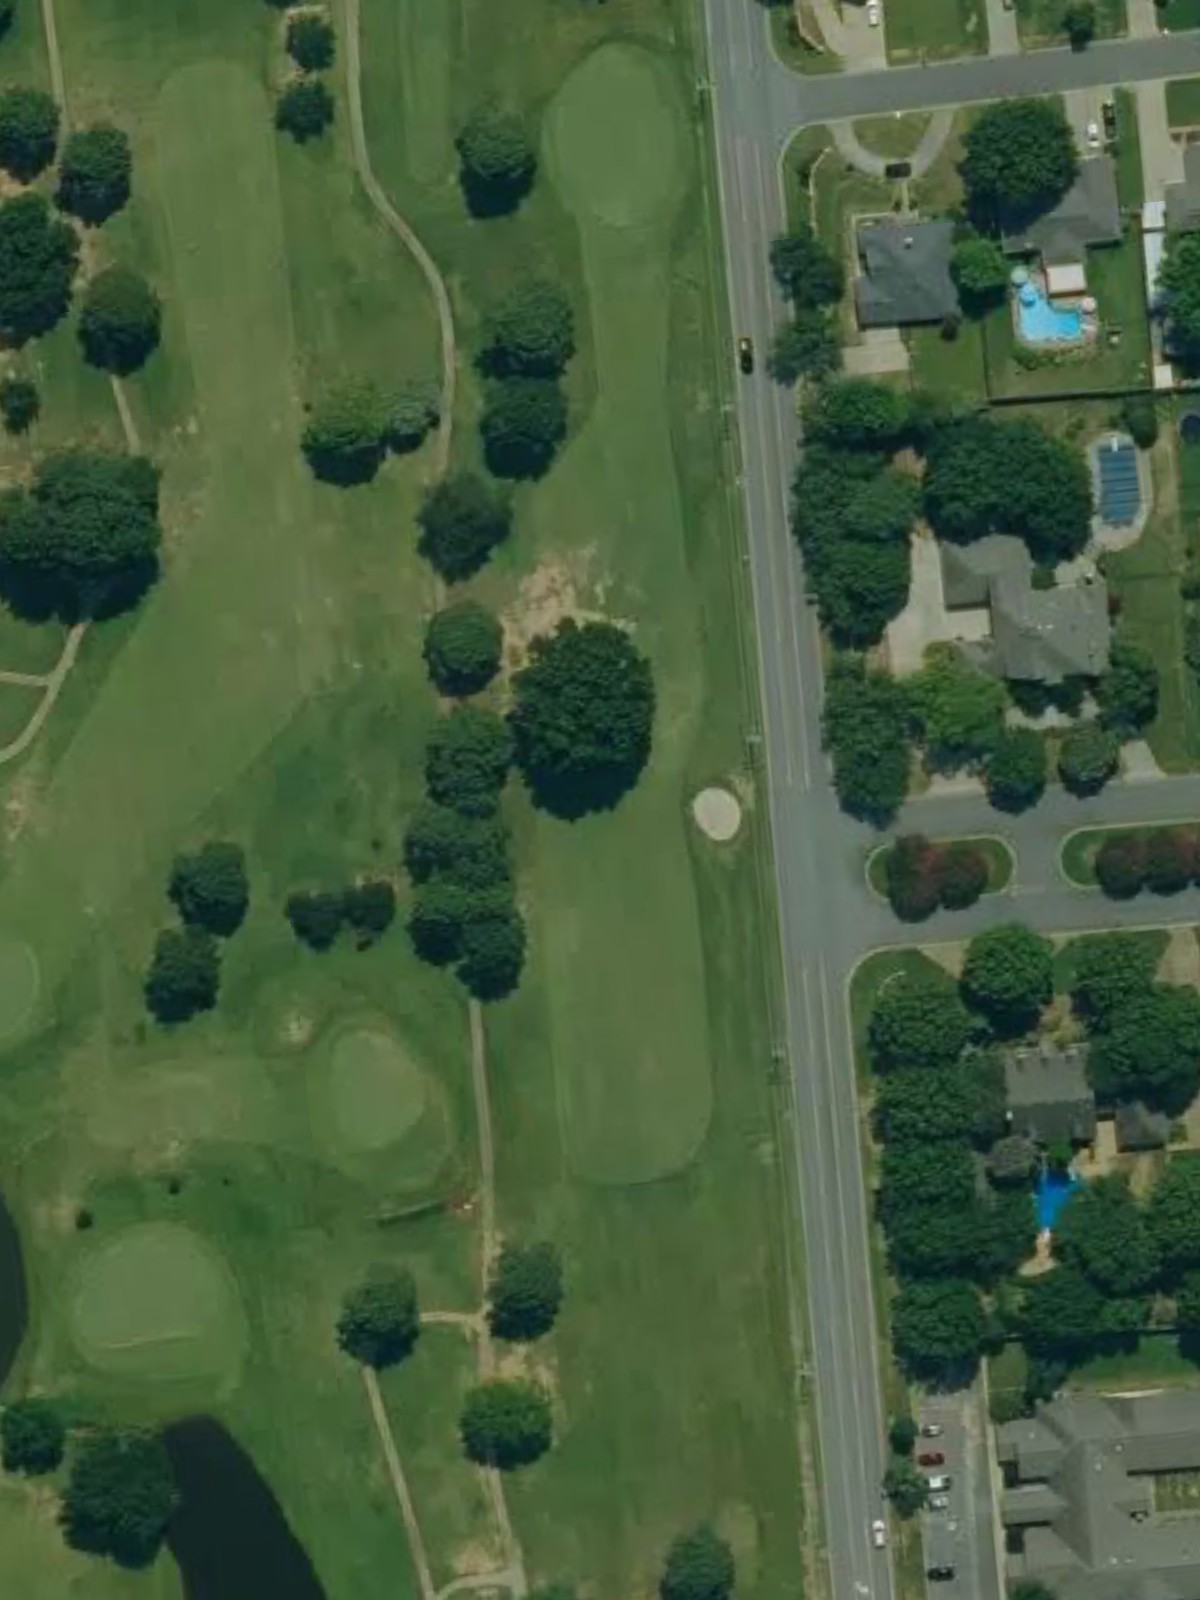
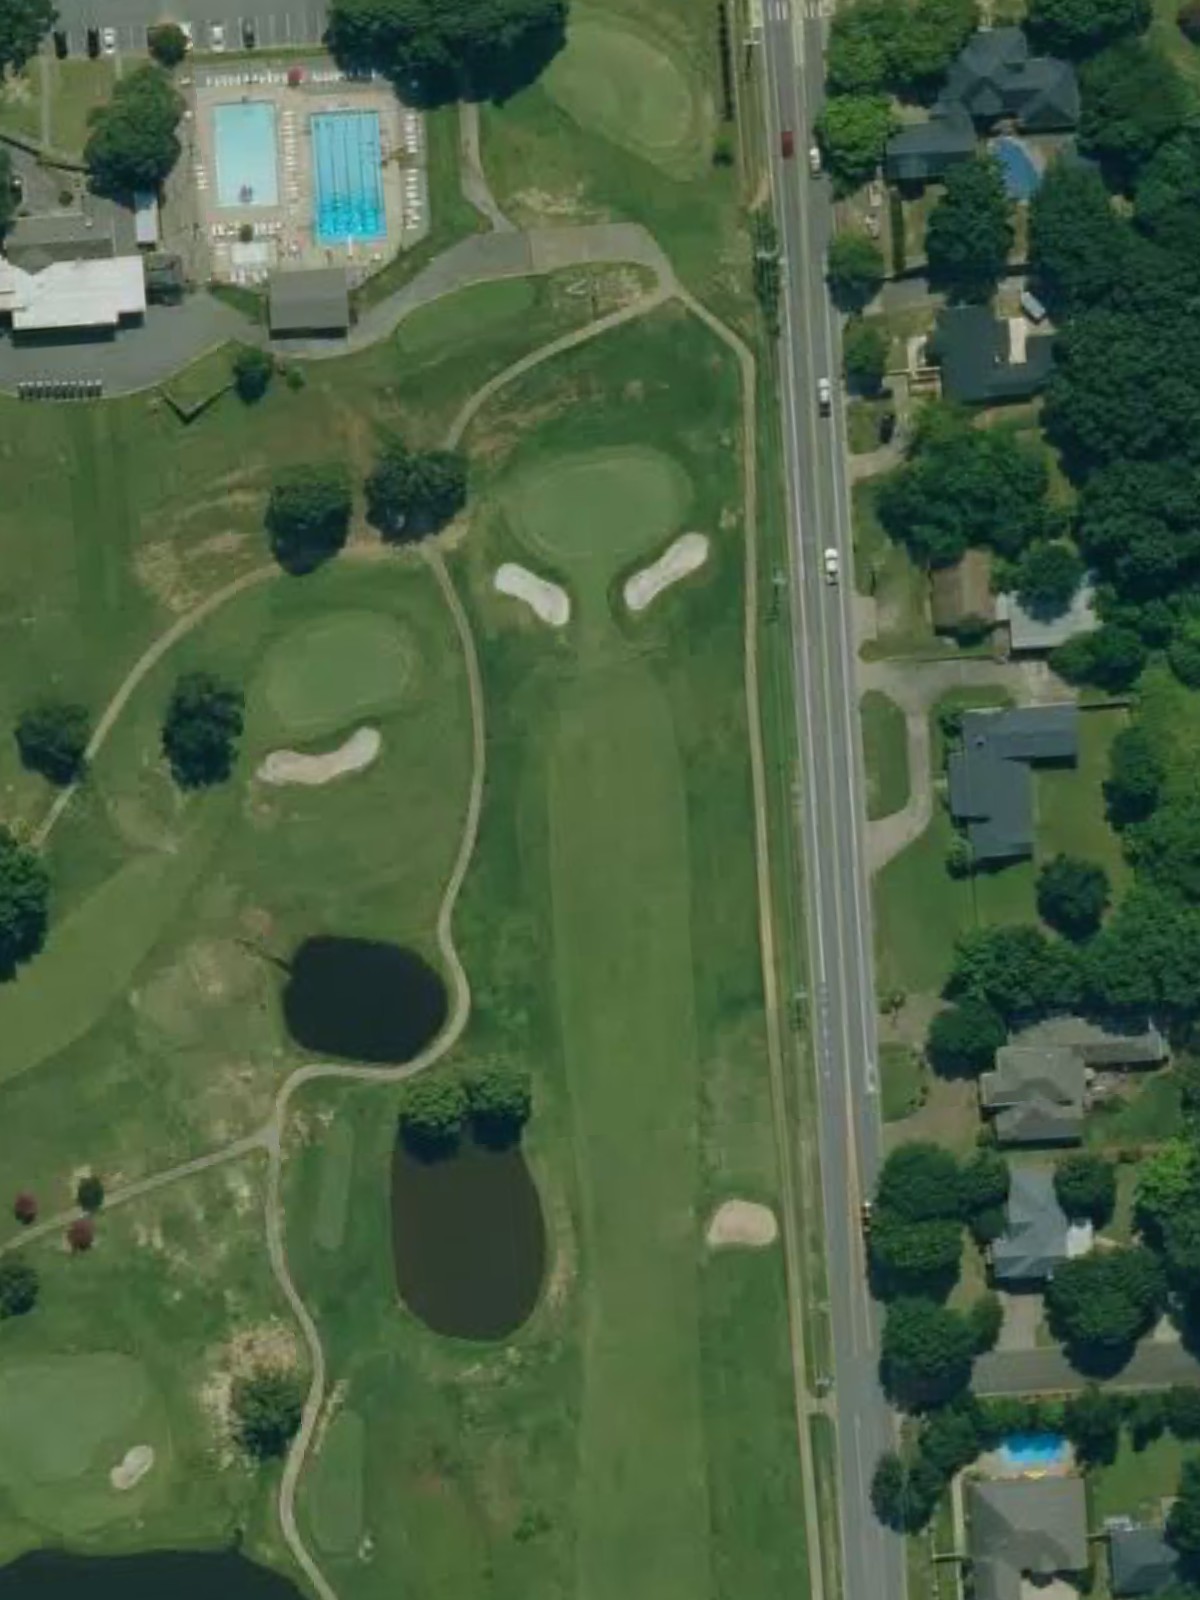
Centennial Valley G & Ac is an 18-hole golf course in Conway, AR with a par of 72. It offers 4 tee sets: black (6,957 yards, slope 126, rating 74.1), blue (6,366 yards, slope 118, rating 71.4), white (5,600 yards, slope 109, rating 67.2), gold (5,007 yards, slope 102, rating 64.3). The hardest hole is #6, a par 4 playing 365 yards from the first tee.
Centennial Valley G & Ac
Conway, AR
Get PDF Yardage Book
We'll email you the PDF link. No spam, ever.
Create Your Game Plan
Pick your tees, enter your bag, and get a personalized shot-by-shot strategy for every hole.
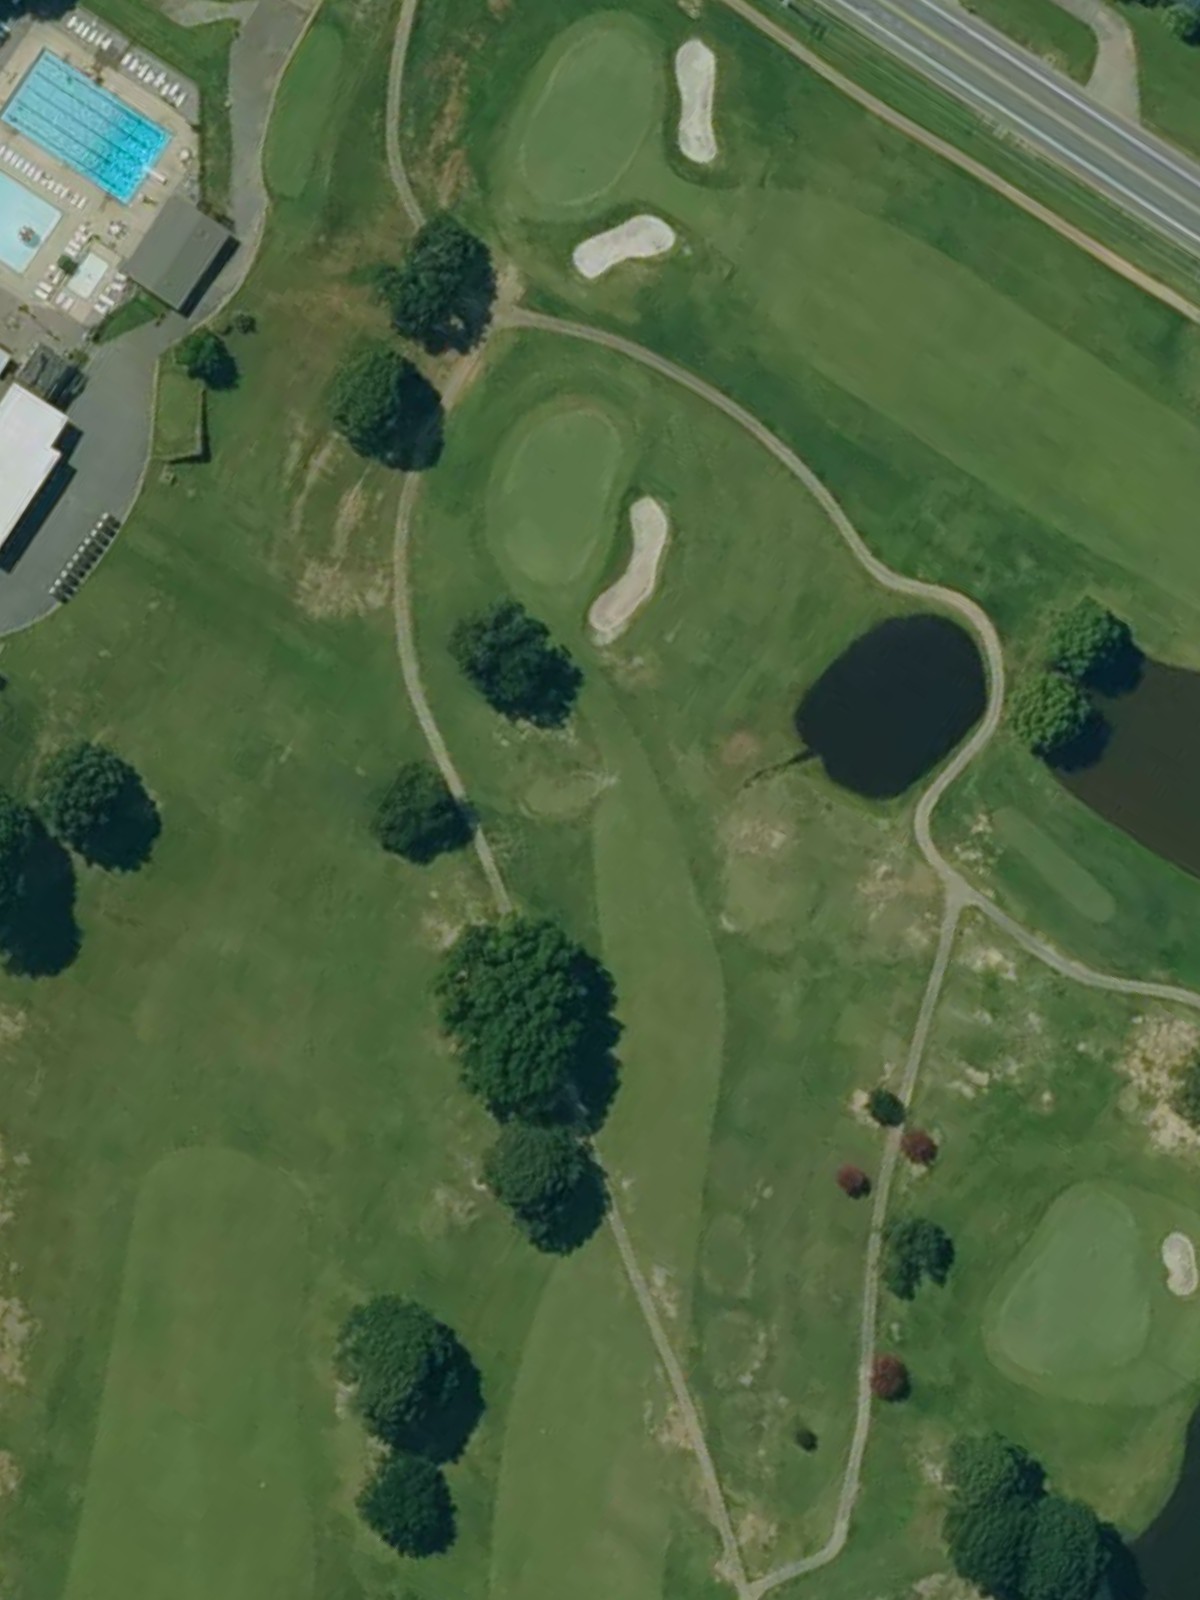
A straightforward par 4 playing downhill toward a green guarded by bunkers on the right. The fairway remains relatively open, making this an inviting opening hole that rewards solid striking.
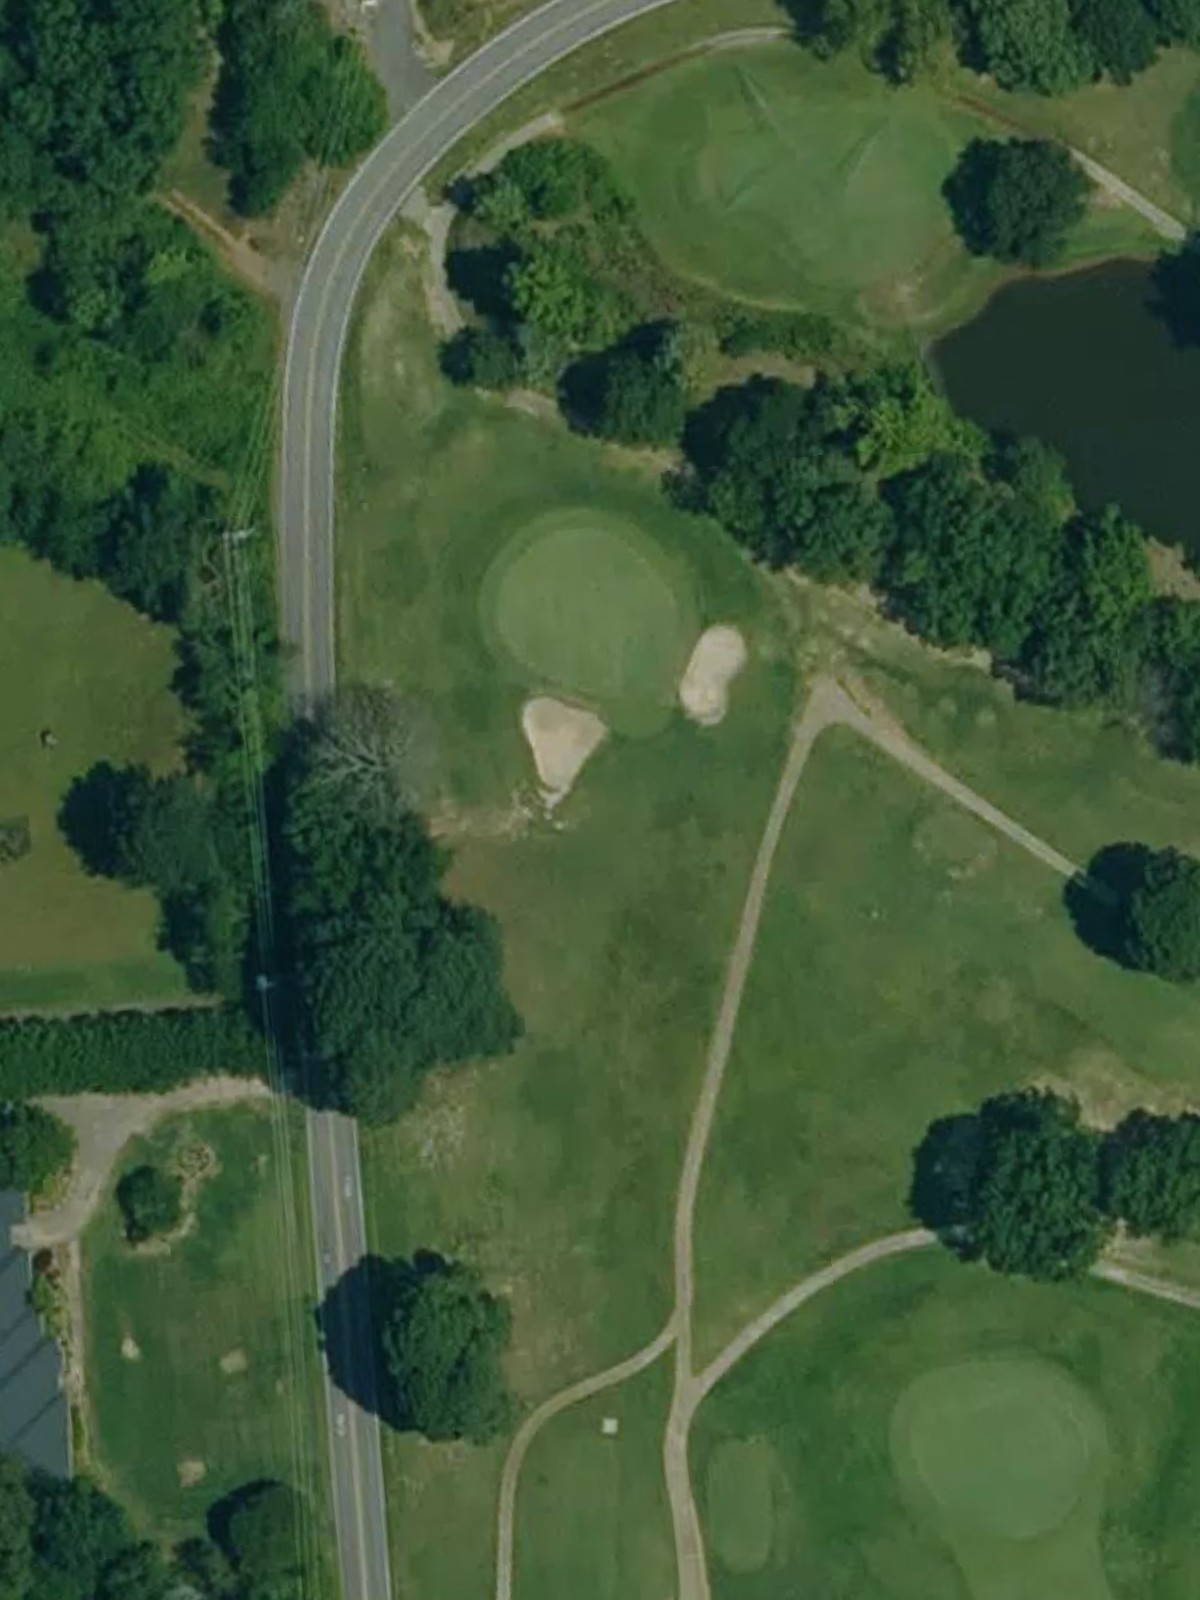
A short par 3 with water hazard left of the green and bunkers protecting the right side. The elevated tee provides good visibility, but precision is essential to avoid the surrounding trouble.
A generous par 4 with a wide fairway and minimal hazards, making this one of the course's most forgiving holes. The green sits relatively open, offering a scoring opportunity early in the round.
A mid-length par 3 featuring a narrow green surrounded by bunkers on both sides. The hole demands accuracy over distance, with little room for error around the putting surface.
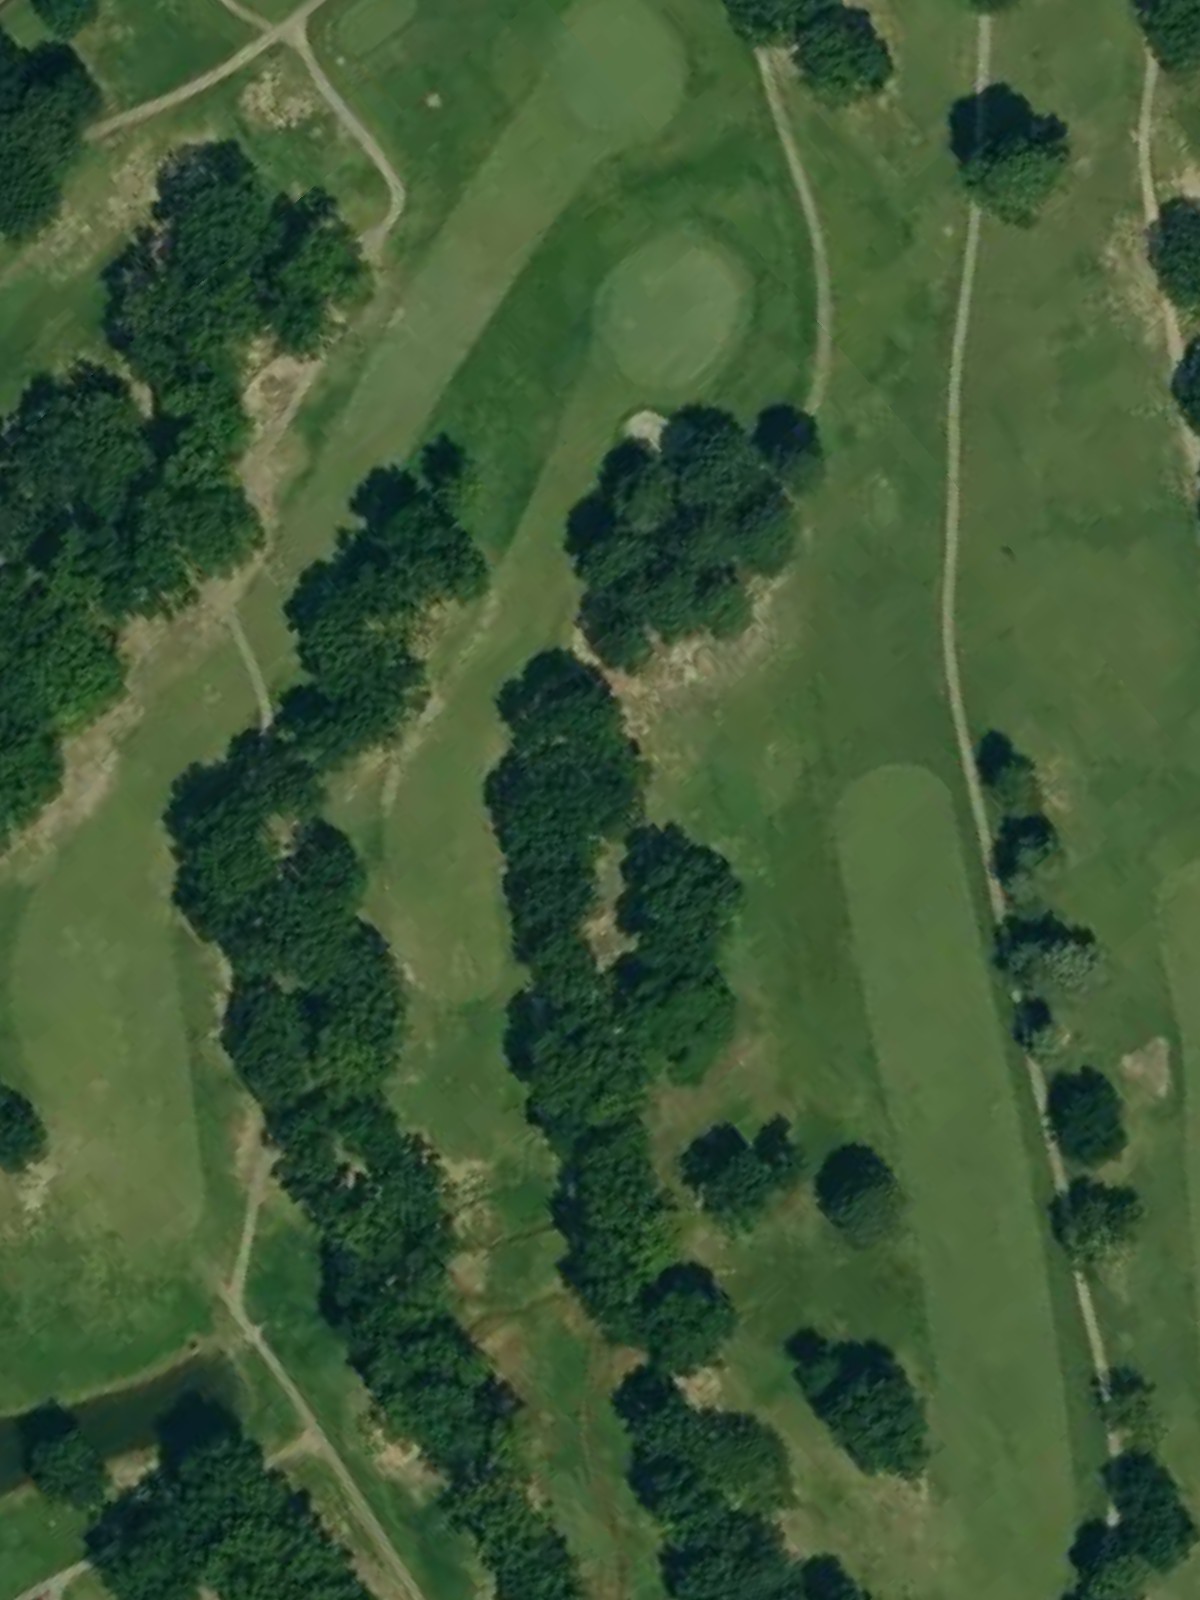
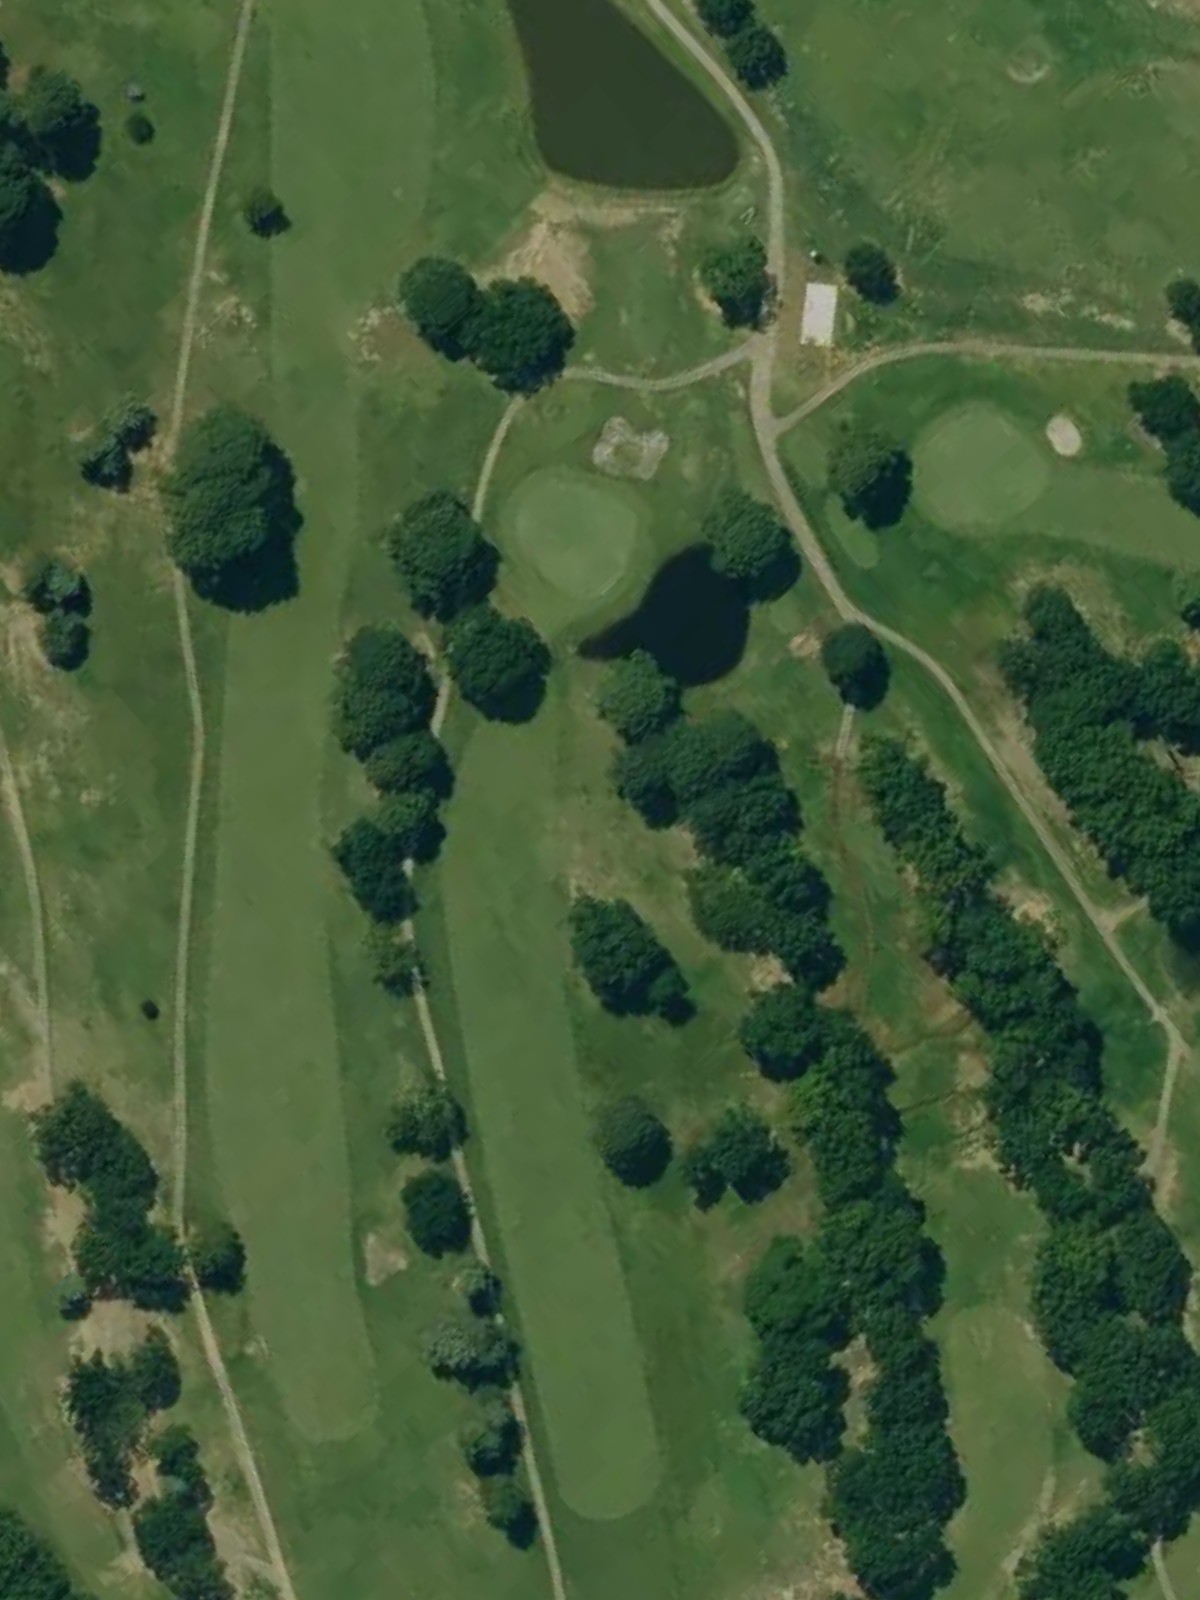
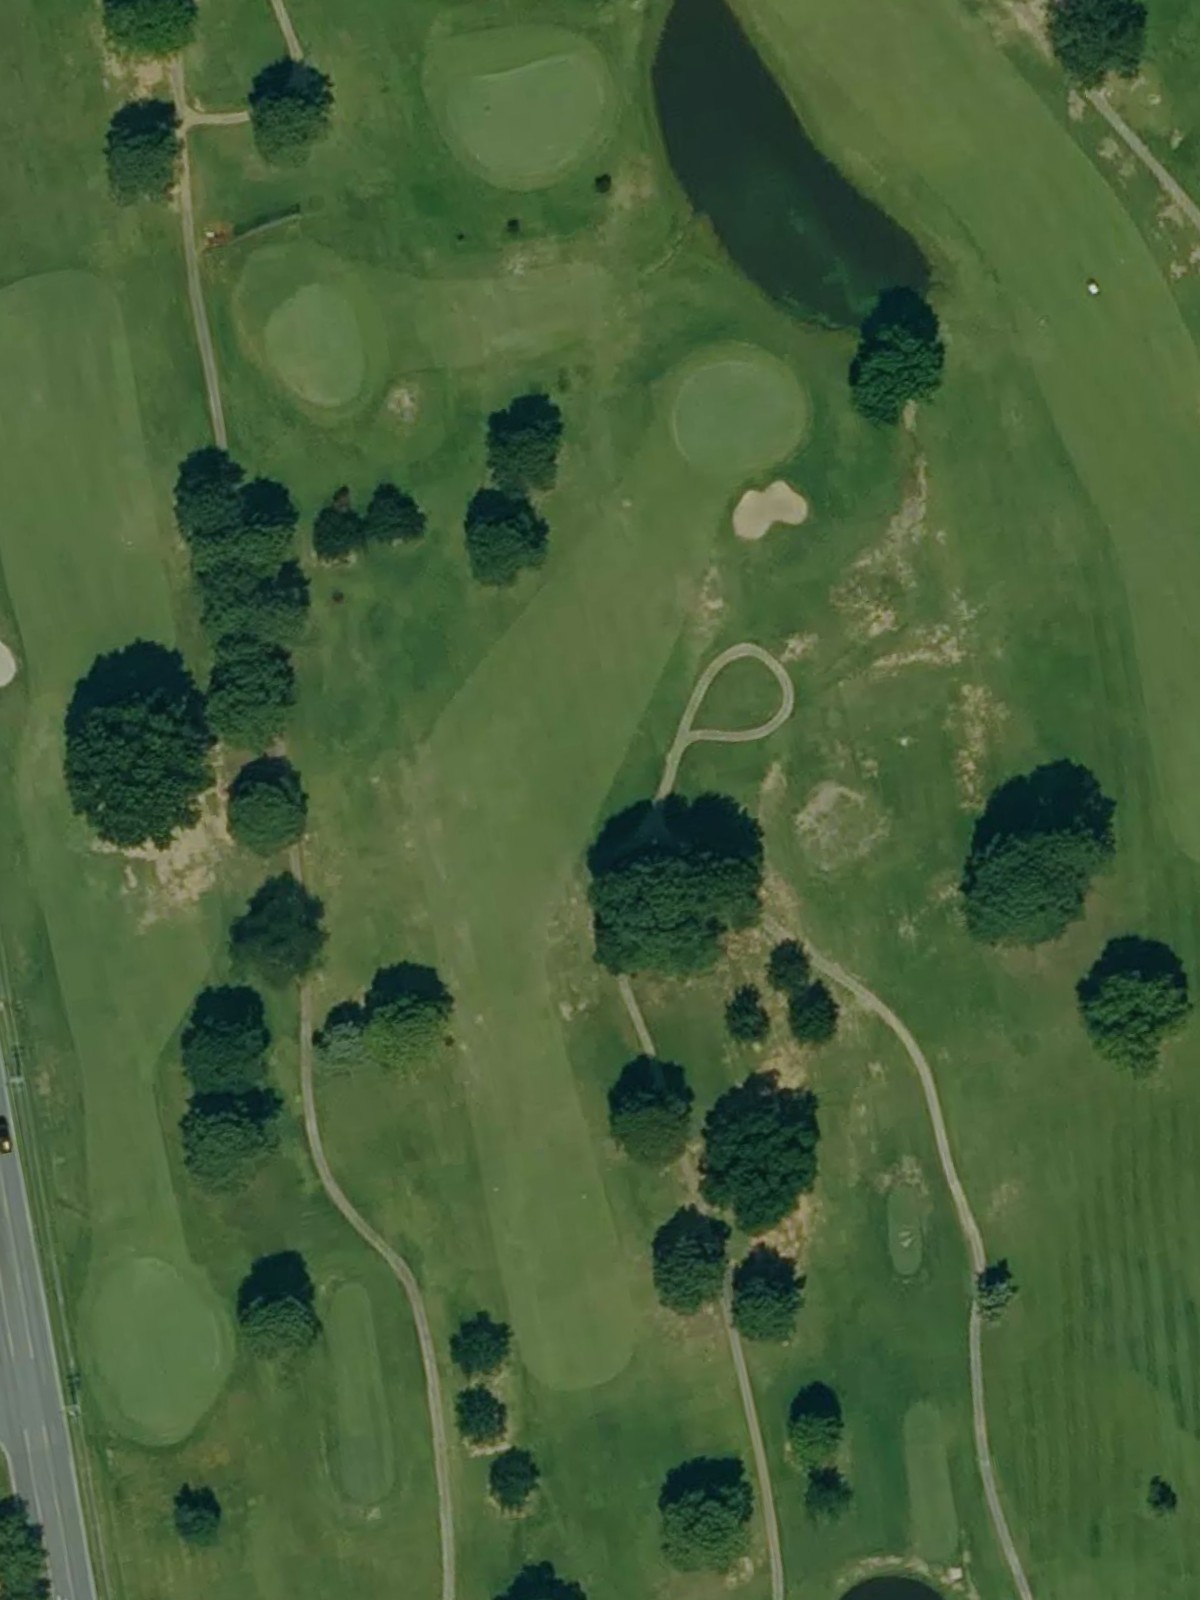
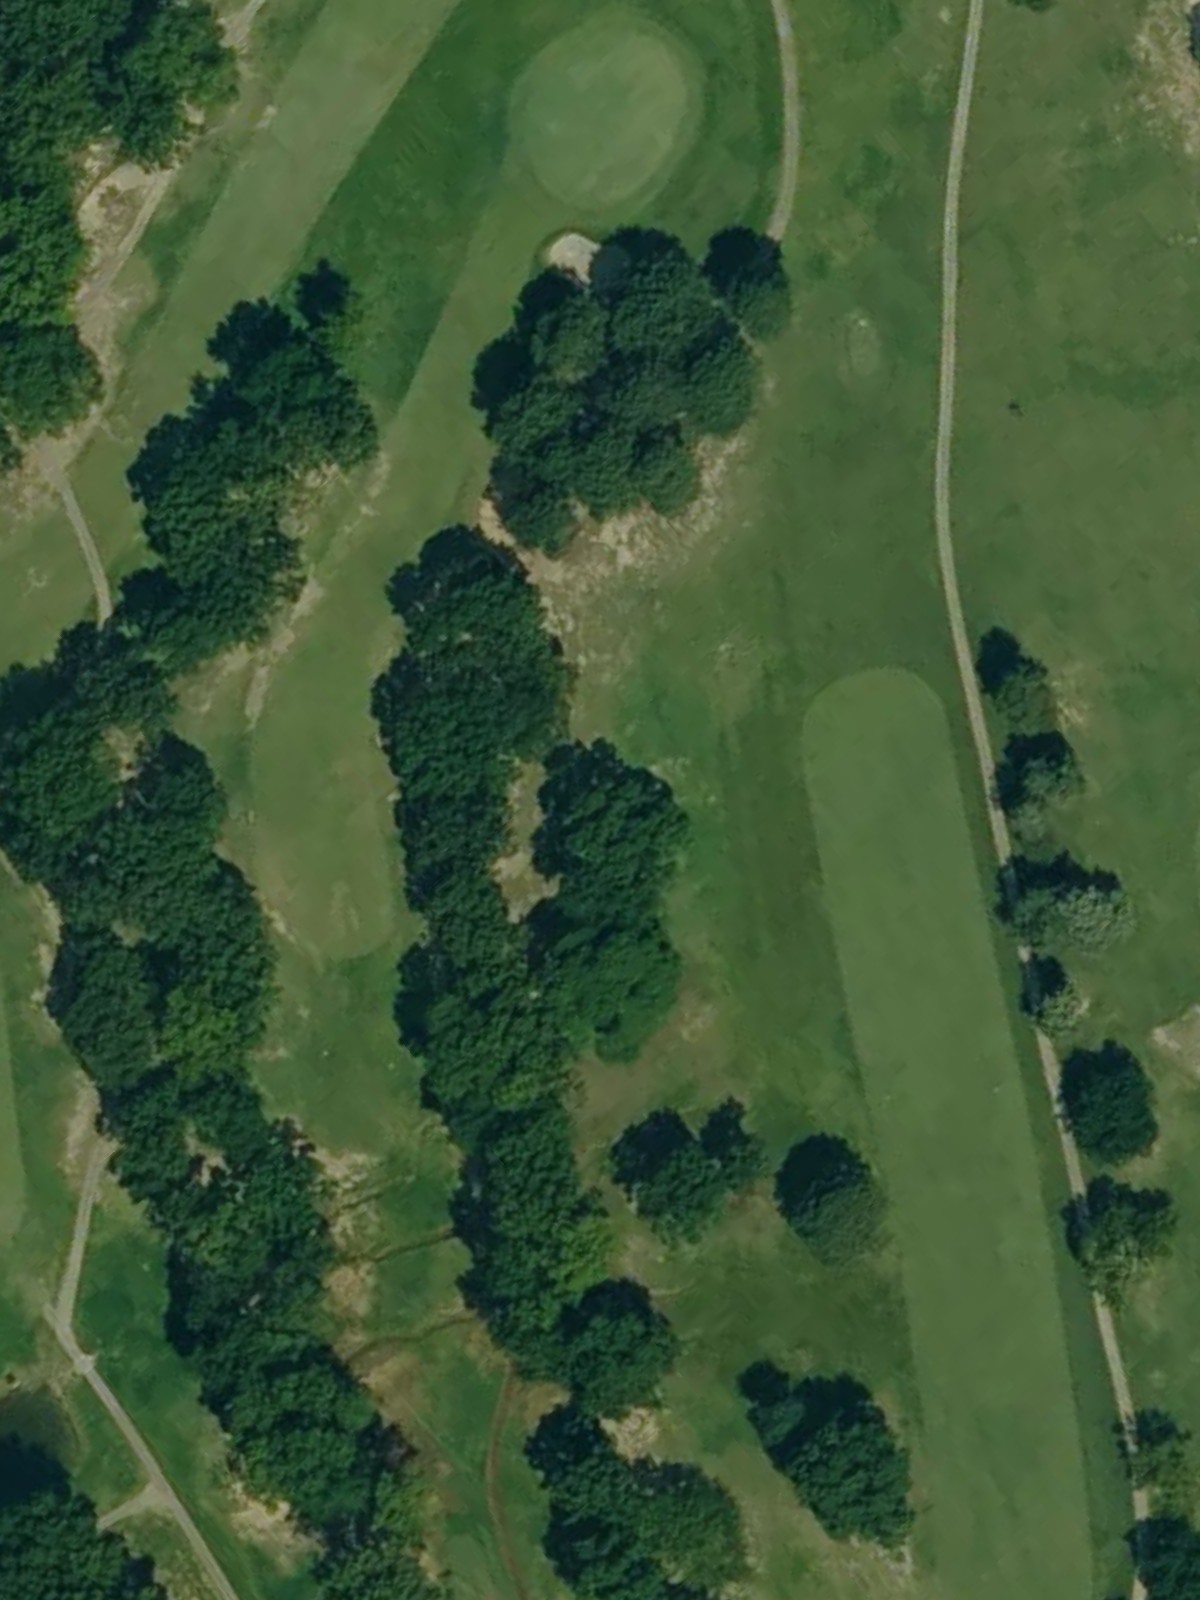
A challenging par 4 that plays longer than its yardage suggests, with bunkers and rough framing both sides of the fairway. The green is well-bunkered and sits on a slight plateau, making it a strong test of shotmaking.
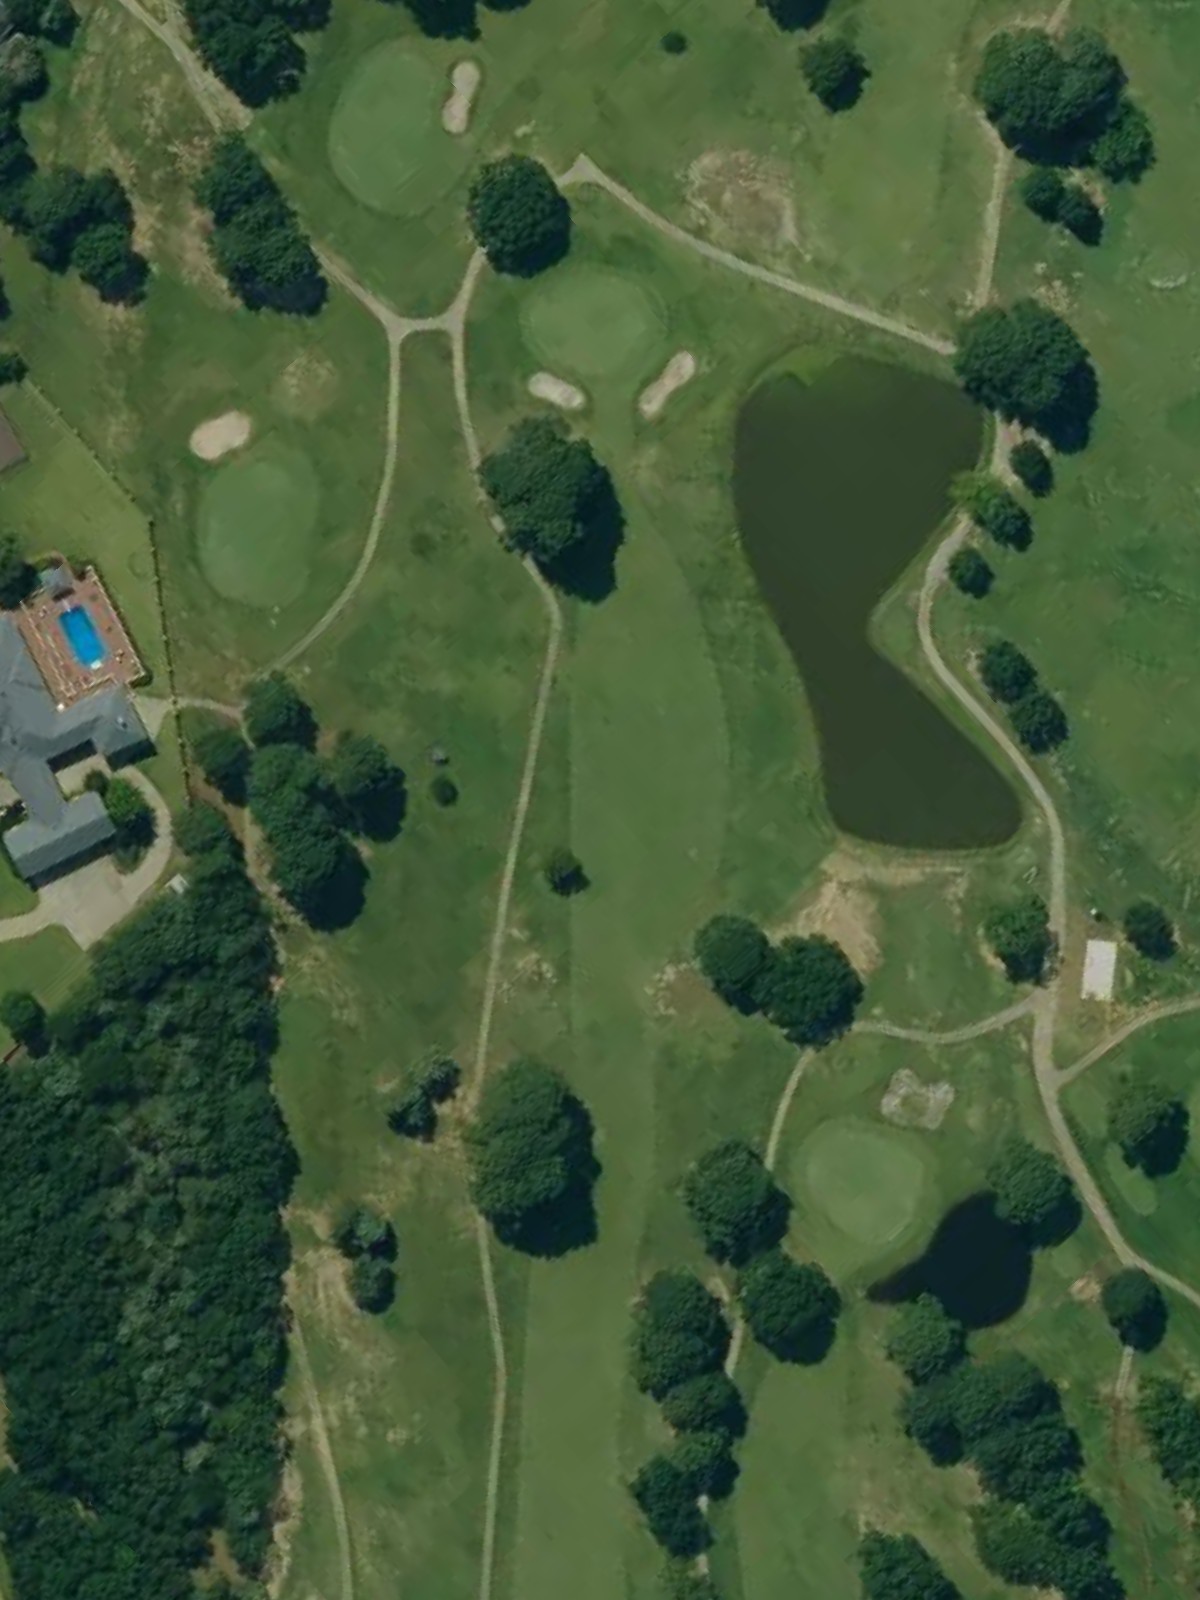
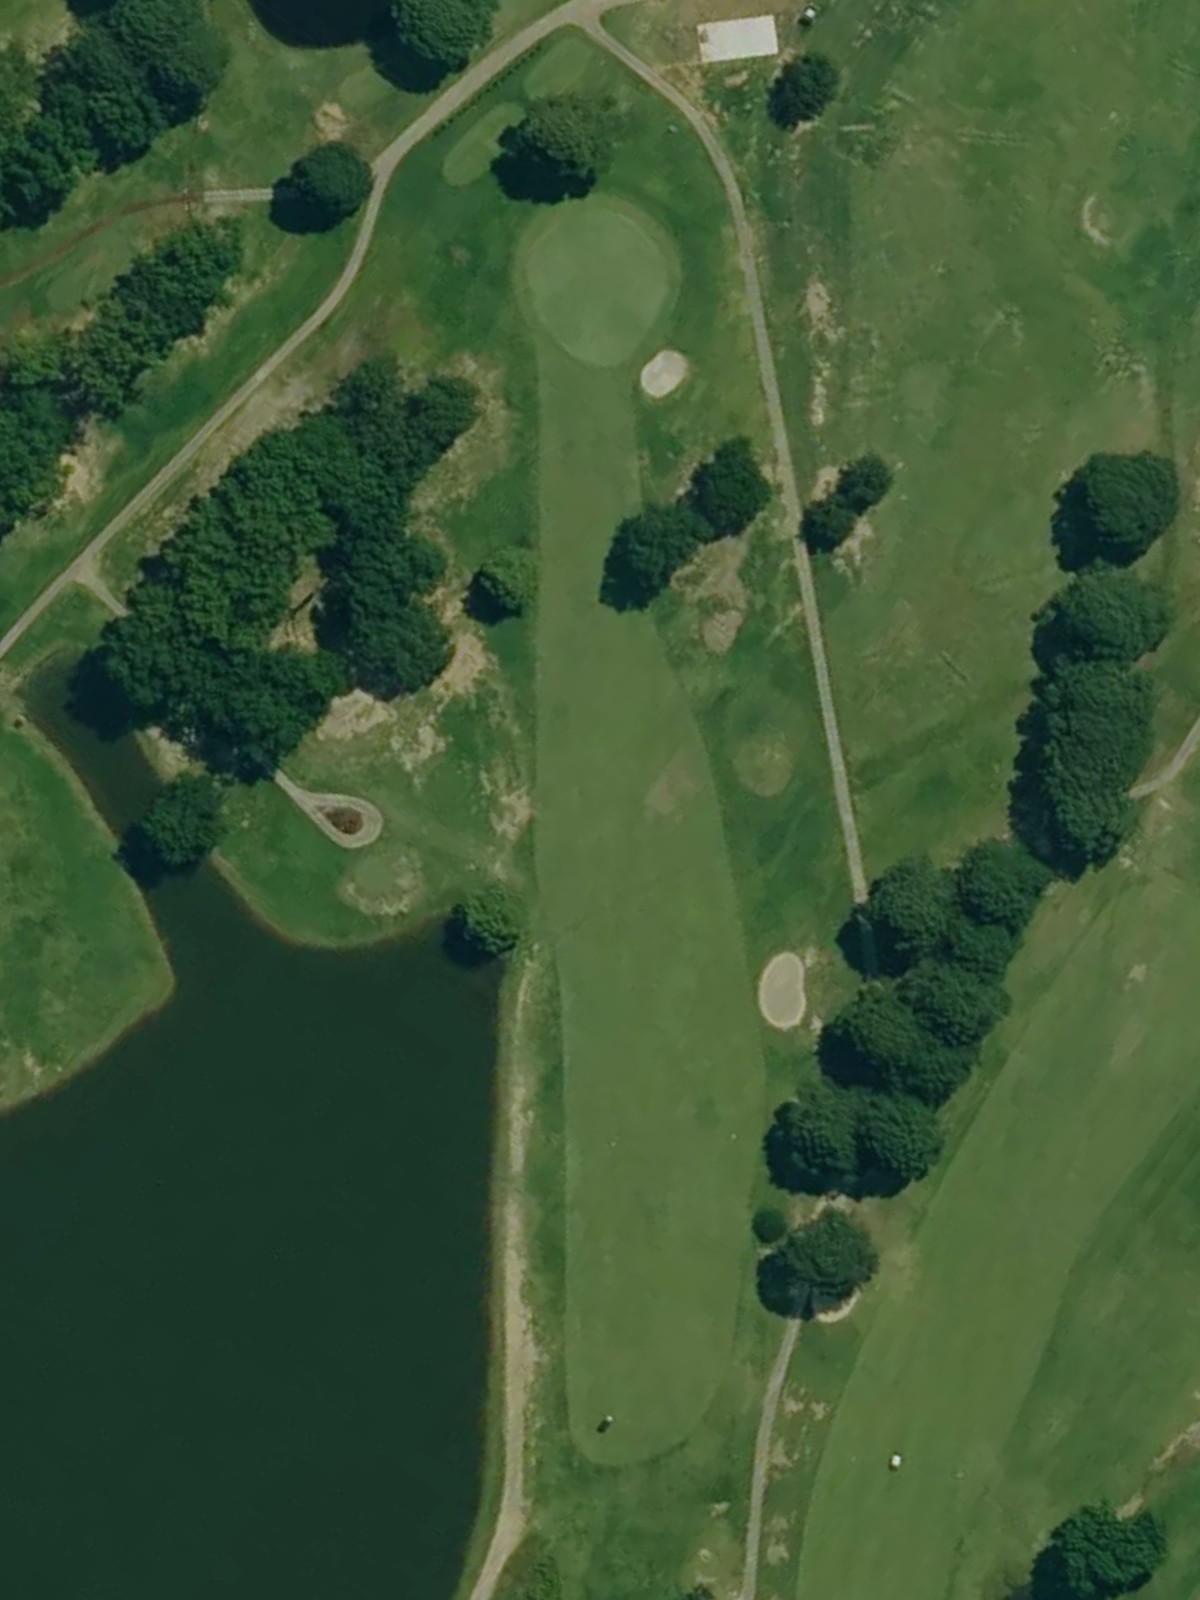
The most difficult par 4 on the course, featuring a tight fairway with hazards closing in on both sides as you approach the green. Out of bounds or water threatens the entire right side, demanding precision from tee to green.
A reachable par 5 with a dogleg right that allows bold players to shorten the hole significantly. Bunkers guard the inside of the dogleg and surround the green, rewarding accuracy on the approach shot.
A mid-length par 4 that plays relatively straightforward with light bunkering along the fairway edges. The hole's modest length makes it a birdie opportunity, though the green's subtle contours can complicate putting.
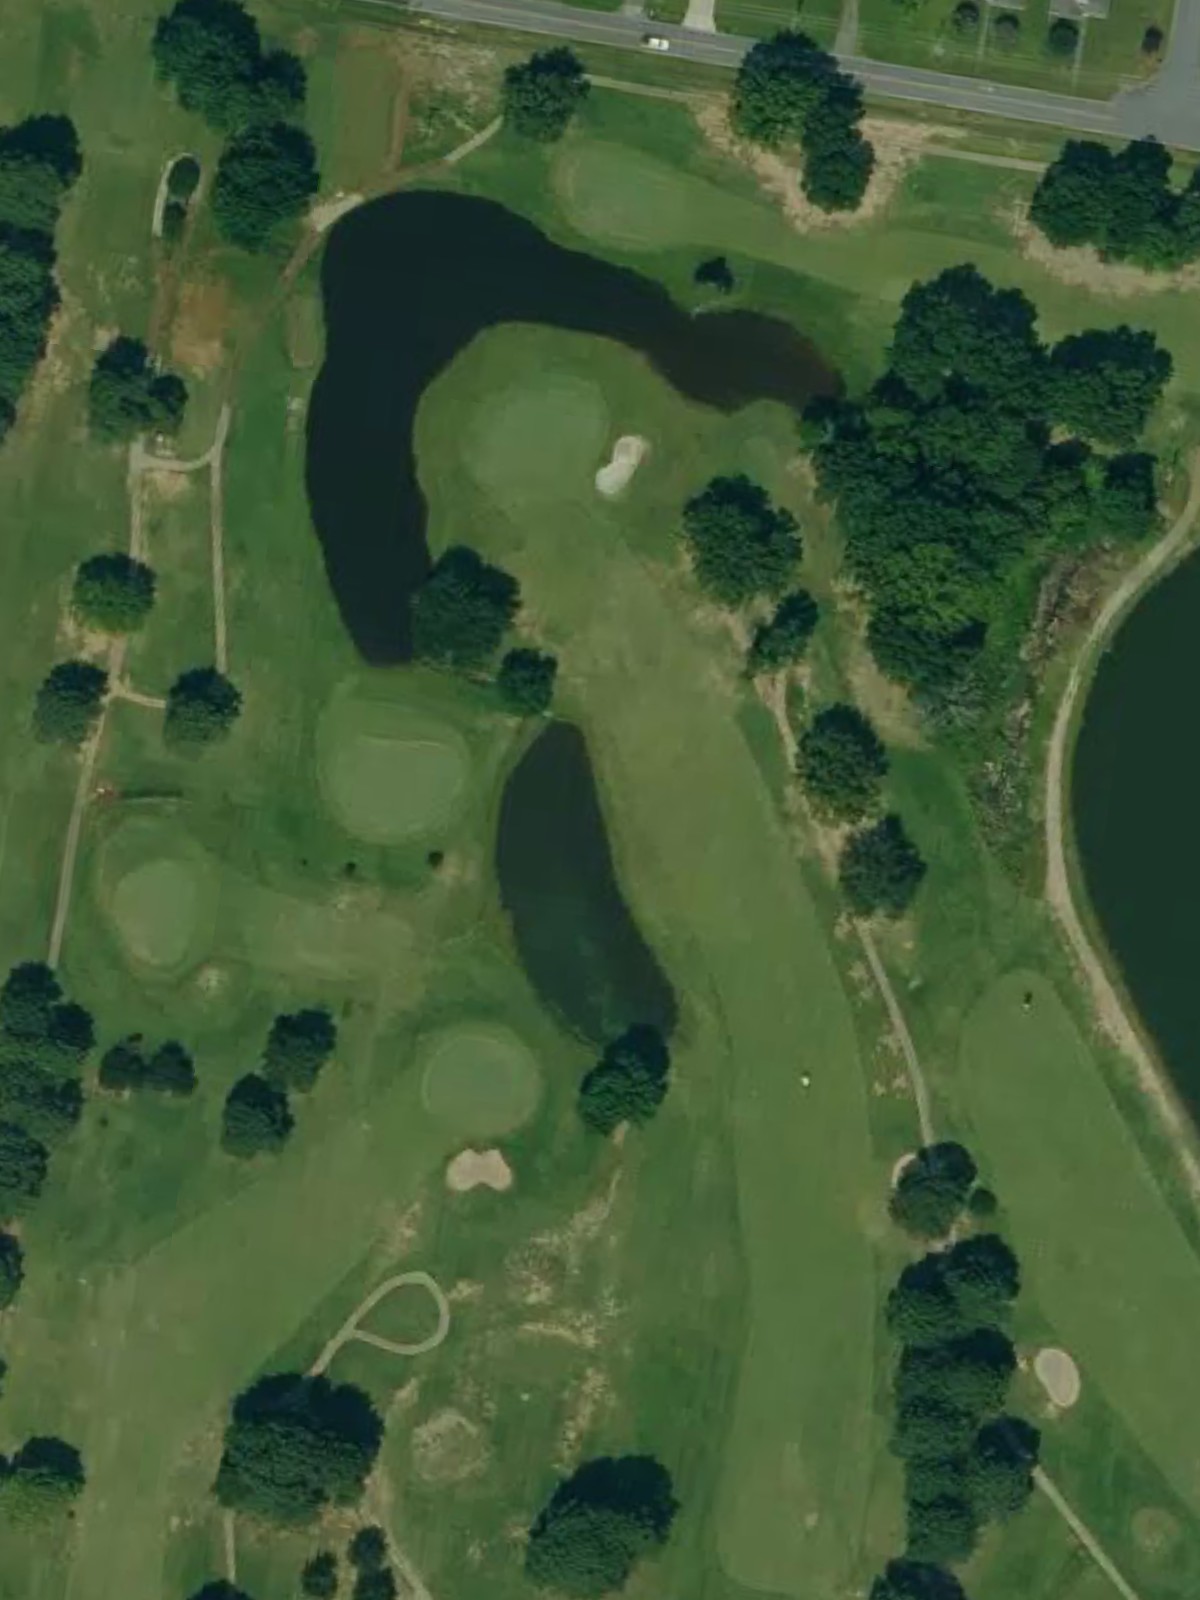
A long par 5 with water hazard left and bunkers right throughout the hole, creating a narrow corridor down the fairway. The approach to the green is particularly demanding with water left and bunkers right framing the target.
The longest par 5 on the course, playing as a three-shot hole for most golfers with out of bounds right the entire length. Bunkers and rough left require careful positioning to set up a manageable approach to the green.
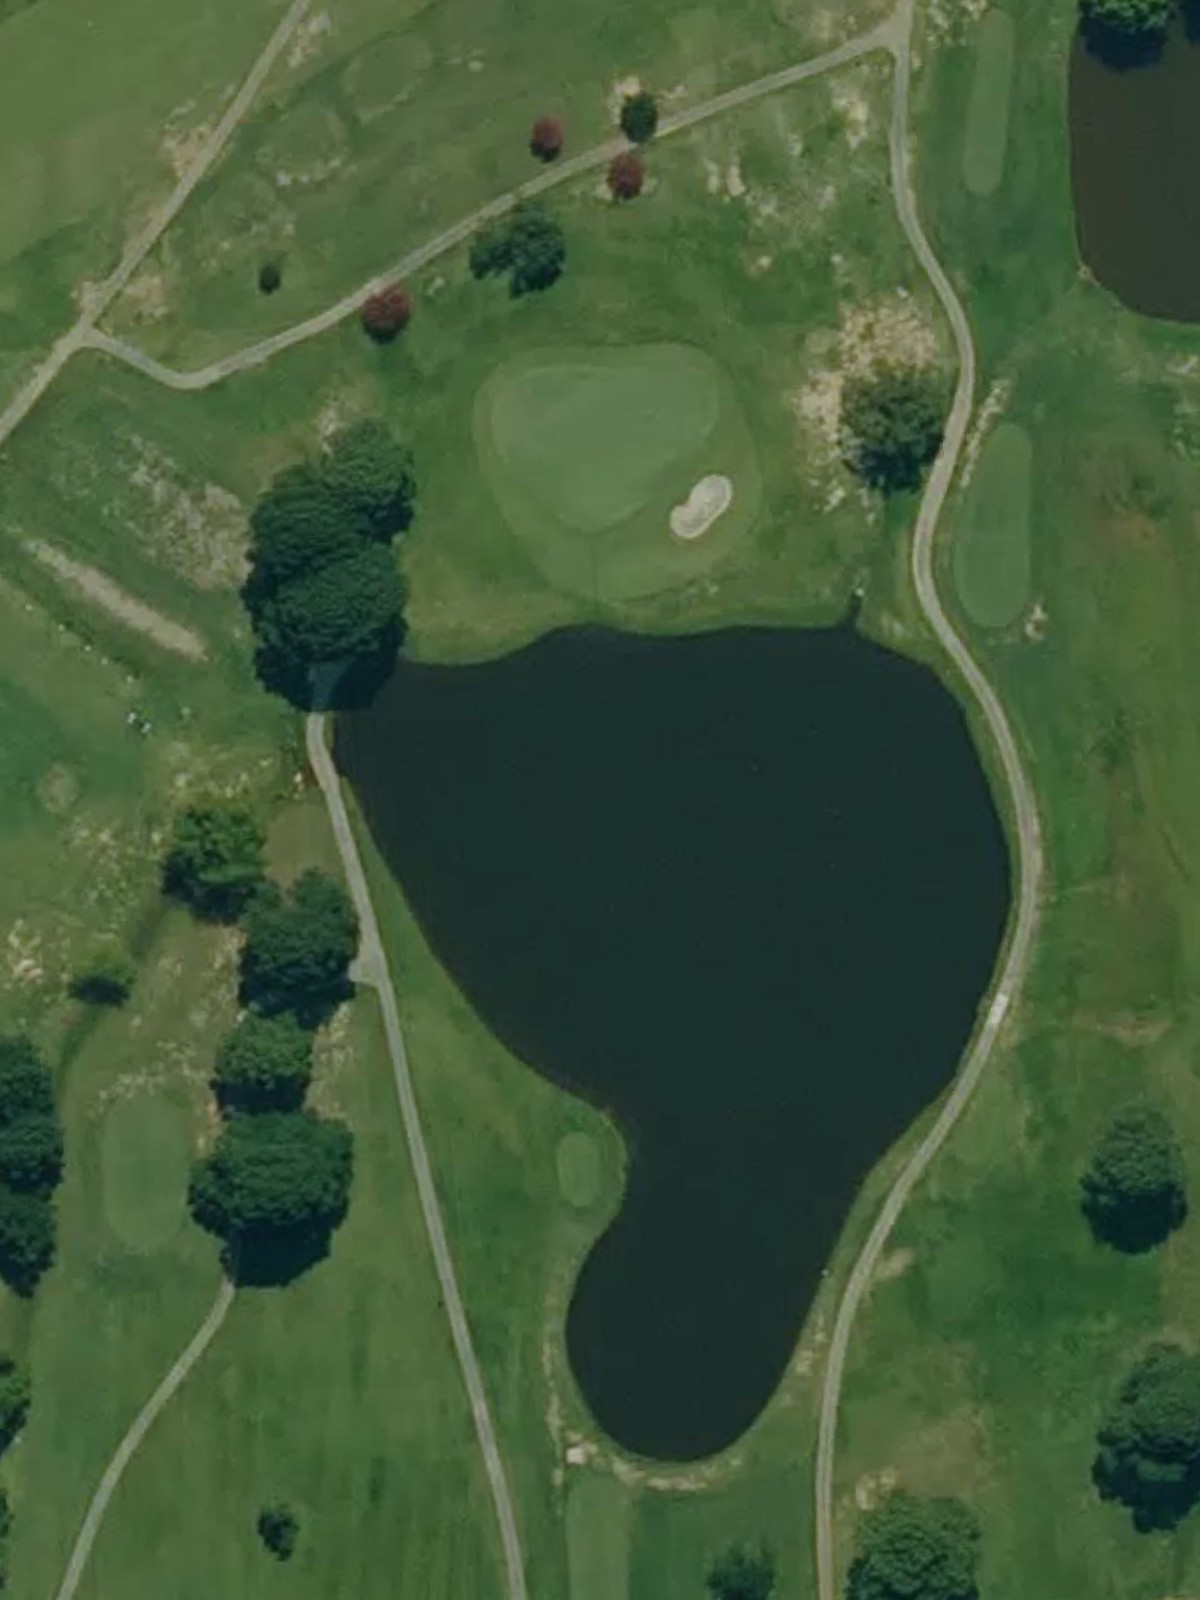
The second-hardest hole on the course, a par 4 with a doglegging fairway and water hazard threatening the inside of the turn. The green sits elevated and well-bunkered, making the approach one of the course's most demanding shots.
A strong par 4 that plays uphill with bunkers scattered throughout the fairway and surrounding the green. The elevated green is narrow and well-protected, requiring both length and accuracy to reach in regulation.
A short par 4 with a straightforward layout and minimal hazards, providing another scoring opportunity. The fairway opens toward the green, though bunkers guard both sides of the putting surface.
A mid-range par 3 playing over water to a green surrounded by bunkers and rough. The hazard right and bunkers left demand a confident, well-struck tee shot to the narrow target.
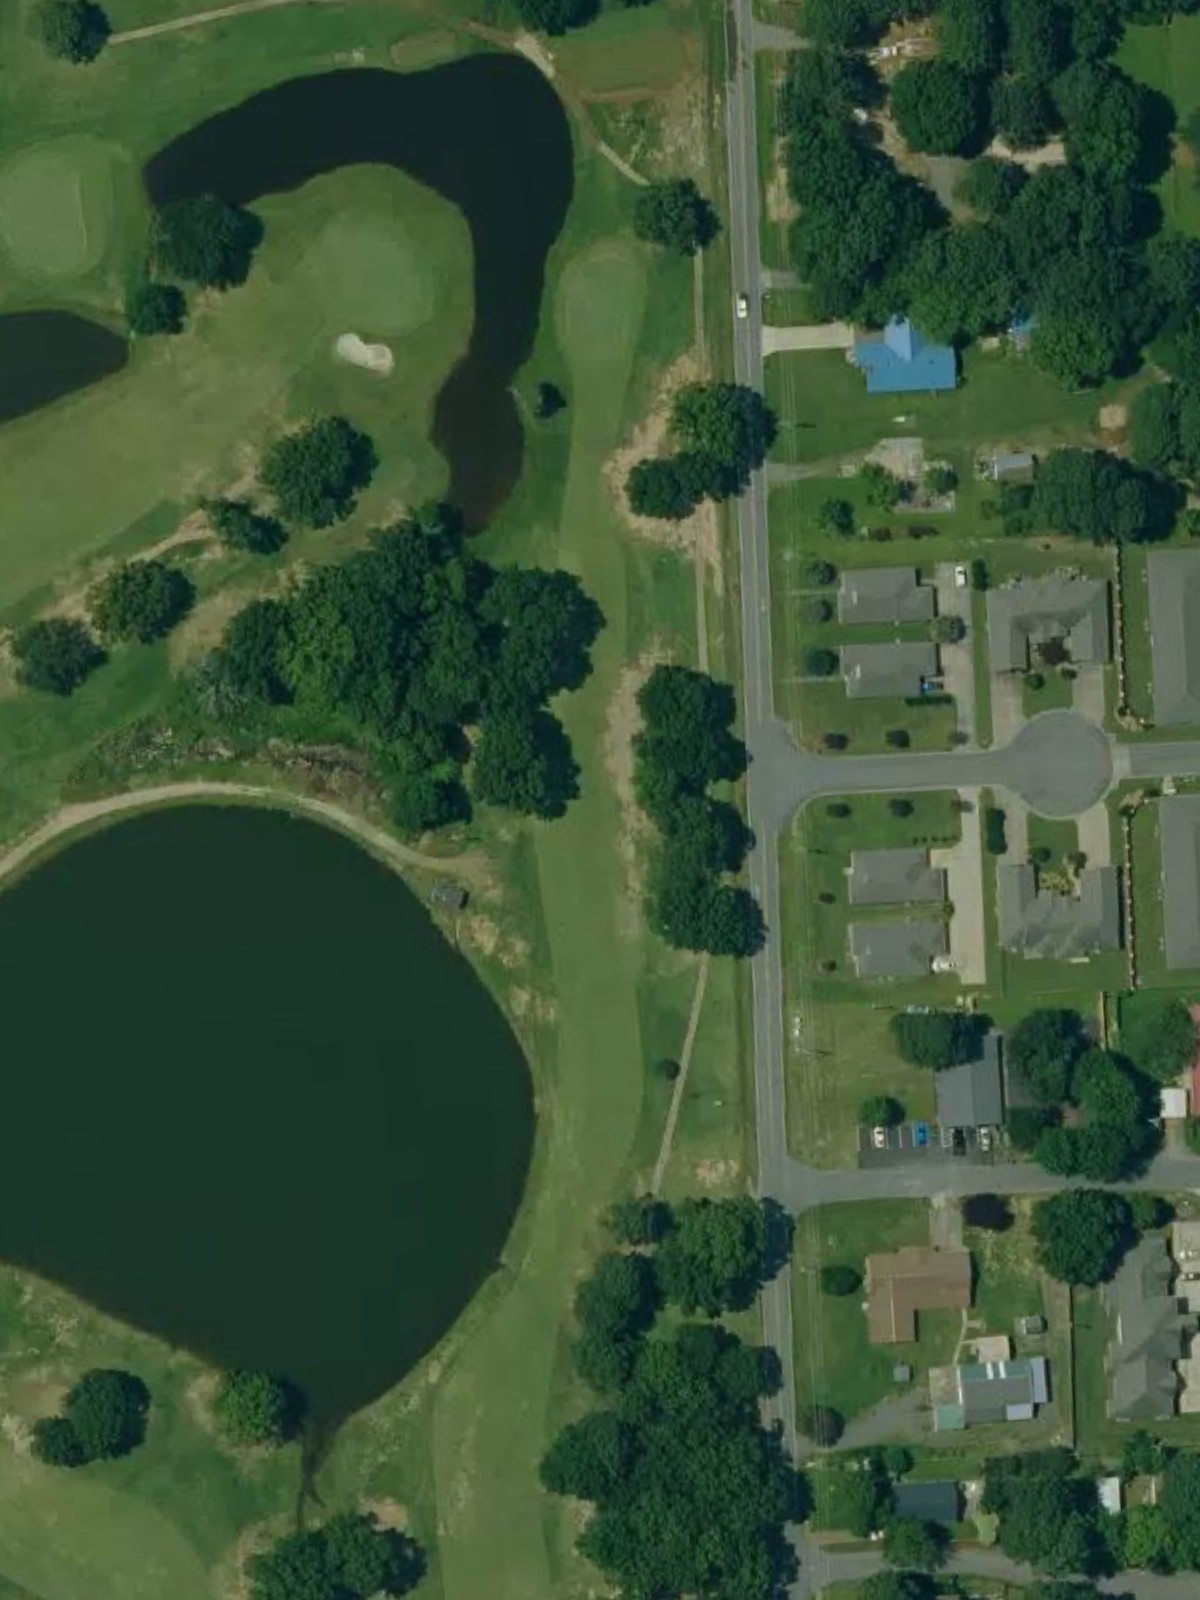
A lengthy par 5 with water and rough lining the left side throughout the hole, forcing players to favor the right. The expansive green provides a large target for the approach, but the long carry over water makes reaching it in two shots difficult.
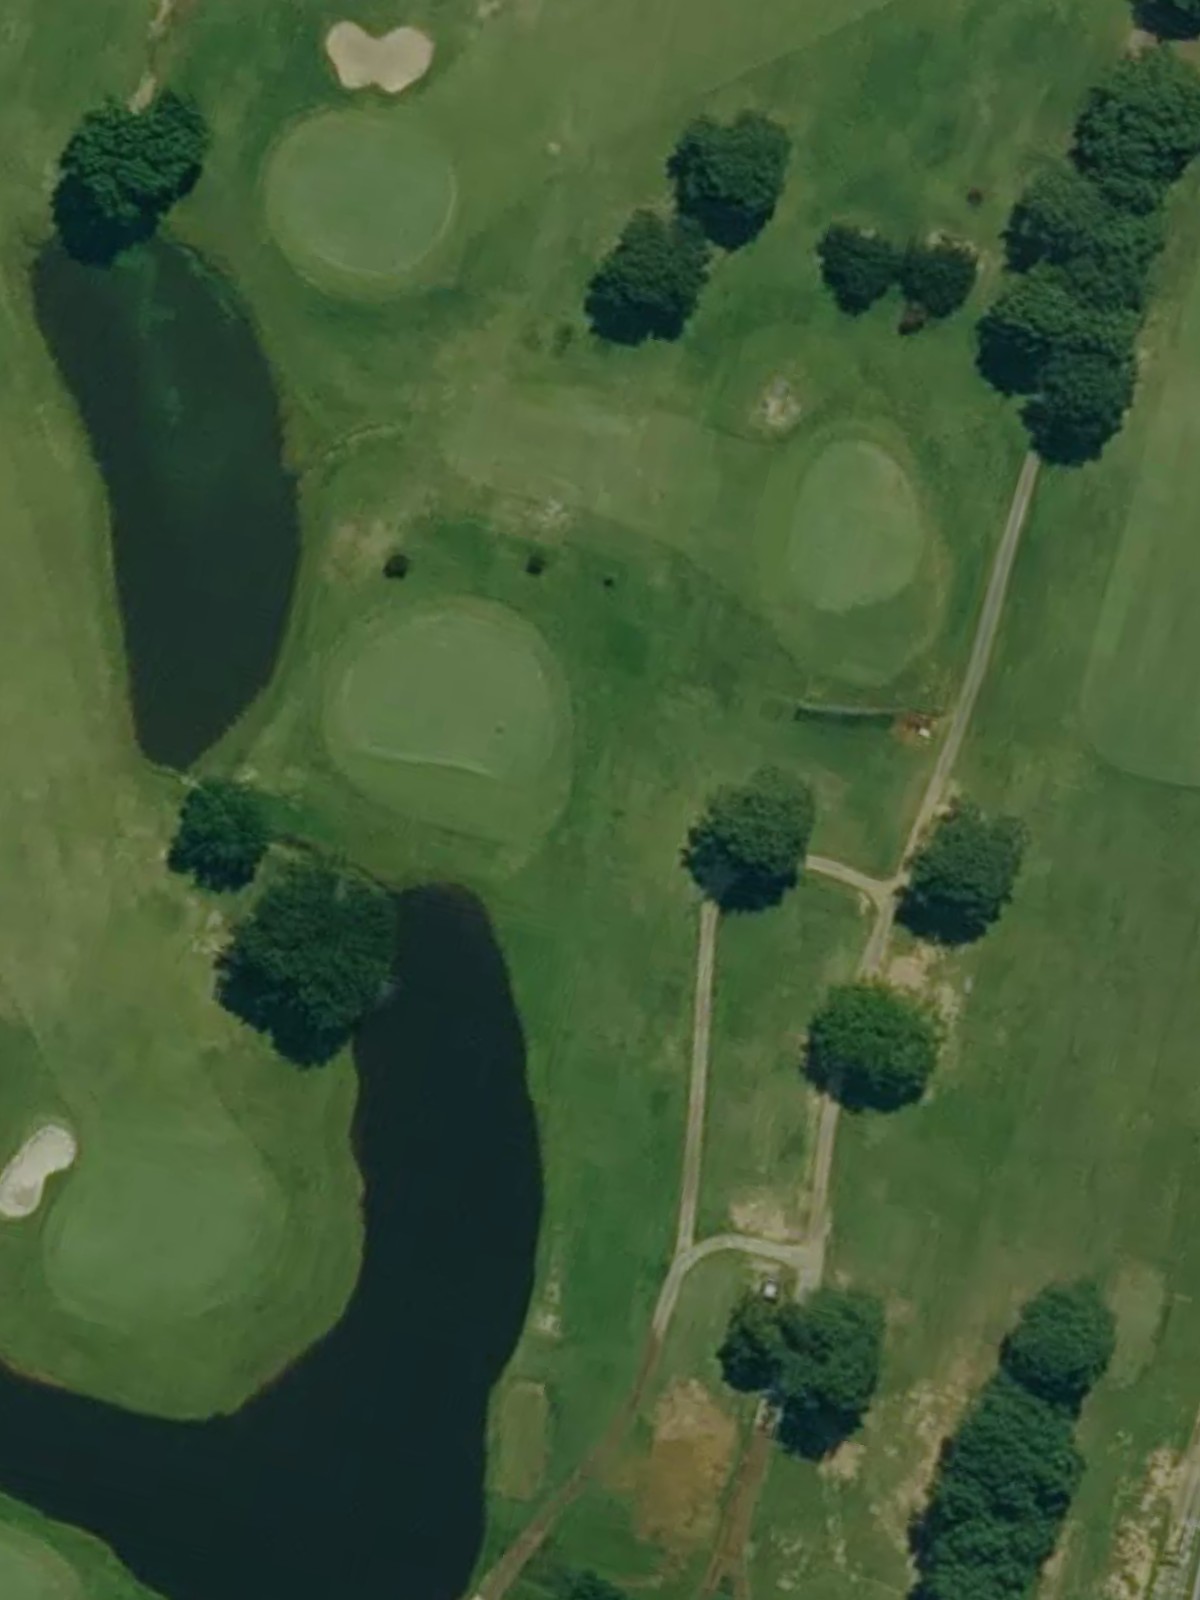
A picturesque par 3 with water guarding the left and bunkers protecting the right side of the green. The hole's mid-length and elevated tee provide excellent sightlines, though the water left creates strategic complexity.
A compact par 4 with a narrow fairway bordered by out of bounds right and bunkers left. The tight layout demands accuracy off the tee, with the green sitting well-bunkered and difficult to access.
A finishing par 4 with out of bounds right the entire hole and bunkers guarding the left side of the green. The fairway narrows near the green, creating a dramatic conclusion that rewards solid play.
Scorecard
| Hole | 1 | 2 | 3 | 4 | 5 | 6 | 7 | 8 | 9 | Out | 10 | 11 | 12 | 13 | 14 | 15 | 16 | 17 | 18 | In | Tot |
|---|---|---|---|---|---|---|---|---|---|---|---|---|---|---|---|---|---|---|---|---|---|
| Par | 4 | 3 | 4 | 3 | 4 | 4 | 5 | 4 | 5 | 36 | 5 | 4 | 4 | 4 | 3 | 5 | 3 | 4 | 4 | 36 | 72 |
| HCP | 7 | 3 | 17 | 9 | 5 | 1 | 11 | 13 | 15 | 18 | 2 | 4 | 14 | 8 | 16 | 6 | 10 | 12 | |||
| black | 394 | 200 | 364 | 203 | 433 | 425 | 540 | 409 | 534 | 3502 | 493 | 397 | 456 | 376 | 190 | 557 | 206 | 400 | 380 | 3455 | 6957 |
| blue | 373 | 179 | 344 | 181 | 396 | 365 | 450 | 371 | 490 | 3149 | 474 | 379 | 430 | 344 | 175 | 515 | 190 | 355 | 355 | 3217 | 6366 |
| white | 339 | 145 | 322 | 120 | 350 | 343 | 430 | 325 | 412 | 2786 | 430 | 305 | 396 | 266 | 162 | 481 | 125 | 310 | 339 | 2814 | 5600 |
| gold | 310 | 117 | 265 | 105 | 306 | 326 | 394 | 273 | 377 | 2473 | 412 | 295 | 337 | 244 | 126 | 457 | 123 | 264 | 276 | 2534 | 5007 |