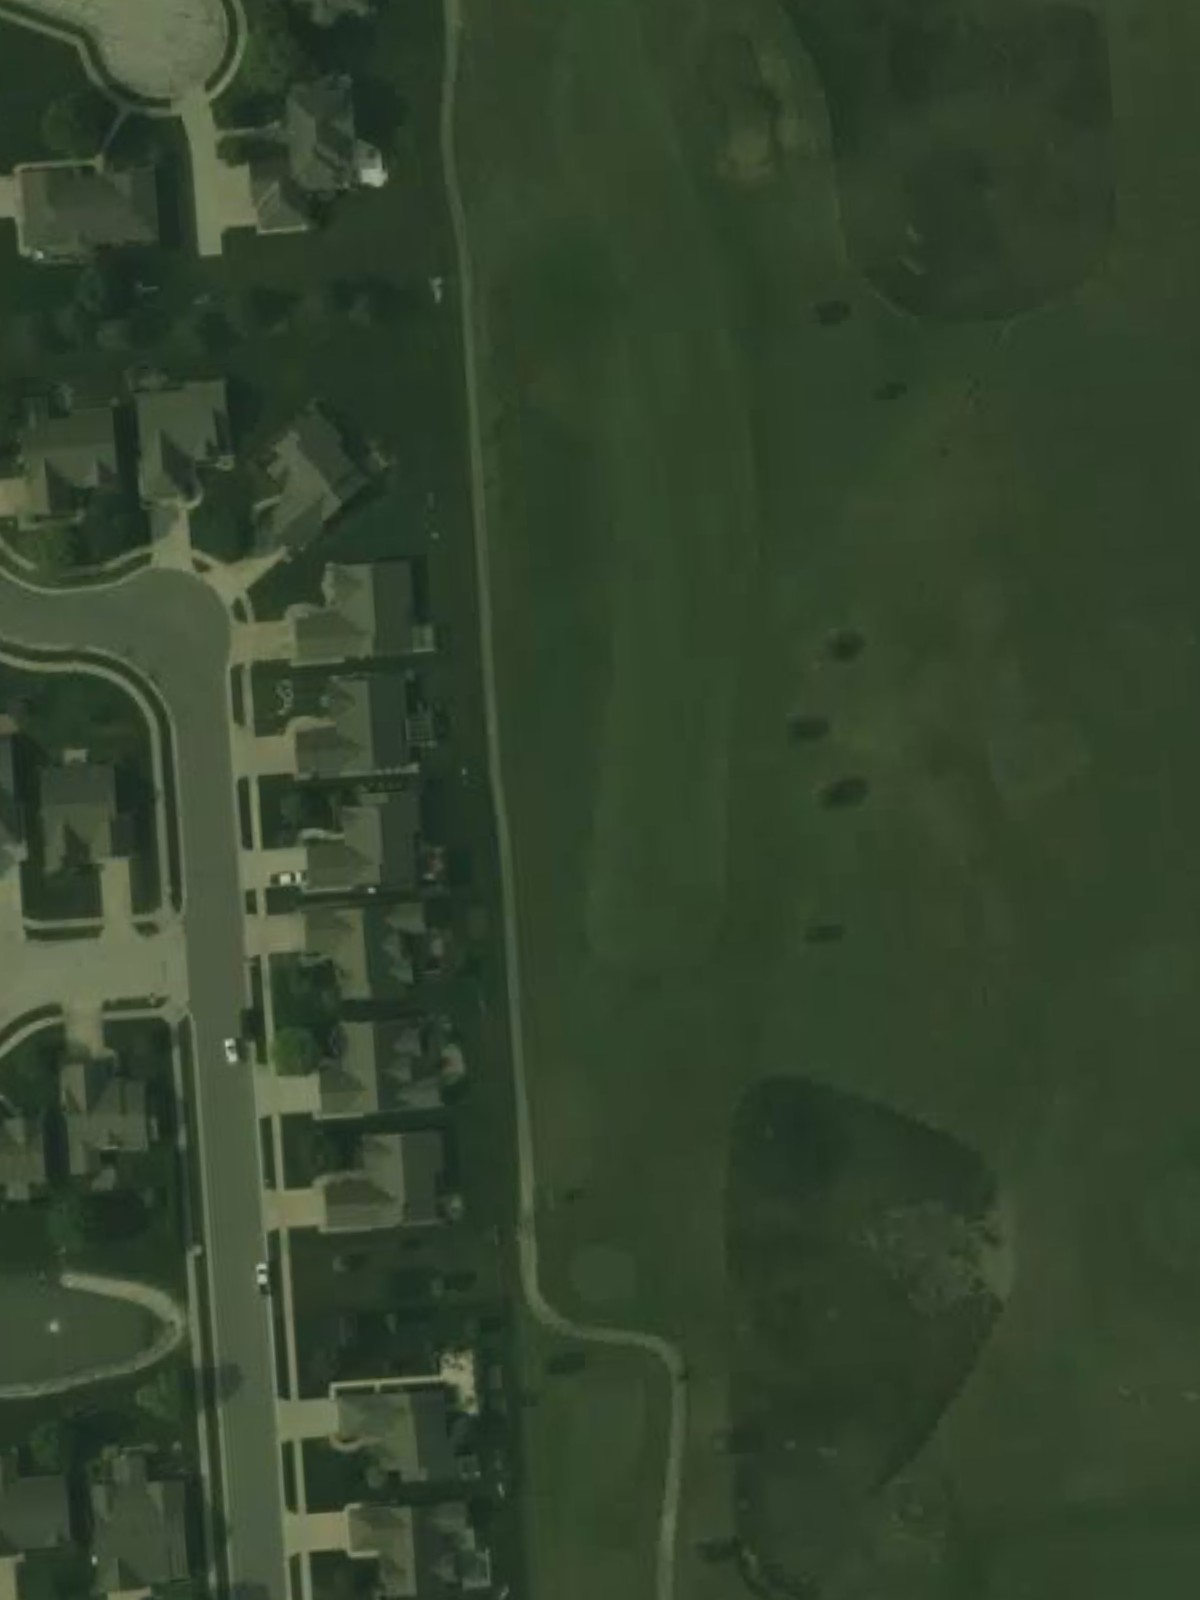
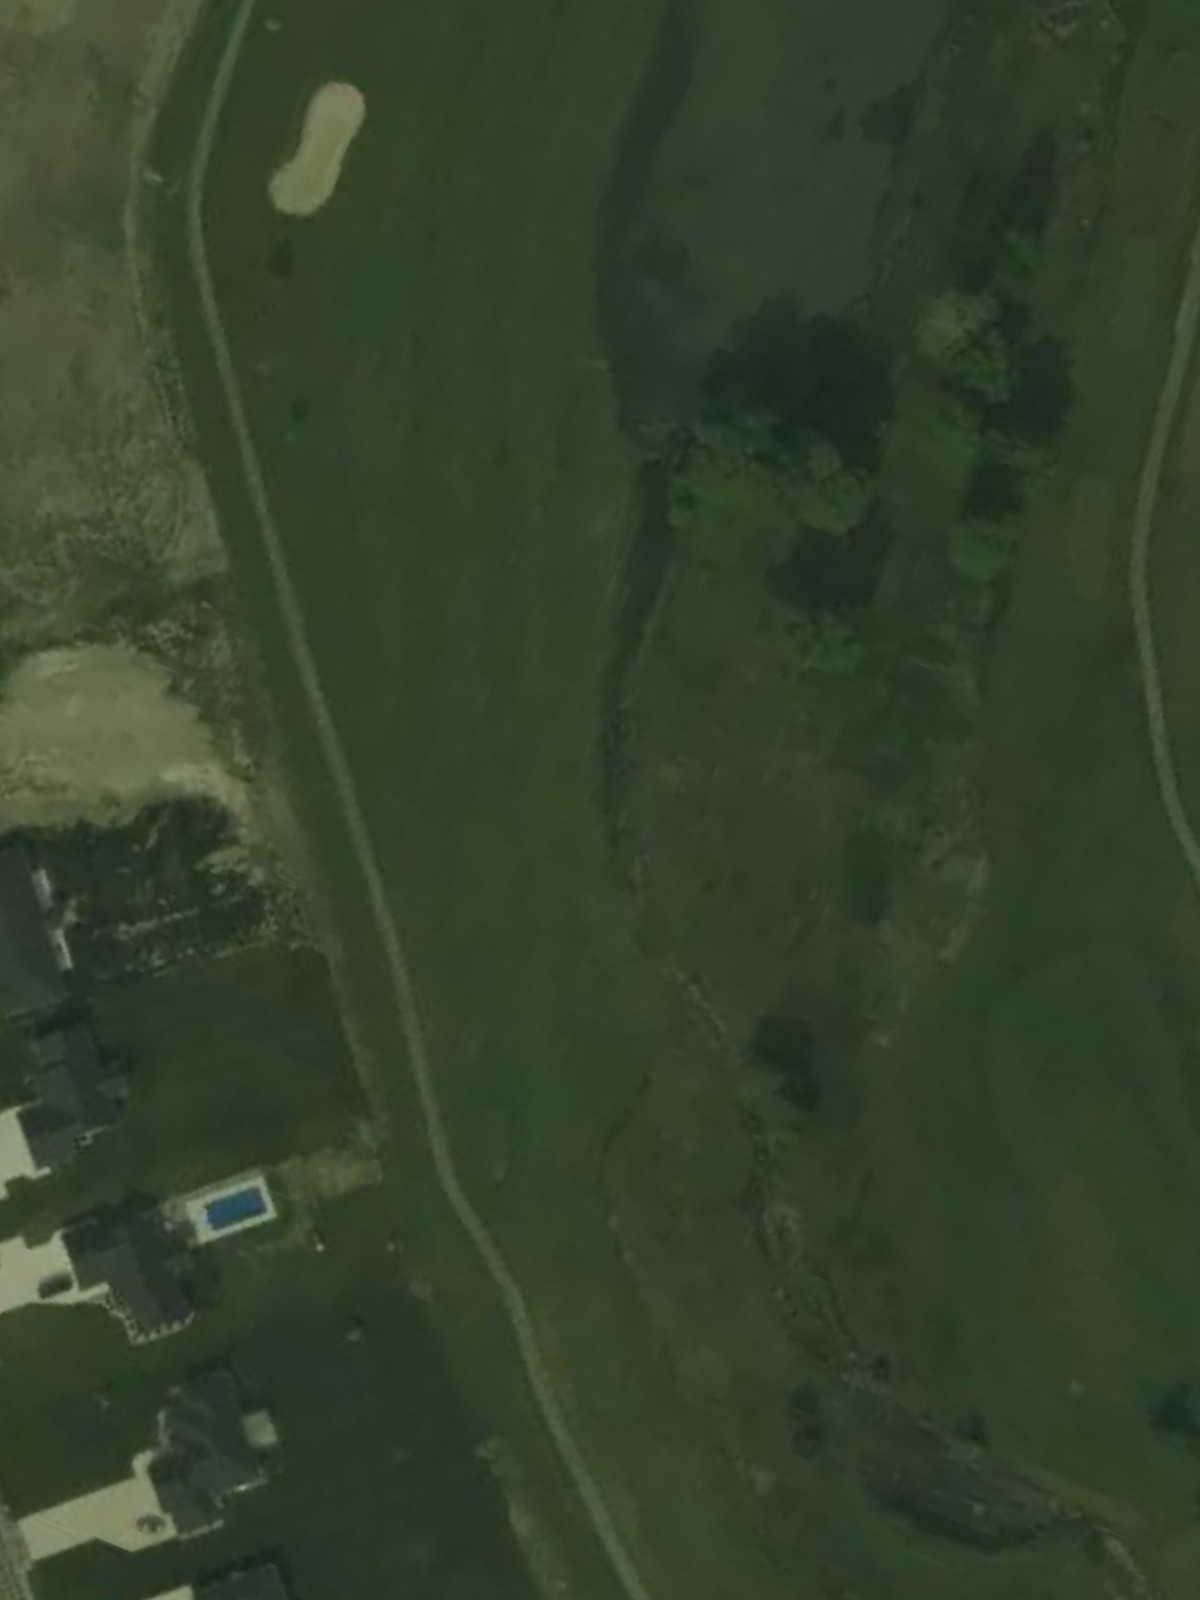
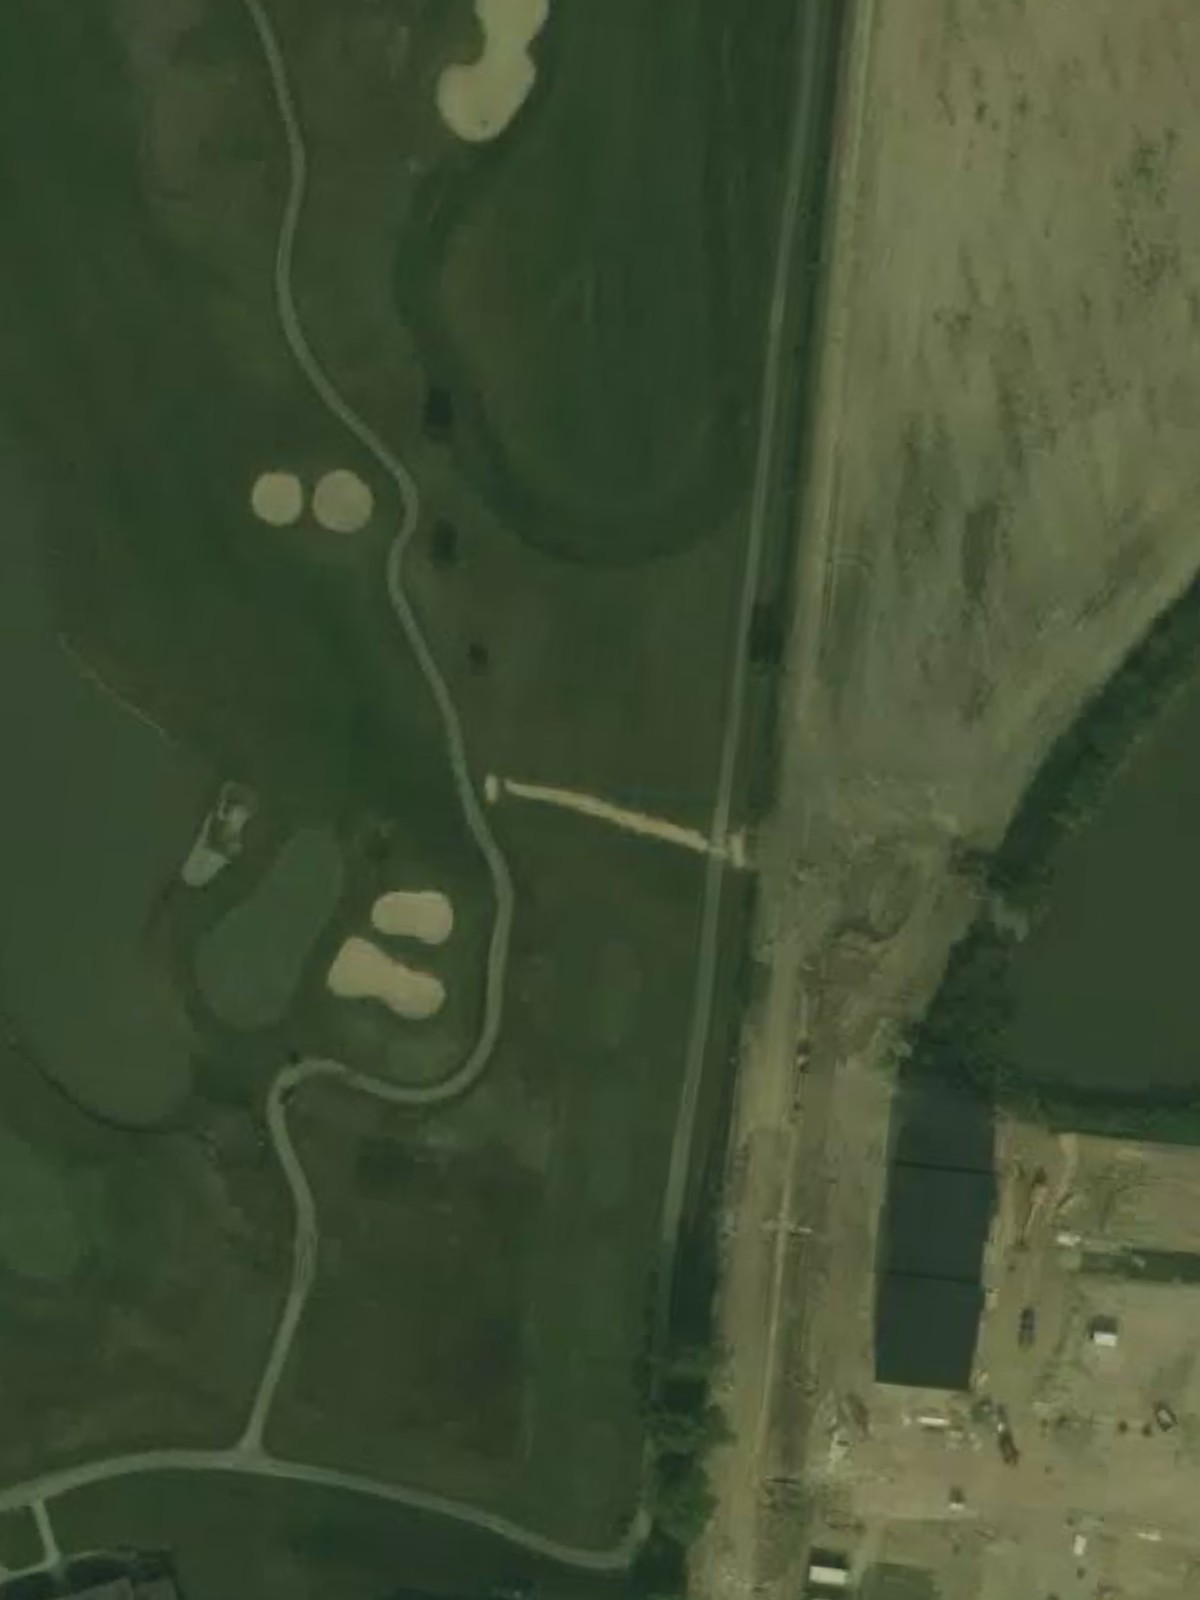
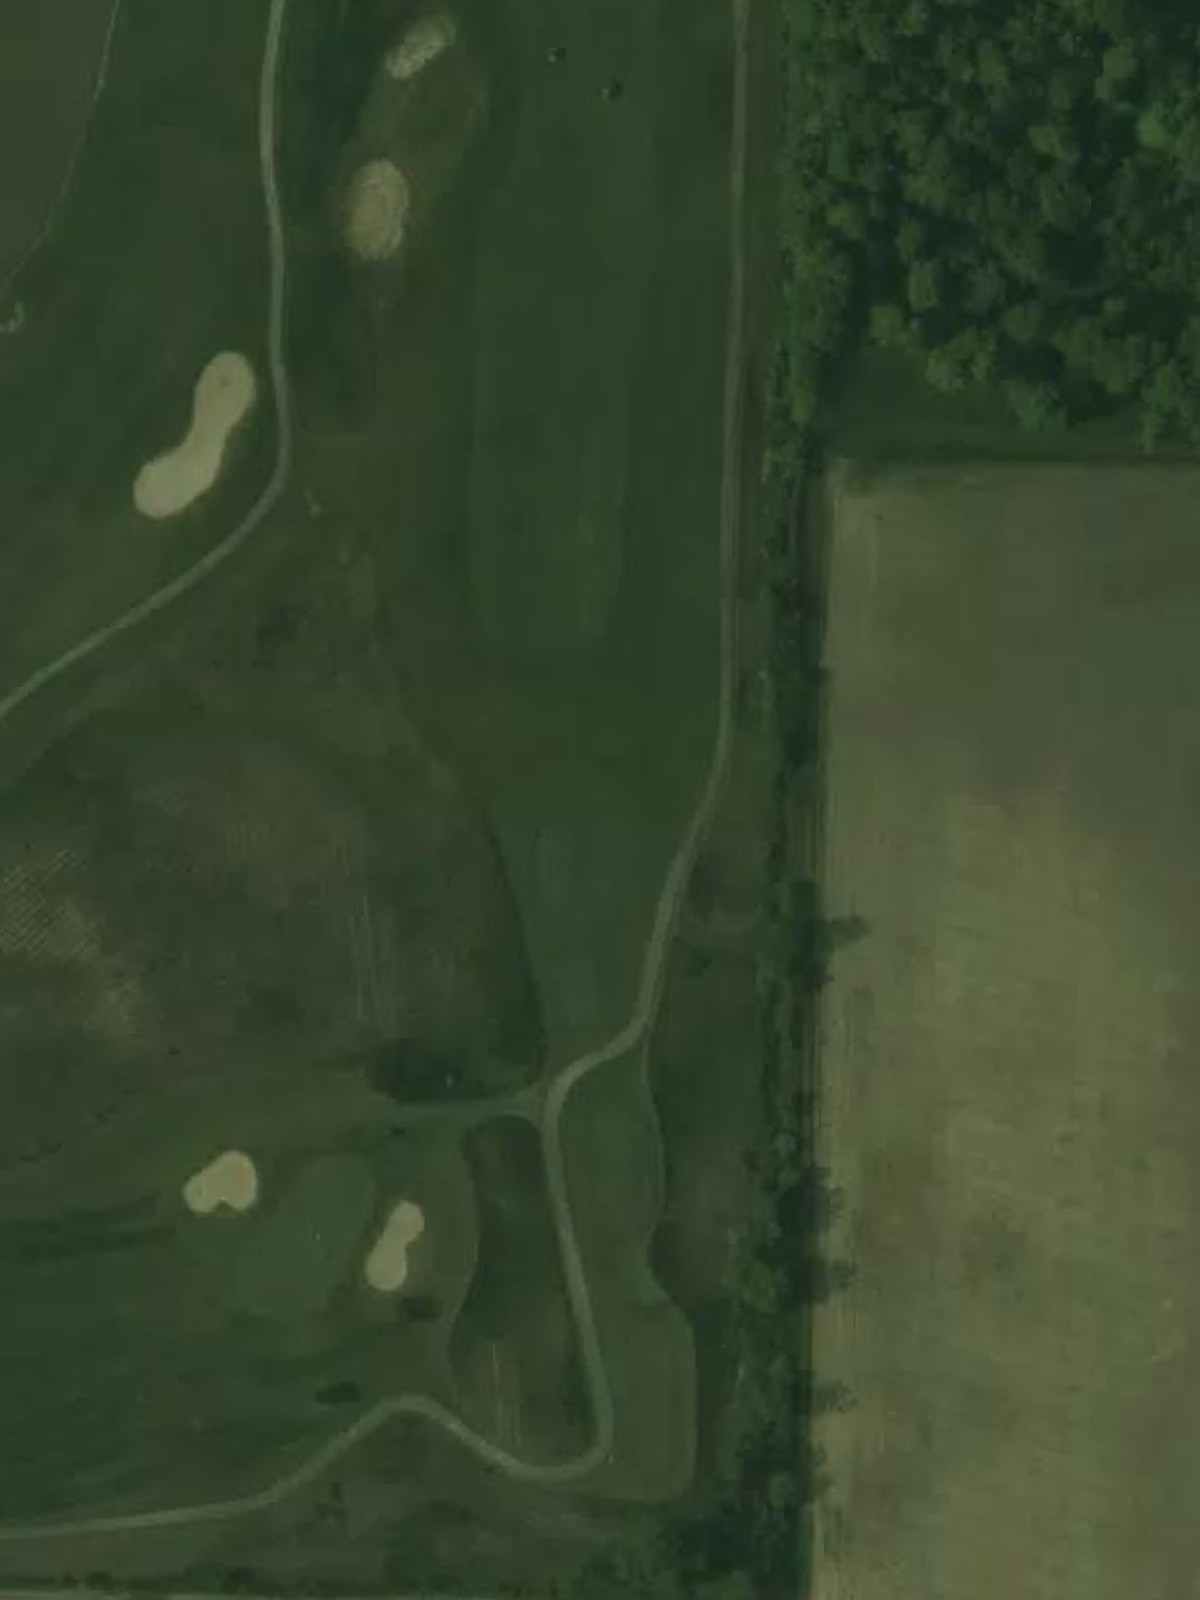
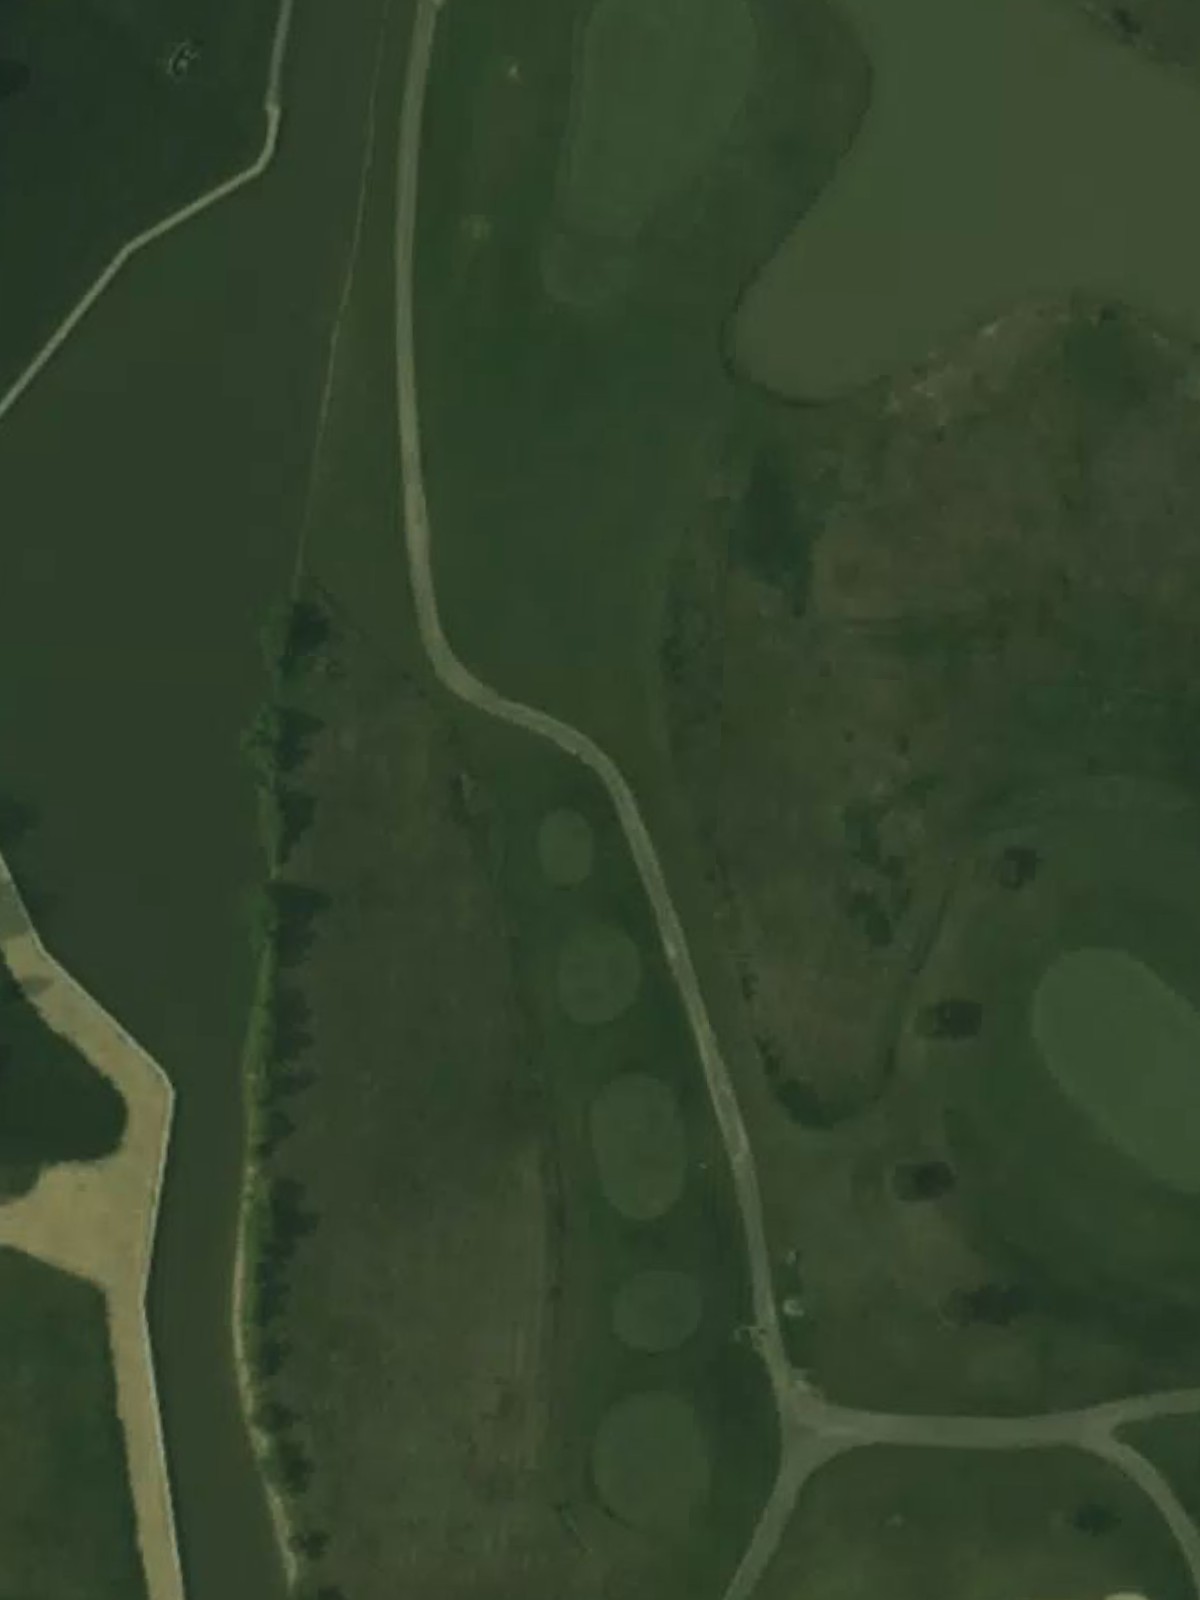
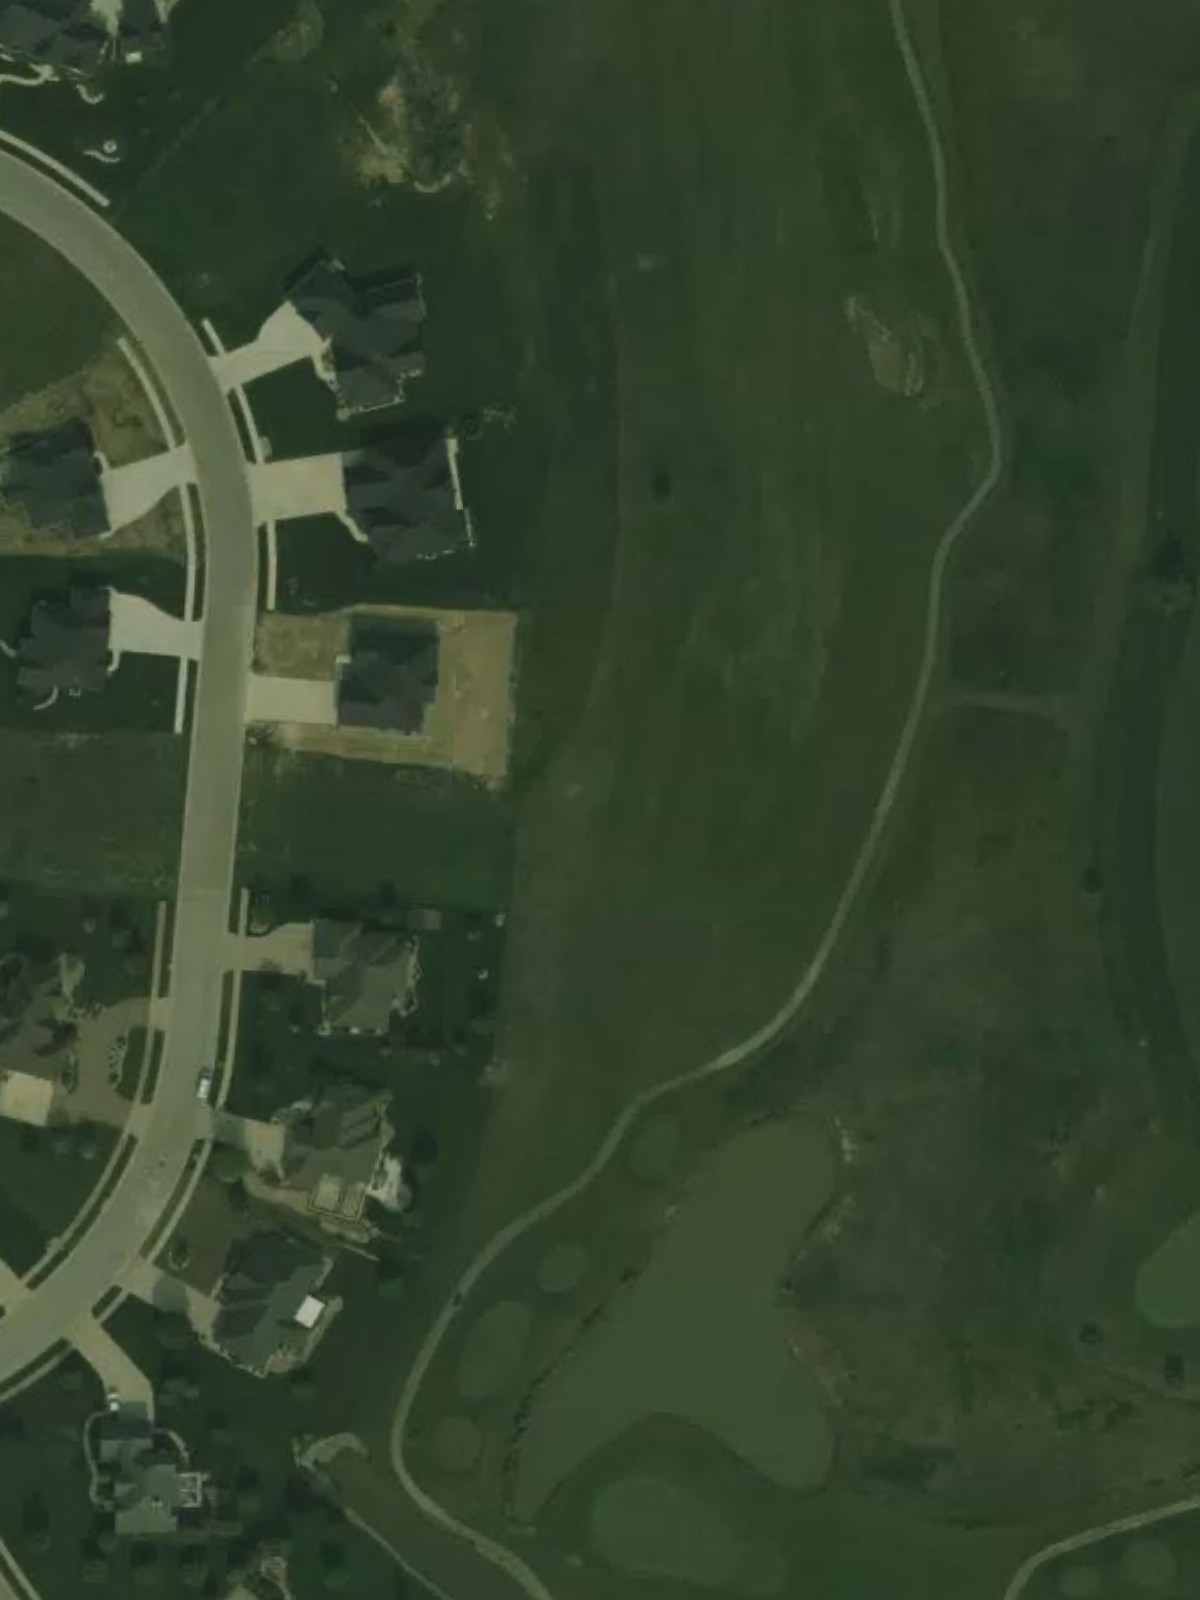
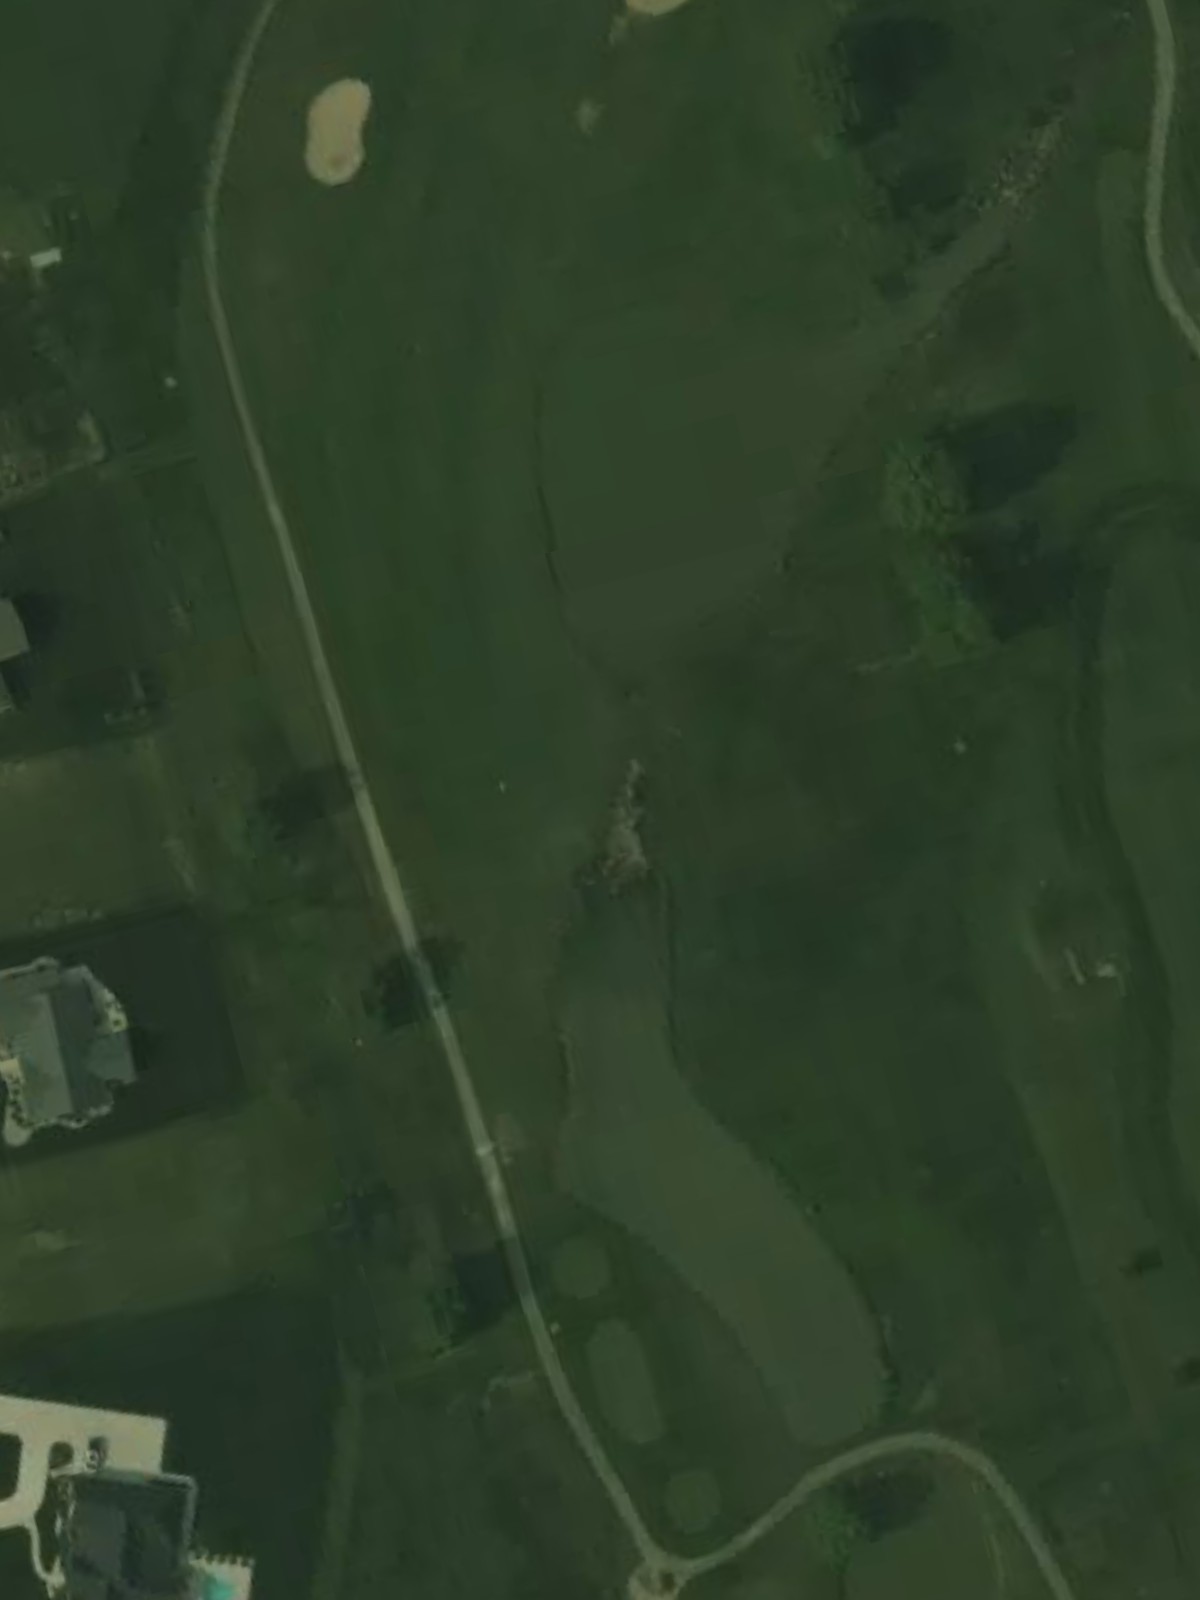
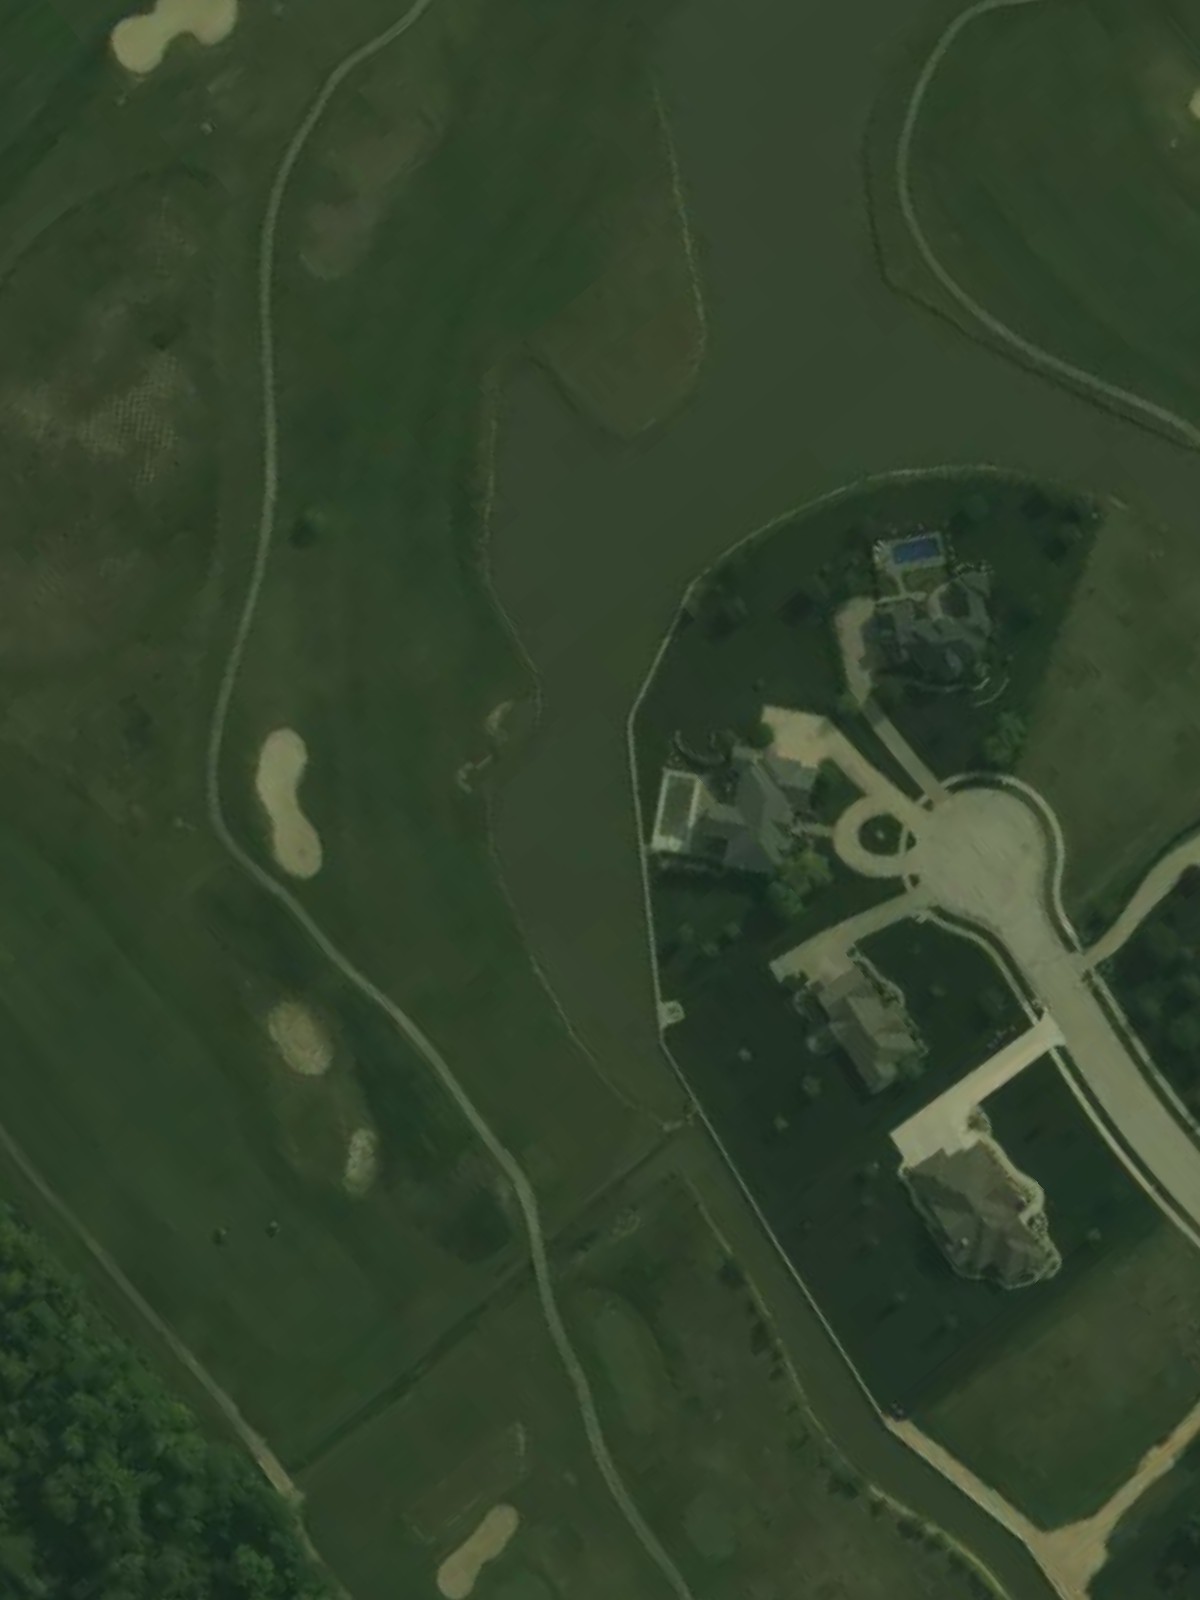
Celina Lynx Golf Club is an 18-hole golf course in Celina, OH with a par of 72. It offers 4 tee sets: black (6,874 yards, slope 125, rating 72.9), green (6,658 yards, slope 124, rating 71.9), white (6,479 yards, slope 122, rating 71.1), gold (6,119 yards, slope 118, rating 69.4). The hardest hole is #8, a par 4 playing 389 yards from the first tee.
Celina Lynx Golf Club
Celina, OH
Get PDF Yardage Book
We'll email you the PDF link. No spam, ever.
Create Your Game Plan
Pick your tees, enter your bag, and get a personalized shot-by-shot strategy for every hole.
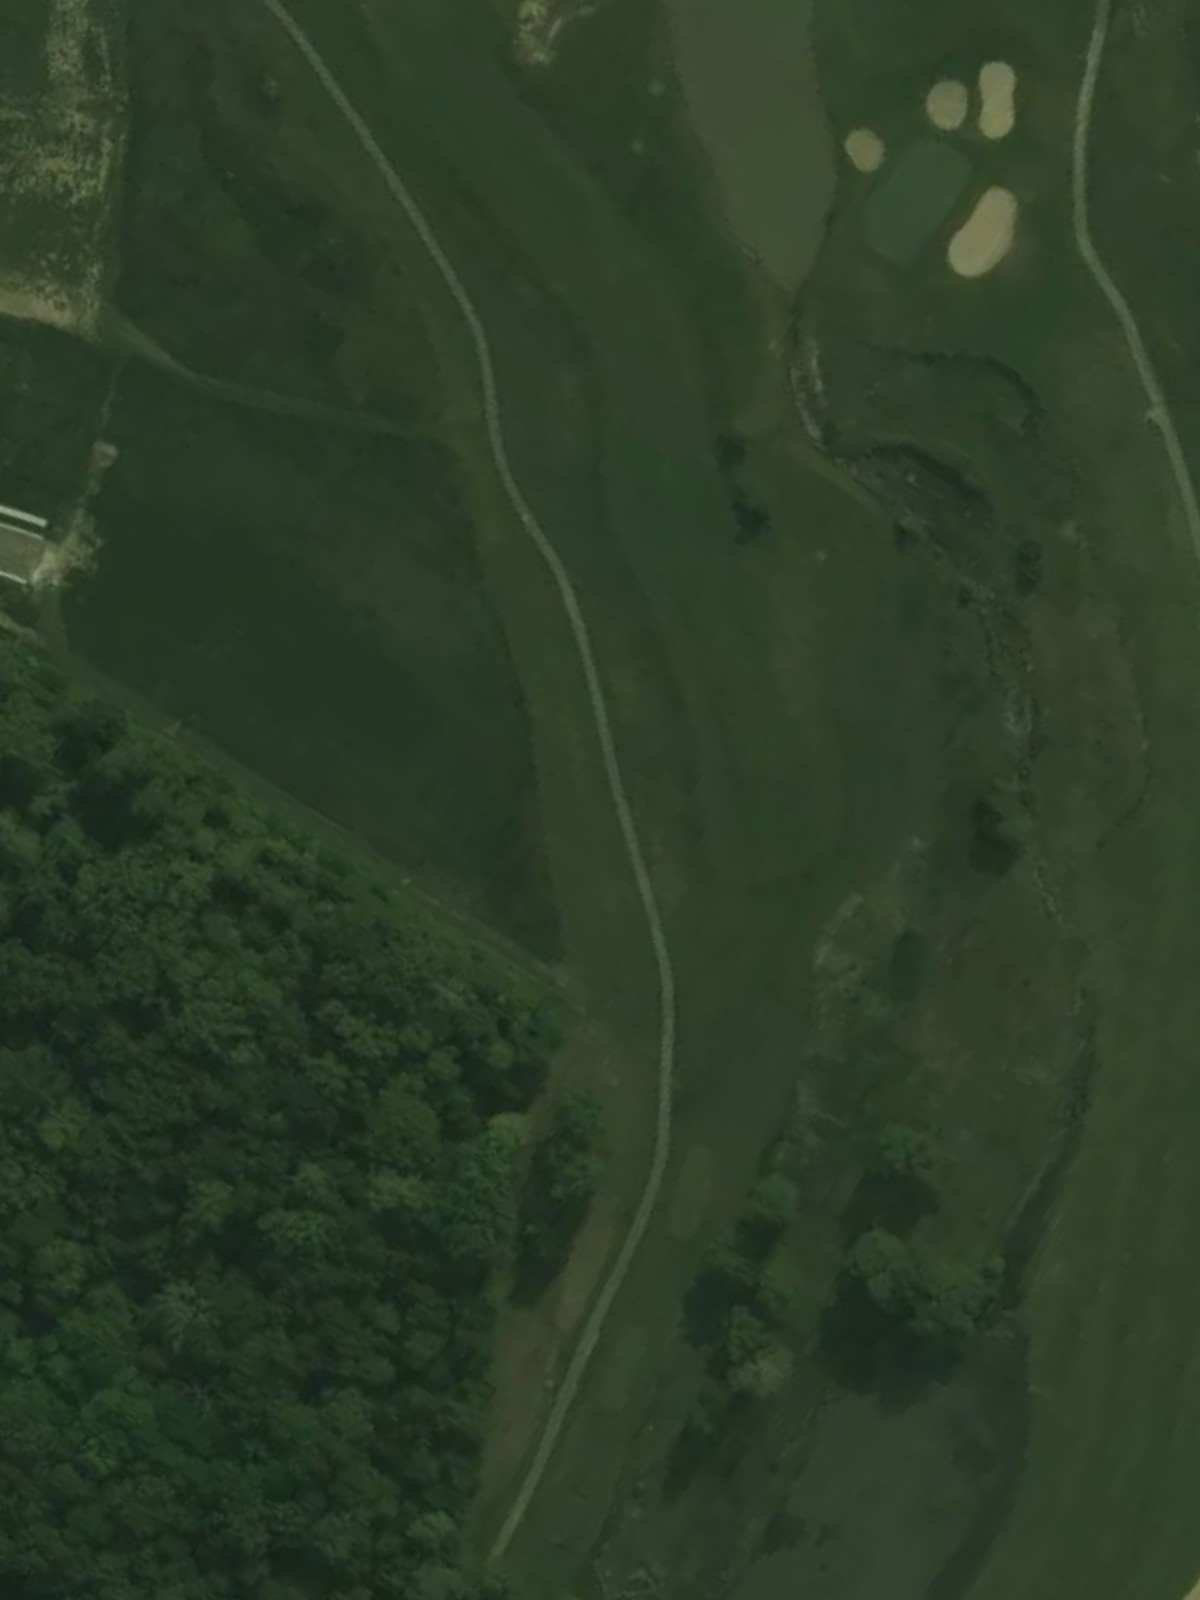
A straightforward par 4 with a wide-open fairway that gradually narrows as it approaches the green. Bunkers guard both sides of the putting surface, requiring accuracy on the approach shot to avoid sand.

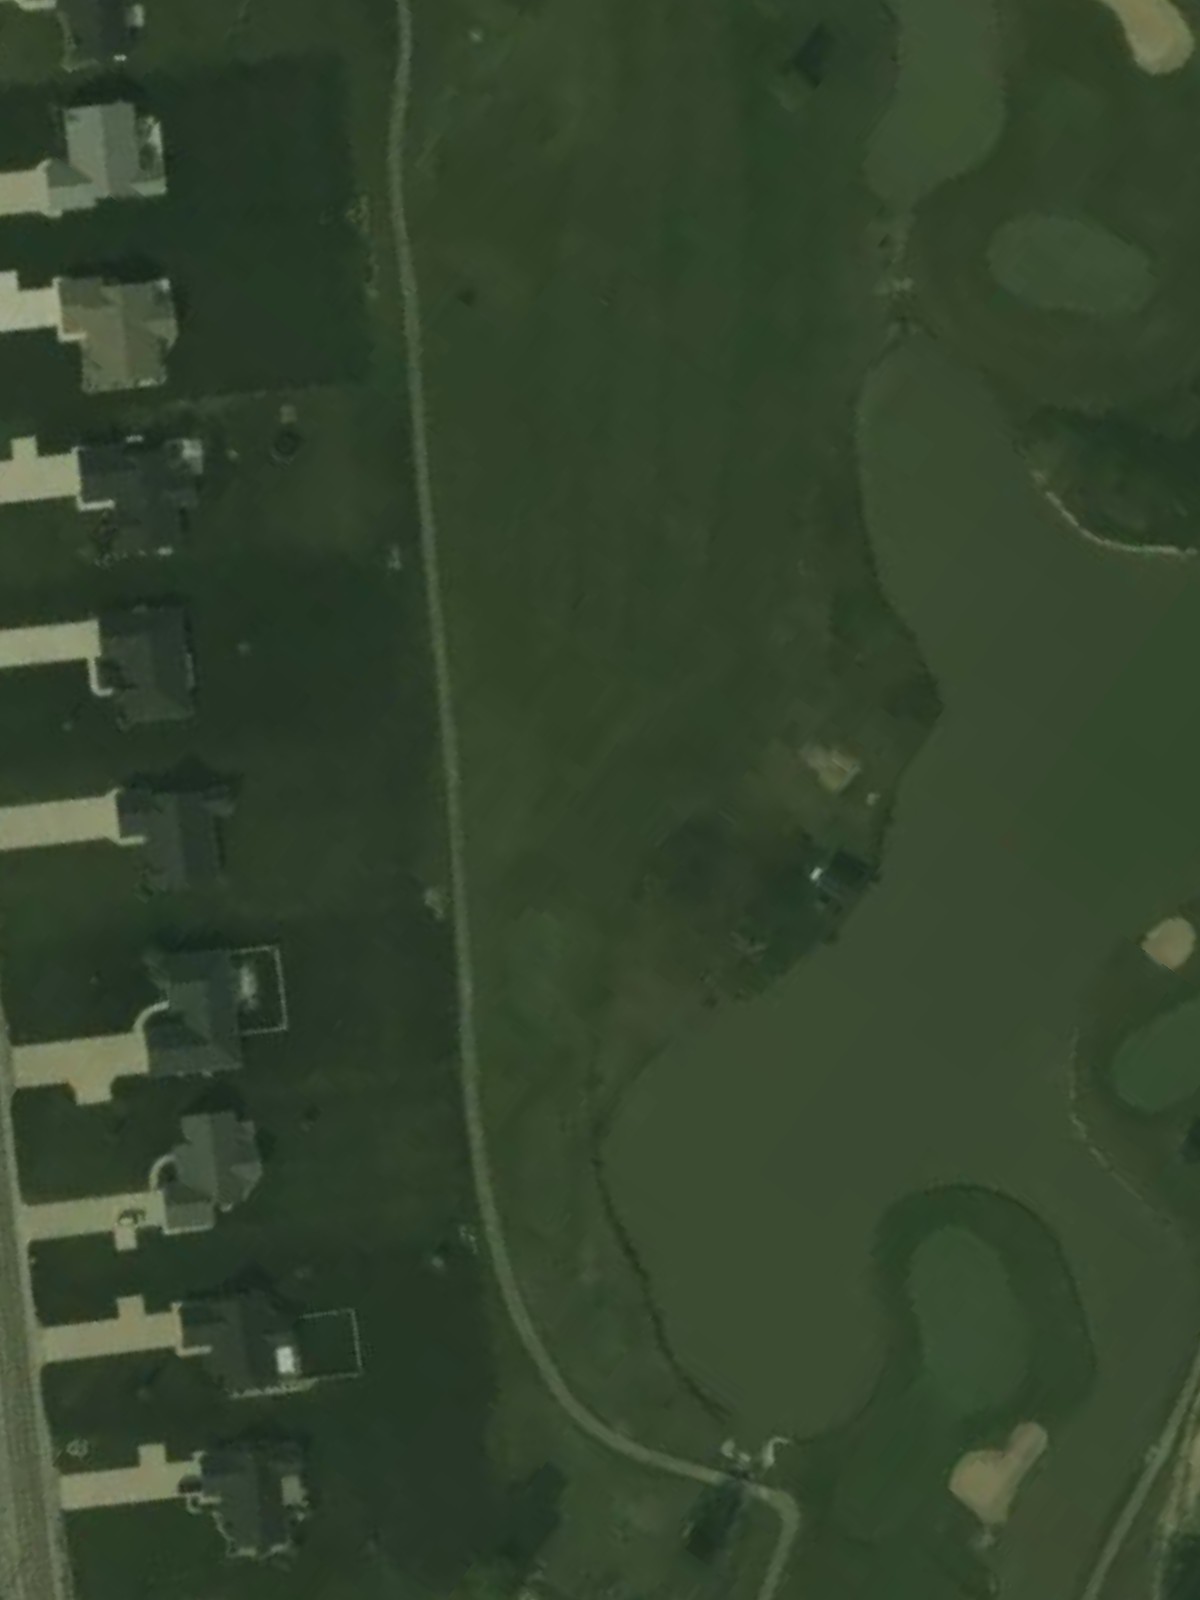
A reachable par 5 that bends slightly left through the landing area. Water hazards frame the left side, while the fairway opens up for a potential second shot, though bunkers protect the green's front and right.
A short par 3 over a modest distance with a relatively open green. Bunkers surround the green complex, making precise distance control essential despite the hole's modest yardage.
A mid-length par 4 with a straightforward layout and bunkers flanking both sides of the fairway. The green sits elevated with bunkers guarding the approach, punishing inaccurate second shots.
A well-bunkered par 4 with hazards lining both sides of the fairway corridor. The green is tightly protected, making this a demanding hole that requires two strong, accurate shots.
The course's strongest handicap par 5, this hole features a strategic dogleg with water and bunkers defining the entire left side. The fairway widens toward the green, but aggressive positioning is needed for a realistic birdie opportunity.
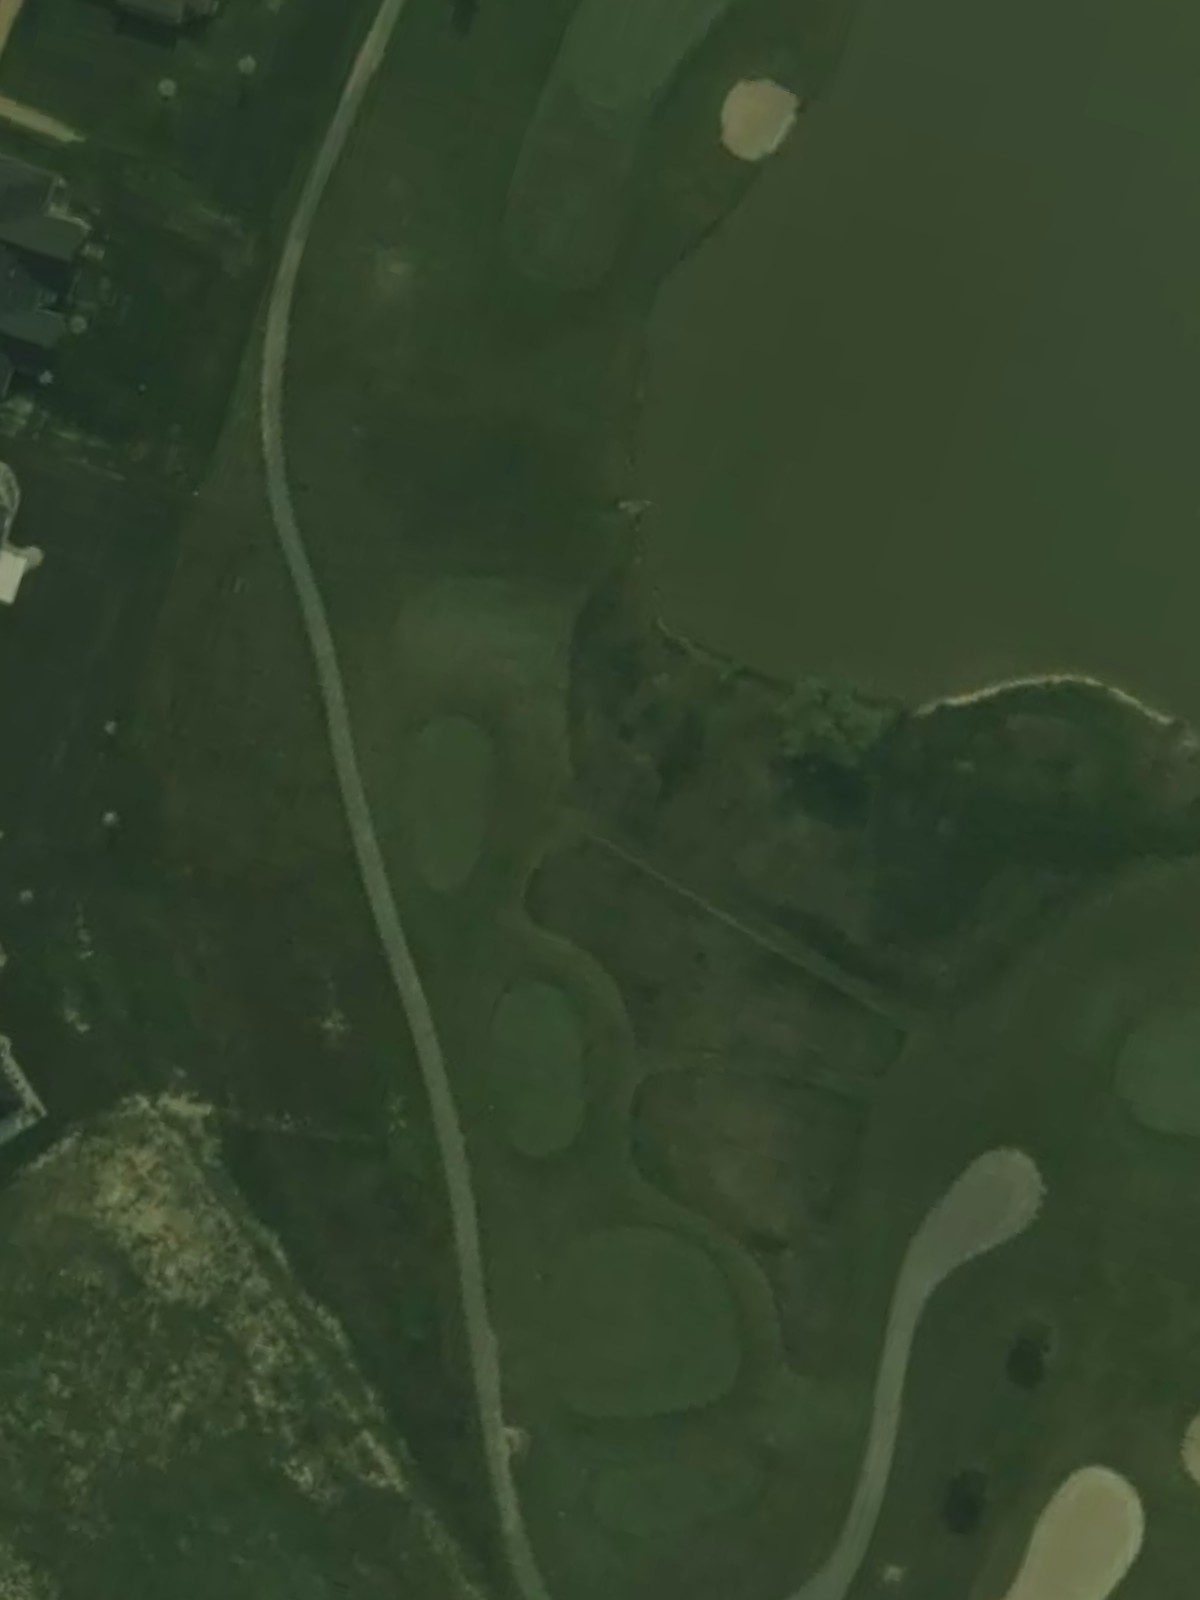
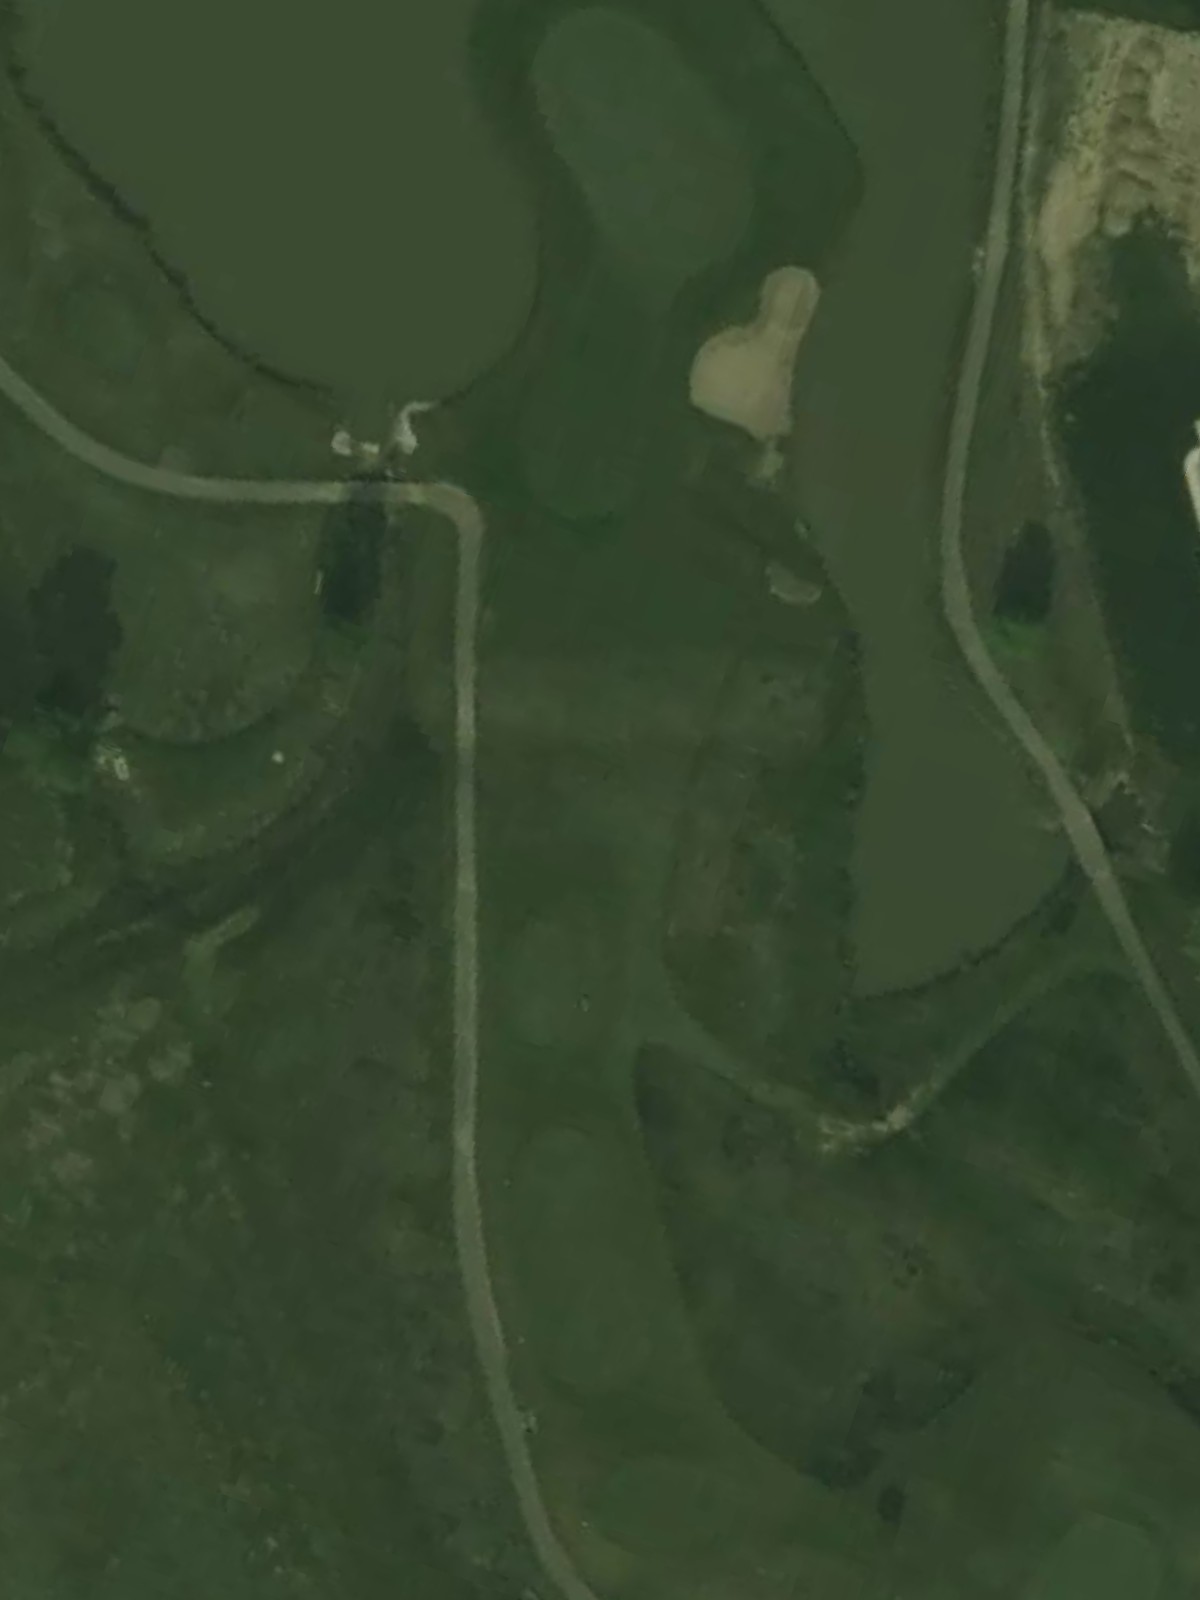
A short par 3 with a scenic island-green presentation surrounded by water. The compact green demands a precise tee shot, with limited bail-out area available.
The signature hole, a formidable par 4 where water or hazards dominate one or both sides of the corridor. The fairway pinches significantly near the green, making strategic positioning off the tee critical to this hole's challenge.
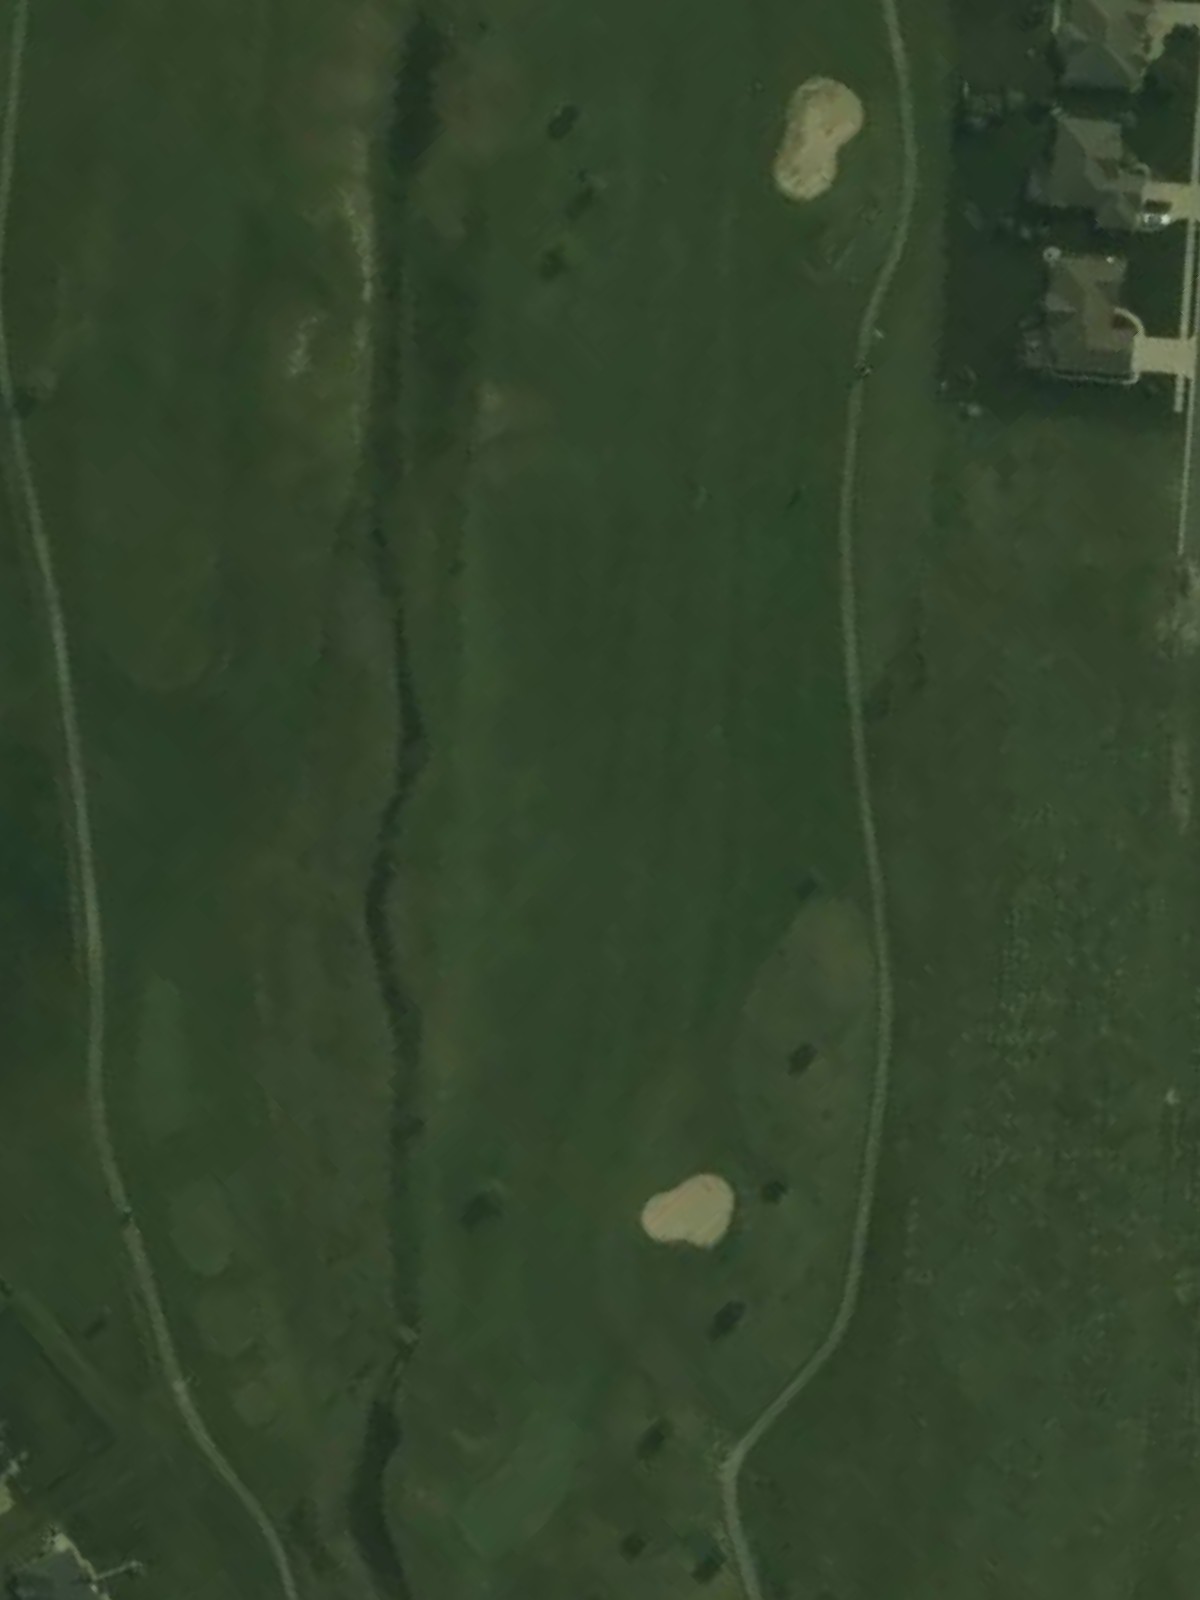
A solid mid-length par 4 with bunkers strategically placed along the fairway's edge. The green is well-guarded, and the overall routing makes this a stout test requiring two quality shots.
A moderate par 4 that offers a relatively open fairway with bunkers positioned to catch errant tee shots. The green slopes subtly with light bunkering, offering a chance to score.
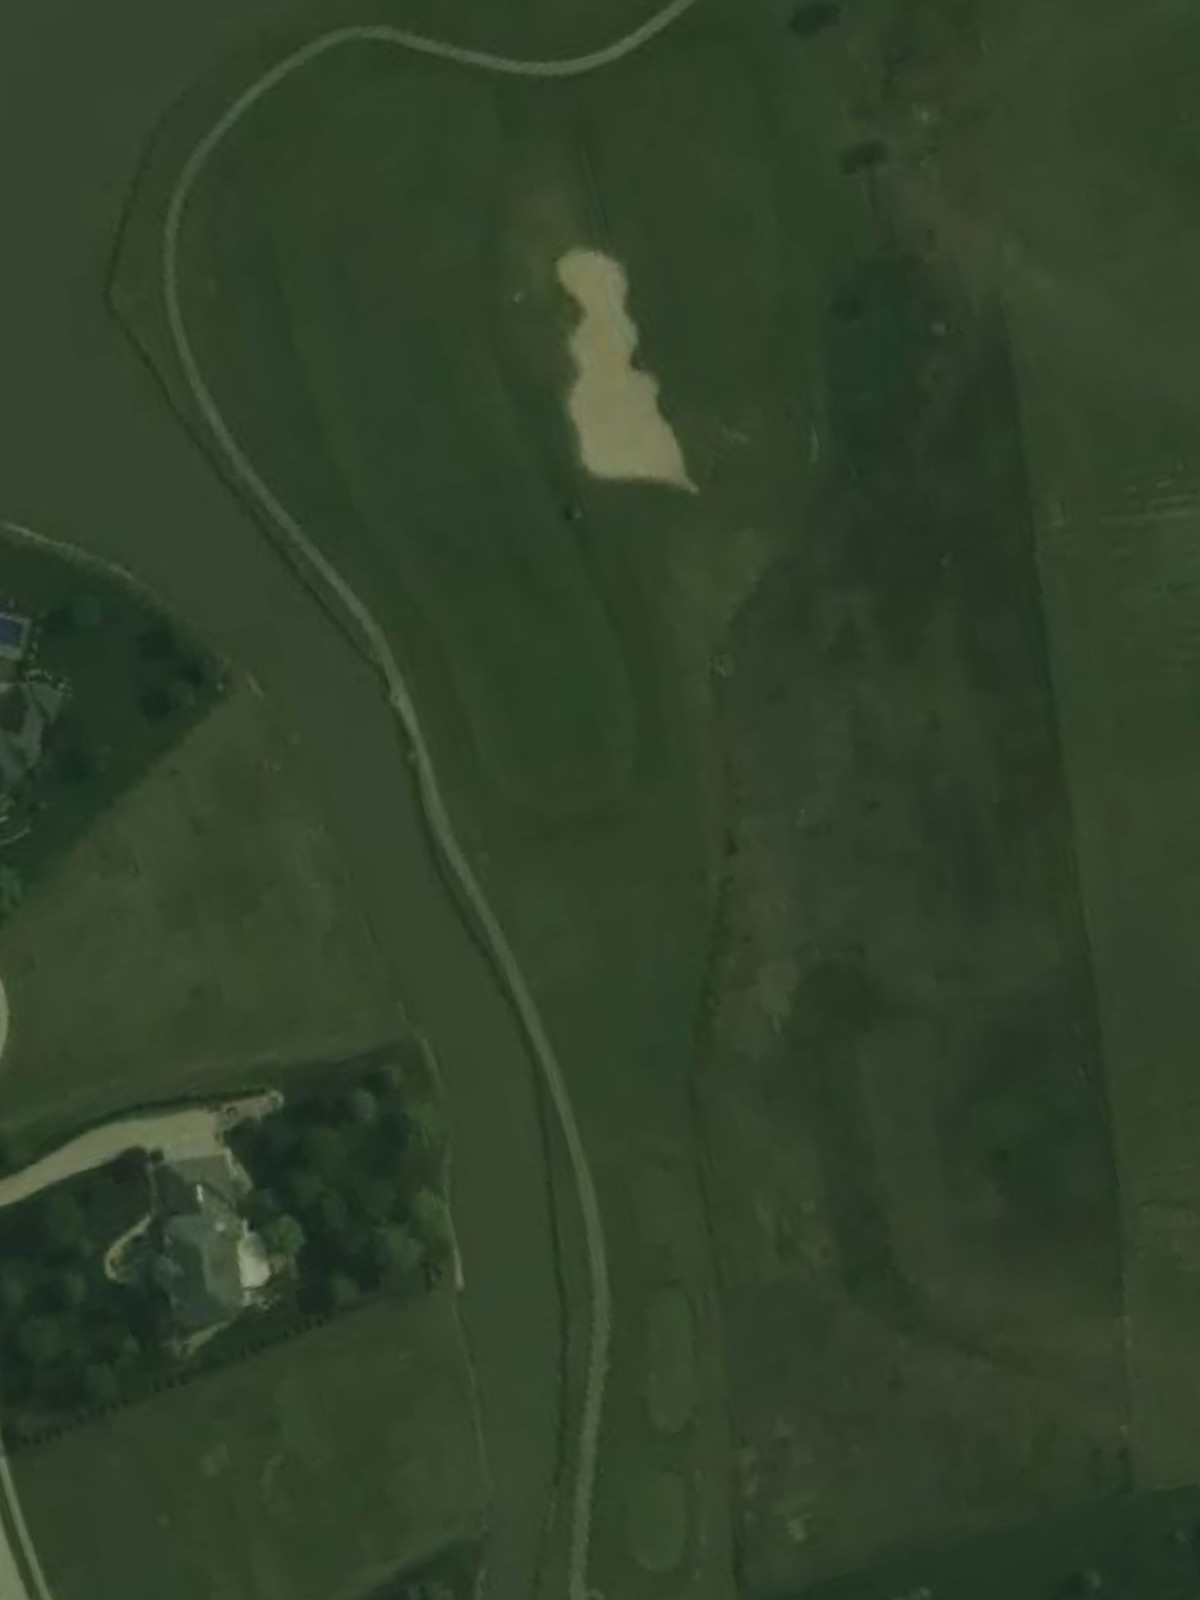
A strong par 4 with a tilted fairway and strategic bunkering along the playing corridor. Bunkers and potentially other hazards frame the green, creating a challenging approach to a well-protected target.
The course's shortest par 3, playing over a short distance to a compact green. Water or bunkers surround the green, making this deceptively tricky despite its modest yardage.
A mid-length par 5 with a dogleg or strategic routing through the fairway. Bunkers and water hazards influence positioning for both the second and third shots, though the hole remains reachable in two.
A well-crafted par 4 with bunkers defining the fairway's edges and guarding the green. The hole's routing and hazard placement force thoughtful execution on both tee and approach shots.
A demanding par 4 with strategic bunkering throughout the hole and a well-protected green complex. Hazards narrow the fairway at the landing area, requiring precise positioning for an advantageous approach.
A medium-length par 3 to a green protected by bunkers and framed by natural features. Distance control and accuracy are paramount on this scenic one-shotter.
The course's second-toughest hole, a long par 4 with hazards and bunkers commanding both sides of the fairway. The hole's length and bunkering create a stern finishing stretch, particularly from the back tees.
A fitting final par 5 with strategic bunkering throughout and water or hazards potentially framing the approach. The hole offers a birdie opportunity for bold, accurate play while punishing mistakes on this memorable finish.
Scorecard
| Hole | 1 | 2 | 3 | 4 | 5 | 6 | 7 | 8 | 9 | Out | 10 | 11 | 12 | 13 | 14 | 15 | 16 | 17 | 18 | In | Tot |
|---|---|---|---|---|---|---|---|---|---|---|---|---|---|---|---|---|---|---|---|---|---|
| Par | 4 | 5 | 3 | 4 | 4 | 5 | 3 | 4 | 4 | 36 | 4 | 4 | 3 | 5 | 4 | 4 | 3 | 4 | 5 | 36 | 72 |
| HCP | 11 | 9 | 17 | 13 | 7 | 3 | 15 | 1 | 5 | 14 | 4 | 18 | 8 | 12 | 10 | 16 | 2 | 6 | |||
| black | 380 | 535 | 175 | 377 | 392 | 530 | 195 | 422 | 398 | 3404 | 389 | 401 | 161 | 515 | 406 | 415 | 188 | 467 | 528 | 3470 | 6874 |
| green | 370 | 510 | 165 | 370 | 380 | 520 | 180 | 415 | 390 | 3300 | 370 | 390 | 158 | 500 | 395 | 410 | 180 | 450 | 505 | 3358 | 6658 |
| white | 360 | 500 | 157 | 364 | 370 | 508 | 177 | 407 | 383 | 3226 | 365 | 373 | 156 | 490 | 385 | 400 | 176 | 414 | 494 | 3253 | 6479 |
| gold | 338 | 485 | 143 | 340 | 336 | 490 | 148 | 389 | 358 | 3027 | 342 | 351 | 139 | 480 | 367 | 380 | 163 | 385 | 485 | 3092 | 6119 |