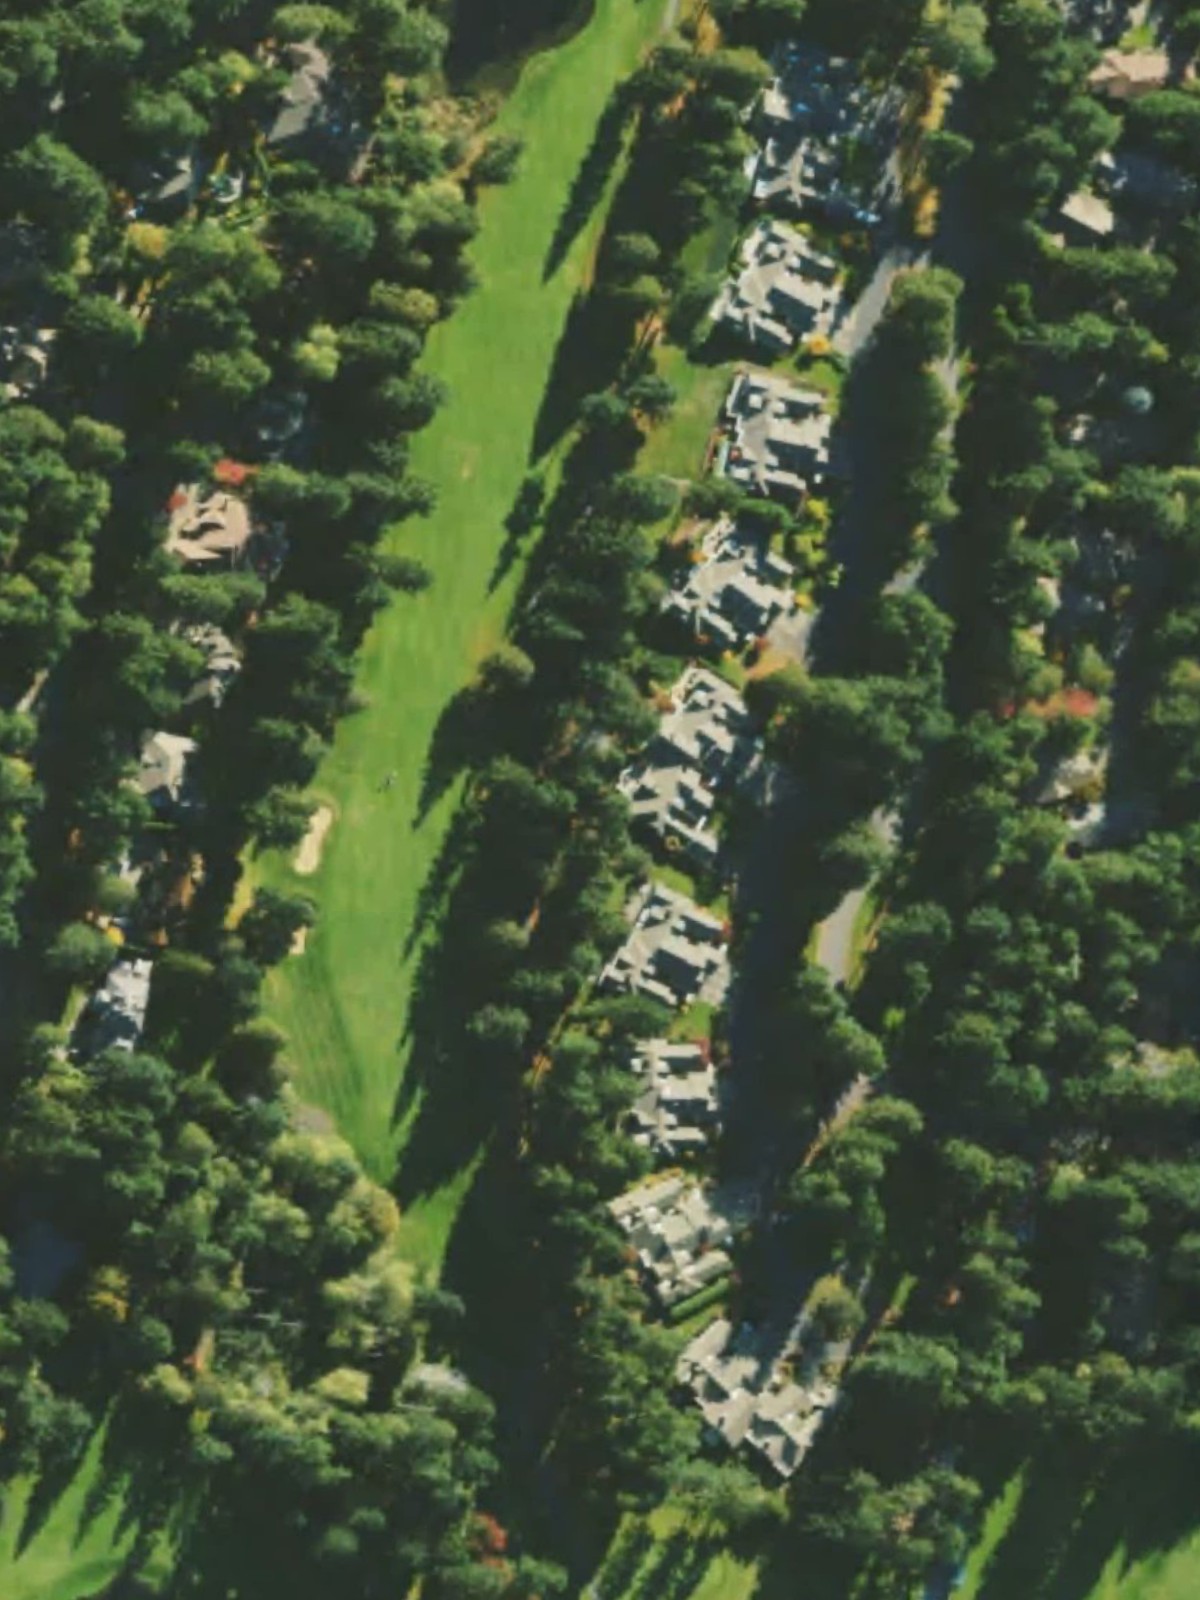
Canterwood Golf & Country Club is an 18-hole golf course in Gig Harbor, WA with a par of 72. It offers 9 tee sets: black (7,188 yards, slope 145, rating 76.6), gold (6,718 yards, slope 142, rating 74.1), players (6,500 yards, slope 141, rating 73.1), blue (6,334 yards, slope 140, rating 72), tournament (6,145 yards, slope 139, rating 70.9), white (5,967 yards, slope 137, rating 69.8), green (5,587 yards, slope 130, rating 68.9), canterwood (5,374 yards, slope 127, rating 67.4), silver (5,120 yards, slope 124, rating 66.4). The hardest hole is #6, a par 4 playing 420 yards from the first tee.
Canterwood Golf & Country Club
Gig Harbor, WA
Get PDF Yardage Book
We'll email you the PDF link. No spam, ever.
Create Your Game Plan
Pick your tees, enter your bag, and get a personalized shot-by-shot strategy for every hole.
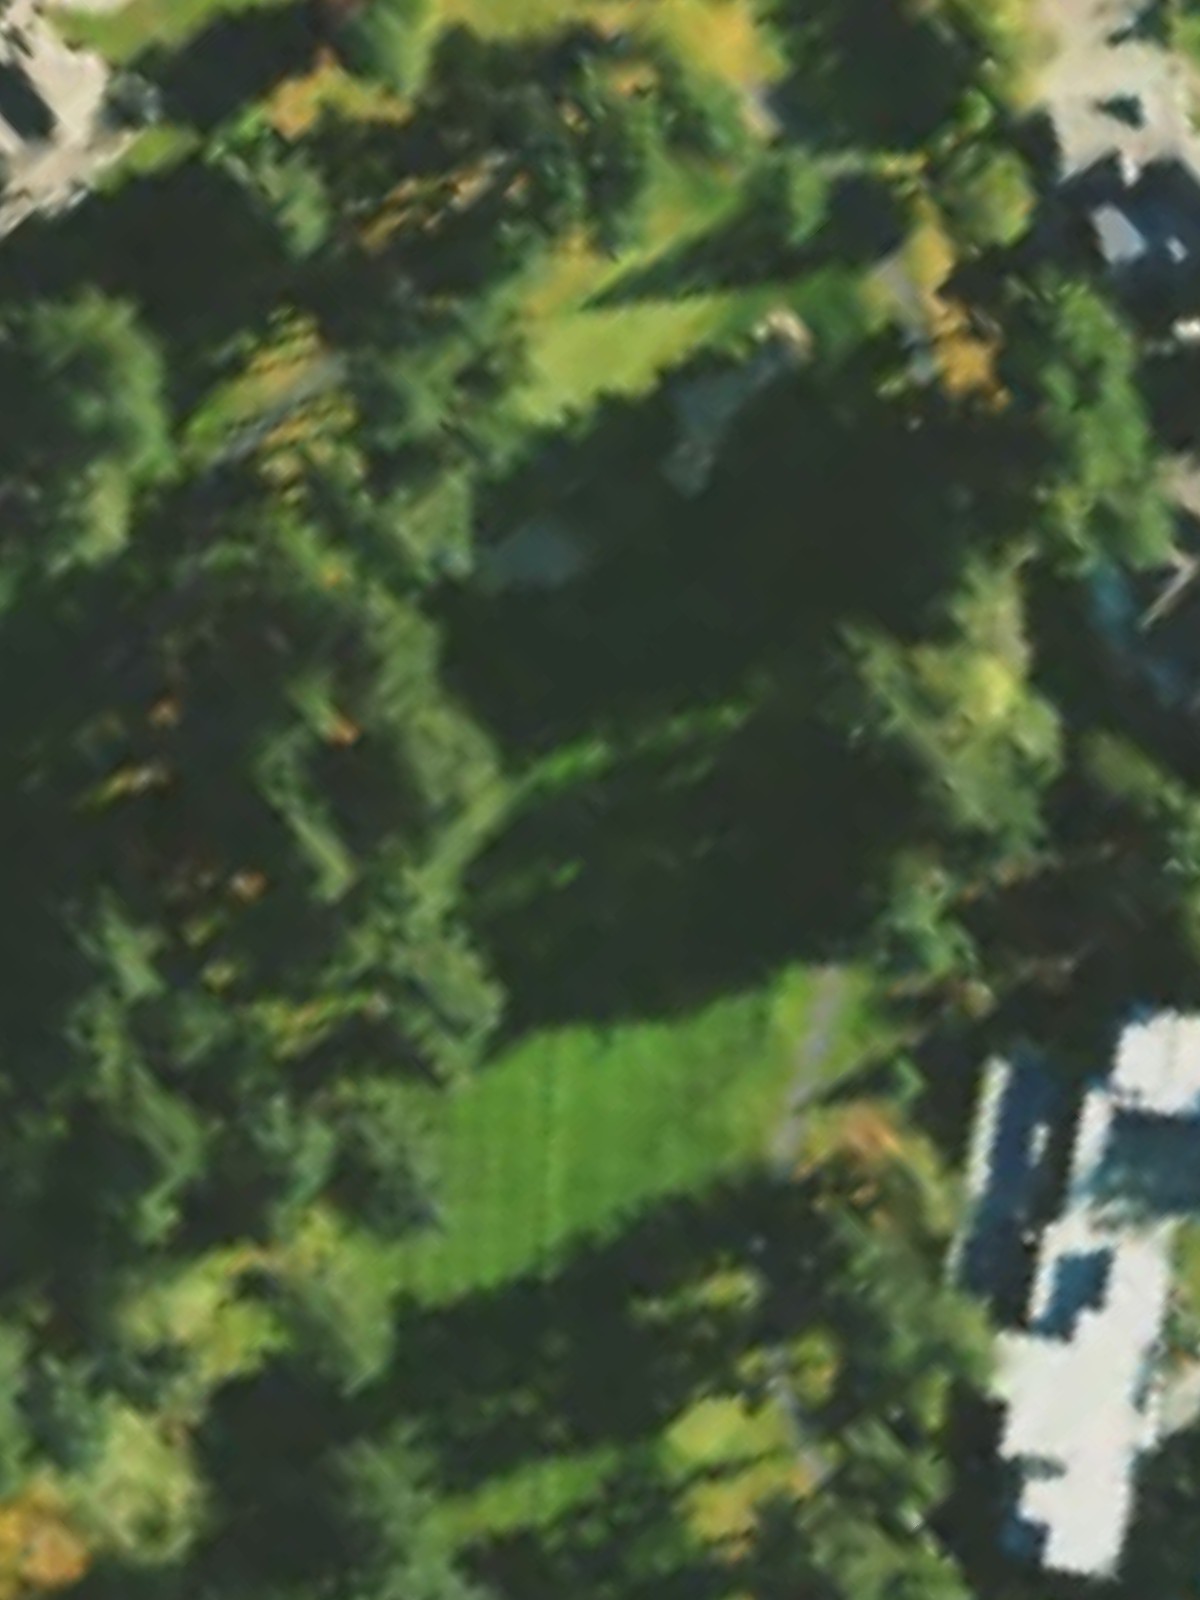
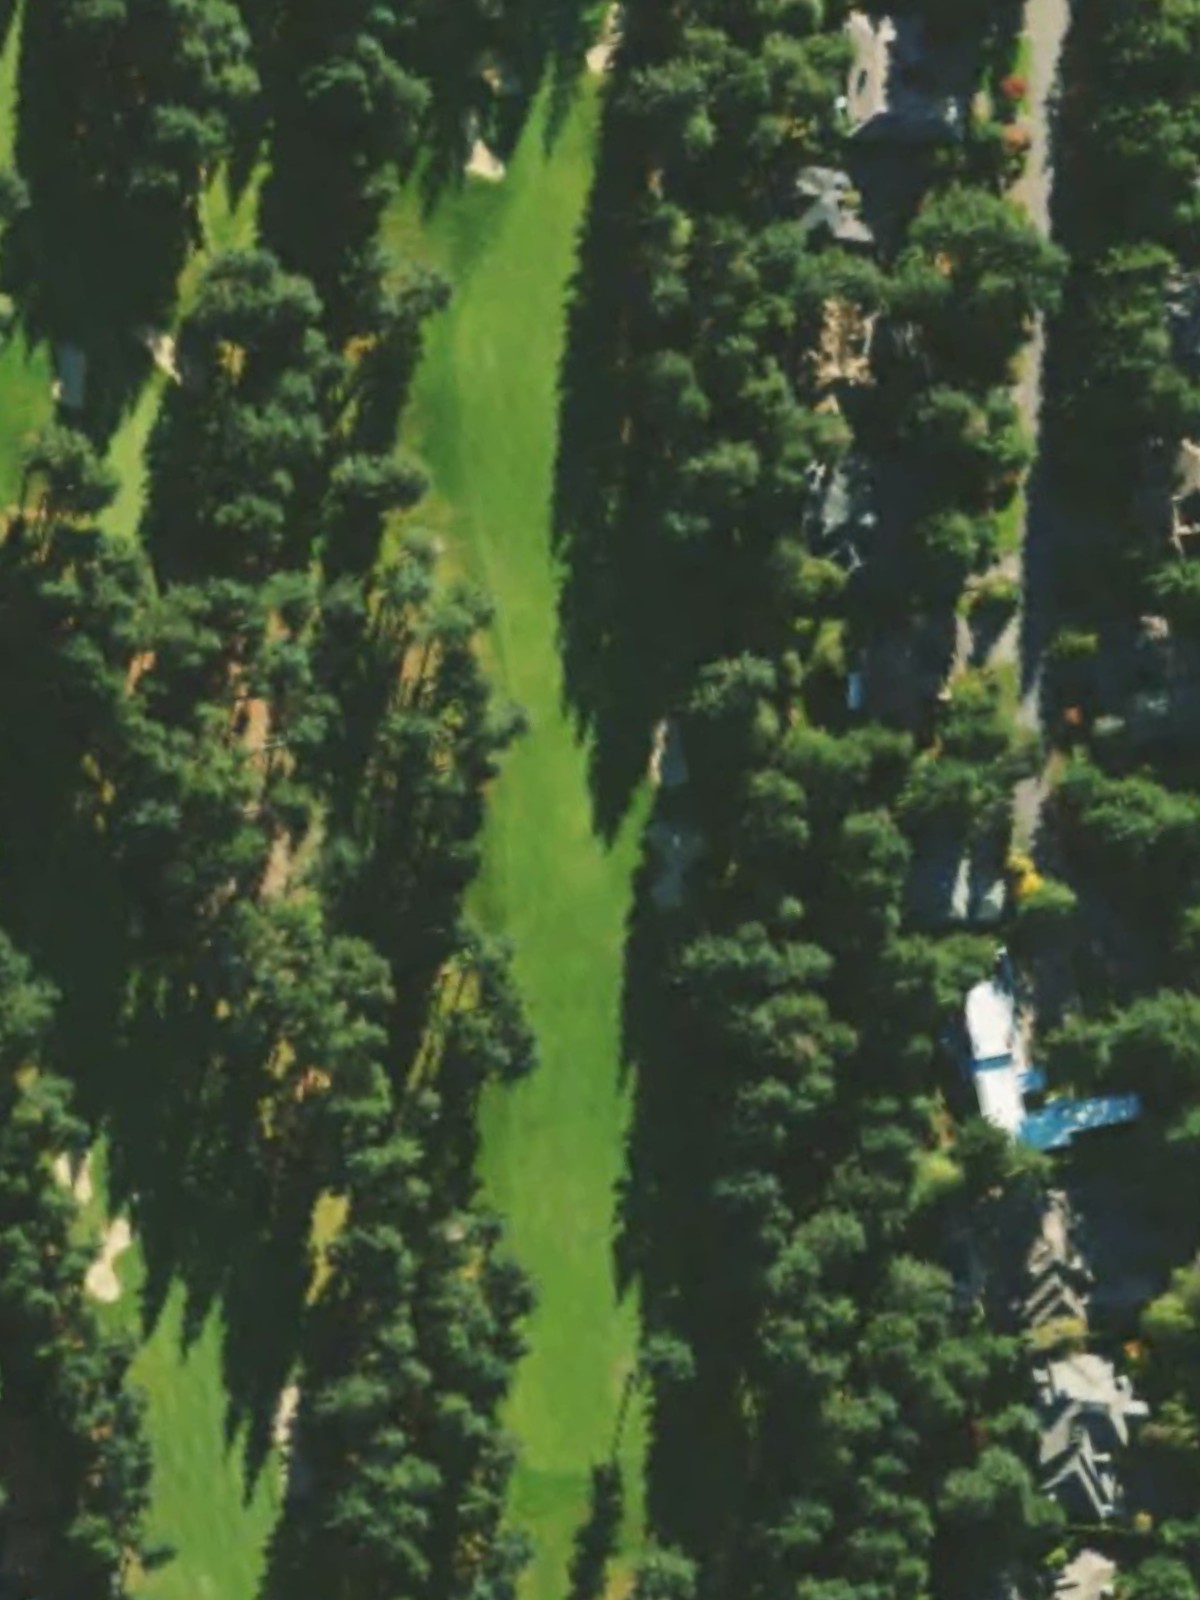
A long par 5 that plays straight away with a fairway that gradually widens toward the landing areas. The approach to the green requires careful positioning, as the putting surface is well-guarded and demands accuracy on the third shot.

A moderate par 4 with a relatively straightforward layout and an inviting fairway. The green sits in a natural amphitheater, making approach shots critical to scoring well on this short, playable hole.
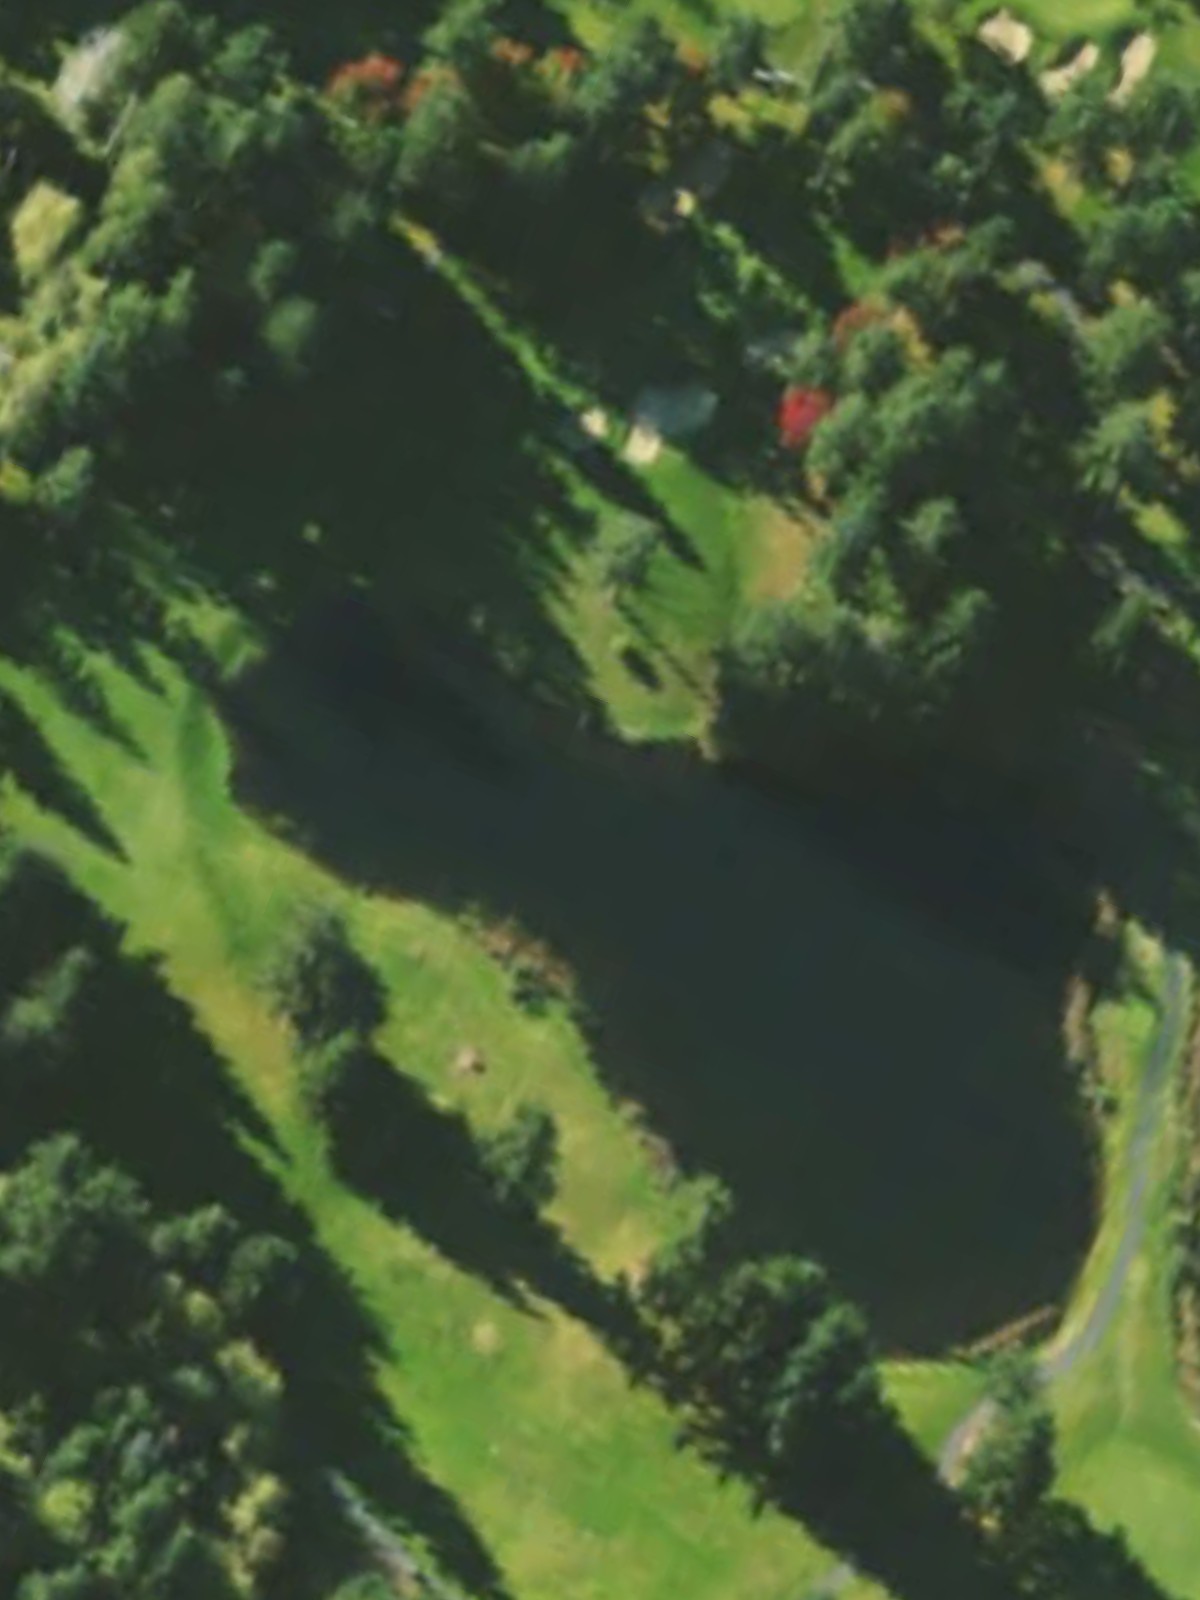
A short par 3 playing to a compact green surrounded by strategically placed bunkers. Water hazards frame the left and right sides, making club selection and accuracy essential from the tee.

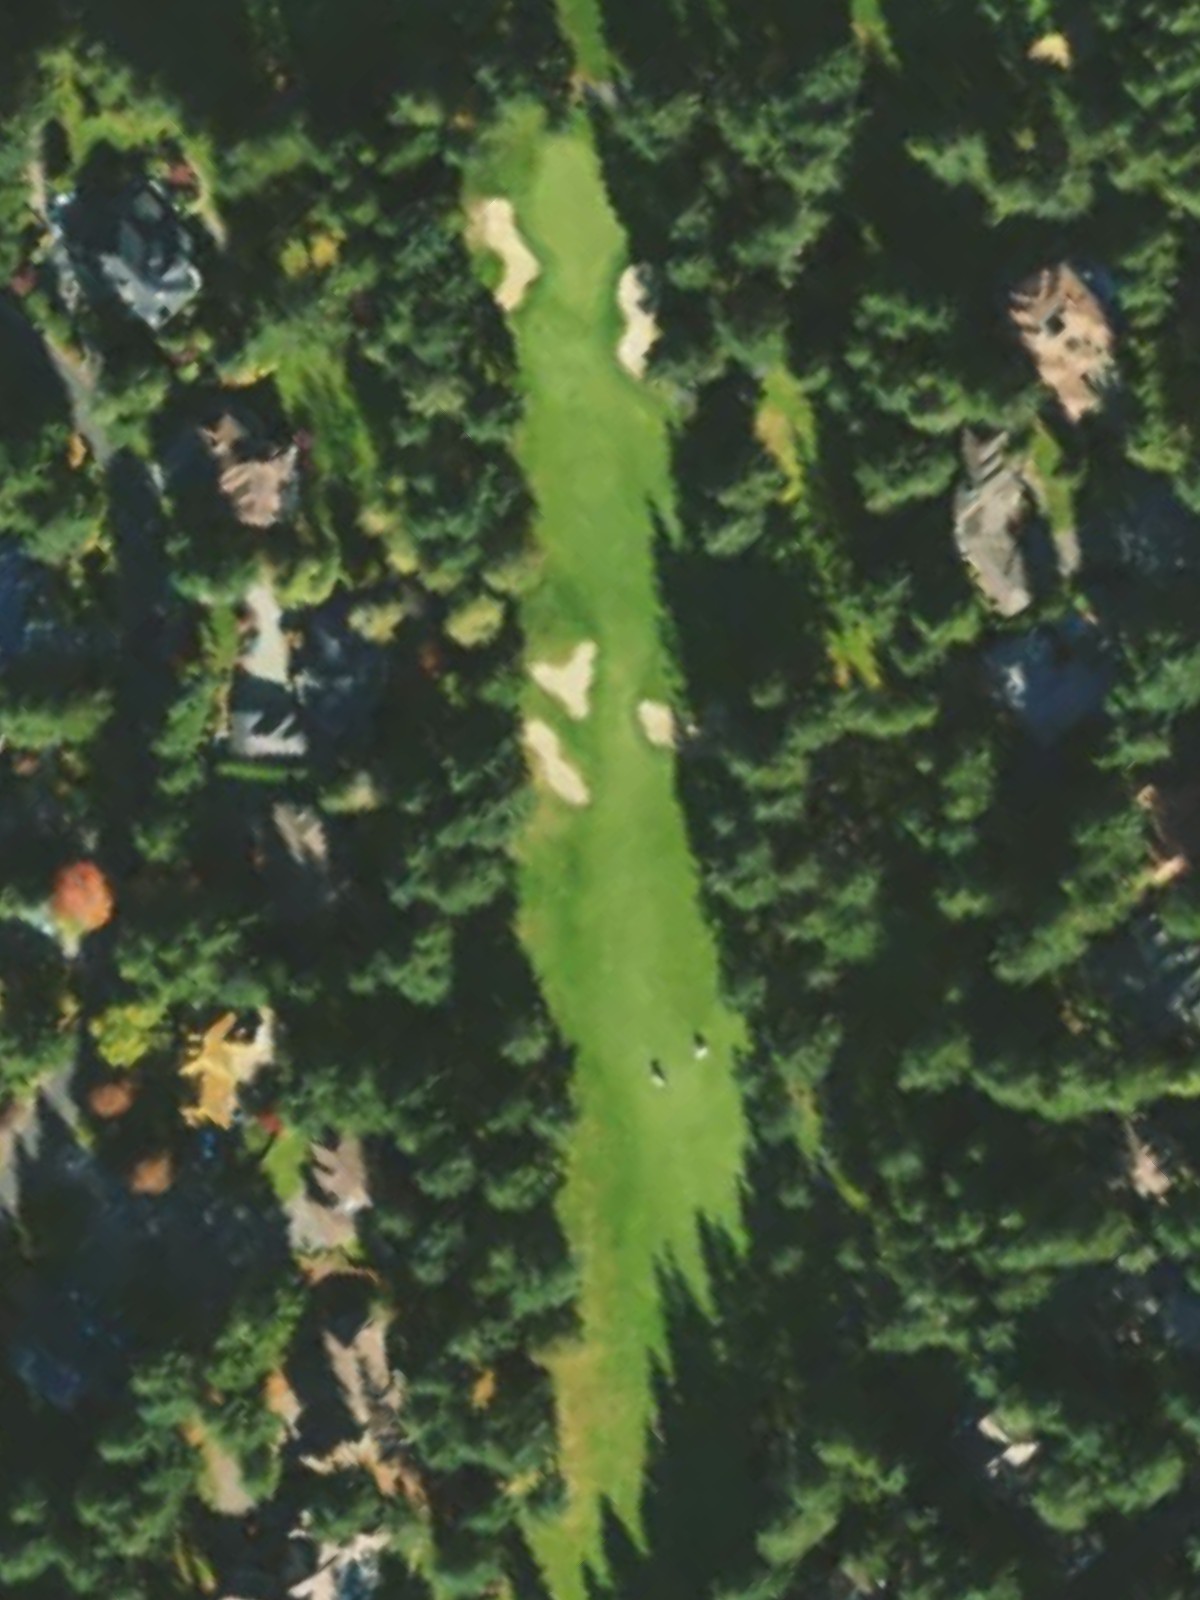
One of Canterwood's most challenging par 4s, featuring a dramatic uphill climb to an elevated green. The fairway is relatively narrow, and bunkers guard both sides of the landing area, with additional hazards protecting the approach.

A modest par 4 with a wide fairway that rewards solid striking off the tee. Water and bunkers on the left side of the green require precision on the approach, while the right side offers a safer bailout area.
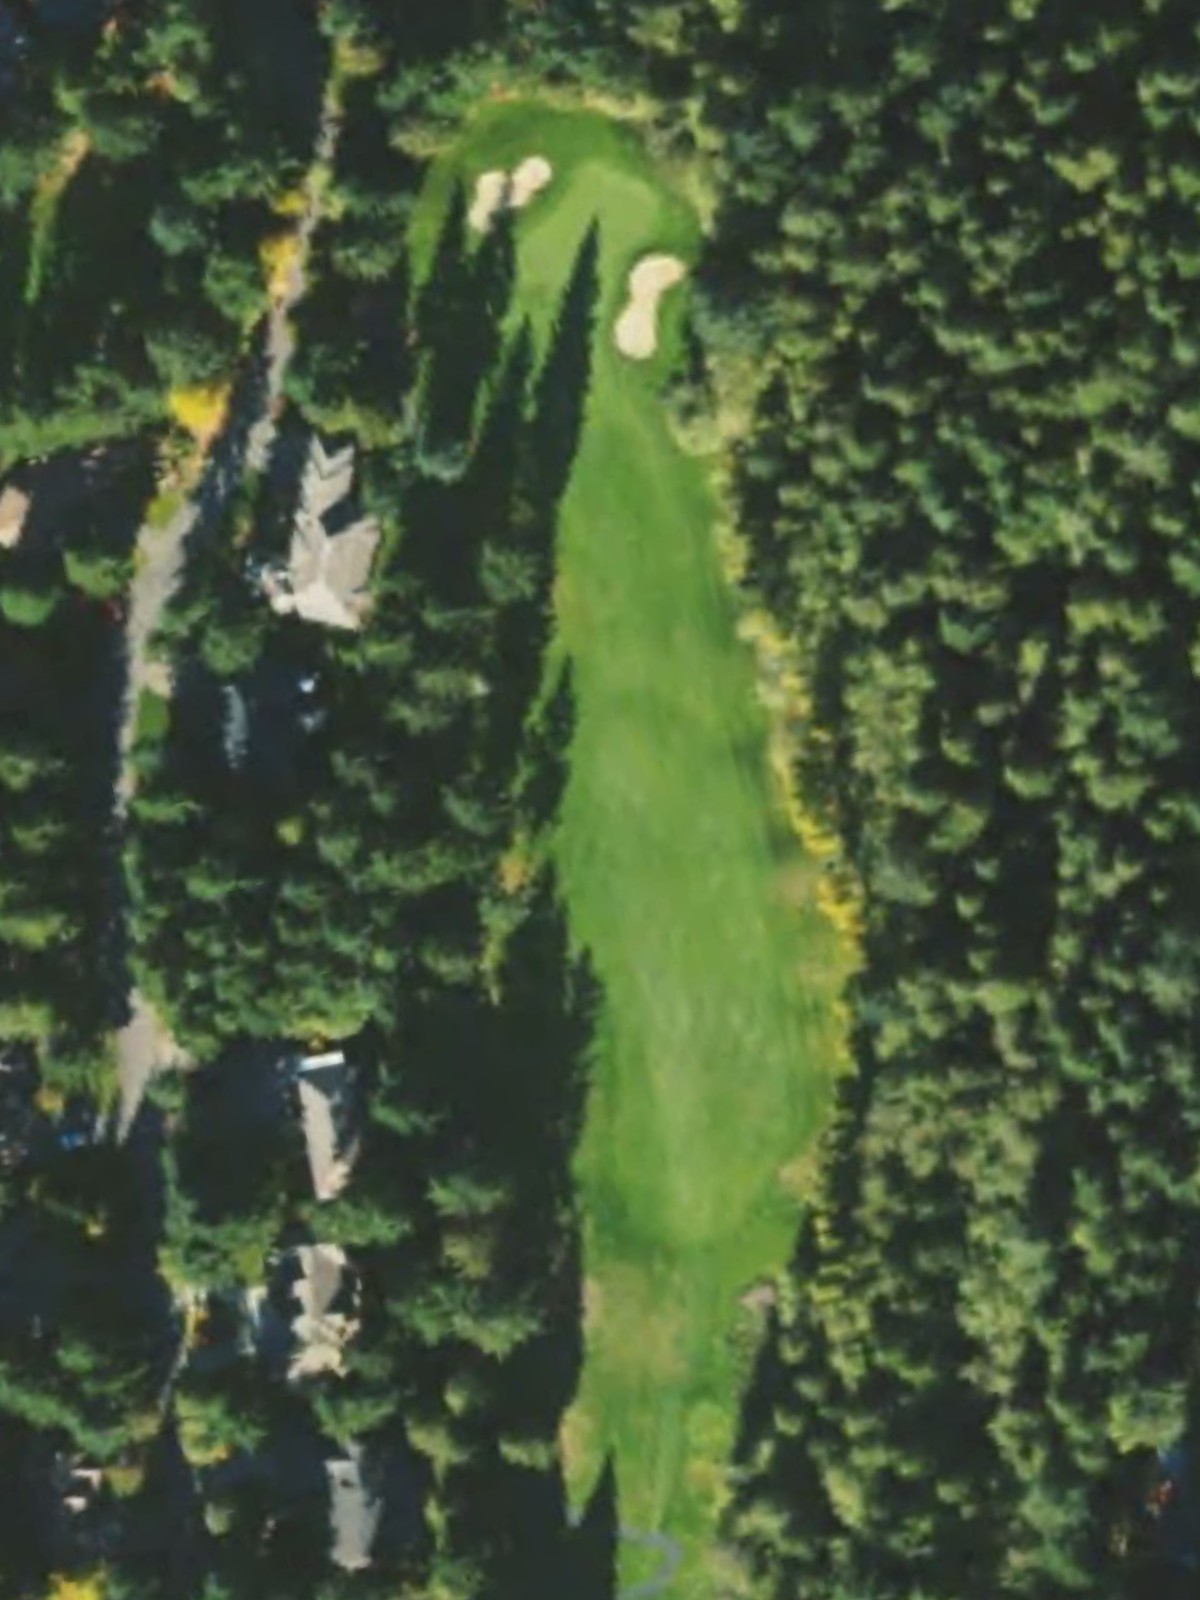
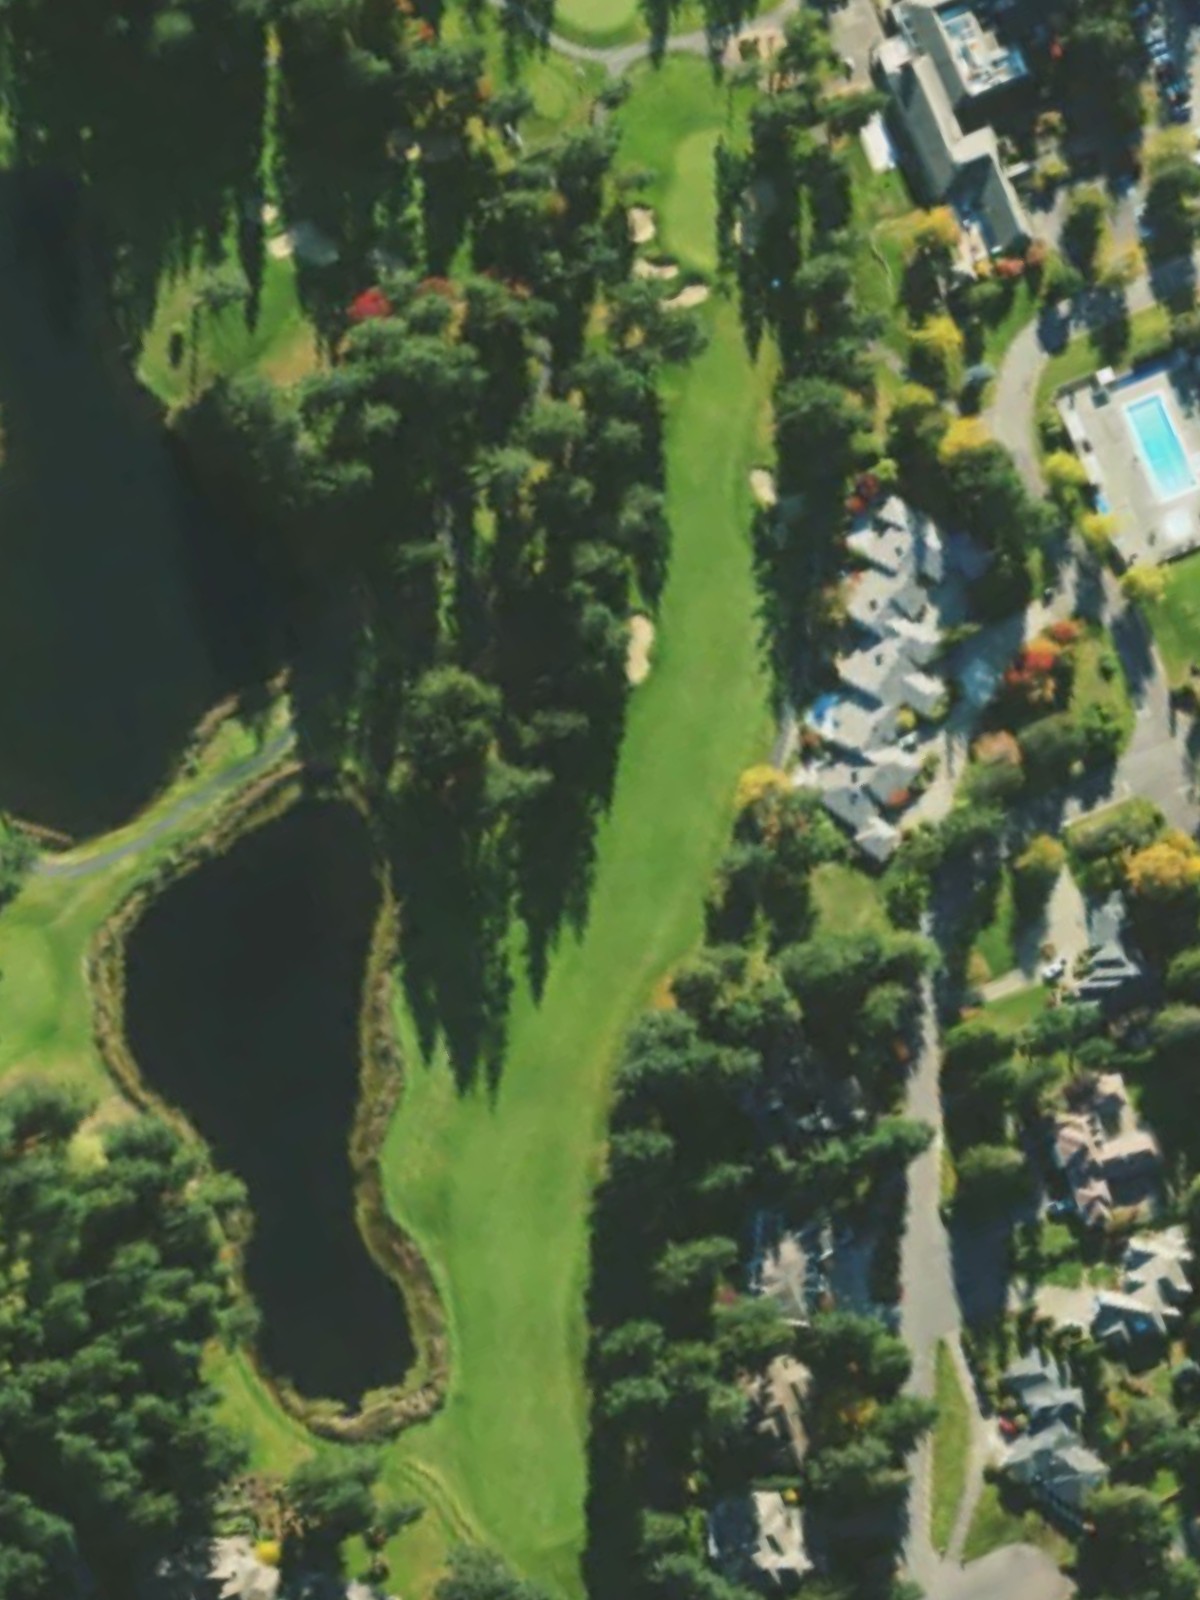
The most difficult hole on the course, this par 4 plays as a demanding test with a narrow, serpentine fairway that demands position off the tee. Aggressive bunkering and hazards left and right frame the entire hole, making it a stern examination of shotmaking.
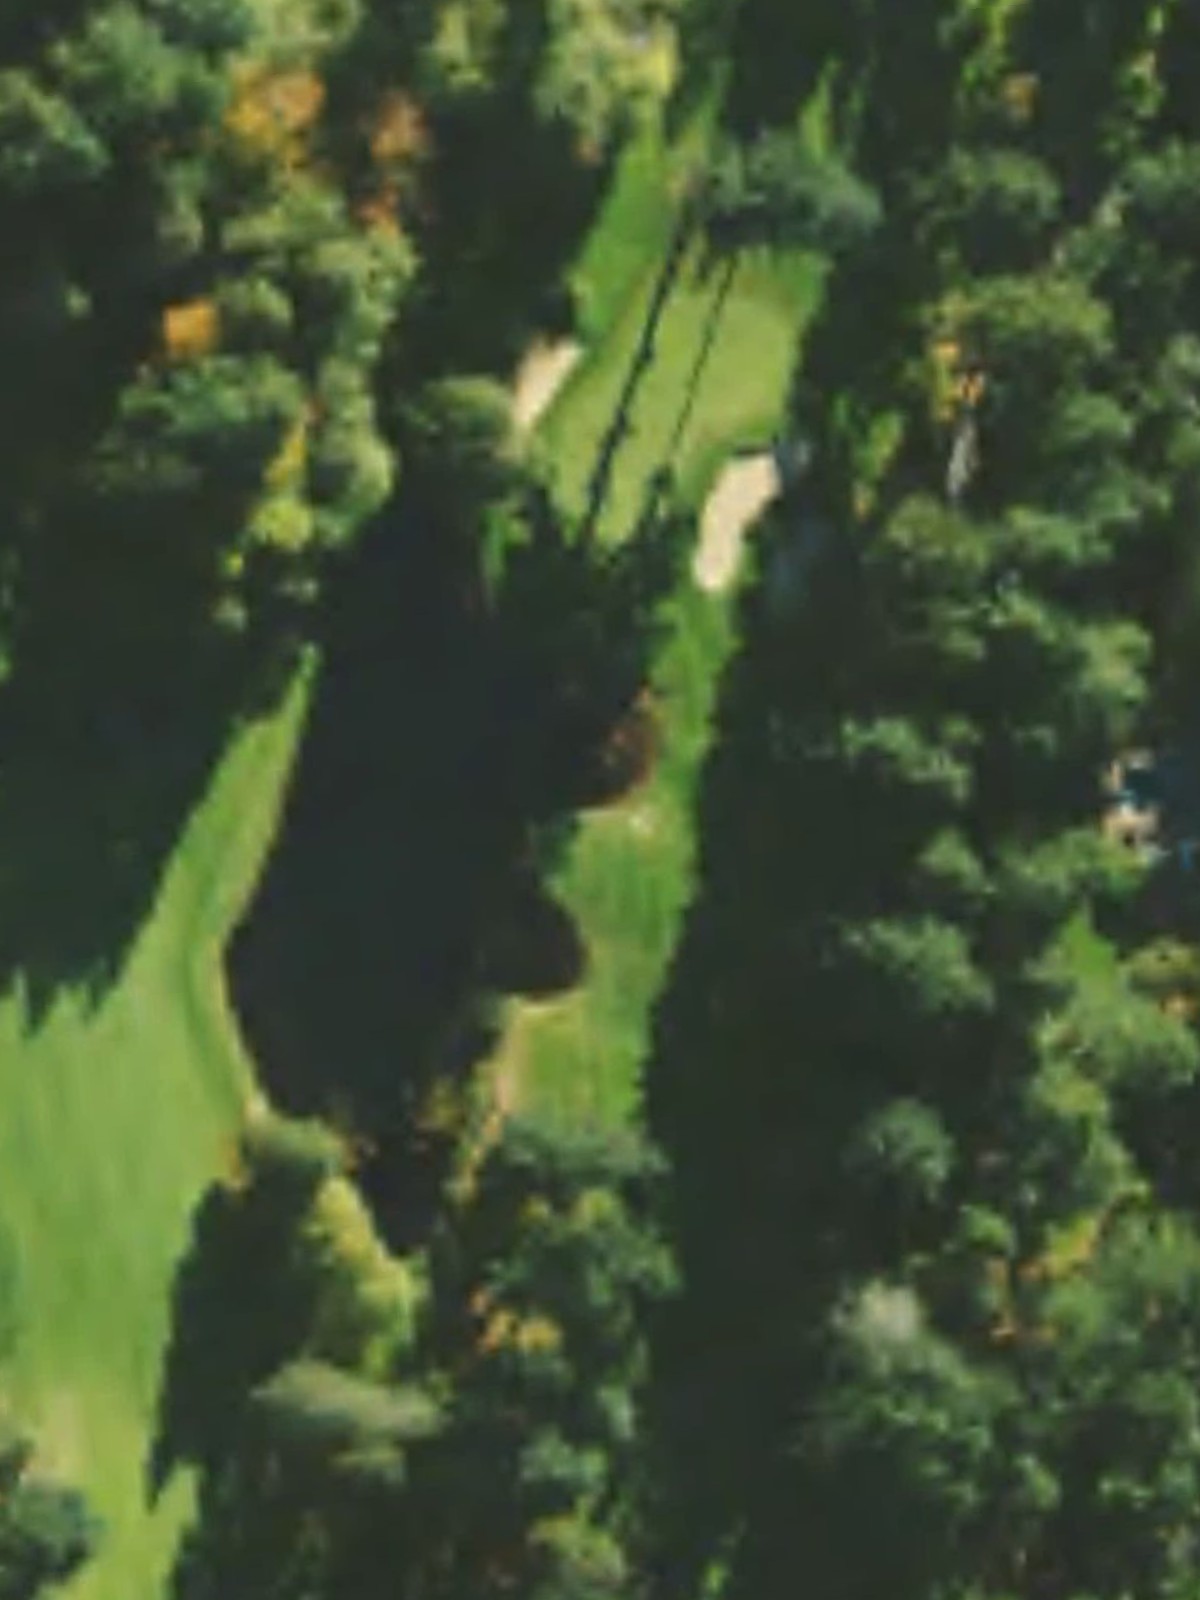
An elegant par 3 with a modest length that belies its challenge due to a well-bunkered green complex. The putting surface is elevated and firm, and surrounding bunkers penalize anything short or off-line from the tee.

A graceful par 5 that curves gently through a tree-lined corridor with water hazards in play on the left throughout. The fairway opens up toward the green, but the final approach must navigate around strategic bunkers guarding the putting surface.
A straightforward par 4 with a receptive fairway that invites an aggressive drive. The relatively short length is offset by a narrow, well-defended green that requires a precise approach shot to secure a birdie opportunity.
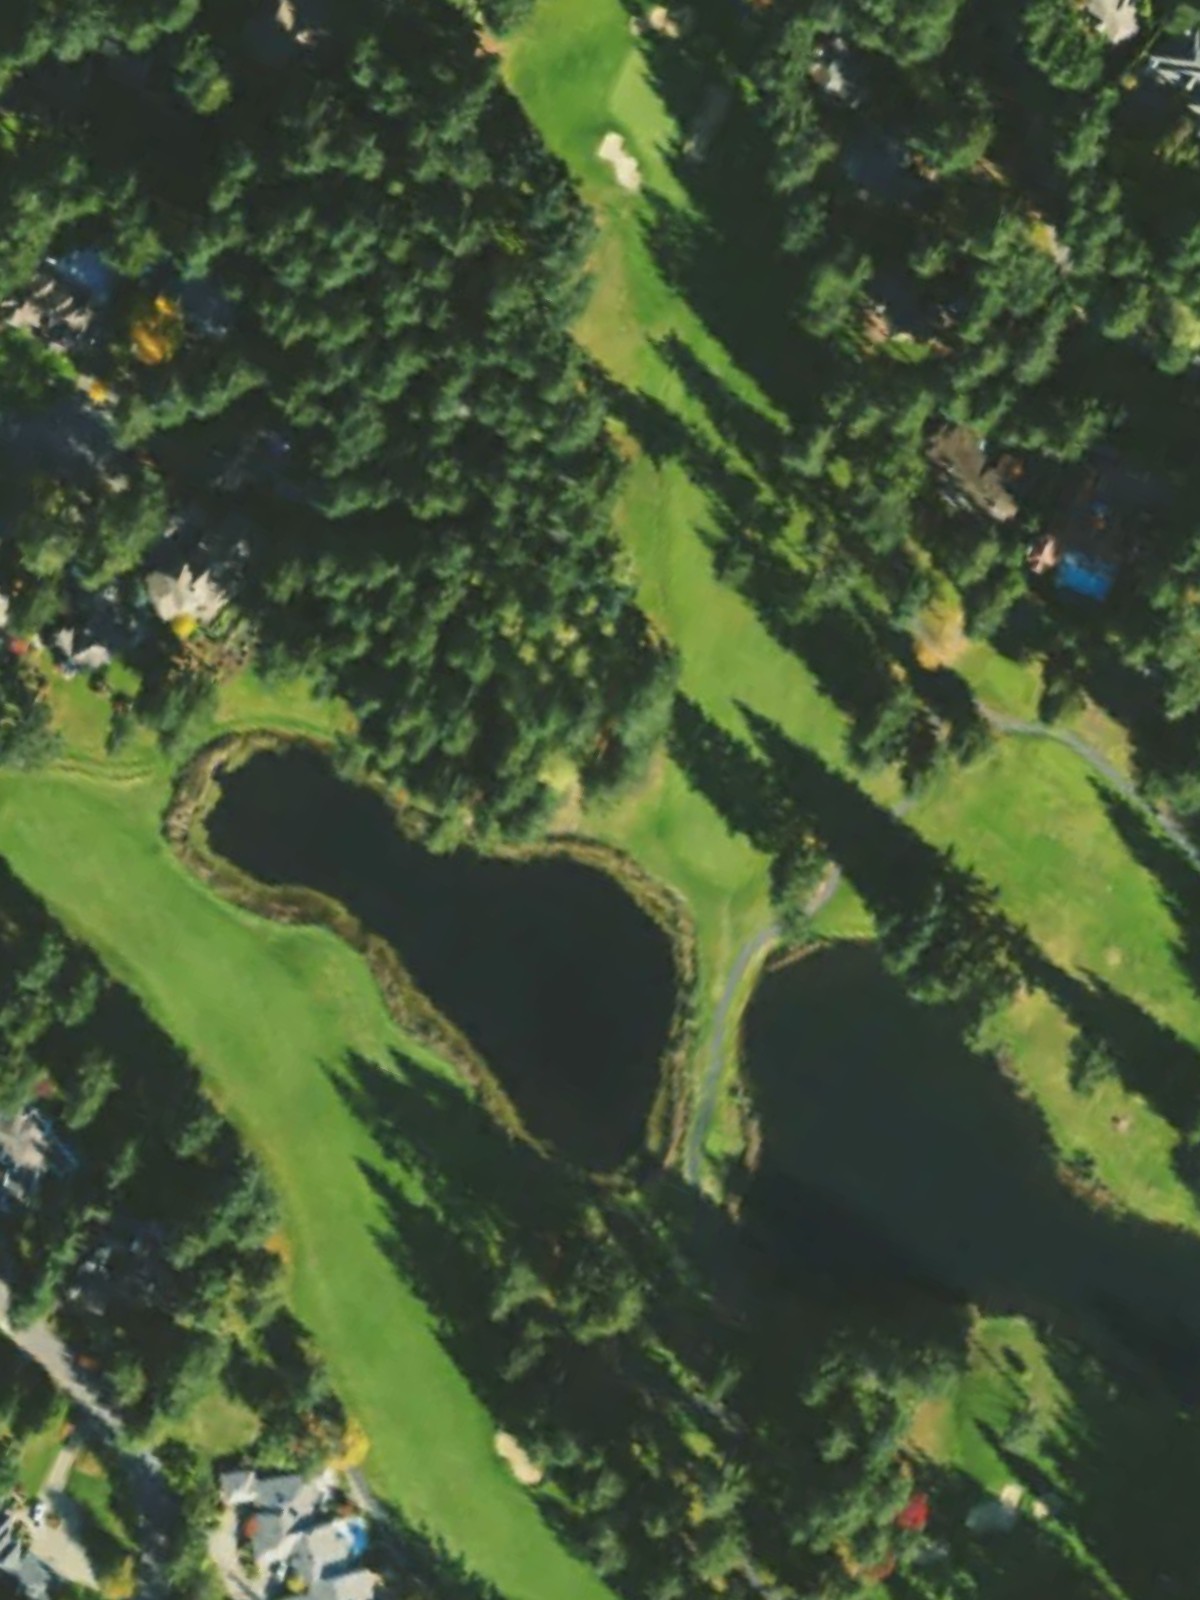
A solid par 4 with a fairway that tightens as it approaches the green, with water hazards protecting the left side throughout. The green itself is well-bunkered, making the second shot the defining moment of the hole.
A short, playable par 4 with a forgiving fairway and minimal hazard interference. The green is relatively open and receptive, offering a birdie opportunity for those who find the fairway cleanly.
A diminutive par 3 that plays downhill to a small, tilted green with minimal bunker protection. The main challenge lies in the green's steep contours and the difficulty of holding the putting surface with a miss.
A compact par 4 with a tight fairway corridor framed by trouble on both sides. The green is well-protected by bunkers and water, demanding both accuracy off the tee and a precise approach shot.
Canterwood's second-most difficult hole, this par 5 is a dramatic dogleg right with water hazards in play along the right side throughout the hole. The fairway narrows significantly at the elbow, and the green is heavily bunkered, making it a three-shot test for most players.
A well-proportioned par 4 that doglegs slightly right with water protecting the inside of the dogleg. The fairway provides ample space for positioning, but the approach to the green requires navigation of strategic bunker placement.

A strong par 4 that presents a dramatic risk-reward opportunity off the tee, with water and bunkers guarding the left side of the fairway. The green is relatively open, but strategic bunkering near the putting surface rewards precise approach shots.
The most forgiving par 3 at Canterwood, this short hole features a wide, open green with minimal hazard protection. Its ease contrasts sharply with the difficulty of the neighboring holes, offering a welcome respite before the dramatic finish.
A fitting finale, this par 5 doglegs left with water hazards framing the inside of the dogleg throughout. The fairway opens toward the green, but strategic bunkering and the angled approach demand precision on all three shots to finish strong.
Scorecard
| Hole | 1 | 2 | 3 | 4 | 5 | 6 | 7 | 8 | 9 | Out | 10 | 11 | 12 | 13 | 14 | 15 | 16 | 17 | 18 | In | Tot |
|---|---|---|---|---|---|---|---|---|---|---|---|---|---|---|---|---|---|---|---|---|---|
| Par | 5 | 4 | 3 | 4 | 4 | 4 | 3 | 5 | 4 | 36 | 4 | 4 | 3 | 4 | 5 | 4 | 4 | 3 | 5 | 36 | 72 |
| HCP | 5 | 7 | 13 | 3 | 15 | 1 | 17 | 9 | 11 | 6 | 14 | 16 | 12 | 2 | 10 | 4 | 18 | 8 | |||
| black | 591 | 432 | 200 | 427 | 419 | 455 | 227 | 534 | 388 | 3673 | 427 | 372 | 175 | 398 | 602 | 442 | 408 | 174 | 517 | 3515 | 7188 |
| gold | 555 | 427 | 176 | 390 | 385 | 436 | 177 | 514 | 360 | 3420 | 409 | 357 | 158 | 365 | 564 | 424 | 369 | 166 | 486 | 3298 | 6718 |
| players | 555 | 390 | 176 | 367 | 385 | 420 | 177 | 514 | 340 | 3324 | 370 | 357 | 158 | 365 | 541 | 383 | 350 | 166 | 486 | 3176 | 6500 |
| blue | 545 | 390 | 164 | 367 | 362 | 420 | 155 | 490 | 340 | 3233 | 370 | 345 | 154 | 343 | 541 | 383 | 350 | 133 | 482 | 3101 | 6334 |
| tournament | 510 | 390 | 149 | 343 | 362 | 410 | 155 | 490 | 330 | 3139 | 350 | 345 | 154 | 343 | 516 | 353 | 350 | 133 | 462 | 3006 | 6145 |
| white | 510 | 352 | 149 | 343 | 332 | 410 | 149 | 475 | 330 | 3050 | 350 | 312 | 148 | 315 | 516 | 353 | 333 | 128 | 462 | 2917 | 5967 |
| green | 490 | 352 | 140 | 310 | 311 | 400 | 126 | 441 | 305 | 2875 | 332 | 269 | 124 | 307 | 481 | 328 | 299 | 116 | 456 | 2712 | 5587 |
| canterwood | 440 | 326 | 140 | 310 | 311 | 400 | 126 | 441 | 305 | 2799 | 307 | 269 | 124 | 307 | 418 | 328 | 299 | 116 | 407 | 2575 | 5374 |
| silver | 440 | 326 | 117 | 291 | 311 | 388 | 100 | 433 | 298 | 2704 | 307 | 269 | 109 | 250 | 418 | 307 | 249 | 100 | 407 | 2416 | 5120 |