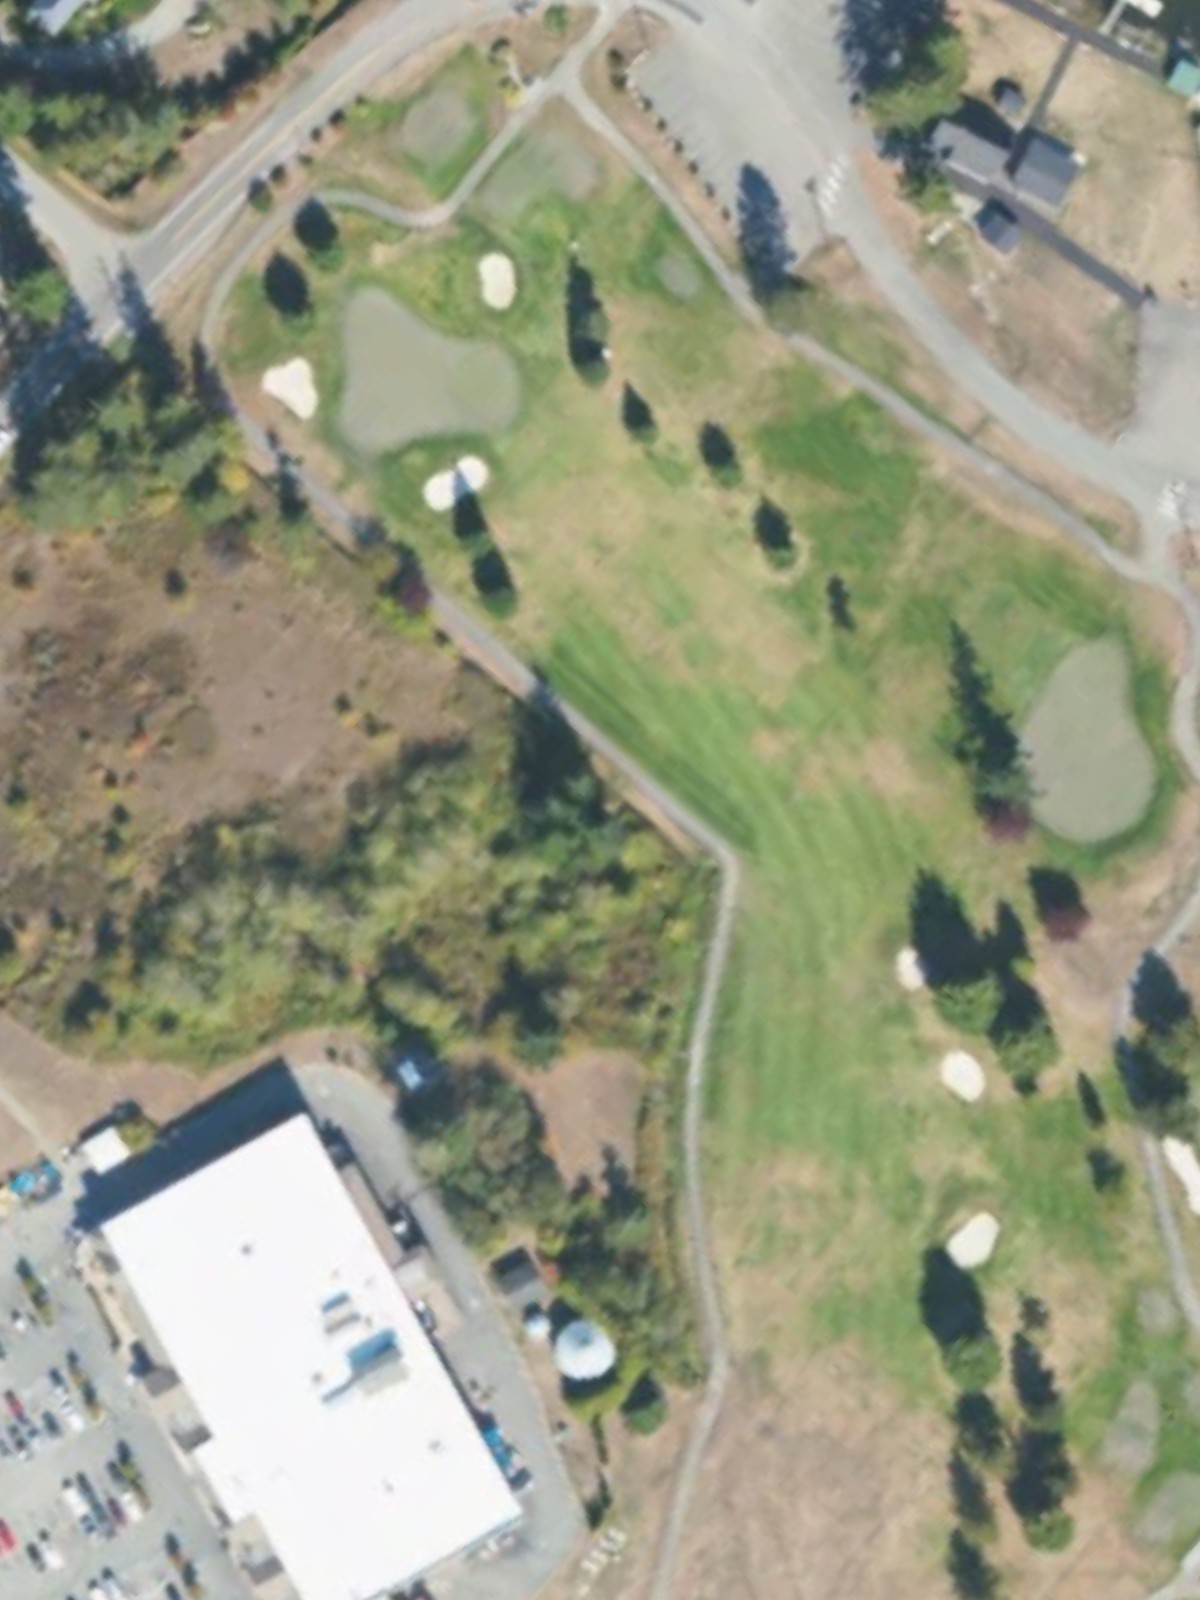
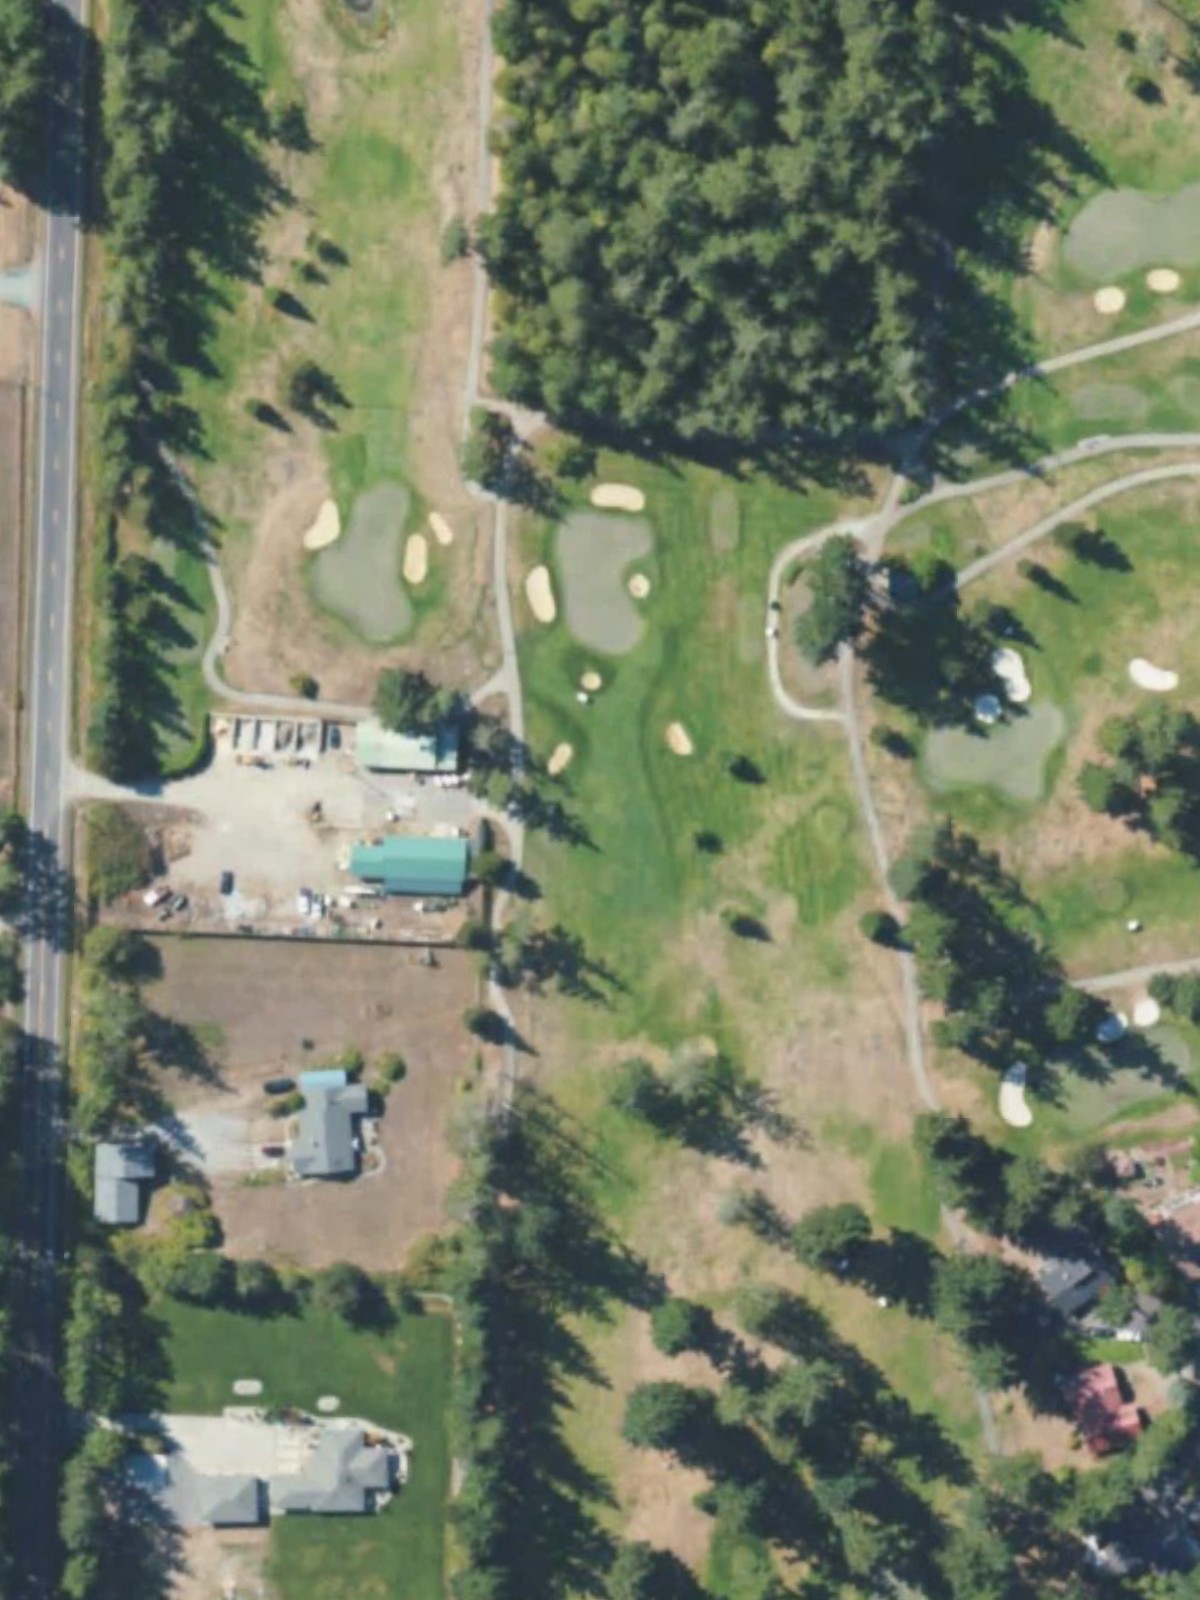
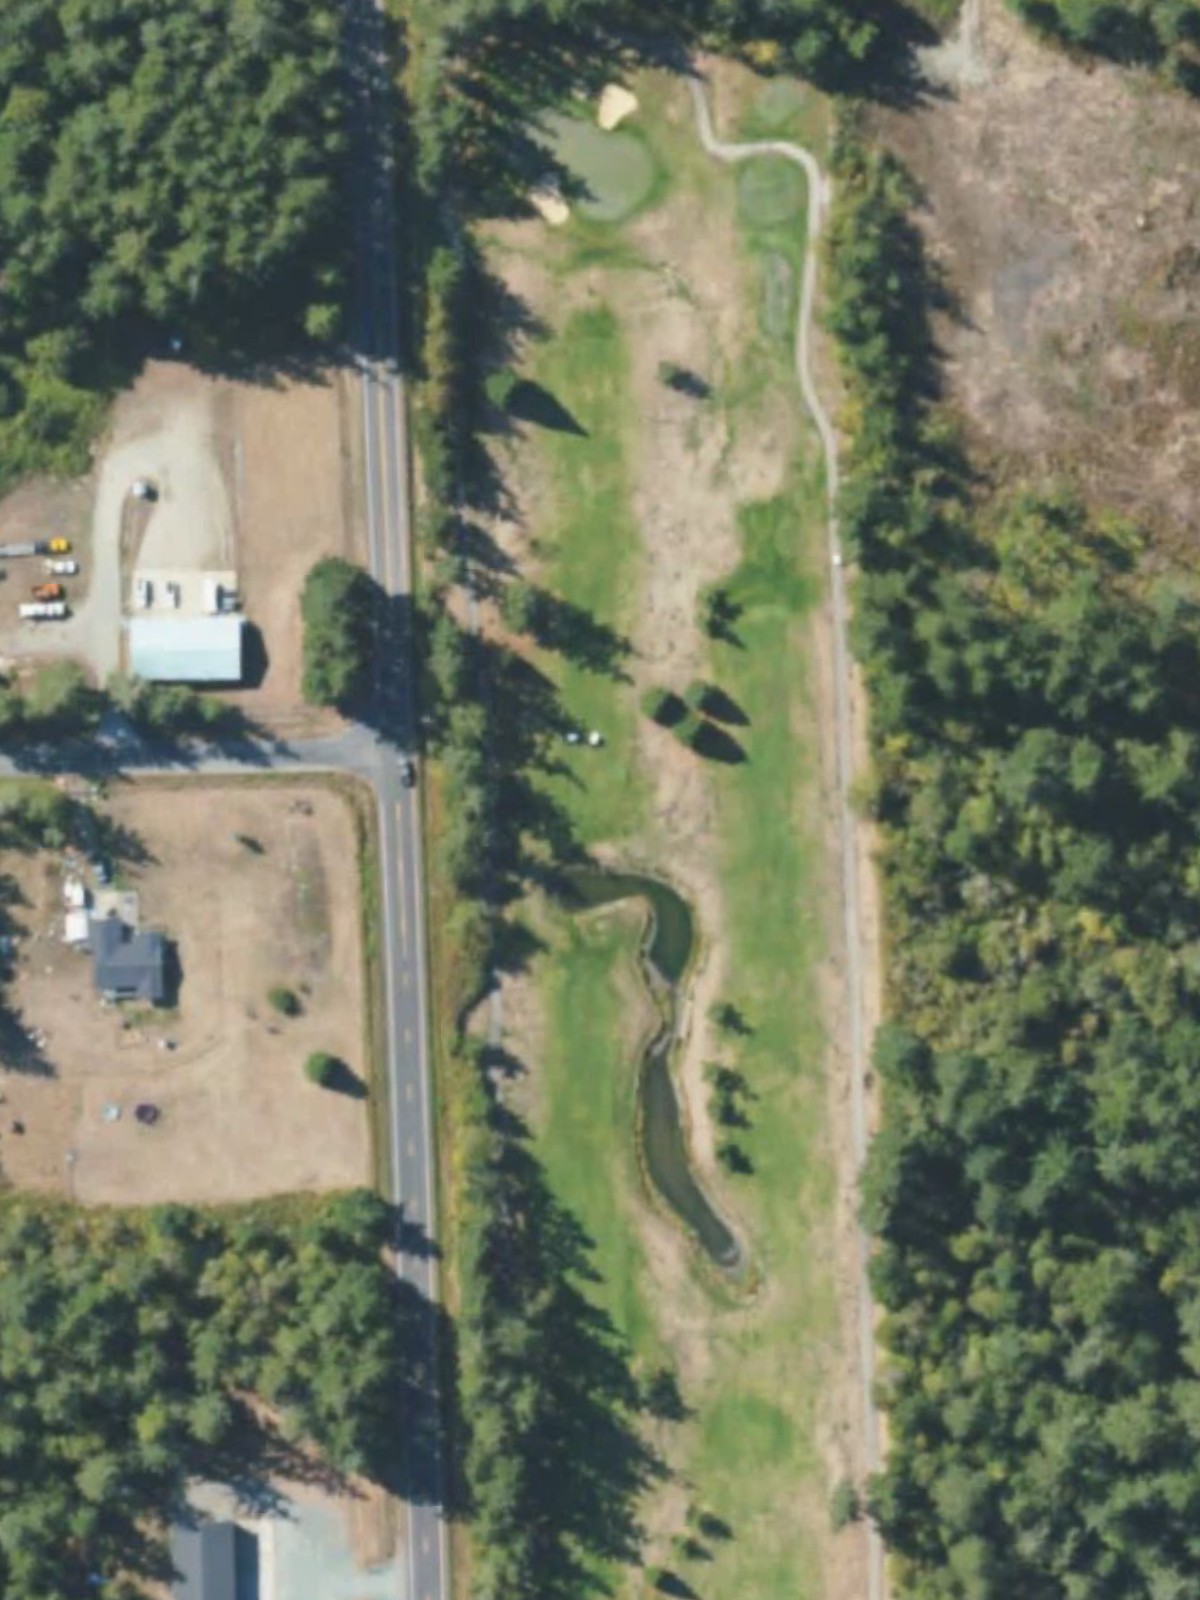
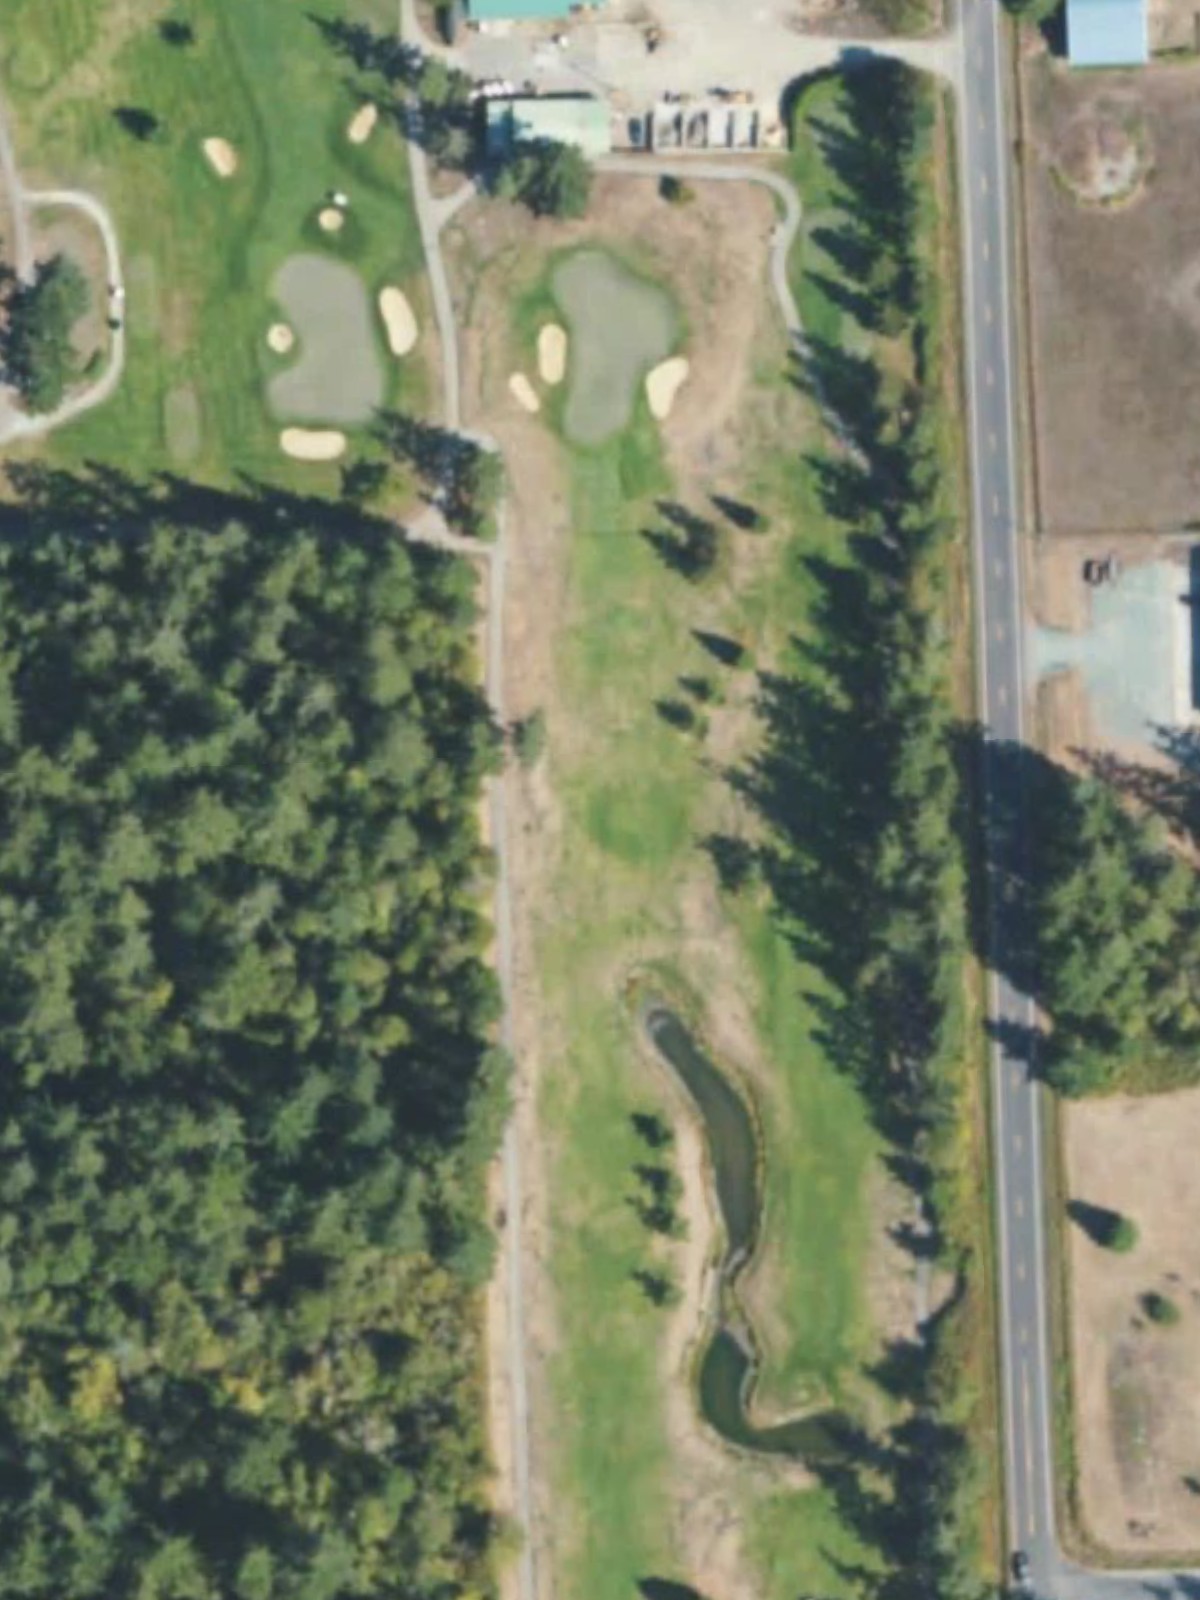
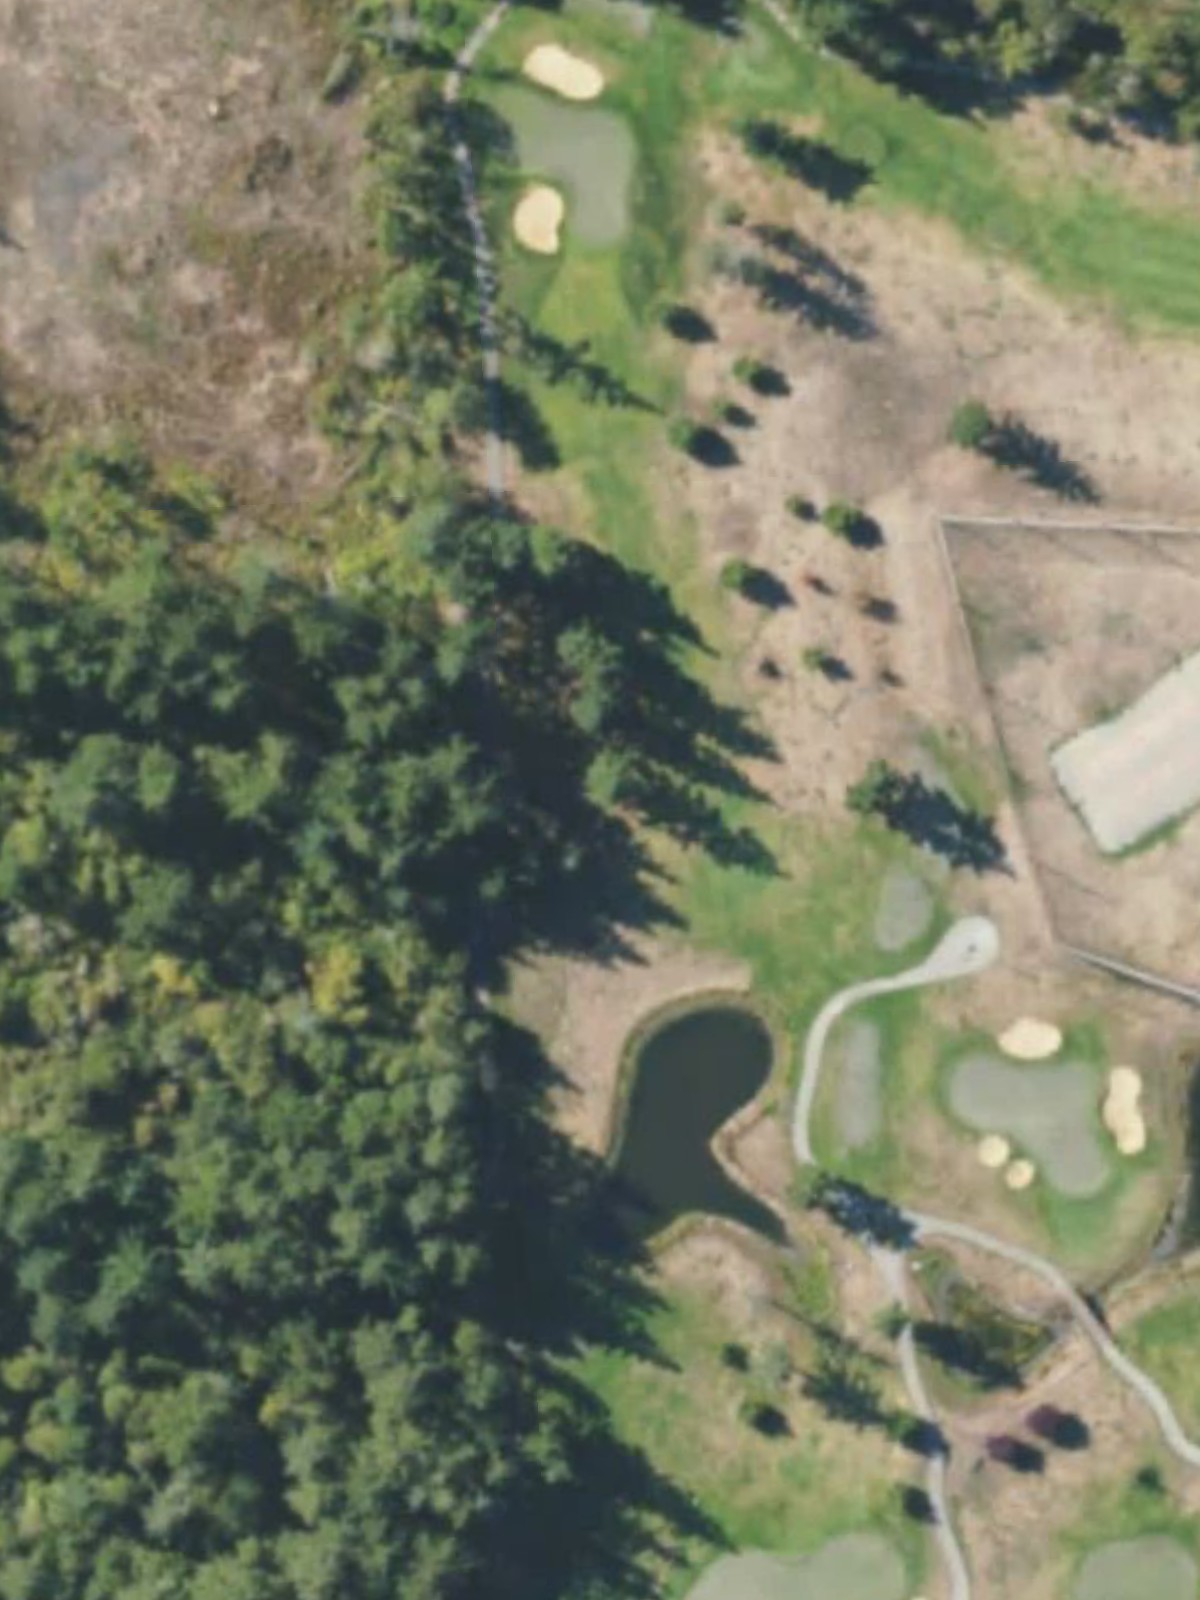
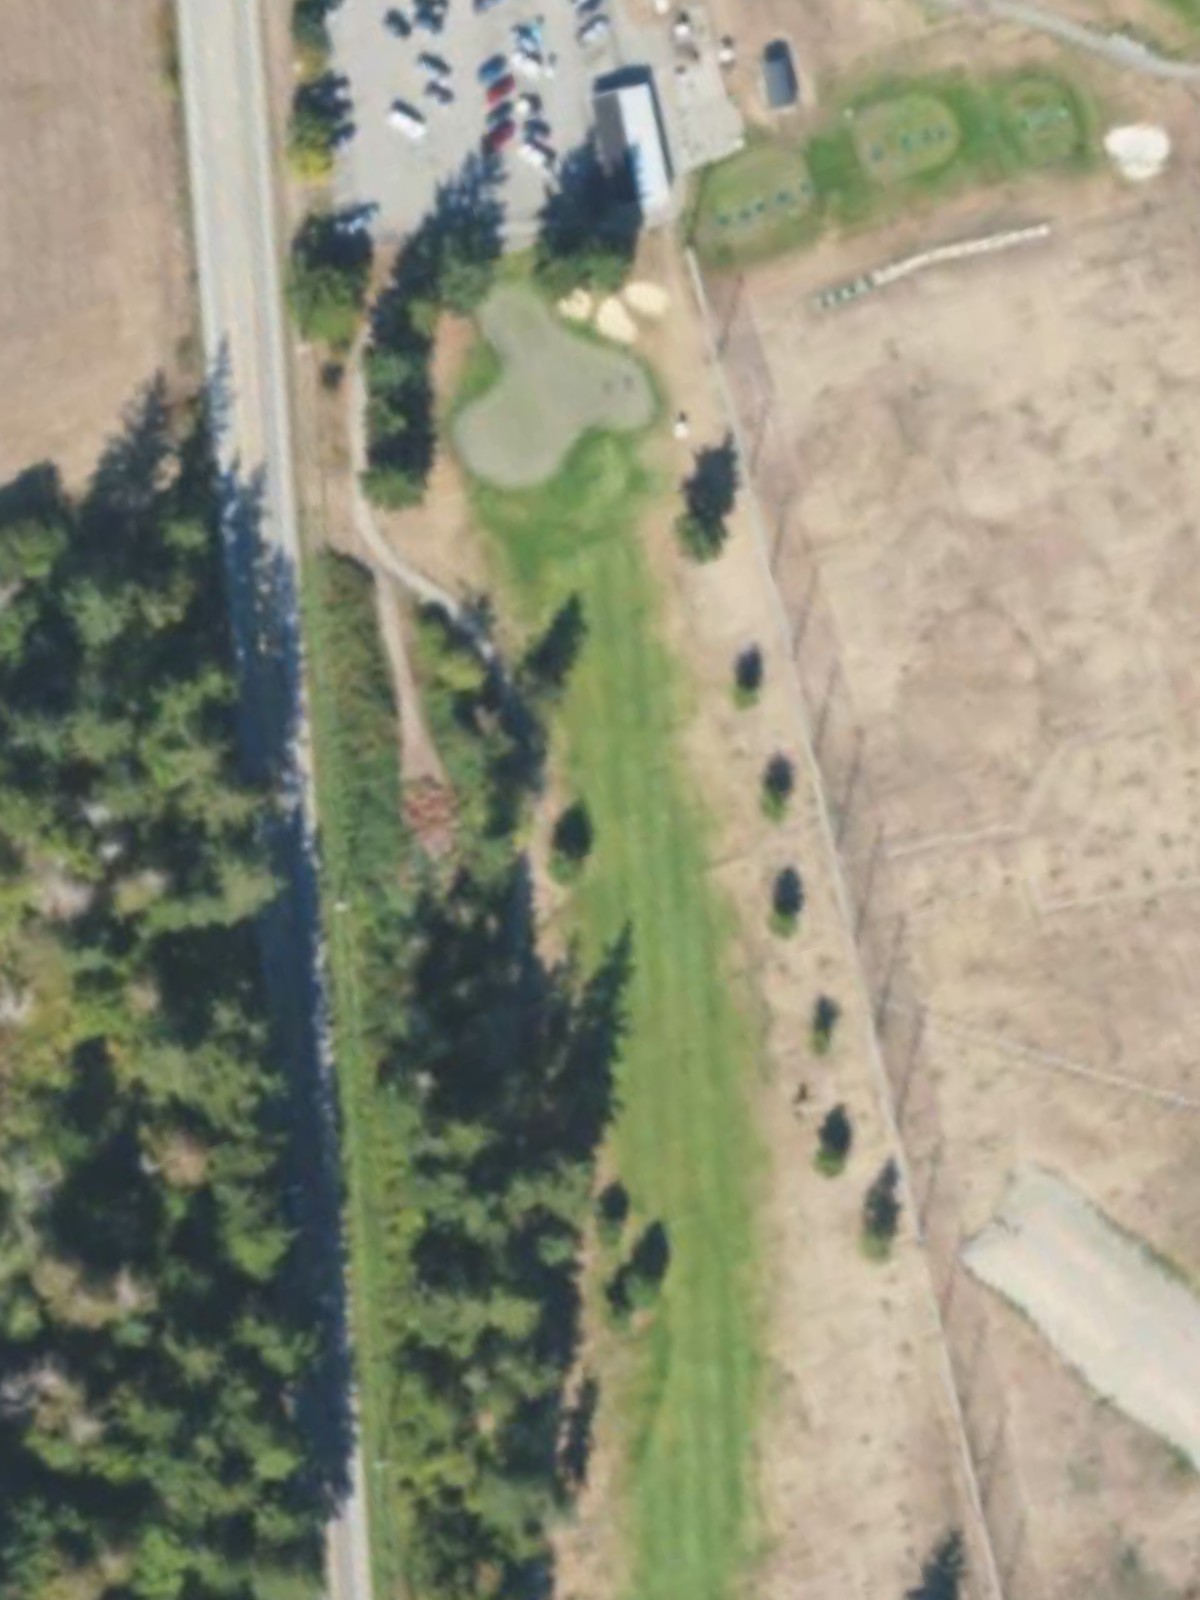
Camaloch Golf Course is an 18-hole golf course in Camano Island, WA with a par of 72. It offers 6 tee sets: black (6,289 yards, slope 130, rating 72), silver (5,966 yards, slope 130, rating 70.4), green (5,525 yards, slope 124, rating 68), combo tees (5,101 yards, slope 121, rating 65.8), orange (4,781 yards, slope 117, rating 64.4), purple (4,138 yards, slope 111, rating 62.1). The hardest hole is #7, a par 5 playing 471 yards from the first tee.
Camaloch Golf Course
Camano Island, WA
Get PDF Yardage Book
We'll email you the PDF link. No spam, ever.
Create Your Game Plan
Pick your tees, enter your bag, and get a personalized shot-by-shot strategy for every hole.
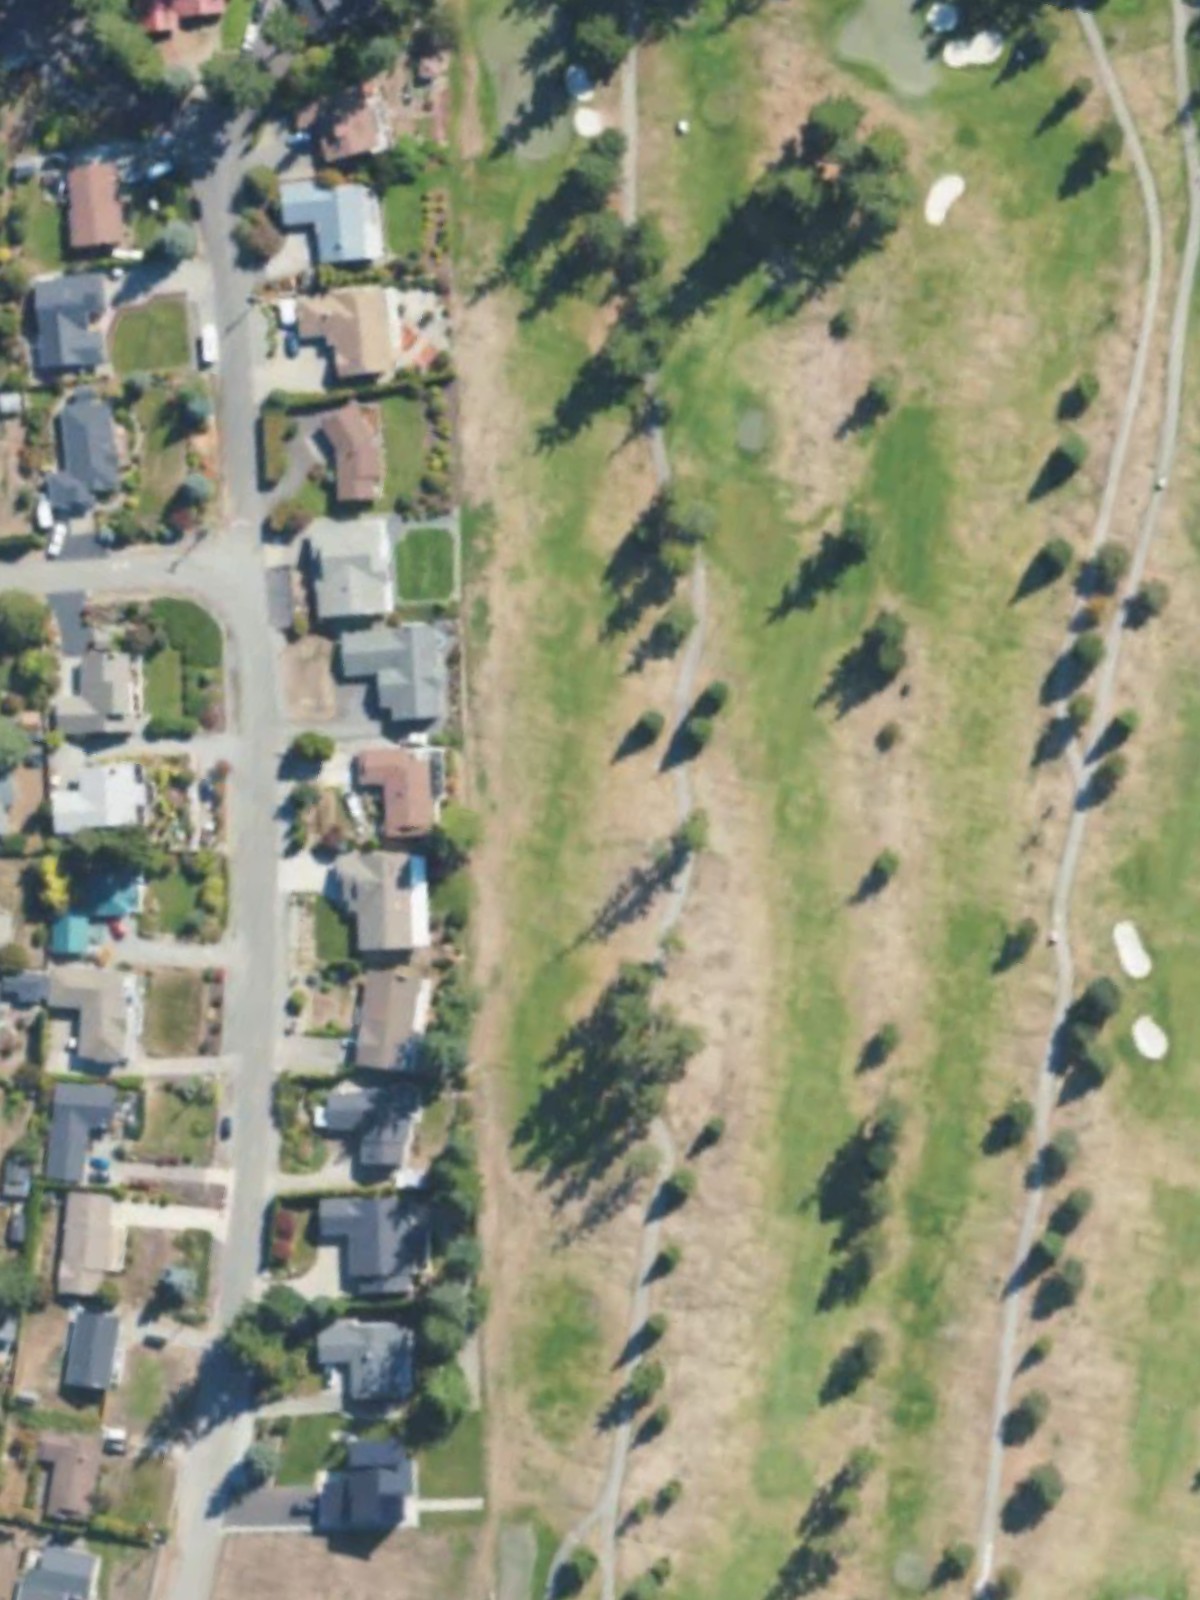
A straightforward par 4 that plays as a gentle introduction to the course. The fairway is relatively open off the tee, with the primary challenge coming from bunkers that guard the right side of the green on the approach.
A short par 4 with a forgiving layout that offers an early birdie opportunity. The hole's simplicity makes it an ideal scoring chance despite its mid-range handicap.
A moderate par 4 featuring a straight design with a well-bunkered green complex. The approach shot demands accuracy as bunkers protect both sides of the putting surface.
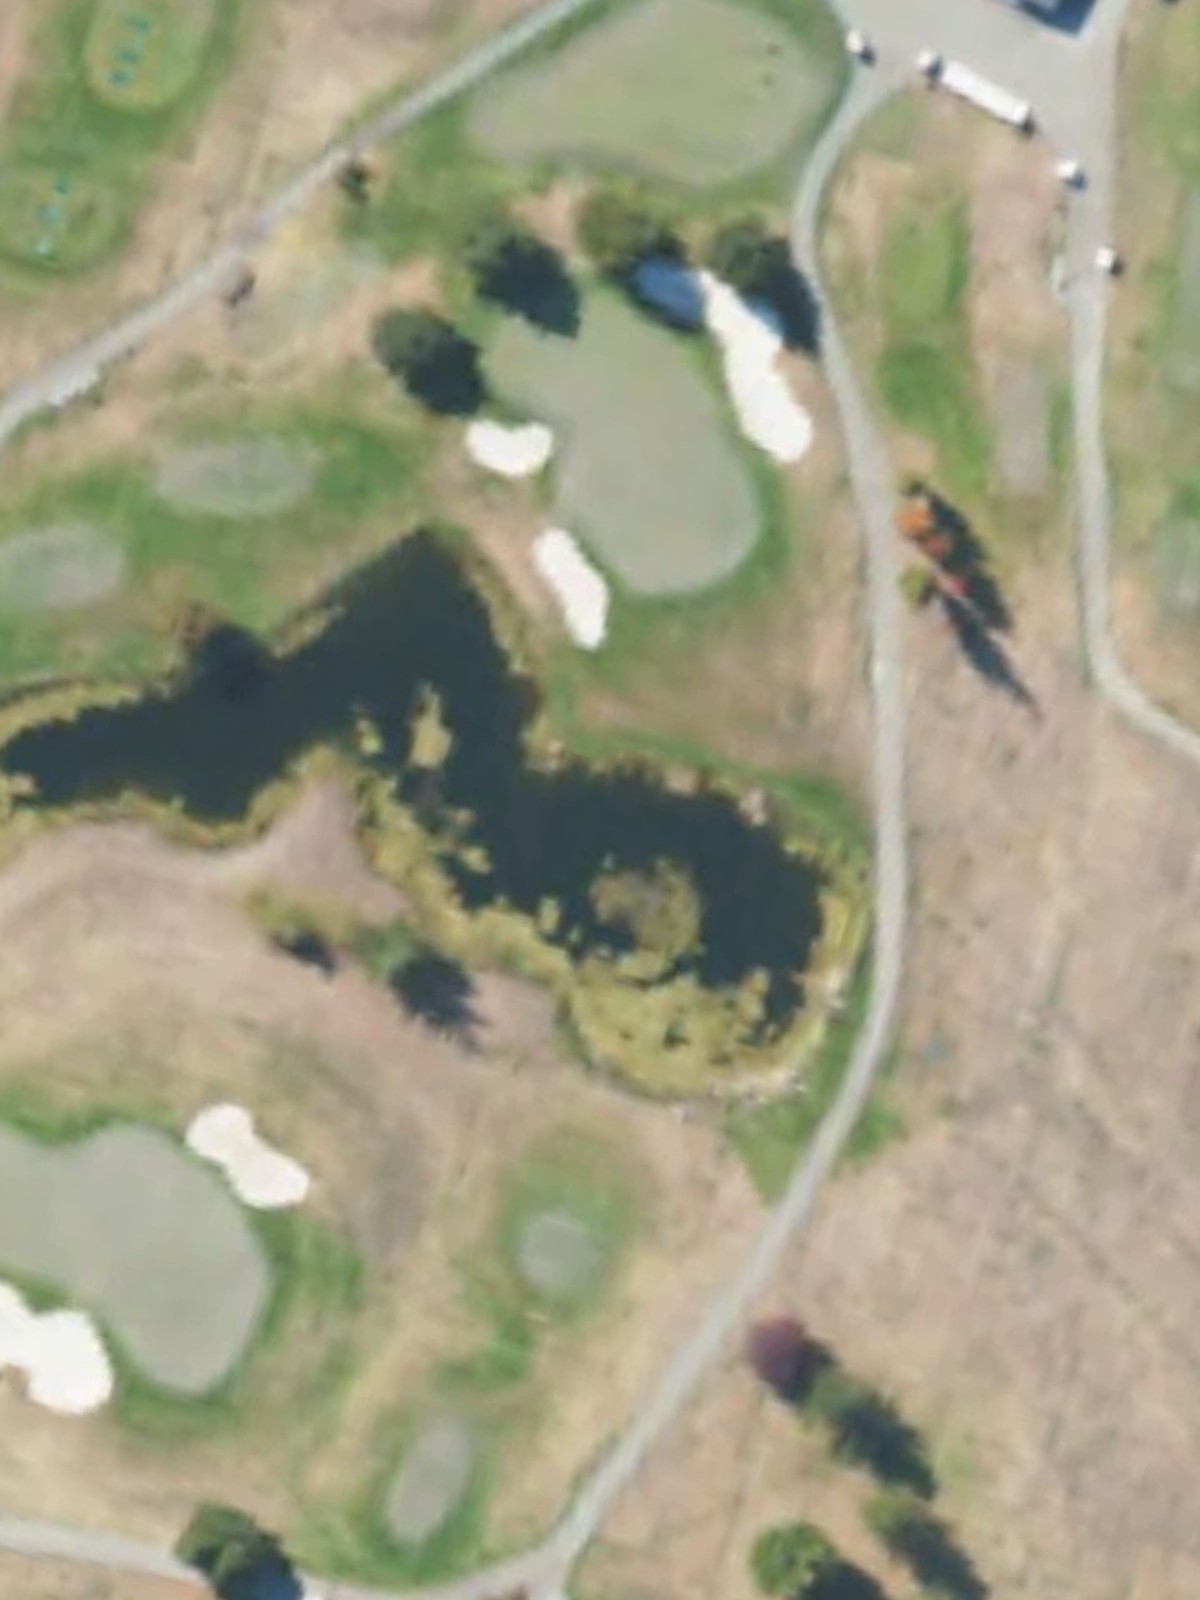
A short one-shot hole that plays downhill toward an elevated green. Water hazards frame the left side, making precision off the tee essential for a favorable result.
A demanding par 4 that ranks among the course's most difficult holes, featuring a tight fairway that narrows considerably in the driving zone. Water left and bunkers right create a demanding approach to a well-protected green.
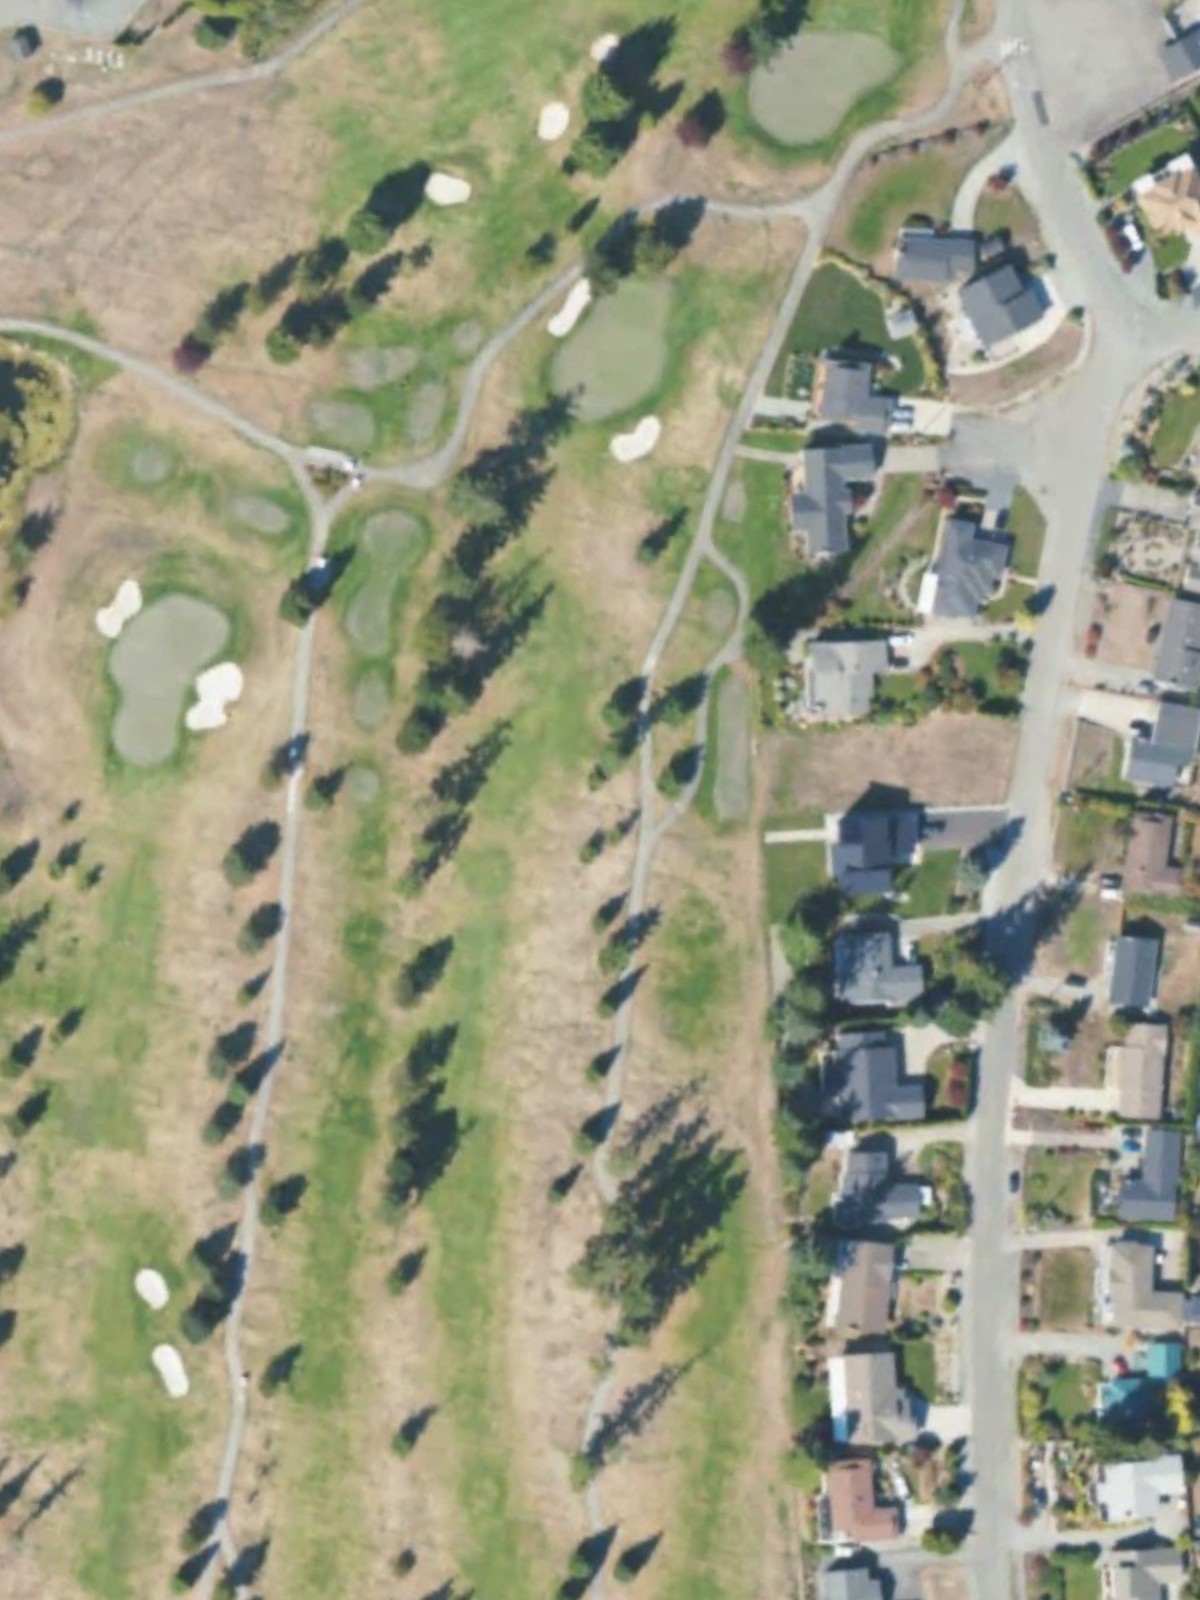
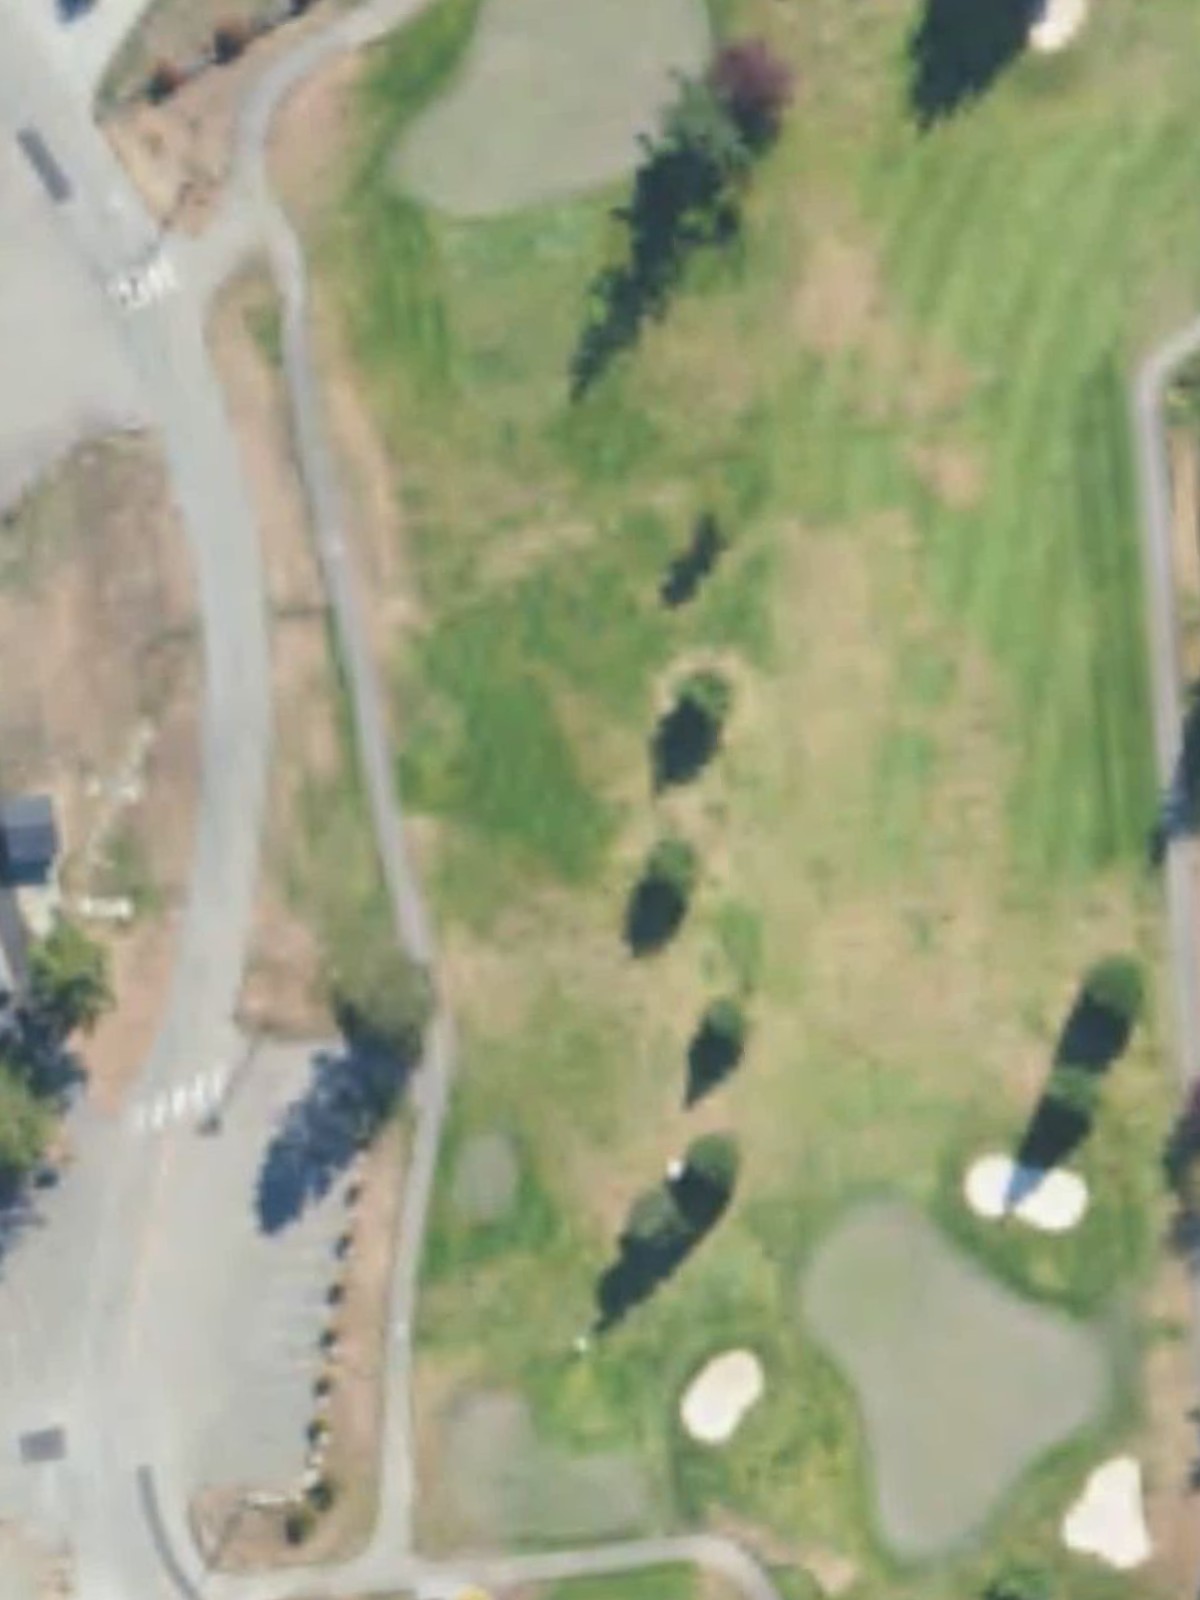
The first par 5 on the course offers length and strategic complexity with multiple routing options. A central water hazard or series of bunkers may dictate the line, rewarding bold and accurate play.
The signature par 5 and number one handicap hole, this long dogleg presents an extreme challenge even for accomplished players. Hazards throughout the hole and a narrow landing area demand three well-executed shots to reach the green.
A mid-length par 4 with a dogleg configuration that rewards accurate positioning off the tee. Bunkers frame the green, making the approach shot the deciding factor on this moderately difficult hole.
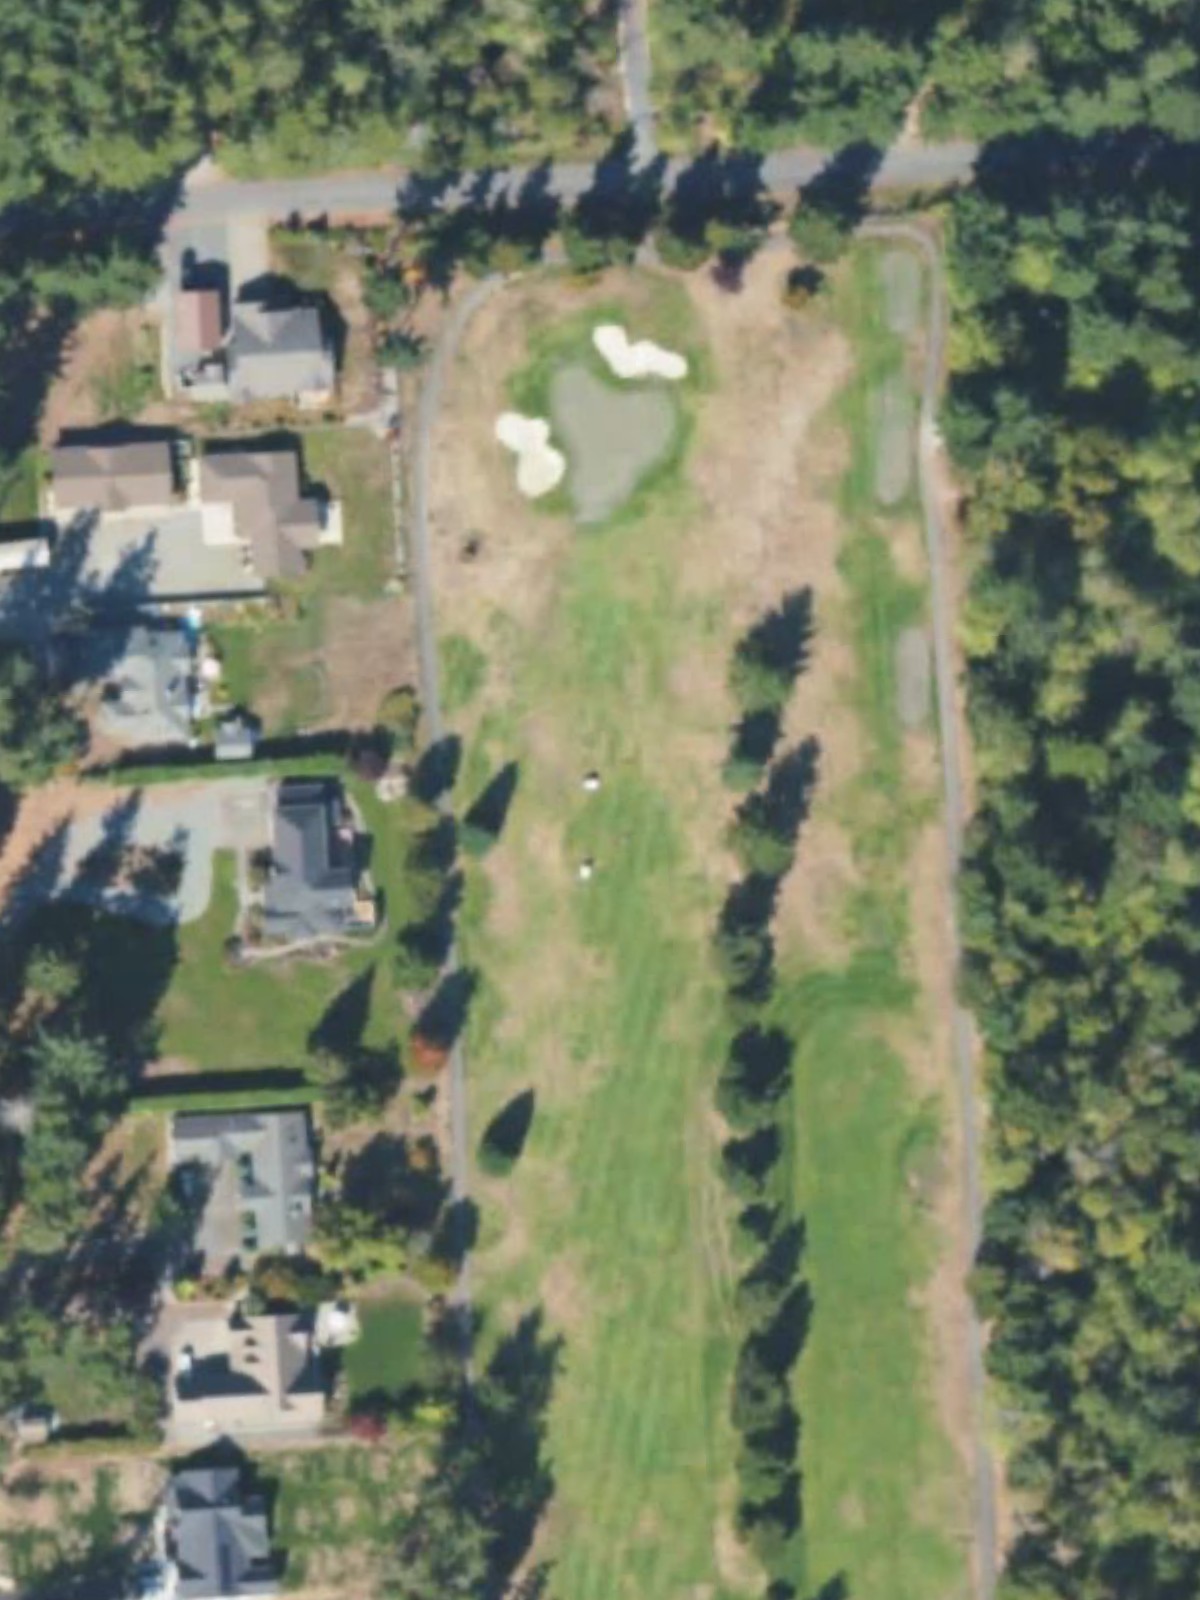
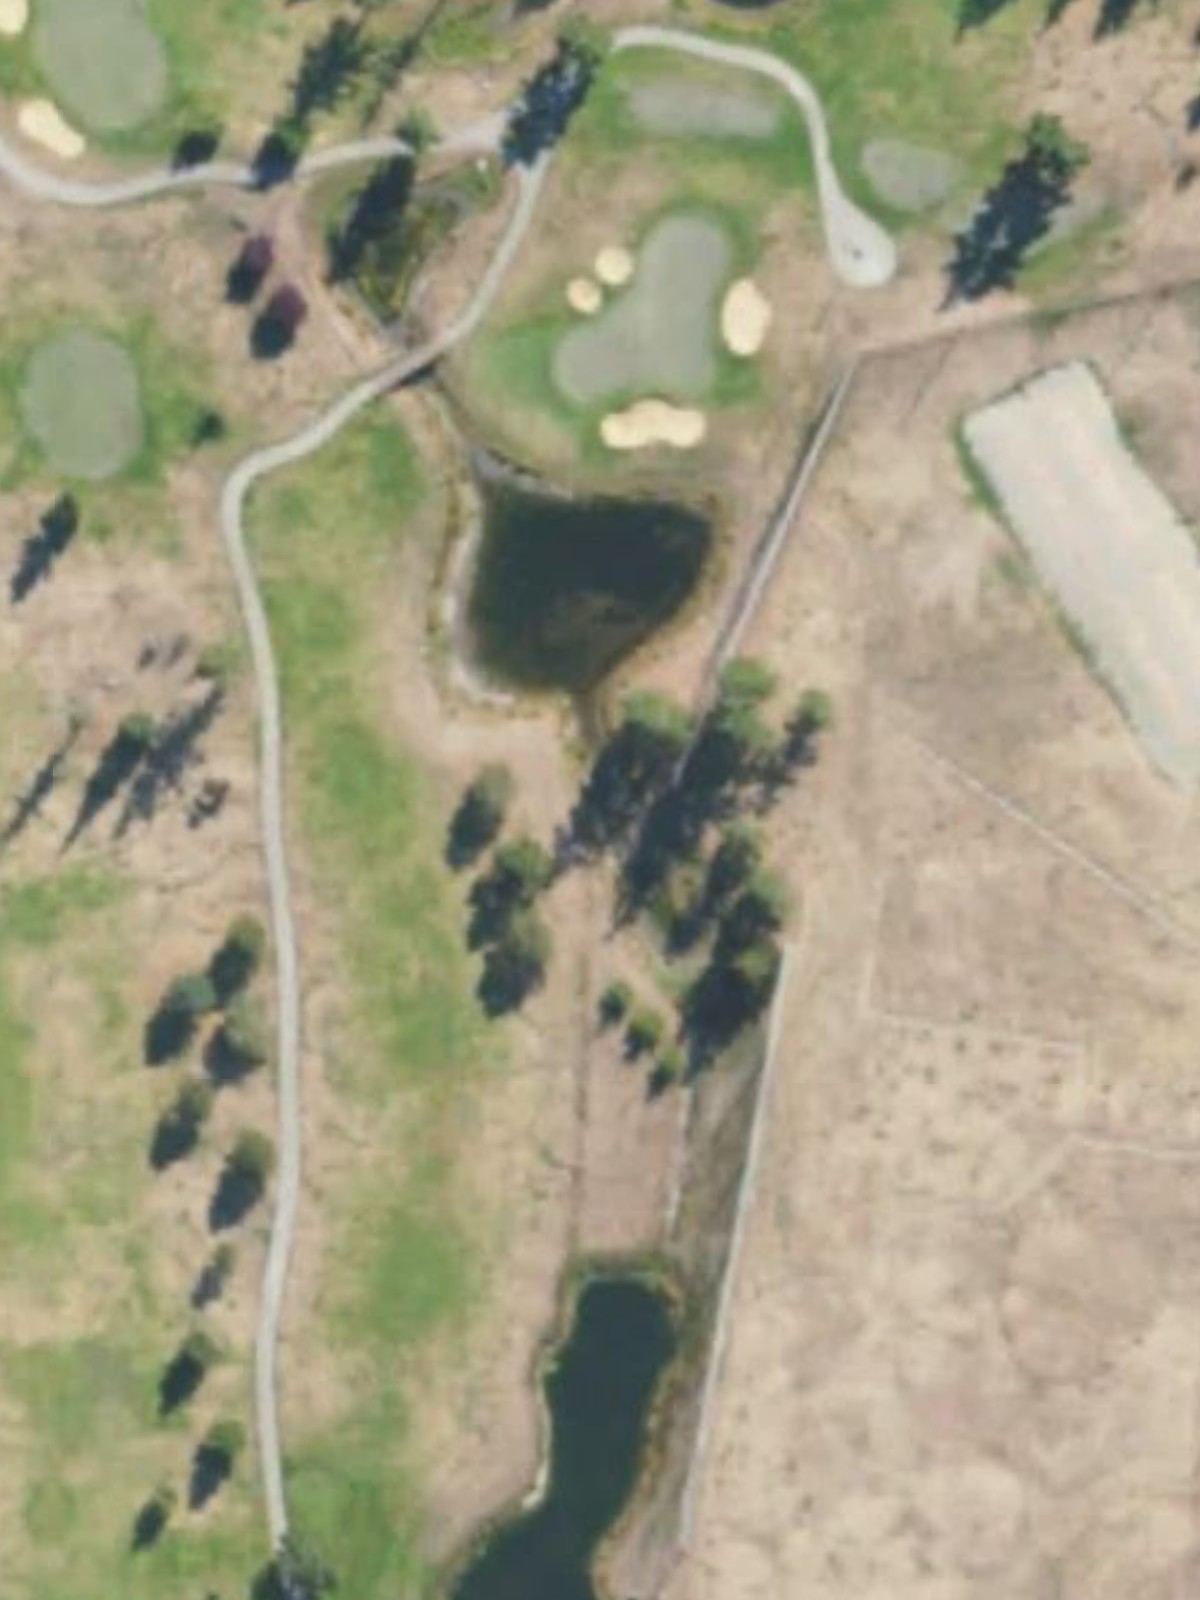
A short par 3 with an island-green or heavily bunkered putting surface that demands a precise tee shot. Water or sand surrounding the green makes this a make-or-break scoring opportunity.
A short par 4 that provides relief from the back nine's more demanding stretches with a relatively open fairway. The reduced yardage offers a genuine birdie opportunity despite moderate hazards.
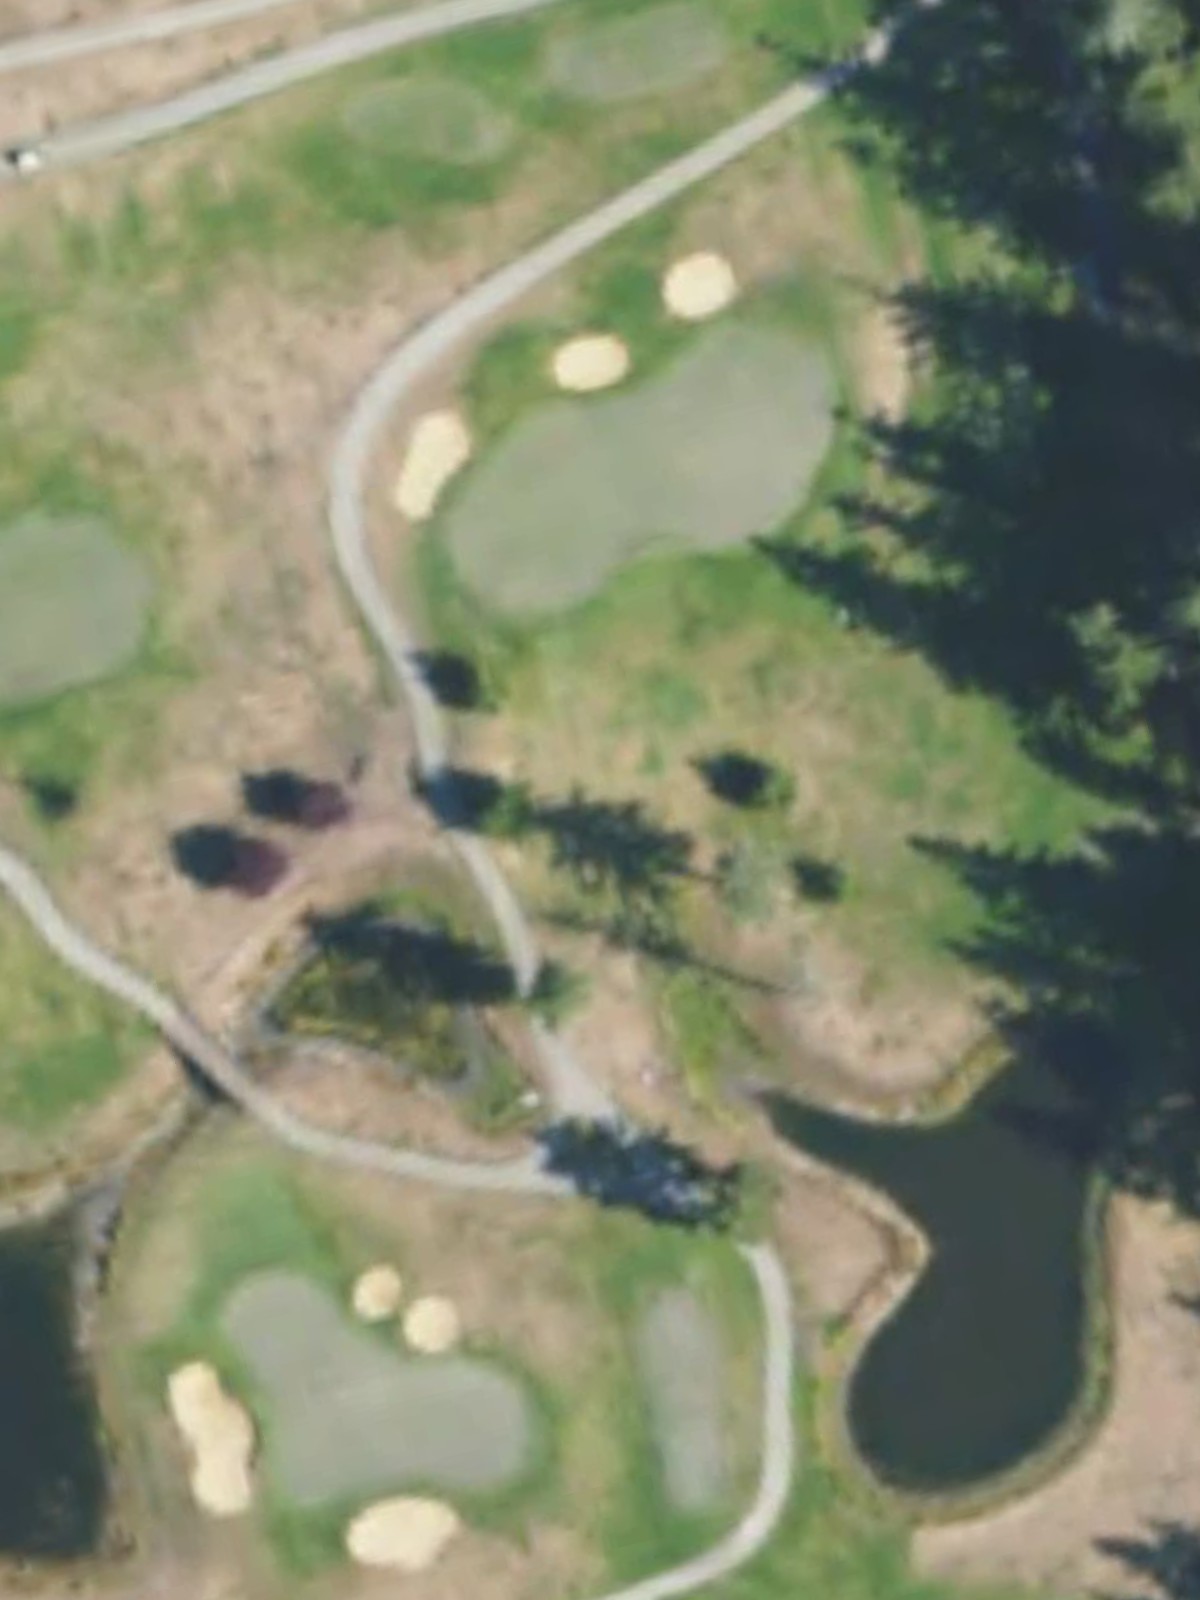
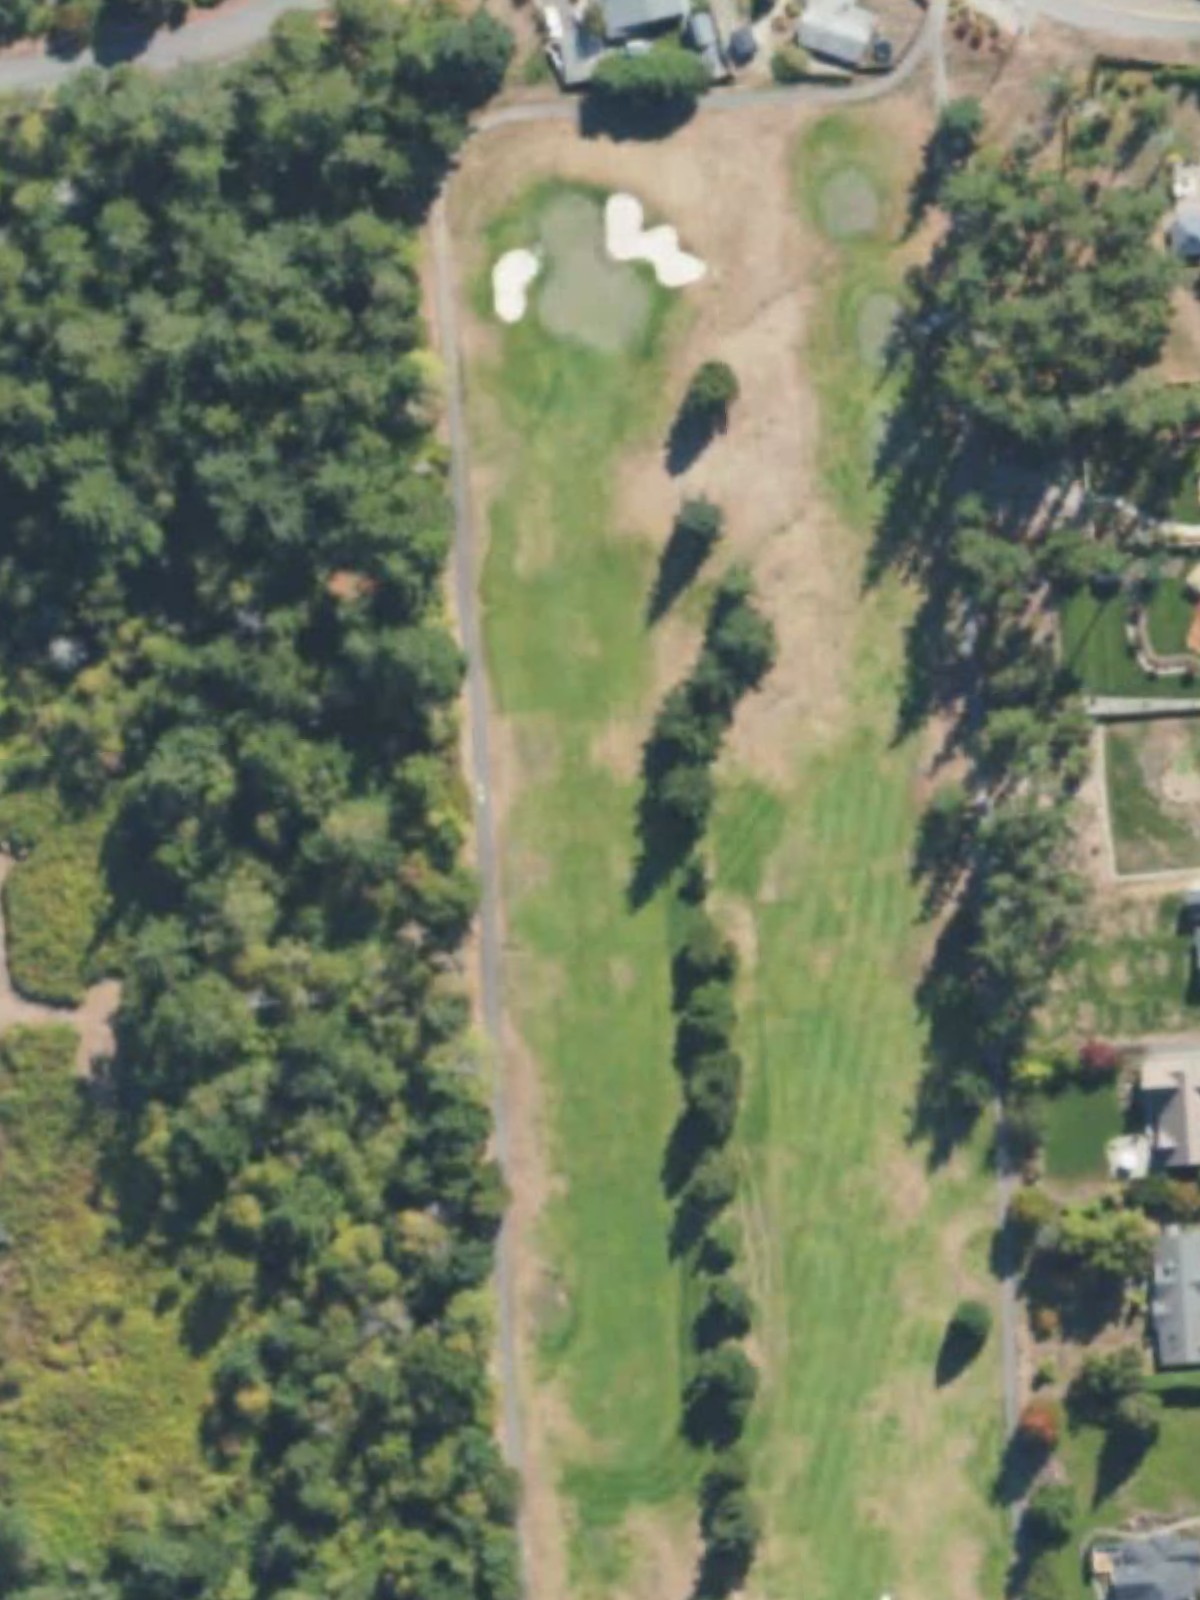
A brief par 3 playing downhill to a well-bunkered green, offering an accessible scoring chance. The bunkers surrounding the green demand clean contact from the tee.
A short par 4 with a narrow fairway that tightens near the green, creating a strategic test from the tee. The compact length is offset by precision requirements on both the drive and approach.
A mid-length par 3 with a severe degree of difficulty relative to its length, likely due to a heavily defended green or challenging elevation changes. This hole ranks as the course's easiest handicap, making it a rare scoring opportunity.
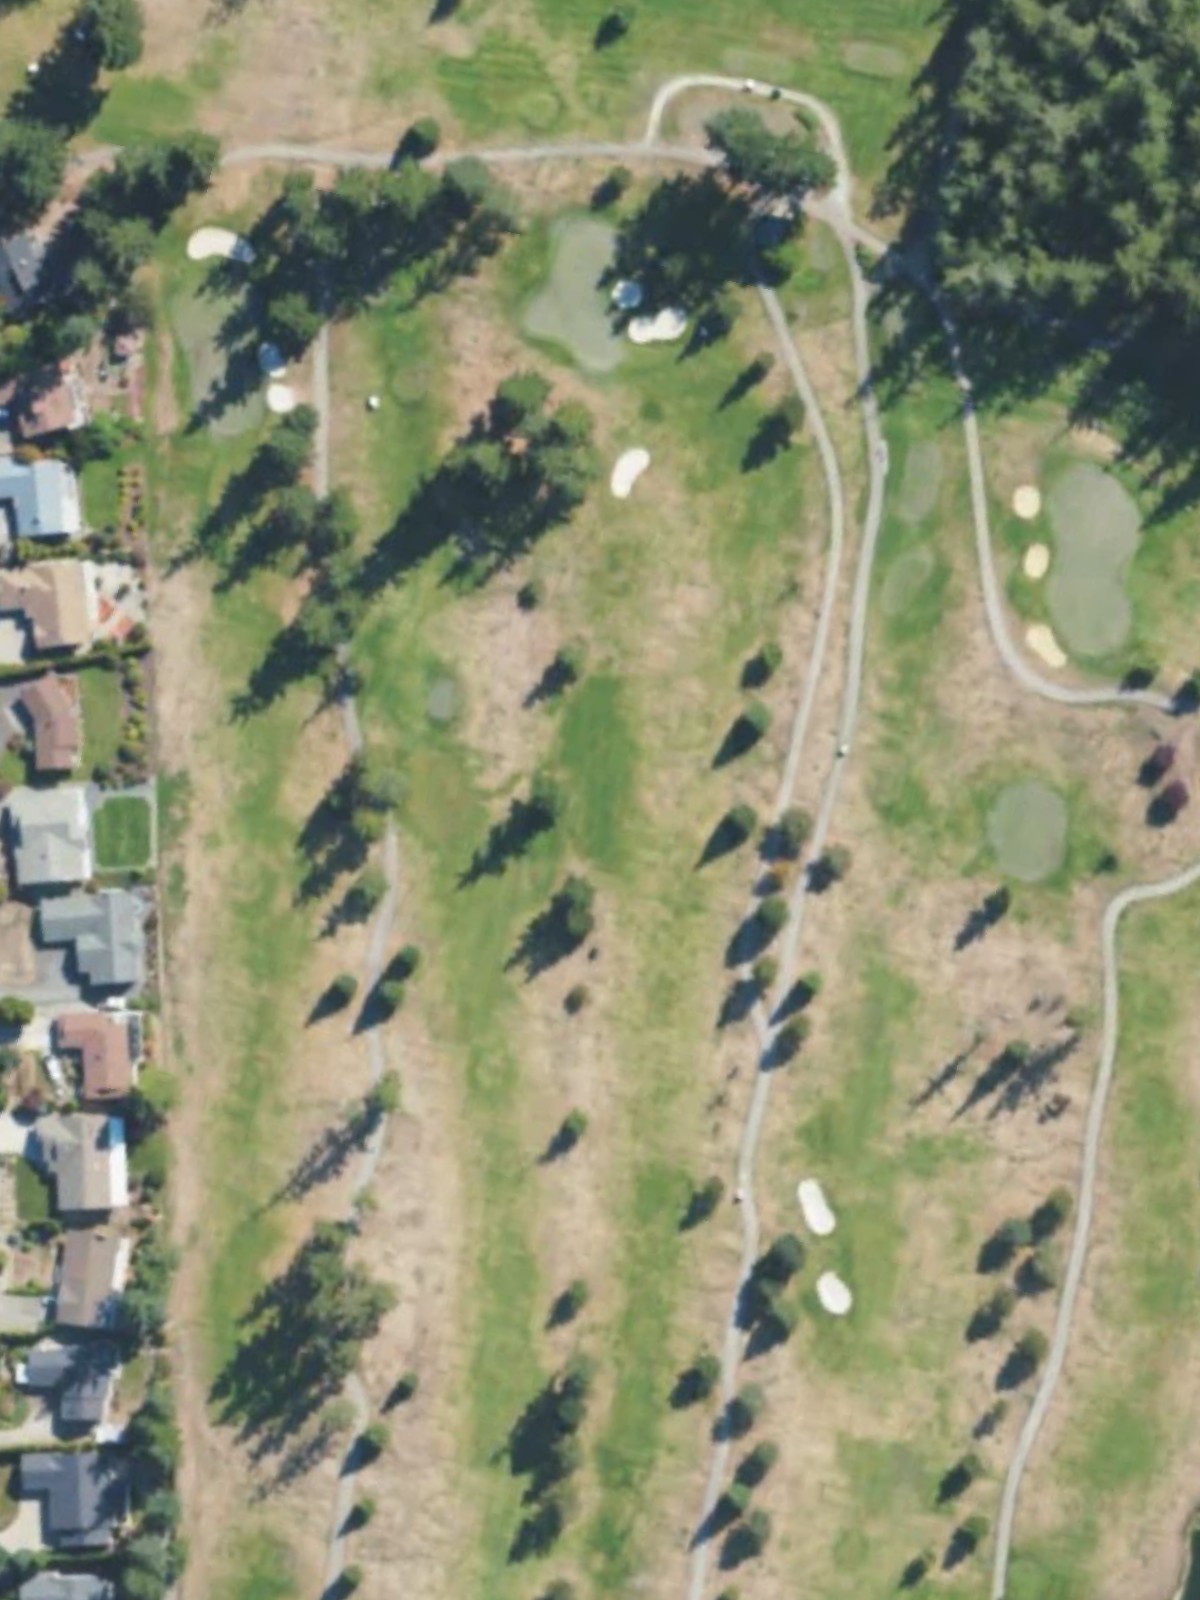
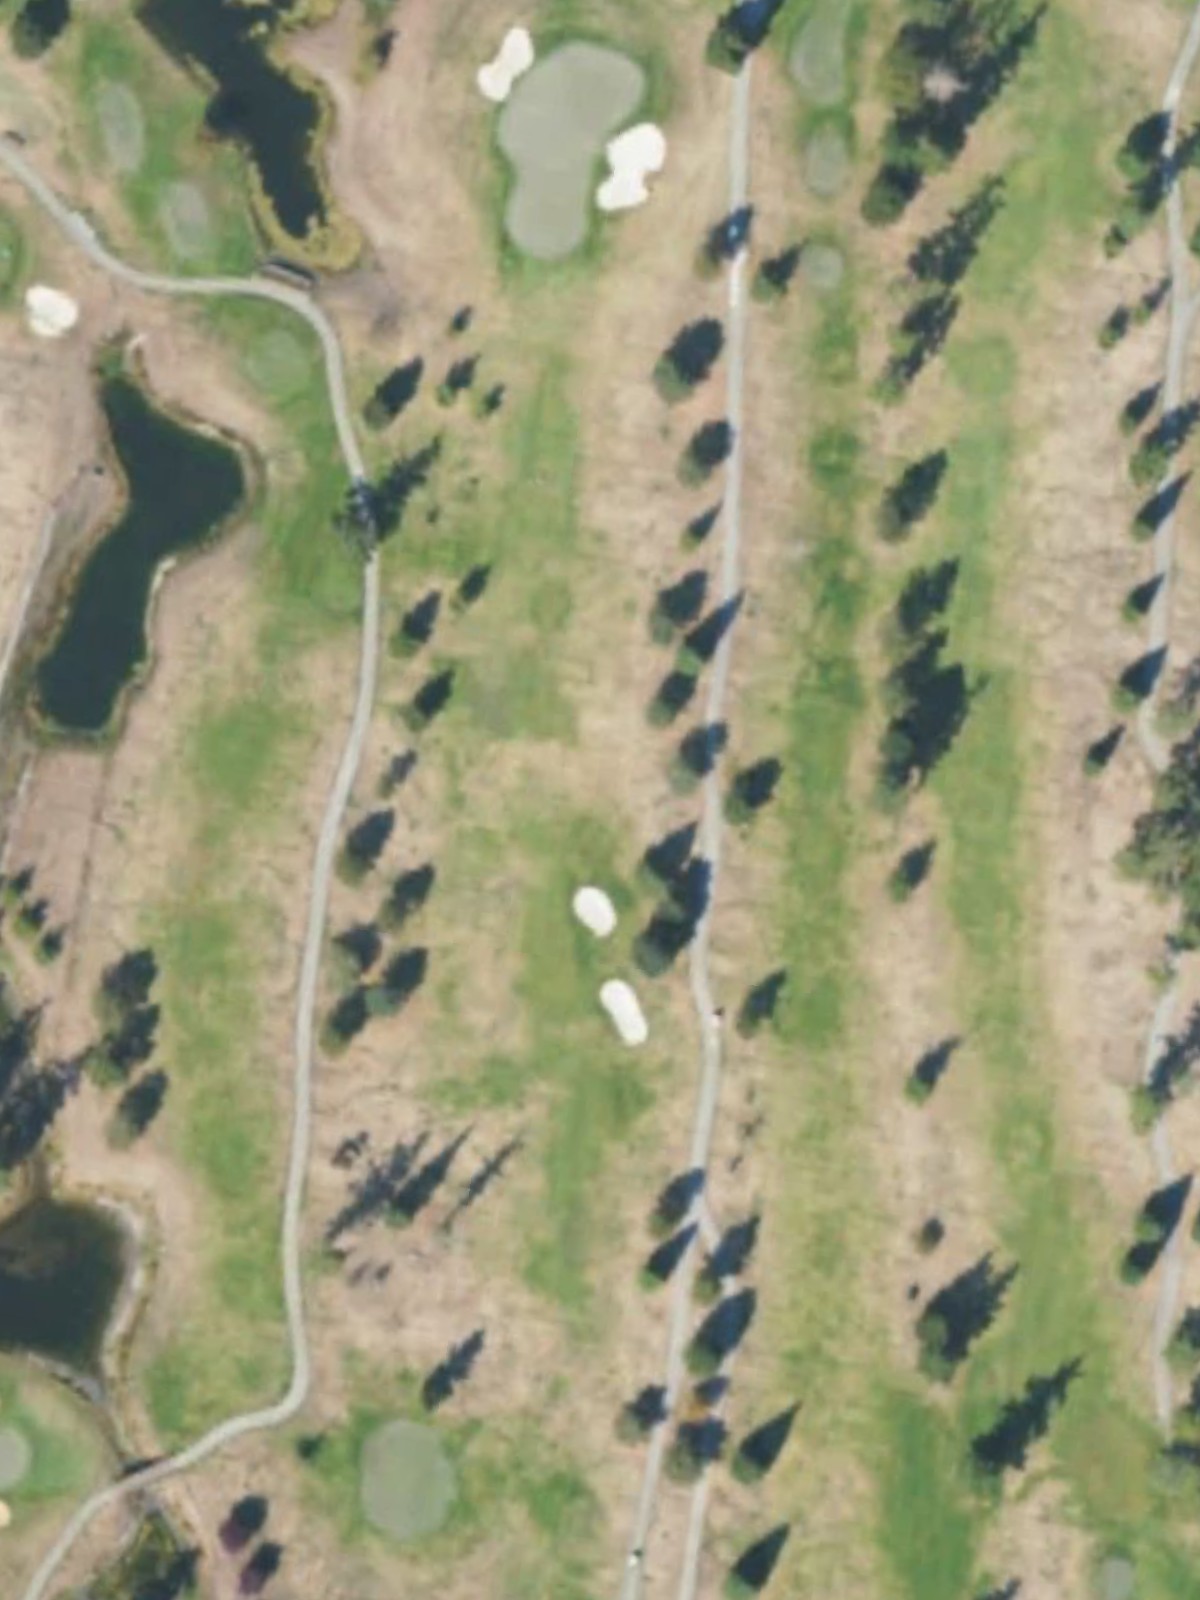
A substantial par 5 that balances length with strategic options and multiple hazards throughout the hole. The routing and bunker placement create decision-making challenges that define this difficult hole.
The second-ranked handicap hole, this long par 5 presents relentless difficulty with hazards threatening both the fairway and the approach zones. Bunkers and water guard the green complex on this test of endurance and accuracy.
A challenging par 4 featuring a dogleg or severely bunkered layout that demands accurate positioning throughout. The green complex is well-defended, making this a critical test on the back nine.
A mid-length par 4 with a straightforward design that nonetheless presents strategic complexity through fairway bunkers or water hazards. The hole's moderate handicap reflects a reasonable scoring opportunity with proper execution.
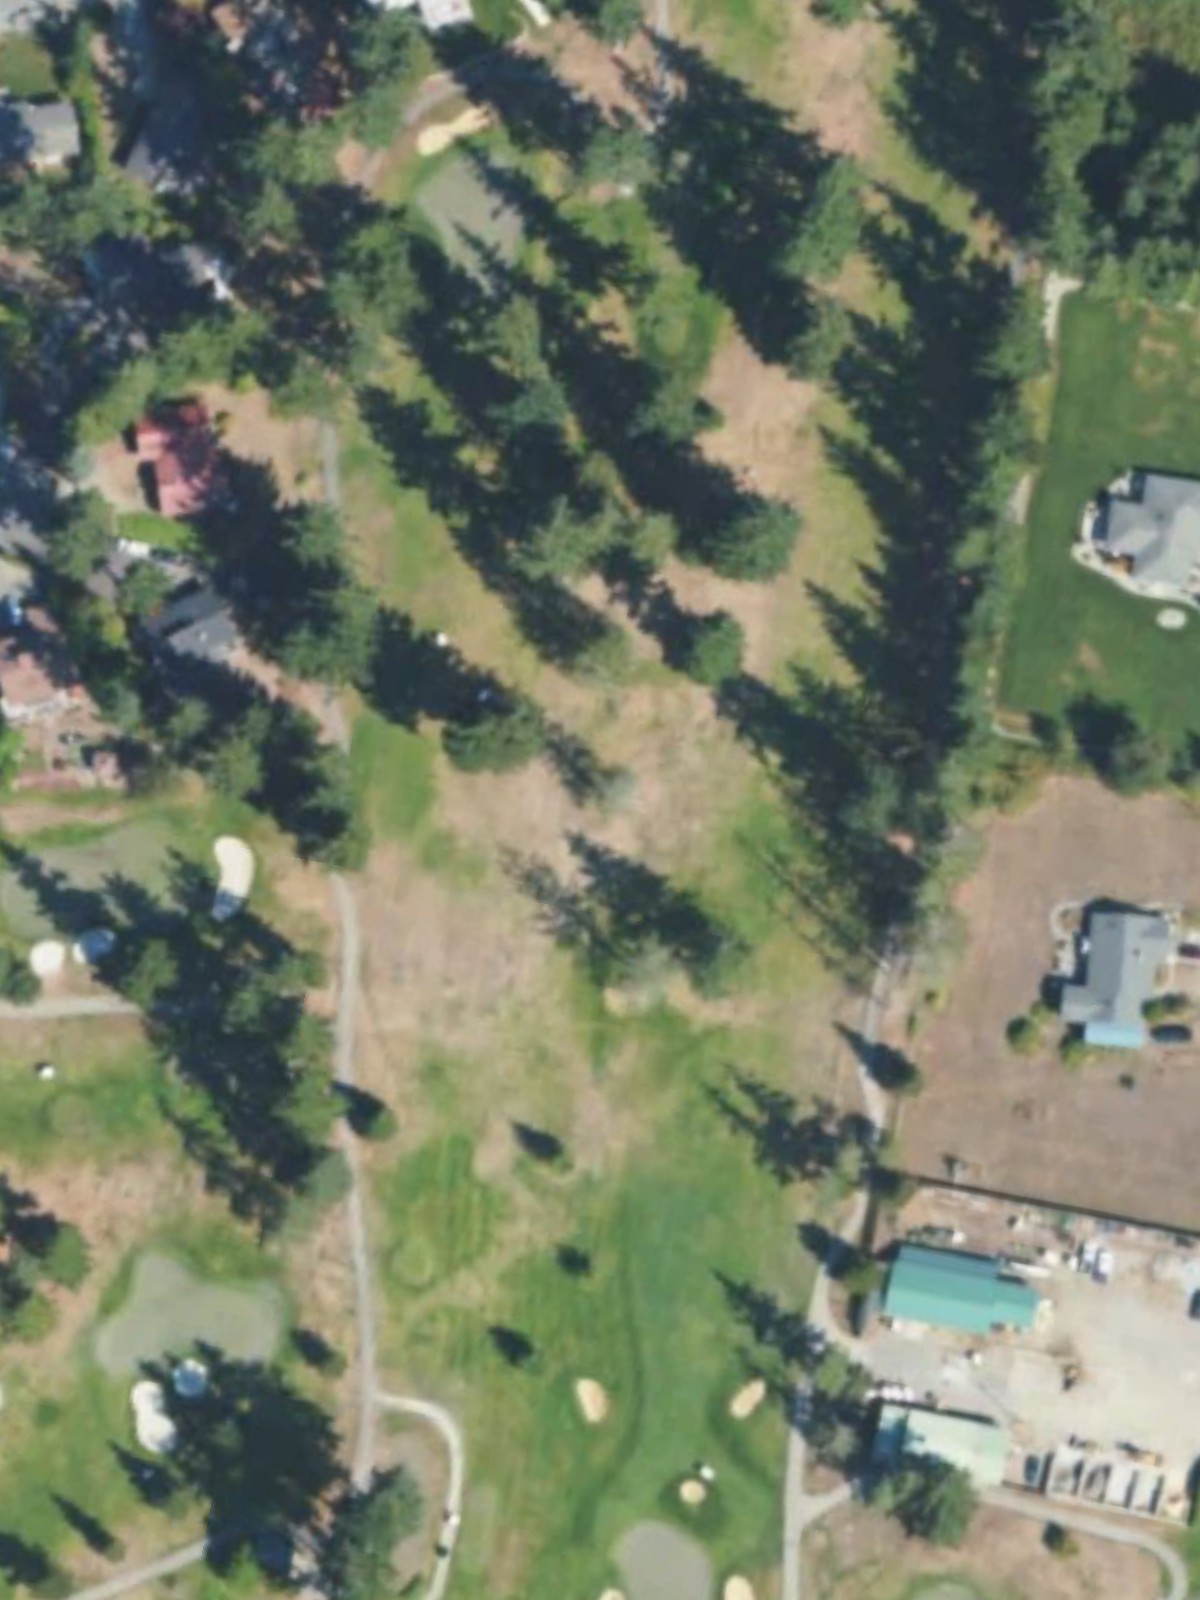
The closing par 4 provides a fitting finale with a balanced layout that doesn't require heroics but demands solid play. Greenside bunkers and potentially out-of-bounds right frame the approach to finish the round.
Scorecard
| Hole | 1 | 2 | 3 | 4 | 5 | 6 | 7 | 8 | 9 | Out | 10 | 11 | 12 | 13 | 14 | 15 | 16 | 17 | 18 | In | Tot |
|---|---|---|---|---|---|---|---|---|---|---|---|---|---|---|---|---|---|---|---|---|---|
| Par | 4 | 4 | 4 | 3 | 4 | 5 | 5 | 4 | 3 | 36 | 4 | 3 | 4 | 3 | 5 | 5 | 4 | 4 | 4 | 36 | 72 |
| HCP | 7 | 11 | 9 | 17 | 5 | 3 | 1 | 13 | 15 | 12 | 16 | 14 | 18 | 4 | 2 | 6 | 8 | 10 | |||
| black | 407 | 369 | 384 | 174 | 423 | 502 | 471 | 409 | 179 | 3318 | 296 | 163 | 290 | 189 | 463 | 452 | 418 | 344 | 356 | 2971 | 6289 |
| silver | 376 | 343 | 353 | 169 | 395 | 494 | 436 | 381 | 158 | 3105 | 289 | 155 | 285 | 182 | 456 | 447 | 396 | 322 | 329 | 2861 | 5966 |
| green | 344 | 321 | 305 | 151 | 360 | 459 | 414 | 353 | 144 | 2851 | 273 | 136 | 258 | 171 | 445 | 425 | 372 | 292 | 302 | 2674 | 5525 |
| combo tees | 344 | 321 | 305 | 119 | 291 | 419 | 414 | 330 | 96 | 2639 | 245 | 107 | 226 | 123 | 445 | 409 | 372 | 233 | 302 | 2462 | 5101 |
| orange | 288 | 248 | 257 | 119 | 291 | 419 | 393 | 330 | 124 | 2469 | 245 | 107 | 226 | 123 | 363 | 409 | 312 | 255 | 272 | 2312 | 4781 |
| purple | 224 | 214 | 208 | 87 | 237 | 382 | 373 | 280 | 96 | 2101 | 200 | 95 | 206 | 95 | 318 | 373 | 277 | 233 | 240 | 2037 | 4138 |